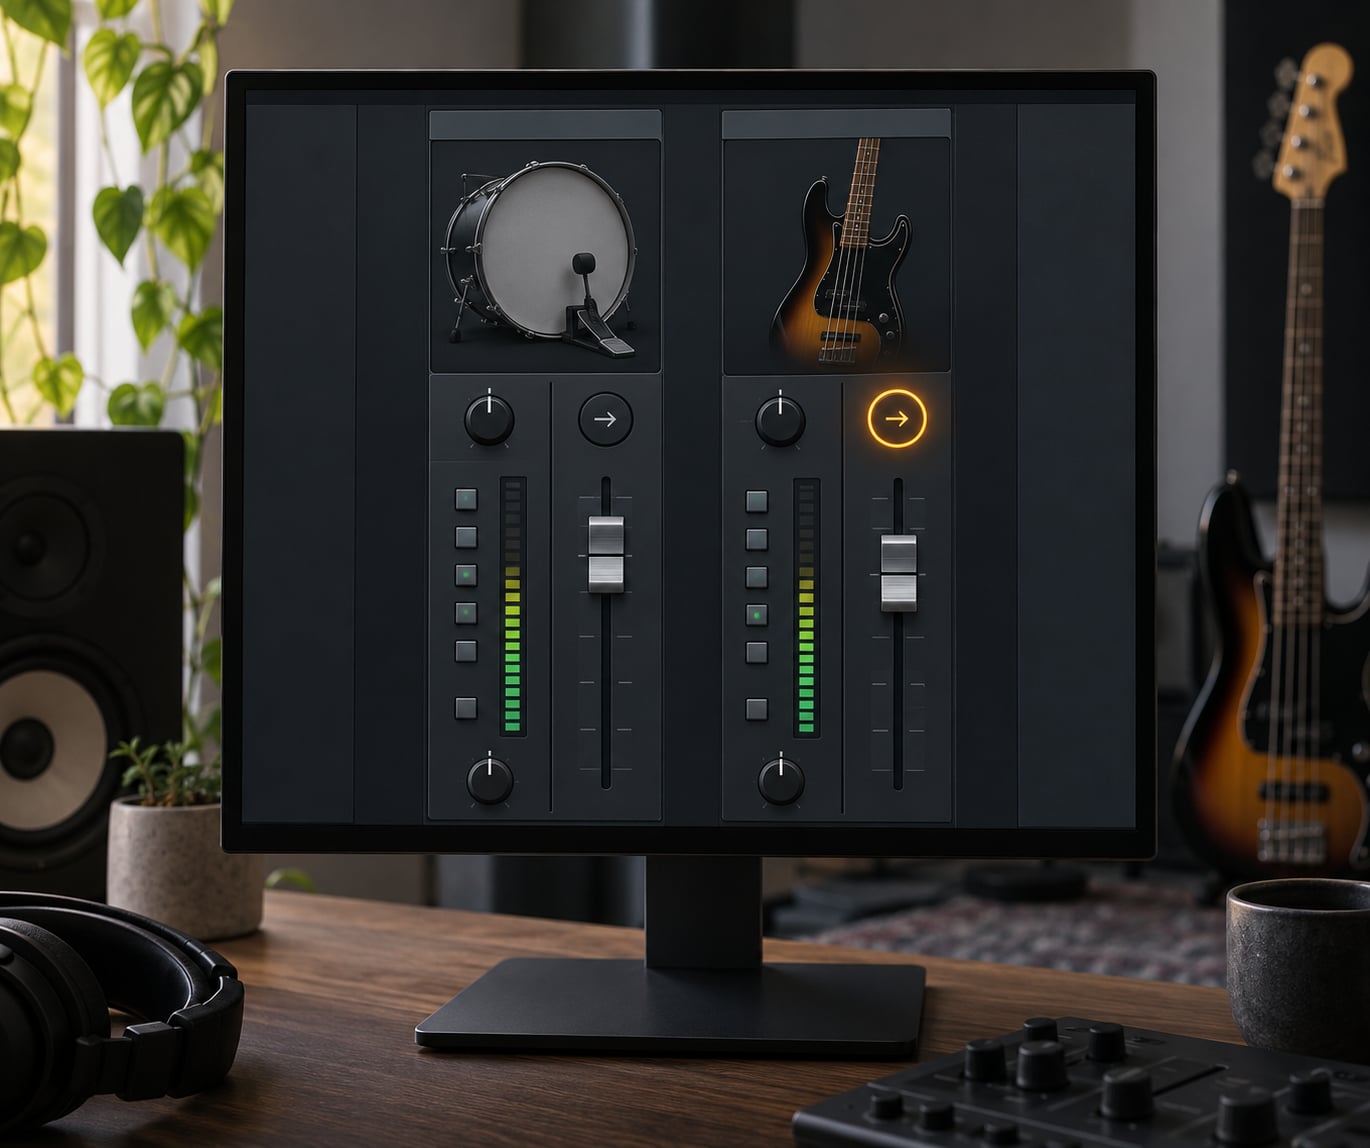
To sidechain kick and bass in FL Studio, send the kick to its own mixer insert, then right-click the small circular arrow at the bottom of the bass insert and pick your kick track. Add Fruity Limiter to the bass insert, open the Comp tab, set that sidechain input to the kick, and turn the gain reduction down until the bass dips about 6 dB on every hit. That takes about five minutes once you’ve done it a couple of times.
You’re always ducking the bass, never the kick. If your kick disappears on every hit, the routing is backwards, and that’s the single most common reason a first sidechain attempt feels wrong.
Table of Contents
- What You Need
- Step-by-Step: How to Sidechain Kick and Bass in FL Studio
- Step 1: Prepare Separate Kick and Bass Signals
- Step 2: Route the Kick to the Bass Mixer Insert
- Step 3: Enable Sidechain Ducking on the Bass Insert
- Step 4: Adjust the Ducking Amount and Timing
- Step 5: Add Bass Processing Without Breaking the Movement
- Step 6: Test the Sidechain in the Full Track
- How to Use a Volume Ducker Instead
- Common Mistakes and How to Fix Them
- Quick Tuning Reference
- Frequently Asked Questions
- Why is my bass not ducking in FL Studio?
- Should I route the kick to the bass channel or use a separate mixer insert?
- How much should the bass volume move under the kick?
- How do I stop FL Studio sidechain bass from sounding too pumped?
- Do I need a third-party sidechain compressor for kick and bass in FL Studio?
- Can I use envelopes or a volume ducker instead of native sidechain routing?
- Conclusion
What You Need
Everything ships with FL Studio, so there’s nothing to buy. You need a project with a kick pattern and a bass sound already in it, the Mixer window open, and enough headroom on your bass fader that the compressor has somewhere to pull down from.
Here’s my checklist before I start any session. It saves the awkward five minutes of scrolling through the channel rack wondering why the routing isn’t working.
- A kick sound and a bass sound loaded as separate channels in the Channel Rack or the Playlist
- Two mixer inserts already assigned, one for kick and one for bass, so you’re not routing into Insert 0 and Insert 1 by accident
- Fruity Limiter, which is bundled with every edition of FL Studio
- Fruity Parametric EQ 2 or Fruity Free Filter for shaping the bass after the sidechain is behaving
- Headphones or monitors you know well, since you’ll be judging 6 dB of movement at low volume
- Your project tempo fixed, because release time means nothing until you know the BPM
One note on versions. Everything below works in FL Studio 21 and newer, including 2024 and later releases. The mixer has grown to hundreds of dynamic tracks in recent versions, which is handy here because it means you can leave the kick and bass inserts wherever they logically sit instead of squeezing them into the first few slots.
Step-by-Step: How to Sidechain Kick and Bass in FL Studio
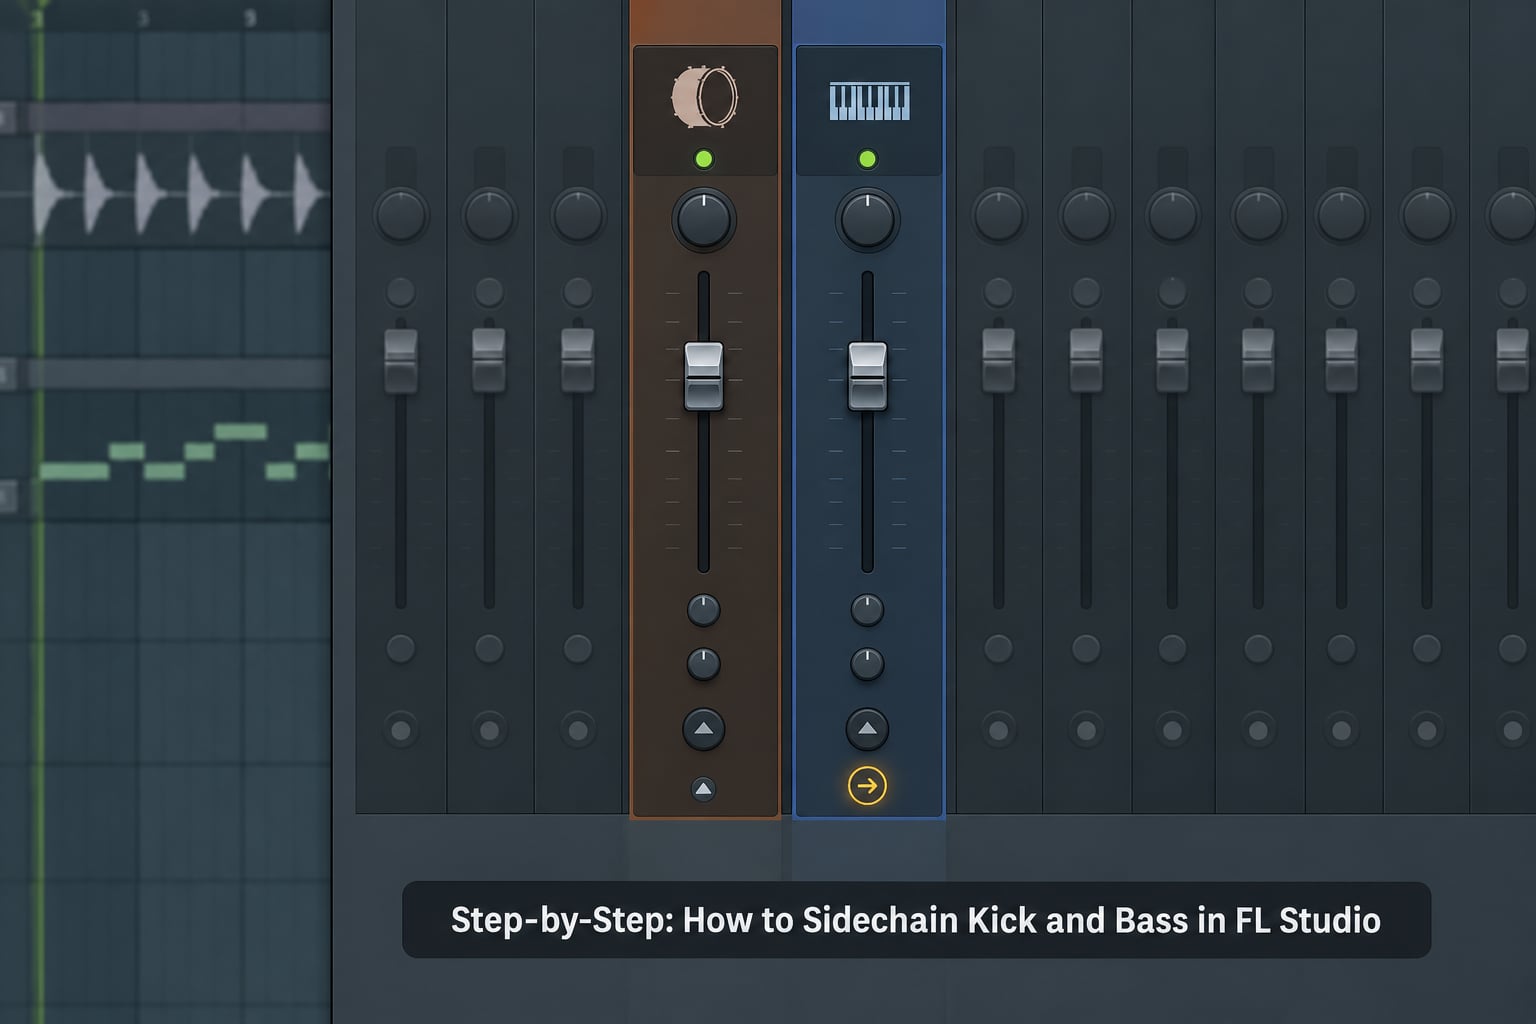
Six steps, and the first three are where 90 percent of first attempts go wrong. The last three are tuning and checking.
Step 1: Prepare Separate Kick and Bass Signals
Both sounds need to live on their own mixer inserts before you touch anything. In the Channel Rack, right-click the kick channel and choose Route to Insert 1. Do the same for the bass, and route it to Insert 2 or wherever you keep your melodic elements.
Confirm neither signal is already passing through an insert slot that’s doing something else. If your bass is routed to an insert you use for reverb or a parallel bus, the compressor will duck the whole send, not just the direct signal, and you’ll hear the reverb pumping too.
How to tell it worked: the two inserts now show separate signal meters, and the bass meter moves independently of the kick meter. Give the bass fader around minus 3 dB of headroom so the compressor starts with room to reduce.
Step 2: Route the Kick to the Bass Mixer Insert
This is the step people miss. At the bottom of each mixer track there are two small arrows. The first one, the left arrow, is the sidechain send. The second is the regular volume send.
Right-click the sidechain arrow on the bass insert, and select the name of your kick track from the menu. You’re telling the mixer: when this track plays, react.
Keep the small round send dial next to that arrow at zero. That’s the single most-missed detail in FL Studio sidechain tutorials. Raising it doubles the kick signal into the bass channel, and you end up with a doubled kick bleeding through your low end and a low-end balance that no amount of level tweaking will fix.
How to tell it worked: the arrow on the bass insert now displays the kick track’s number or name. If you right-clicked the arrow on the kick insert instead, you’ve got the direction wrong and you should undo it.
Step 3: Enable Sidechain Ducking on the Bass Insert
Click the slot above the bass insert’s fader to add an effect, and choose Fruity Limiter. Then click the Comp tab inside the plugin window. The Limiter and Multiband tabs do different jobs and neither of them is what you want here.
There’s a small circular arrow at the top of the Comp section. Click it and pick your kick track as the sidechain input. That’s the trigger signal. Now play your pattern and watch the bass meter and the gain reduction meter. Every kick hit should show a brief downward spike in gain reduction.
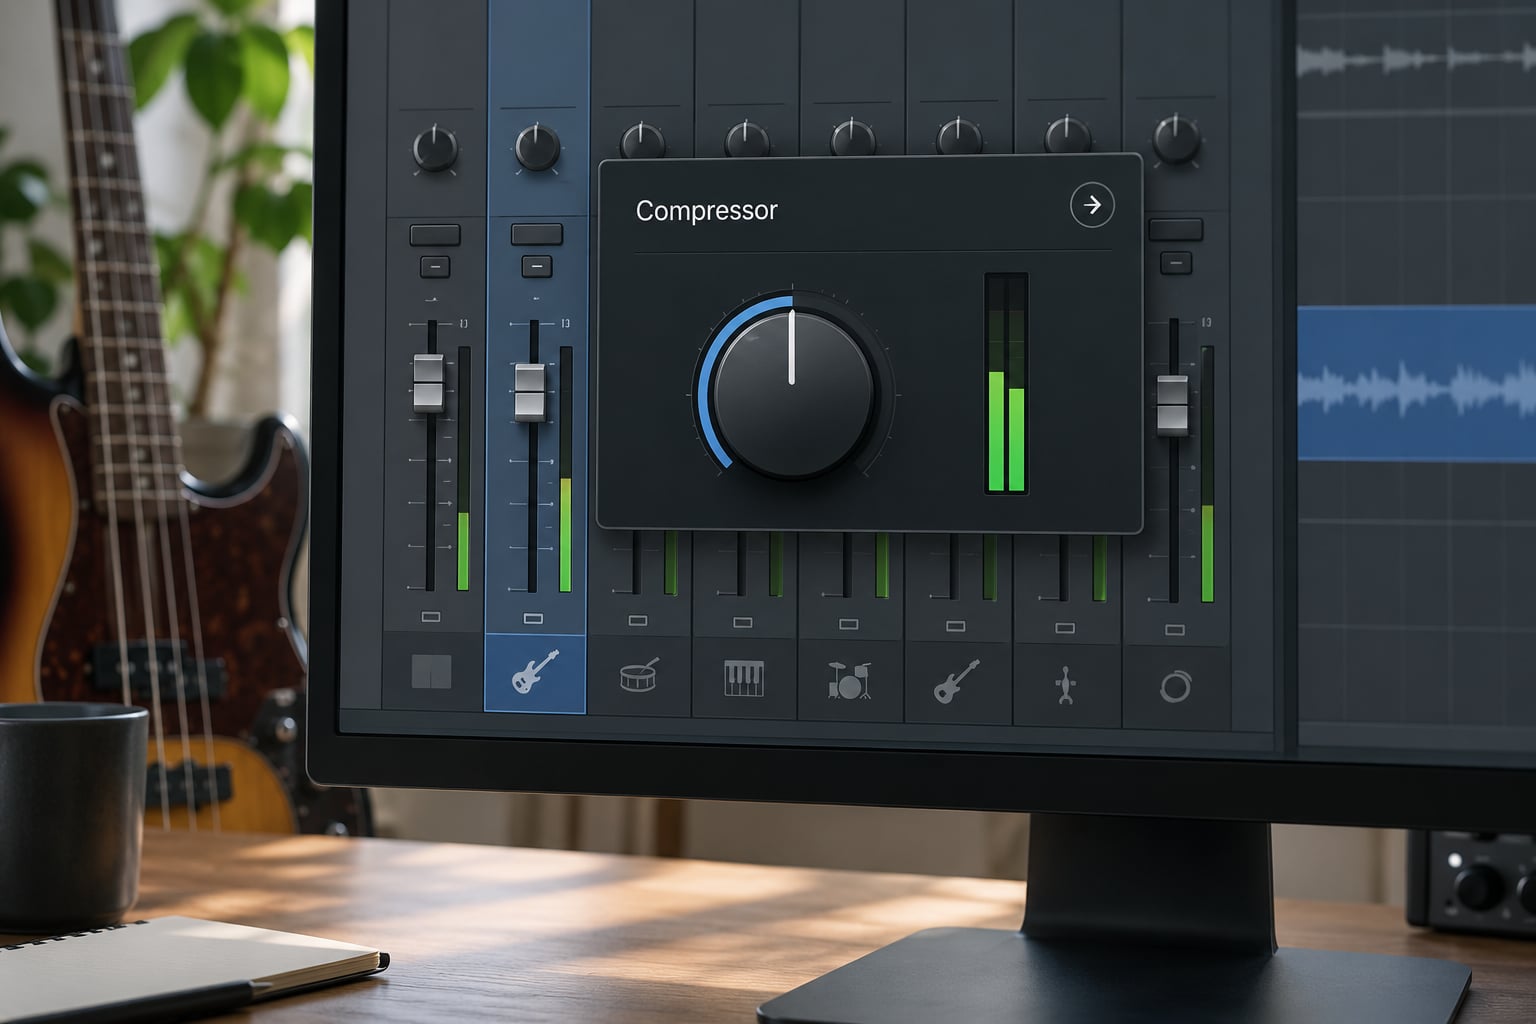
How to tell it worked: the gain reduction meter flicks on each kick hit while the bass is playing, and goes quiet during bars with no kick. If the meter never moves, the sidechain input is set to a silent track or a different insert.
Step 4: Adjust the Ducking Amount and Timing
Turn the Comp gain knob down until the gain reduction reads around 6 dB on a steady kick pattern. That’s the starting point that works for most house and techno. EDM producers usually push further, into the 8 to 12 dB range, while hip hop and trap producers tend to stay in the 3 to 6 dB range or skip sidechaining altogether and use volume shaping.
Attack should be fast, somewhere between 0.01 and 0.5 milliseconds, so the duck happens on the transient rather than after it. A slow attack lets the first part of the bass note bleed through and you lose the effect.
Release is the setting you’ll revisit. The basic rule: the bass should be back at full level before the next kick lands. On a four-on-the-floor house pattern at 128 BPM, that’s roughly 470 milliseconds between hits, so a release in the 150 to 250 ms range works. Fast patterns at 174 BPM in drum and bass need a much shorter release, closer to 60 to 100 ms. A long release stacks the ducks together and the bass never fully returns, which is what makes sidechain bass sound thin and holey.
Set release to something absurd like a full second, play two bars, then pull it down in small steps. Hearing the broken version first makes the correct version obvious.
Step 5: Add Bass Processing Without Breaking the Movement
Keep Fruity Limiter high in the bass insert’s effect stack, above EQ and filtering. If a heavy EQ or distortion sits above the compressor, it will move with the ducked signal and you lose most of the movement you just built.
Fruity Parametric EQ 2 handles the low end fight. Cut a few dB around 60 to 80 Hz if your kick and sub are still colliding after the ducking, and scoop anything muddy near 200 to 300 Hz. Put the EQ below Fruity Limiter in the chain and the ducking still applies cleanly to the finished bass tone.
How to tell it worked: bypass the compressor for one loop. If the difference is small, your ducking amount is too low or your release is too short to hear. Bypass the EQ instead and check whether the bass sounds worse, which tells you the EQ is doing useful work rather than fighting the sidechain.
Step 6: Test the Sidechain in the Full Track
Solo the kick and bass inserts together and play eight bars. Listen for whether the bass swells back up clearly between hits or whether it feels like it’s being held under.
Then unsolo and play the arrangement. A ducking setting that sounds perfect in isolation often disappears under pads, vocals and drums, so the full-track pass is the one that decides it.
Watch the meters rather than just the faders. If the bass insert is hitting red on every kick hit, you need to pull the fader down rather than tightening the compressor, because the compressor is only holding gain reduction, not fixing an overload.
How to Use a Volume Ducker Instead
A volume ducker is an alternative for two situations: you’re routing through MIDI out and can’t use the mixer’s sidechain arrow, or you want the ducking depth to be completely predictable regardless of how loud the kick hits.
Put a volume control plugin on the bass channel. FL Studio’s own Fruity Volumebreaker can automate a gain parameter from the Playlist, and third-party options like LFOTool, Shaperbox and Kickstart take a trigger input directly and do the shaping for you. Grow Room and Gross Beat ship with FL Studio and can also be modulated from a dedicated trigger track.
The workflow is the same shape: duplicate your kick onto a separate muted or very quiet track, route that copy to the ducker’s trigger input, and set the depth and release to taste. With LFOTool-style plugins you set a volume level like minus 6 dB and a trigger shape, then align the shape to your kick pattern. The gain reduction is now a fixed number rather than something that depends on the kick’s dynamics, which is why a lot of bass music producers prefer it.
The ghost kick approach does the same job with the stock mixer. Put a quiet copy of the kick on its own insert, keep its level low so you don’t hear it twice, and use that copy as the sidechain input. You get consistent triggering across breaks where the main kick drops out, without stacking a second Fruity Limiter.
Common Mistakes and How to Fix Them
Nearly every sidechain problem in FL Studio comes down to direction, routing, or an over-aggressive setting. These are the ones that come up again and again on the FL Studio and EDM production forums.
Ducking the kick instead of the bass
Right-clicking the sidechain arrow on the wrong insert means the kick gets ducked every time the bass hits. The fix is to undo that routing and put it on the bass insert instead. The rule is simple: the insert that gets arrowed is the one that moves.
Raising the sidechain send dial
That little round knob beside the arrow controls how much of the kick signal is copied into the bass channel. Anything above zero adds the kick’s body to your bass bus and muddies the low end. Keep it at zero and rely on the routing only.
Too much gain reduction
If the bass disappears entirely on every hit and the low end sounds thin, you’re likely at 10 dB or more of reduction when the mix needs 4 to 6. Pull the Comp gain back and listen to whether the kick’s punch returns.
A release that’s too long
The duck never finishes before the next hit arrives, so the bass only ever sits at reduced gain. Shorten the release, or speed up the tempo, or use a shorter kick pattern. If the bass sounds permanently quiet rather than pulsing, this is almost certainly the cause.
Triggering the bass twice
If the duck hits twice per kick, you usually have two things pointing at the same compressor: a sidechain arrow and a volume ducker, or a Fruity Limiter with a sidechain input set plus a manual draw on the gain envelope. Keep one trigger source and remove the other.
No movement at all
Three causes cover most of these. The sidechain input points to a muted insert, the insert is muted itself, or the track carrying the trigger is below -60 dB and effectively silent. Solo the kick and check its meter first, then compare against the gain reduction meter on the bass compressor.
Over-compressing the bass
A high ratio like 20:1 or infinity turns a musical duck into a hard gate. Somewhere between 2:1 and 4:1 keeps the movement musical while still clearing space for the kick.
Quick Tuning Reference
These are starting points, not rules. Every genre below assumes a kick on the downbeat and a bass playing underneath it, and you’ll adjust from there while listening in context.
| Style | Gain reduction | Ratio | Attack | Release |
|---|---|---|---|---|
| House | 5 to 8 dB | 3:1 | 0.01 to 0.1 ms | 180 to 250 ms |
| Uplifting trance | 3 to 6 dB | 2:1 | 0.1 ms | 250 to 350 ms |
| Techno | 8 to 12 dB | 4:1 | 0.01 ms | 120 to 200 ms |
| Drum and bass | 6 to 10 dB | 4:1 | 0.01 ms | 60 to 100 ms |
| Bass house | 8 to 12 dB | 4:1 | 0.01 ms | 100 to 180 ms |
| Trap | 3 to 6 dB | 2:1 | 0.5 ms | 200 to 300 ms |
| Dubstep | 10 to 14 dB | 6:1 | 0.01 ms | 100 to 250 ms |
A quick rule for release that holds up across tempos: divide the time between kick hits in half, then start slightly under that. It gives the bass most of the gap to swell back up without bleeding into the next hit.
One adjustment worth making per style. At 174 BPM the gap between kicks is short enough that a long release keeps the bass permanently down, so drum and bass needs the shortest release on the table. At 140 BPM with an uplifting trance pad underneath, a longer release keeps that pad’s movement feeling continuous.
Frequently Asked Questions
Why is my bass not ducking in FL Studio?
Check three things in order. First, confirm the circular sidechain arrow on the bass insert actually names your kick track. Second, open Fruity Limiter’s Comp tab and make sure the sidechain input is pointing at the same kick insert. Third, check that the send dial beside that arrow is at zero and that neither the kick insert nor the bass insert is muted. If the gain reduction meter stays flat while the kick is playing, one of those three is wrong.
Should I route the kick to the bass channel or use a separate mixer insert?
Use separate mixer inserts, and always put the sidechain arrow on the bass insert, not the kick. The arrow tells that insert to react to the source track, so arrowing the bass to the kick is what makes the bass move. Arrowing the kick to the bass ducks the kick on every bass note instead, which thins your drums and leaves the two still fighting.
How much should the bass volume move under the kick?
Start at 6 dB of gain reduction and adjust from there. House and techno usually sit between 5 and 12 dB, while hip hop and trap producers often keep it at 3 to 6 dB or use volume shaping instead. If the bass disappears completely on each hit and the low end feels thin, you’re over-ducking. If you can’t hear any movement at all on the full track, go deeper.
How do I stop FL Studio sidechain bass from sounding too pumped?
Shorten the release time so the bass returns to full level before the next kick arrives, and lower the ratio to somewhere between 2:1 and 4:1. High ratios and long releases turn a musical duck into a hard rhythmic chop that flutters. Also try a softer attack instead of an instant one, around 0.5 ms, which keeps the transient slightly softer without losing the effect.
Do I need a third-party sidechain compressor for kick and bass in FL Studio?
No. Fruity Limiter ships with every edition of FL Studio and its Comp tab handles kick and bass ducking perfectly well. Third-party options like LFOTool, Shaperbox and Kickstart give you volume shaping instead, where the duck depth is an exact fixed value rather than something that depends on the kick’s dynamics. They’re worth it when you want predictability or you’re routing through MIDI out.
Can I use envelopes or a volume ducker instead of native sidechain routing?
Yes, and it’s the right call in two situations: you’re on MIDI out and can’t use the mixer’s sidechain arrow, or you want the ducking amount to stay identical no matter how hard the kick is hitting. Put Fruity Volumebreaker or a volume shaping plugin on the bass channel and feed it a trigger from a quiet duplicate of your kick track.
Conclusion
Start by putting your kick and bass on separate mixer inserts, then right-click the circular sidechain arrow at the bottom of the bass insert and choose your kick track. Leave that send dial at zero, add Fruity Limiter in Comp mode above everything else on the insert, and set the gain reduction to about 6 dB with a release around 200 ms.
From there it’s listening. Shorten the release when the bass never comes back, deepen the duck when there’s no movement on the full track, and check the sidechain direction first whenever the kick sounds thin instead of the bass.