To mix a supersaw lead so it cuts through, work by subtraction first: high-pass it around 200–300 Hz, carve the 300–500 Hz mud zone, dip 2–4 kHz if it bites, give the melody a narrow core layer sitting 3–6 dB above the wide one, then duck the whole group 2–3 dB off the kick. Turning the fader up is the last thing you do, not the first.
Here is the problem almost every producer hits. The lead sounds enormous in solo. You mute it, play the drop, bring it back, and it is just another bright thing fighting for space with the kick, the bass and the pad. Nothing is clipping. The levels look fine. The melody is still gone.
That happens because a supersaw is seven or more detuned sawtooth voices running through a highpass filter, and all seven of those voices stack their energy into the same 200 Hz–4 kHz window that every other wideband element in an EDM mix is sitting in. Perceived loudness comes from frequency space and transient definition, not from fader position. If the lead is borrowing space that the kick, bass or vocal needs, no amount of level fixes it.
Table of Contents
Quick Checklist: Supersaw Lead Mixing Settings
- High-pass the lead group at 200–300 Hz on a 24 dB/oct slope, or use a gentle low shelf cut if you want to keep the weight.
- Sweep a narrow bell and cut every resonance you find in the 300–500 Hz zone, usually 3–5 dB at Q 4–6.
- Dip 2–4 kHz by 2–3 dB with a wide bell if the lead is fatiguing or fighting the vocal.
- Never boost 5–8 kHz to make a lead cut. That band belongs to hats, snares and cymbals.
- Add a narrow core layer underneath the wide one at 3–6 dB above it so the pitch stays defined.
- Sidechain the lead group off the kick for 2–3 dB, about 4:1, 1 ms attack and a 150–200 ms release.
What You Need
You need the lead itself, a reference track of the same genre, and the other elements the lead has to share with — kick, bass, pad, pluck and vocal, at least as separate tracks. Soloing the lead against a full mix is how the problem stays hidden.
From there the tools are ordinary: an equaliser with a high-pass filter and two or more bell bands, a compressor with a sidechain input, some form of saturation, and either a spectrum analyser or a level fader to judge loudness. Every major DAW ships versions of all four, so the exact menu names differ between Ableton Live, FL Studio, Logic Pro, Cubase, Studio One, Bitwig and Reason, but the moves are identical.
If you would rather not buy plugins, EQ Eight, TDR Nova and Klap cover most of the equalising here, Trackspacer handles the space between elements, and LFOTool or a stock compressor covers the ducking. The values below are the part that matters, not which tool you move them in.
One table worth having open while you work, because most collisions are simply two elements sharing a job:
| Element | Primary range | Typical low cut | Cut zone | Sparkle zone |
|---|---|---|---|---|
| Kick | 50–120 Hz | 30–40 Hz | 250–400 Hz | 2–5 kHz click |
| Sub bass | 30–80 Hz | None | 200–250 Hz | — |
| Mid bass or reese | 120–400 Hz | 100–120 Hz | 400–800 Hz | 1.5–3 kHz |
| Supersaw lead | 300 Hz–8 kHz | 200–300 Hz | 300–500 Hz | 3–6 kHz |
| Pad | 200 Hz–6 kHz | 200–400 Hz | 250–500 Hz | 5–9 kHz |
| Pluck or arp | 500 Hz–9 kHz | 400–600 Hz | 700 Hz–1.5 kHz | 7–10 kHz |
| Vocal | 200 Hz–10 kHz | 100–150 Hz | 300–500 Hz | 1–3 kHz presence |
Treat these as anchors rather than gospel. A track with a soft, round kick can take a higher lead low cut than one with a hard techno kick; a reese bass already sitting at 180 Hz changes how much room the lead has below 300.
Step-by-Step: How to Mix Supersaw Leads So They Cut Through
1. Set the Lead’s Role and Starting Level
Mute everything else and decide what the lead is actually doing in this section. In a trance drop it is the hook, so it needs definition and forward motion. In a breakdown it might just be texture, and it can sit further back. Writing down which job it has keeps you from tuning it like a different kind of element.
Play the full mix, note the lead’s peak level against the loudest sustained element, then mute it and check the level the other elements reach. A rough balance that works is the lead peaking a couple of dB above the vocal and the pad, and roughly level with the snare on transients. Start there and do not touch the fader again until the processing is finished.
2. Clean Up the Arrangement and Note Range
Before any EQ, listen for the notes that fight each other. A seven-voice supersaw playing a three-note chord is twenty-one oscillators, and if two instances share the same detune amount they can lock into a comb-filter pattern that dips wherever the notes overlap. Mismatched voice counts, seven and five for example, tend to avoid locking together.
Decide whether this layer wants to be a wide stereo field or a focused mono melody, and check whether its lowest note overlaps the range where the bass is doing its work. Anything below that can be moved up an octave or dropped. Fewer notes playing clearly beats seven notes playing everywhere.
Perform the MIDI while you are in here. Shorter gate lengths, velocity variation between 90 and 127, and a small pitch scoop into the first note of each phrase all add articulation that no EQ can fake. It is the cheapest perceived-loudness win available.
3. Carve Space with Subtractive EQ
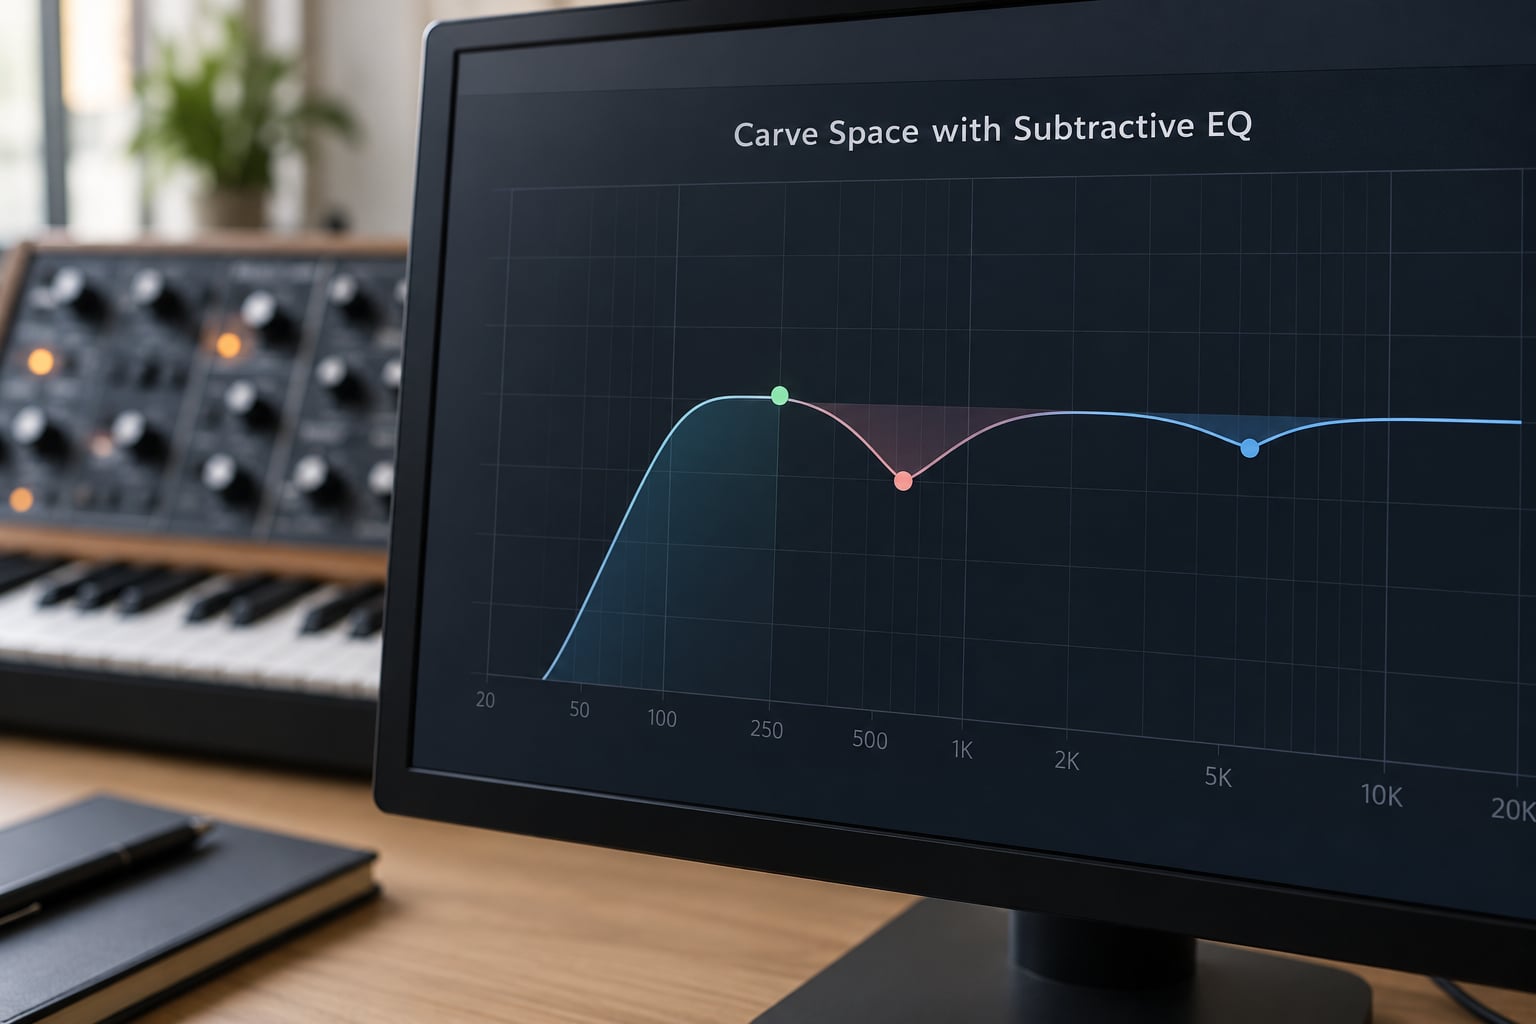
Start with a high-pass filter. At 24 dB/oct and around 250 Hz it clears the kick and bass without thinning the fundamental of most lead notes. If you like more weight, use a low shelf instead and pull it down 3–4 dB around 200 Hz rather than rolling off everything above that point. A hard high-pass removes some of the character the sound depends on, and that objection comes up constantly on production forums for a reason.
Then hunt for mud. Put a narrow bell on 300–500 Hz, boost it 6 dB at Q 4–6, and sweep slowly from 300 to 500. Every bump you hear is a resonance the stack is producing; flip the band to a cut of 3–5 dB at the same frequency and move on. Repeat until the sweep is smooth.
Harshness around 2–4 kHz is a separate problem from mud. A wide bell cut of 2–3 dB there fixes most of it. What you are avoiding is a big boost in 5–8 kHz, which sounds like a lead cutting through for about four seconds until it starts fighting every hat and crash in the track.
4. Add Presence Without Turning the Lead Harsh
Once the space is carved, a small amount of presence goes a long way. A 1–2 dB shelf lift starting around 6–8 kHz, or a narrow boost of 2–3 dB between 3 and 5 kHz at moderate Q, gives the melody an edge without moving its loudness much. Keep the boost narrow and modest; broad boosts in that range read as harshness within a few minutes of listening.
Check it on small speakers and on headphones. If the melody is more intelligible on a phone speaker and less so on your monitors, the boost is too low in the range and the fundamentals are doing all the work.
If a vocal shares the arrangement, decide who owns 1–3 kHz. The simplest fix is ducking the lead off the vocal for 2–3 dB rather than carving a permanent hole in it, since the two only compete when the vocal is actually singing.
5. Control Dynamics and Punch
A supersaw already has a lot of level movement from the detuned voices, so the compressor is for punch, not volume. Start with a ratio around 4:1, an attack of roughly 1 ms so the initial transient passes through, and a release between 150 and 200 ms. Makeup gain is fine, but watch it does not push the lead back over the kick in level terms.
Where the lead needs to breathe rather than pump, a gentle setting or a parallel compressor on a send works better than heavy compression on the insert. Leave a couple of dB of gain reduction on the loud passages and let the breakdown stay untouched; that contrast is what makes a drop feel like a drop.
For the low end, put a sidechain compressor on the lead group triggered by the kick, with a depth of 2–3 dB. Enough to feel the connection, not enough to hear it pumping on every beat. On tracks with a vocal, adding the vocal to the sidechain input gives you the same shallow duck in the one place it matters.
6. Preserve or Focus the Stereo Image
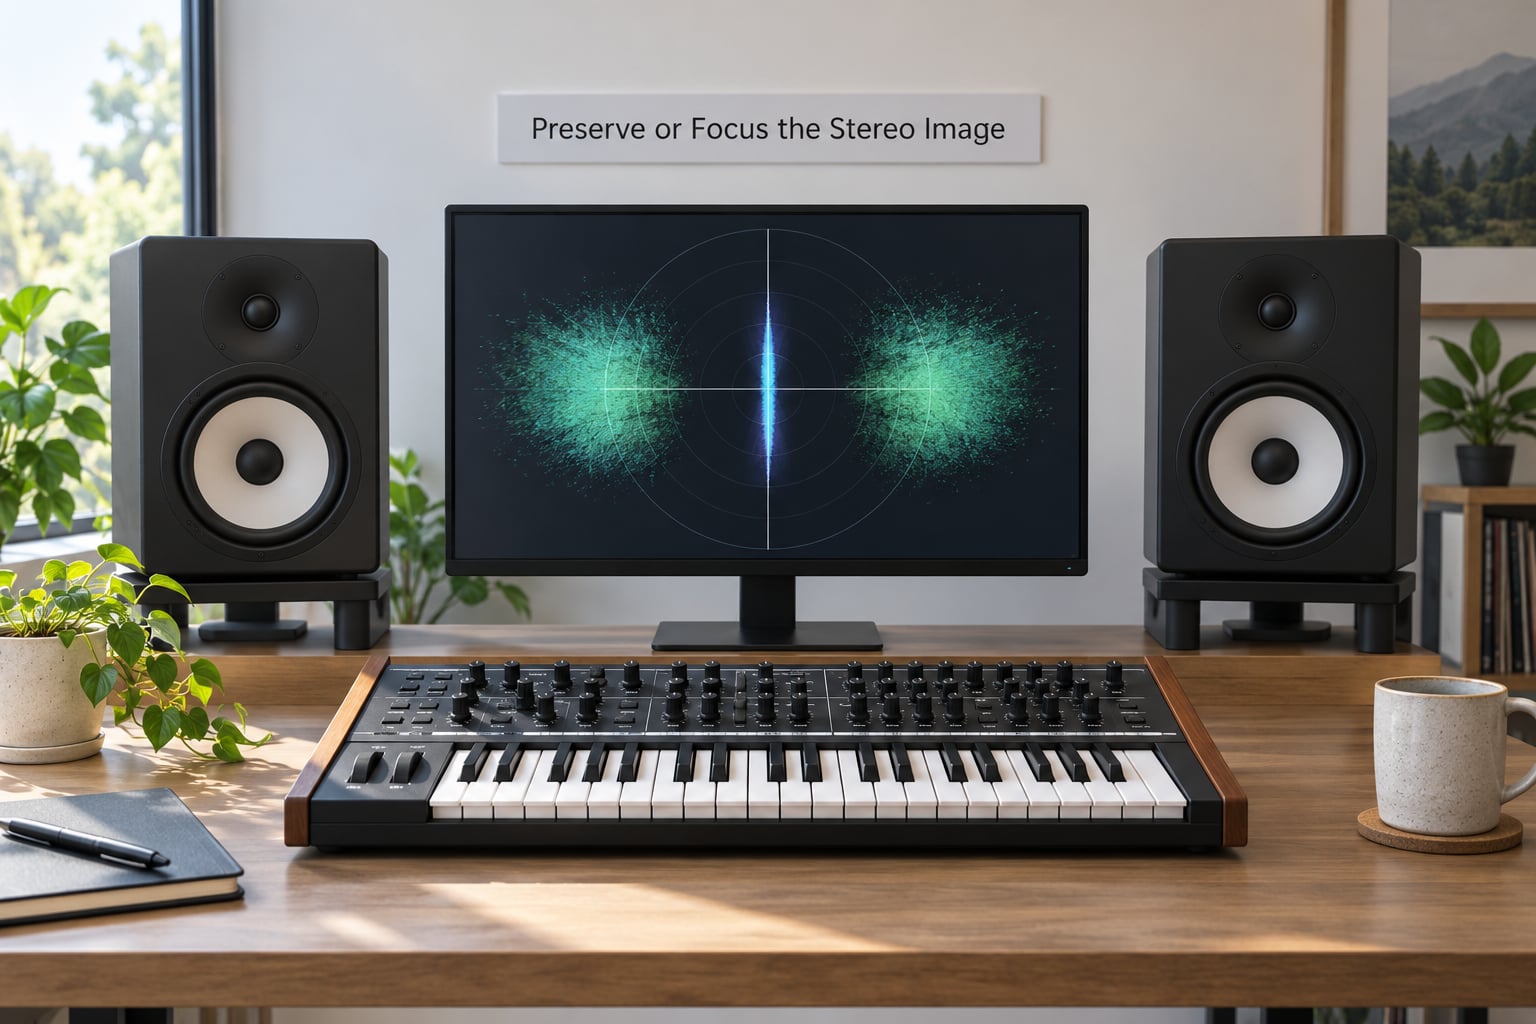
A supersaw earns its width, and that width is one of the reasons it is hard to mix. The problem is that seven free-running voices produce a partly decorrelated signal, which can leave the middle of the stereo image feeling hollow while the sides carry all the energy.
Most leads want both: a wide layer for size and a narrow core layer for pitch definition. Set the core up as a second instance with fewer unison voices, less detune, no width offset and a shorter attack, then sit it 3–6 dB above the wide layer. As rough starting points, detune around 0.10 and 0.25 in Serum, or 3 and 5 in Sylenth1. The wide layer carries the trance sound, the core carries the melody.
After that, work on the sides rather than the whole signal. A side-only high shelf boost of 1–2 dB adds air without touching the centre, where pitch lives. Keep the bass sides narrow below 200 Hz, because wide sub information disappears on a club system anyway and takes mono compatibility with it.
Narrow the whole lead when the melody has to be understood on a phone speaker, when the track is played on a mono system, or when another element needs the centre. Wider is right for an intro or a breakdown where the lead is texture.
7. Add Saturation and Final Level Control
Saturation is glue and edge, not a level trick. A little on the lead bus, a parallel band around 1–3 kHz, adds harmonics that survive the high-pass and make the melody read better at lower volume. Keep the drive low enough that it adds density rather than a distorted edge.
A soft clipper or limiter on the group catches the peaks left over from the compressor. Leave a couple of dB of gain reduction rather than a couple of dB of output, and check that clipping is not the reason the lead sounds loud.
Finish with the arrangement, not the fader. On the build before the drop, sweep the lead’s low-pass filter down or bring the level down and let the kick come up alone. On the drop, add 2 dB around 2 kHz and let the high-pass open back up. Save the whole chain as a template or a recallable group so the next track starts from the same settings.
Two checks before you call it done. Sum the track to mono and make sure the melody survives, since club systems play mostly in mono below a few hundred hertz. Then play it back on a small system and on a phone. If the lead still disappears in either, it is fighting for space rather than being too quiet.
Common Mistakes
Boosting every frequency. Adding two or three dB across a wide band seems helpful and does nothing, because every element in the track is being boosted equally. Cut first, boost second, and use no more than one presence move.
Making the lead wider. Width competes with itself. Past a certain point the ear cannot locate the melody, which is the opposite of cutting through.
Duplicating too many oscillators. Twenty-one voices on a three-note chord is not more impact, it is more mud. Fewer voices with less detune reads louder than many voices with more.
Over-compressing. Long release times and high ratios flatten the lead into the pad. Keep attack around 1 ms and ratio near 4:1, and use parallel compression for control instead of weight.
Ignoring the arrangement. A lead mixed perfectly still disappears if the pad underneath never gets out of its way. In the breakdown and the build, automate the pad’s low cut up or duck it with a dynamic EQ triggered by the lead.
Raising the lead instead of fixing masking. When two elements want the same frequencies, more level gives you the masking problem louder. Cut one of them.
Putting reverb and delay on the insert. Tails then bleed into the whole frequency range and undo the clarity the EQ just bought you. Send them to returns, high-pass the reverb at 400–500 Hz and the delay at 600–800 Hz, low-pass the reverb around 8–10 kHz, and duck the sends off the kick.
A symptom table for a quick diagnosis session:
| Symptom | Most likely cause | First thing to try |
|---|---|---|
| Sounds muddy | Low-mid buildup from wide elements sharing 200–500 Hz | Sweep-and-cut bells at Q 5, cut 3–5 dB each |
| Swallowed by the kick | Lead high-pass too low or duck too shallow | Raise the low cut to 250 Hz, set duck depth to 2–3 dB |
| Harsh and fatiguing | Excess energy at 2–4 kHz | Wide bell cut of 2–3 dB, then re-check after five minutes |
| Vanishes when played quietly | Presence only exists at high level | Add a 2–3 dB narrow boost at 3–5 kHz |
| No melody definition | Detune too wide, no core layer | Add the narrow core layer 3–6 dB above the wide one |
| Fights the vocal | Both competing at 1–3 kHz | Duck the lead off the vocal instead of cutting permanently |
| Sounds fine alone, weak in the mix | No frequency space, all elements overlapping | Work down the frequency-role table one row at a time |
Frequently Asked Questions
Why do my supersaw leads disappear in the mix?
Seven detuned saw voices stack their energy into the same 200 Hz to 4 kHz window as every other wideband element in an EDM mix. When the lead, pad, bass and vocal are all fighting for those frequencies, none of them reads clearly and raising the fader only hides it. High-pass the lead, carve the mud, and give it a narrow core layer so the melody is defined without extra level.
Should I make a supersaw lead wider or more focused?
Both, as two separate layers. Keep the wide layer for size and add a narrow core layer with fewer unison voices, less detune and no width offset, sitting 3 to 6 dB above it. The wide layer gives the trance sound its scale while the core keeps the pitch trackable. Go fully narrow only when the melody has to be understood on a phone speaker or a mono system.
How do I keep a supersaw from masking vocals?
Decide which element owns 1 to 3 kHz, then resolve it in the arrangement rather than permanently. Duck the lead off the vocal for 2 to 3 dB so it steps back only while the vocal is singing, and dip the same range on the lead when no vocal is present. On dense breakdowns, a lead-triggered dynamic EQ on the pad does more good than touching the vocal at all.
What EQ frequency makes a supersaw cut through?
There is no single magic frequency, but the low cut usually sits at 200 to 300 Hz on a 24 dB/oct slope, the mud sits at 300 to 500 Hz and is cut with narrow bells, and harshness sits at 2 to 4 kHz. Avoid boosting 5 to 8 kHz, because that band belongs to hats and crashes. Presence for the melody comes from a narrow 2 to 3 dB lift around 3 to 5 kHz after carving.
Do supersaw leads need compression?
Usually a light pass, for punch rather than loudness. Roughly 4:1, 1 ms attack and 150 to 200 ms release gives the transients room while steadying the detuned stack. Heavy compression with a long release flattens the lead into the pad. For tonal control without squashing the dynamics, use parallel compression on a send or let a soft clipper handle the peaks instead.
Should I mono a supersaw lead?
Mono the low end rather than the whole signal. Keep everything below 200 Hz narrow, because wide information down there vanishes on a club system and costs mono compatibility. The lead itself can stay wide above that, with a narrow core layer in the centre. Sum the finished track to mono occasionally to confirm the melody is still trackable.
Start with the high-pass. Put a 24 dB/oct filter at 250 Hz on the lead group, play the drop with everything else running, and only then look at the mud sweep. Most of the “my lead is invisible” problem is solved in that first minute, and everything after it — the core layer, the ducking, the return EQ — is refinement on top of a lead that already has its own space.