A build up keeps energy by adding new information over time, not by turning the faders up. The pattern gets denser, the register widens, filters open, noise sweeps and everything converges on one downbeat, so the listener hears more with every bar instead of the same thing louder.
If you’re learning how to make a build up in music production, this is the part where beginners get stuck. The sections usually aren’t bad, they’re just loud. Volume flattens out within a few seconds because your ear adapts to it, so the perceived energy plateaus and then sags while you wait for the drop.
What follows is the workflow I use: pick the energy arc first, build one strong loop, then add movement, contrast and automation until the final hit earns its impact. Most of it takes an afternoon once you’ve done it a few times, and every step has a quick way to check whether it worked.
Table of Contents
What You Need
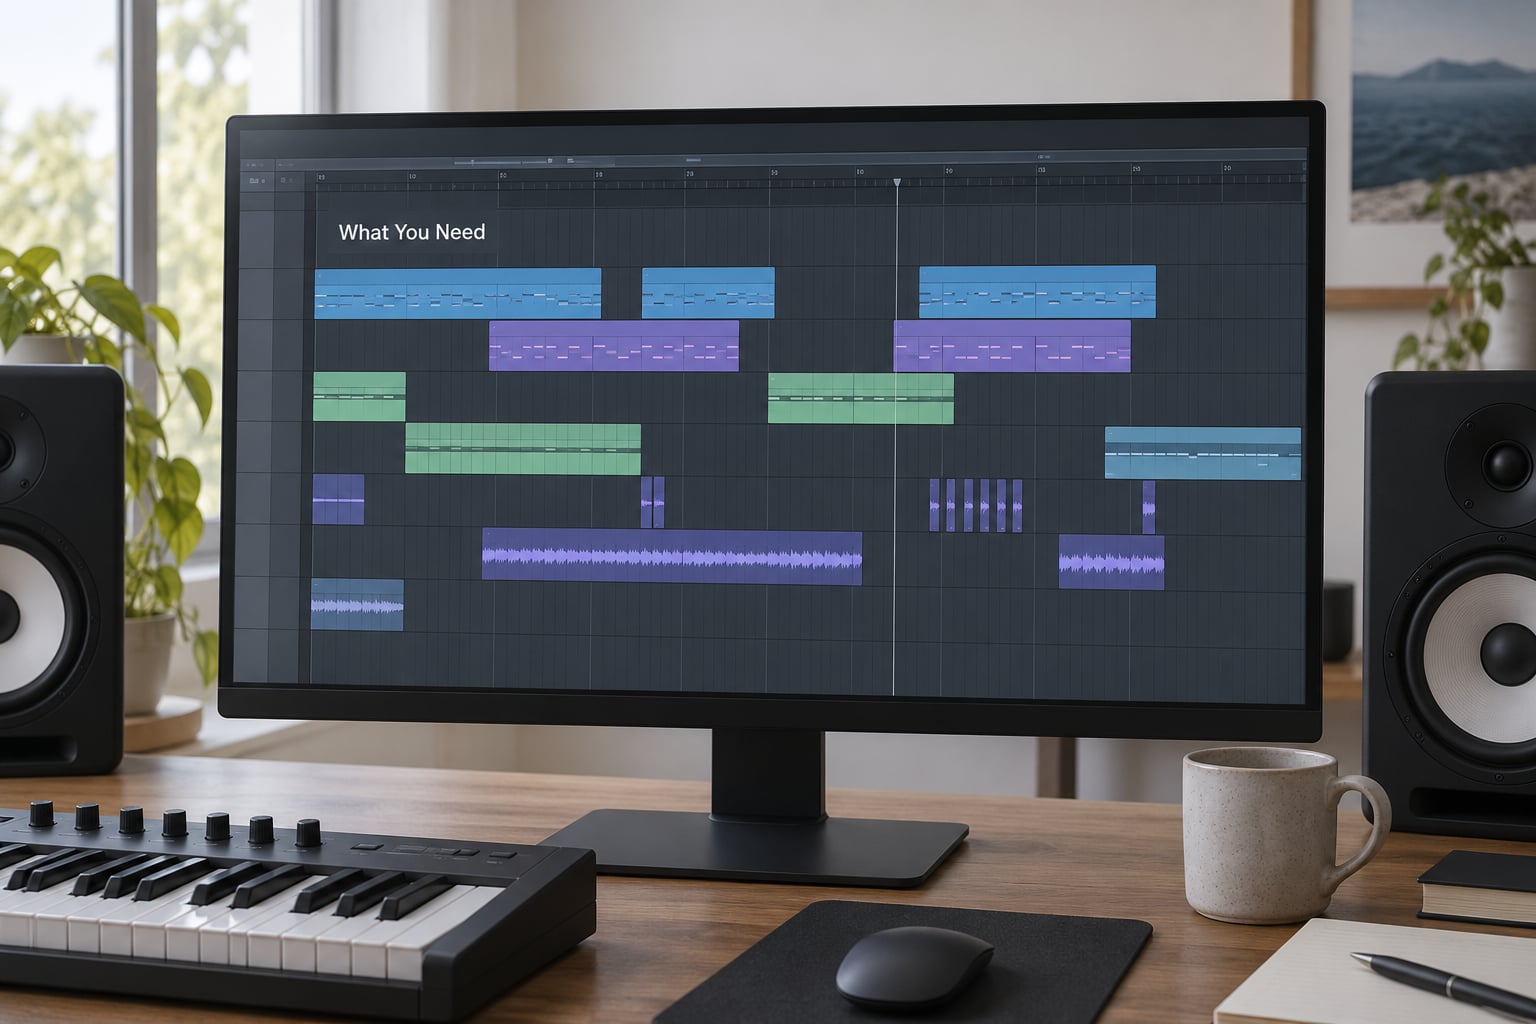
A working build up needs five things, and none of them is a big sample library.
A main idea. The loop, chord progression or melodic phrase the whole section is built on. If this is weak, nothing you stack on top will rescue it. The GearSpace thread on tension and release comes back to this constantly: the hook carries the track, the build just decorates it.
Complementary layers. Each additional layer needs a job the others don’t do. A percussion layer that fills gaps, a bass movement underneath, an arpeggio in a higher register, a noise sweep, a chopped vocal. Four layers with four jobs beat nine layers all playing the same rhythm.
Contrast. Something to thin out. A full phrase, then a stripped one. If density only ever goes up, the section has no dynamics and the drop has nothing to contrast against.
Automation. At least two moving parameters: a filter opening, a riser volume ramp, a pitch rise, or a temporary effect return. Static layers don’t climb.
A clear arrangement plan. Know where the section starts, how long it runs and which bar the hit lands on before you open your DAW. Building up energy without knowing your destination is how you end up with 64 bars that nobody sits through.
Step-by-Step
Choose the Energy You Want to Build
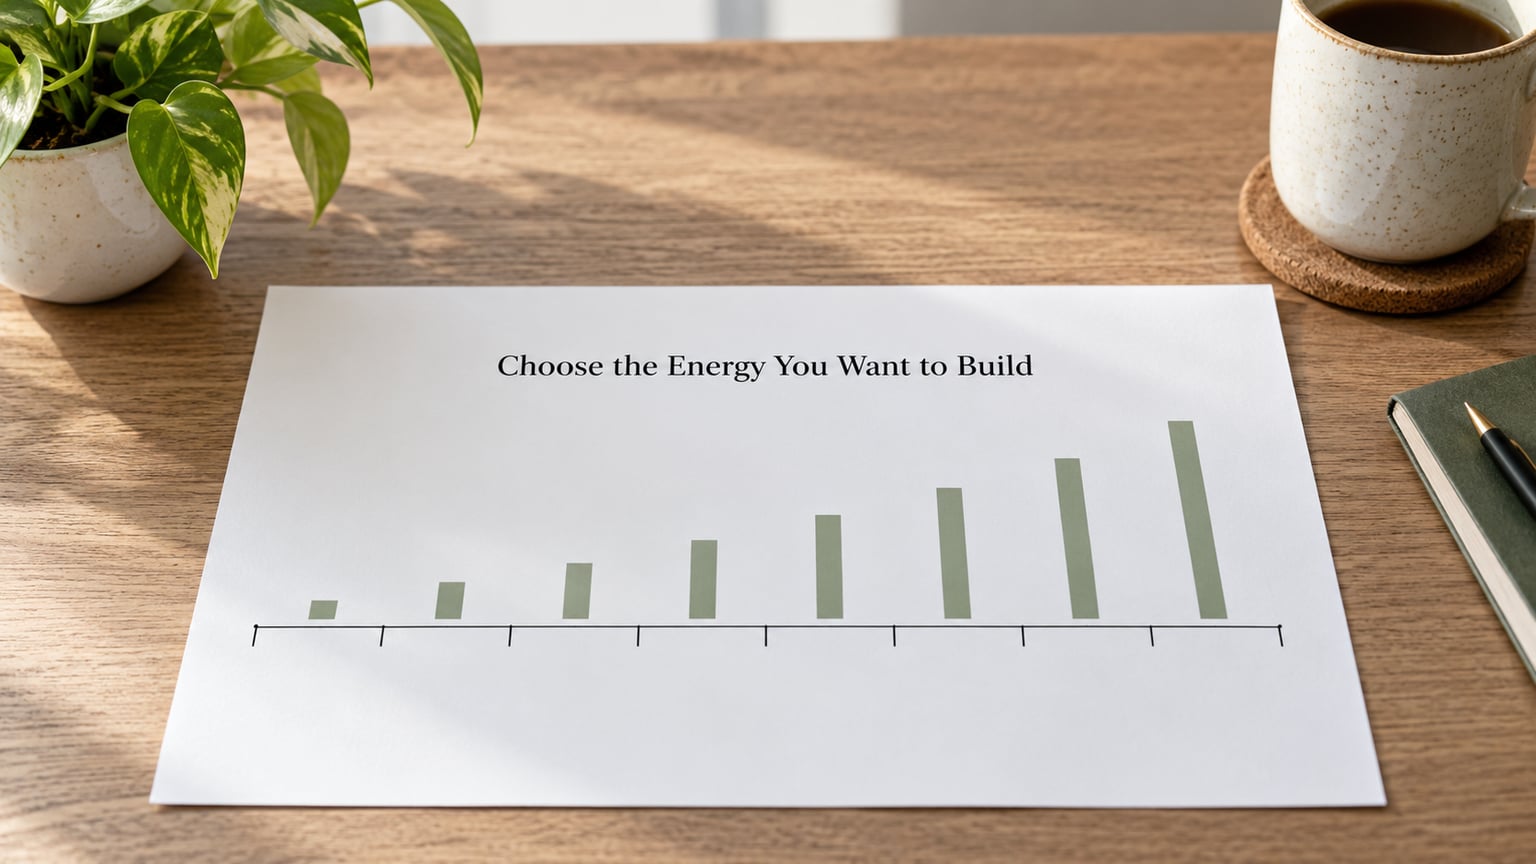
Decide what the section should feel like before you decide what goes in it. Hypnotic, urgent, expansive or increasingly aggressive all point to completely different arrangements, and mixing them gives you a build that wanders.
Sketch the arc as four blocks of four bars on paper or in a comment. Write one word per block describing the energy, then one line about what changes. Something like “steady, hats enter, filter opens, everything converges” tells you more than a wall of layers will.
How to tell it worked: if you can point to the bar where the tension peaks without hesitating, the plan is doing its job.
Create a Strong Core Loop
Build the foundation before you build the climb. Start with a four or eight bar loop that already sounds finished on its own, then loop it out to check it survives repetition.
The convention in dance music is that a build runs 8 to 16 bars and resolves. Four bars is usually too short for the listener to register a climb; 32 bars works in cinema and progressive styles, but only when something genuinely new happens every four bars. The GearSpace contributors who cited nearly minute-long rises made the same point: it’s hard to pull off without losing the listener.
How to tell it worked: play the loop eight times in a row without editing. If you reach bar six and want to change something, the core isn’t strong enough yet.
Layer Motion Instead of More Volume
Every layer you add should create movement or anticipation, not just more body under the mix. That means asking what the layer does over eight bars, not how loud it sits.
Good candidates: offbeat percussion that fills the gaps between kicks, a bass line that moves through notes instead of holding one, a 16th note arpeggio, white noise sweeping upward, a chopped vocal from your own track or a licensed sample, reverse cymbals landing on phrase changes.
How to tell it worked: new in the mix should mean something is happening, not something is added. If you can identify each new layer in the first listen, it’s too obvious.
Use Contrast to Make Every Addition Matter
Alternate density. Full four bars, then drop most of it for two bars and bring it back thinner, then fill again. The strip-back makes the next addition feel like an event, and it’s the cheapest fix for a build that plateaus.
The same trick works at the phrase level: repeat the main loop, then change one element in the second half. Most of the time the second half feels better purely because the first one stopped moving.
How to tell it worked: the quiet bars should feel slightly uncomfortable rather than empty. If they feel like the section stopped, the strip went too far.
Automate the Peak Without Losing Control
This is where most builds either work or fall apart. The rule is that automation moves continuously in one direction for the whole section, and it arrives at its extreme value exactly on the hit bar.
Filter opening is the reliable one. Put a resonant filter on a pad or arp and draw the cutoff from somewhere dull up to fully open across the last 8 bars. Add a riser underneath at around 30 to 40% wet or level into it, and pitch the noise up by a few semitones rather than an octave. The rise has to be long enough that the ear accepts it; a three-second ramp on a 16-bar build just sounds like a sweep.
Watch your headroom. If the build is already hitting the limiter ceiling at bar 12, the drop has nowhere louder to go, and the payoff lands soft. Pull the build’s peak level down a couple of dB under the drop and let the automation do the work instead.
How to tell it worked: watch the master meter on the build’s last bar, then on the drop. The drop should read visibly higher.
Create a Memorable Final Hit
The last one or two bars need an event, and it can’t be the loop again. A reverse cymbal into a silent bar, a half-time beat, a register jump up, a snare roll that resolves on the downbeat, or a single unexpected stab that wasn’t in the arrangement anywhere else.
One of the strongest tricks is cutting the drums out completely for the final beat before the drop. The silence reads as maximum tension, and it’s the reason producers on that GearSpace thread keep asking for something to ring out after the impact rather than a brickwalled cut.
How to tell it worked: play the drop without the build first. If the drop hits nearly as well on its own, your final hit isn’t earning anything.
Check the Build Up at Different Volumes
A build that only works on headphones at low volume is not finished. Test it four ways: headphones, nearfield monitors, a phone speaker, and a proper system with real low end.
Each one hides something different. Nearfields and headphones will not reveal a muddy low end. A phone speaker will not reveal a layer sitting at 6 kHz. A club-style system will expose anything that’s fighting for space down low and any layer that disappears below a certain threshold.
Listen for two specific things: the arrangement energy (does each new layer read as an addition?) and the frequency balance (is anything masking the element you most want the listener to notice in the last four bars?).
How to tell it worked: if it clicks on all four, the arrangement is doing the work rather than a specific playback system.
Common Mistakes
The Build Up Has Too Many Layers
The fix is one job per layer. Write each layer’s job in a single word, and delete anything whose word matches another layer’s. If two elements both do “drive”, one of them goes.
Then reintroduce them using density drops rather than more layers. Mute a group for two bars and bring it back in the same place in the arrangement. Beginners tend to add layers late in the process, which is why builds often sound pasted onto a finished loop instead of written into it.
The Build Up Gets Louder but Not More Exciting
This is volume-only escalation and it’s the most common failure. Change something other than amplitude: swap the rhythm, move the layer’s register, add stereo width, change the texture, or replace a sustained sound with a plucked one.
Concretely, if a pad is the loudest thing in the build, try the same phrase as a plucked arpeggio two octaves up. Same notes, completely different perceived energy.
The Transition Is Too Predictable
A listener who has heard four loops knows what’s coming at bar 16. Break the pattern in the final phrase: change the arrangement, drop a beat of silence, alter the last hit, or place a genre-appropriate element that has never appeared before.
Surprise works better than subtlety here. The goal is that the transition feels intentional rather than inevitable.
The Low-End Mixes Become Muddy
Save space for the drop’s sub-bass. Pick one dominant low-end element for the build, usually the kick plus one bass layer, and high-pass everything else. A hat layer running full range under three other low elements will make the whole section sound like it’s fighting itself.
Watch what happens when the drop arrives with a real sub-bass underneath. If the low end suddenly doubles in size, the build was already using that space.
The Automation Is Too Extreme
Risers and volume ramps that jump too fast read as effects rather than as tension. Lengthen the curve, keep filter movement restrained, and check the last loudness against the drop before you commit.
Automation should also stop. If the filter is still opening into bar 20 of the drop, it’s no longer building anything, it’s just noise that has nowhere to resolve.
Quick Tips for a More Effective Build Up
- Sketch the energy arc on paper before opening the DAW. Four blocks, one word each, is enough to stop a wandering build.
- Bounce the section and walk away for ten minutes before mixing it. Almost every flat build I’ve fixed turned out to be a mix problem I couldn’t hear while working.
- Build the drop first, even as a rough sketch. You can’t judge how much tension the section can hold without knowing what it’s holding for.
- Keep phrases short. A two-bar idea that arrives unexpectedly pulls more attention than a four-bar idea repeated twice.
- Leave a small gap before the impact. Even an eighth note of near-silence makes the following downbeat land harder.
- Mute groups while writing. If the build only works with everything soloed, it won’t survive the mix.
- Use reference tracks here more than anywhere else in production. Count the bars in a build you like and match that length before you start judging your own.
Frequently Asked Questions
Why does my build up feel flat?
Usually because it only changes in level. Your ear adapts to loudness within a few seconds, so a build that just adds volume and more of the same layers stops feeling like a climb. Add something new every four bars: a different rhythm, a new register, an opening filter, a noise sweep, or a short strip-back in density. If the arrangement would sound the same with the faders flat, the problem is the writing, not the mix.
How long should a build up be before a drop?
Eight to sixteen bars is the standard for EDM, house, techno and trance, because it is long enough for a listener to register a climb and short enough that they still expect the payoff. Longer builds work in cinematic and progressive styles, but only if something genuinely new happens every four bars. Two bars is usually invisible. If you are past thirty bars and nothing has changed but volume, it will feel like it has already ended.
How do you create tension in music?
Tension comes from a promise the track has not yet paid. In a build up that usually means raising anticipation through rising density, a narrowing or widening register, a filter that opens slowly, a noise sweep, and repeated rhythmic patterns that the listener expects to resolve. Pitch motion and simple level changes work too; you do not need a chord progression to build tension. The key is that the tension resolves into something, or it just becomes noise.
How do I automate an effect in Ableton Live?
In Ableton Live, enable the automation lane with the automation mode button in the top right of the Session View header, or hold the Option key on Mac while clicking a device parameter. Select the parameter, draw your curve in the automation lane under the clip, and use the pencil or line tool to keep it straight over the full section. For a filter opening, put an Auto Filter on the layer and draw its cutoff from low to open across the last eight bars.
How do I make a drum roll build up in FL Studio?
In FL Studio, take your drum or clap pattern and use the piano roll velocity and step controls to increase the note rate: start on 8th notes, then repeat the pattern on 16ths for a couple of bars, then on 32nds for the last two. On the channel rack, right-click a step and use the option to fill every sub-step, or use the edge repeat in the piano roll to spin the final hit faster. Automate the pattern mixer volume upward over the same bars so the roll grows as well as speeds up.
How do I make a riser sound without using a preset pack?
Layer three things: white noise with a low-pass filter opening upward, a pitch rise on a sustained synth note of a few semitones, and a reverse cymbal or reverse crash landing before the downbeat. In most DAWs you can create a reverse cymbal by duplicating a cymbal, reversing it, and adding a fade-in. Keep the whole riser at moderate level and let it merge into the impact rather than peaking on its own; the payoff should be the drop, not the riser.
Conclusion
Start with the core loop and get it to survive eight bars on its own. Map the energy arc next, four blocks of four bars with one change per block, then add a single layer or a single contrast at a time until the last bar has a reason to land on the downbeat.
Keep the build’s peak level under the drop’s, and check the result on more than one playback system before you call it done. That is how to make a build up that keeps energy, without relying on a louder drum bus to fake the climb.