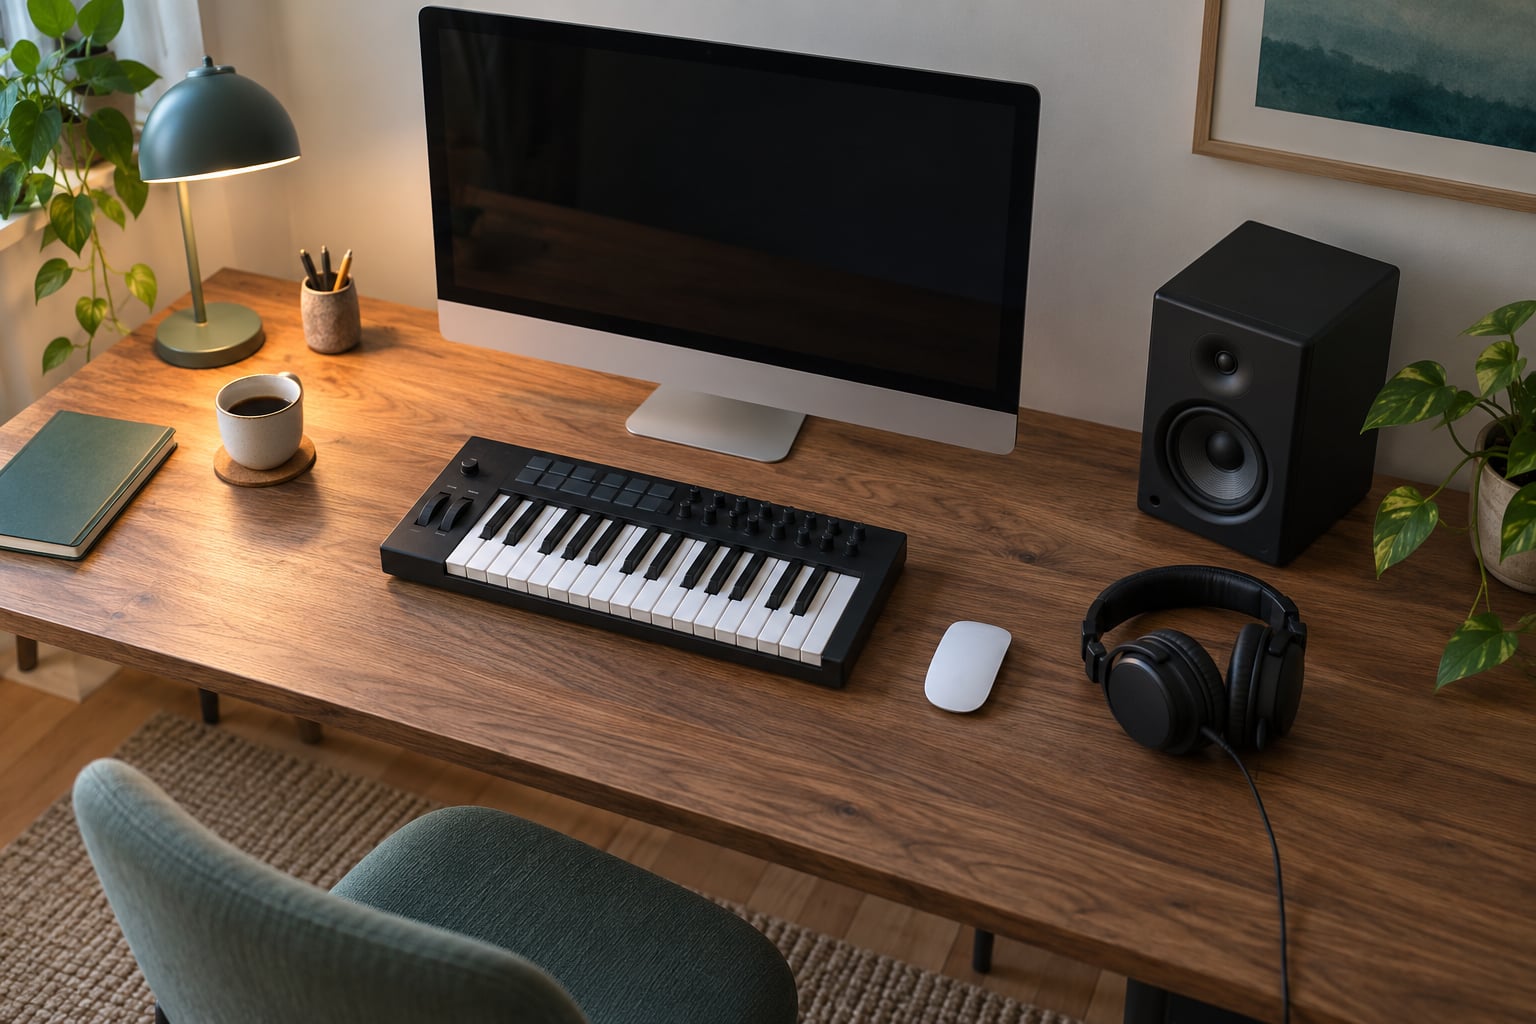
How to budget your first home studio for EDM production comes down to three numbers: a total ceiling you will not cross, a monthly cap that keeps the rest of your life intact, and a contingency you refuse to spend. Split that total across the signal chain, monitoring, the room and software, then buy in strict priority order so each purchase opens a task you could not do before. Most bedroom producers finish this in a few evenings of planning and a couple of months of saving.
The version of this plan that goes wrong is familiar. Someone spends the whole budget on a pile of small accessories, then never has money for the one piece that changes how everything sounds. A working setup built in the right order beats a bigger pile bought at random, every time.
Table of Contents
- What You Need
- Step-by-Step: How to Budget Your First Home Studio
- Step 1: Set a Total Budget and Monthly Limit
- Step 2: Identify the Room and Its Constraints
- Step 3: Build an Essential Equipment Checklist
- Step 4: Allocate Money by Production Priority
- Step 5: Research and Test Before Buying
- Step 6: Keep a Reserve for Accessories and Repairs
- Step 7: Stage Purchases Over Time
- Common Mistakes
- Frequently Asked Questions
- How much does it cost to start a home studio?
- Is a laptop enough to produce EDM at home?
- Should I buy acoustic treatment before anything else?
- Do I need an audio interface if I have a USB microphone?
- Should I buy studio monitors or headphones first?
- Is it cheaper to build a home studio or rent a commercial studio?
- Conclusion
What You Need
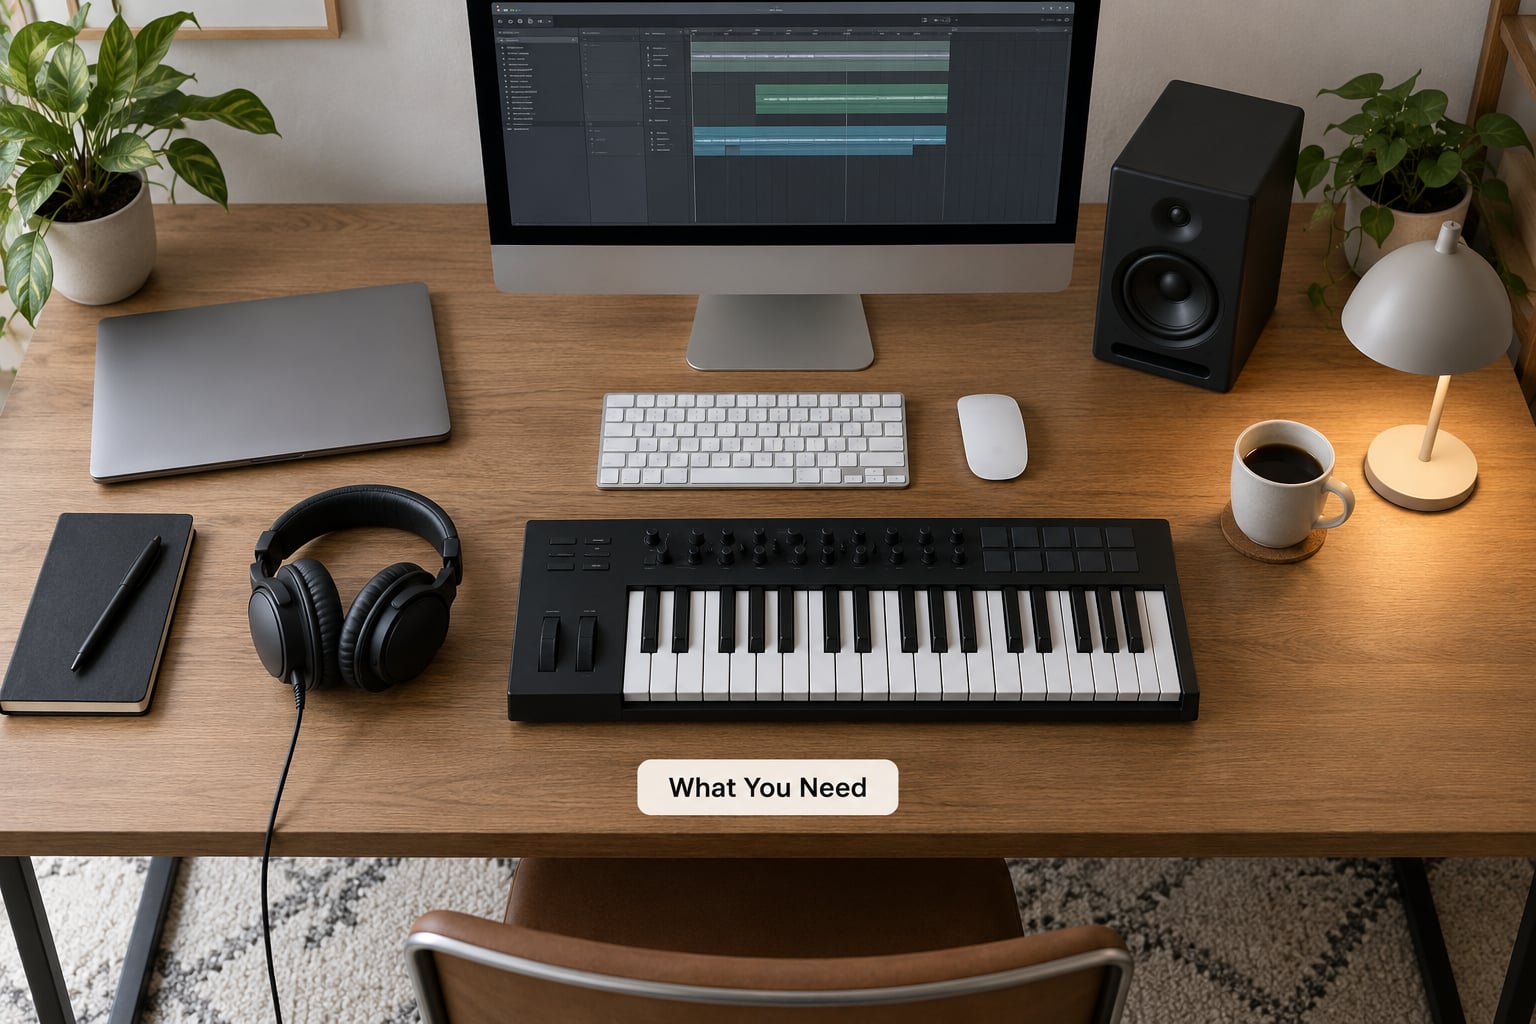
You need three things before you spend anything: a worksheet, a rule about what counts as essential, and an honest look at the room you are recording in.
The worksheet is four columns. Category goes down the side (signal chain, monitoring, software, room, storage, reserve), your cap per category goes across the top, running cost goes in the second row, and what you already own goes in the third. That third row is the one people skip and the one that saves the most money.
The essential rule is simple. An item is essential if removing it stops you making music. An audio interface fails that test. A second pair of monitors does not. Same for mic stands, pop filters, XLR cables, a desk, a chair and surge protection: cheap, boring, and required before anything else works.
The room is part of the budget, not just the backdrop. A bedroom studio and a spare room studio cost different amounts because the noise floor, the ceiling height and the wall positions are different. Before you price a single piece of gear, know which room you are in and what it puts up with.
One more thing to have ready: a written list of what you will not buy in the first six months. Write it down. It is the only defence you have at month two when something new drops.
Step-by-Step: How to Budget Your First Home Studio
Seven steps, in order. Skipping ahead is what turns a sensible plan into an expensive box of cables.
Step 1: Set a Total Budget and Monthly Limit
Pick a total that does not touch rent, food or debt payments. Then divide it by the number of months you are willing to wait, and treat that monthly figure as a bill you pay yourself.
Rough ranges for a usable first setup, based on typical US pricing at the time of writing and changing as brands shift: a shoestring setup runs in the low hundreds, a lean one roughly 700 to 900, a balanced one around 1,500, and a serious setup 3,000 and up. Prices move, so treat those as planning anchors and check the current number before you commit.
Then add 10 to 15 percent for contingency. Not 2 percent. Something goes wrong, something ships late, something turns out not to fit your room.
Step 2: Identify the Room and Its Constraints
Walk the room and write down six facts: floor space, ceiling height, which walls are shared with bedrooms or bathrooms, where the sockets are, what noise comes in, and what time neighbours make noise.
Those facts decide two budget lines. Noise from outside means you may need a treated door, a thicker rug or a headphone workflow. Low ceilings and a small footprint mean 5-inch nearfield monitors rather than anything larger, because bigger woofers in a small room produce bass buildup you will fight for months.
Check the power situation too. Two cheap power strips, a decent surge protector and a cable run along the wall are a small line item that prevents an afternoon of troubleshooting.
Step 3: Build an Essential Equipment Checklist
Seven items make up a first studio that can actually record and mix. Each one earns its place by removing a specific bottleneck.
- Computer with a digital audio workstation (DAW). The DAW is the software you build in, such as Ableton Live, FL Studio, Logic Pro, Reaper or Studio One. If you already own a machine that runs a DAW without stuttering, this line drops to near zero.
- Audio interface. The box that converts your microphones and instruments into signals the computer understands, with preamps, phantom power for condenser mics and balanced TRS or XLR connections. This is where low latency starts.
- At least one microphone. For EDM, a dynamic mic is a sensible first purchase because it handles loud sources and untreated rooms more gracefully. A condenser suits vocals and acoustic material in a controlled room.
- Closed-back headphones. Required for tracking with speakers on, and for monitoring when the room is not cooperating.
- Cables and stand. Balanced XLR or TRS cable, a mic stand and a pop filter. Buy two of the cable, not one.
- MIDI controller. Optional in the strict sense, but a small keyboard with at least 25 keys turns mouse programming into something faster.
- Storage and backup. An external drive for sessions and a second copy somewhere else. Losing a folder of unfinished tracks is the worst budget failure there is, and it costs nothing to avoid.
Where beginners can safely economise: the DAW, the cable, the stand, the pop filter and the interface. Where they cannot: the microphone you will actually record on, and the headphones you mix in.
Step 4: Allocate Money by Production Priority
Now divide the total. These percentages hold up across tiers because the shape of a session stays the same even when the prices change.
| Category | Share of total | What it covers |
|---|---|---|
| Signal chain | 40% | Interface, microphone, cables, stand |
| Monitoring | 20% | Closed-back headphones first, monitors later |
| Room basics | 15% | Desk, chair, rug, door, panels if needed |
| Software | 10% | DAW, instruments, any paid plugins |
| Storage | 5% | Drives and backup |
| Contingency | 10-15% | Untouched until something goes wrong |
Three examples of how that lands. On a lean budget, the signal chain takes roughly 300, headphones about 130, cables and stand near 90, software stays at zero using a free DAW, and the rest waits. On a balanced 1,500 setup, the chain takes around 600, monitoring 530 split between headphones and a pair of 5-inch monitors, room and storage cover the remainder. On a 3,000 build, monitoring and room take a larger share because the signal chain is already handled.
Step 5: Research and Test Before Buying
Ten minutes of reading saves a bad purchase. Check the compatibility list first: does the interface run on your operating system, does the DAW support the plugin format, does the microphone need phantom power that your interface actually provides.
Test what you can. A keyboard you can play in a shop for two minutes tells you more than a spec sheet. Headphones are harder to audition honestly, so read user feedback about comfort over long sessions and about fit with glasses, and accept that you are partly buying comfort you will wear for years.
For monitors, the honest truth is that a demo room tells you very little. Frequency response charts matter less than room fit, so buy the smallest accurate pair that suits your space.
Read the user reviews on forums before you buy, not after. The recurring theme in home studio discussions is that the room and the recording technique do more for a track than the price tag on the microphone, which is a useful check against your own assumptions.
Step 6: Keep a Reserve for Accessories and Repairs
Set aside 10 to 15 percent and keep it out of sight until something needs it. This covers the boring list: spare cables, a stand, a pop filter, surge protection, headphone extensions, replacement parts, and repairs to things you did not plan on.
The same reserve handles the running costs that arrive quietly. Plugin subscriptions, sample packs, cloud storage and software updates are monthly or annual, and they add up faster than most beginners expect. If you buy any subscription, divide the annual cost by twelve and add it to your monthly figure now.
There is a version of acoustic foam worth flagging: thick foam wedges sold in bulk for very little do close to nothing to a room’s low end. Broadband foam only tames high frequencies, and a large set of thin panels at an implausible price is usually thin fabric over nothing. If a panel has real density and an air gap behind it, it earns its place. If not, spend that line on the room’s soft furnishings instead, which help more than most beginners expect.
Step 7: Stage Purchases Over Time
Write the order down and buy in it. The sequence below works for both the shoestring and the larger budget, because only the ordering changes, not the logic.
| Line item | Shoestring | Lean | Balanced |
|---|---|---|---|
| Computer and DAW | Use what you own | Use what you own | Existing desktop or laptop |
| Audio interface | about 80 | about 150 | about 250 |
| Microphone | about 60 | about 120 | about 250 |
| Closed-back headphones | about 70 | about 130 | about 180 |
| 5-inch monitors | Later | about 180 | about 350 |
| Cables, stand, pop filter | about 60 | about 90 | about 130 |
| Storage and backup | about 40 | about 60 | about 150 |
| Approximate total | about 300 | about 750 | about 1,500 |
Months one to three: interface, cables, stand, a microphone if you are recording anything, and a DAW. You are mixing in headphones and finishing tracks. That is a real studio, not a waiting room.
Months four to six: monitors for 5-inch nearfields that suit the room, and one or two panels placed at the first reflection points rather than scattered on every wall.
Months seven to twelve: the room work you identified in step two, the second microphone if you track vocals regularly, and only then any paid plugins. Buy instruments and effects when a specific sound is missing from a specific project, not because a bundle was on offer.
Buying used works best for the interface and monitors, which hold value well. Be careful with cables, phantom power supplies and anything with a crackling input, since faults there cost more time than the saving.
Common Mistakes
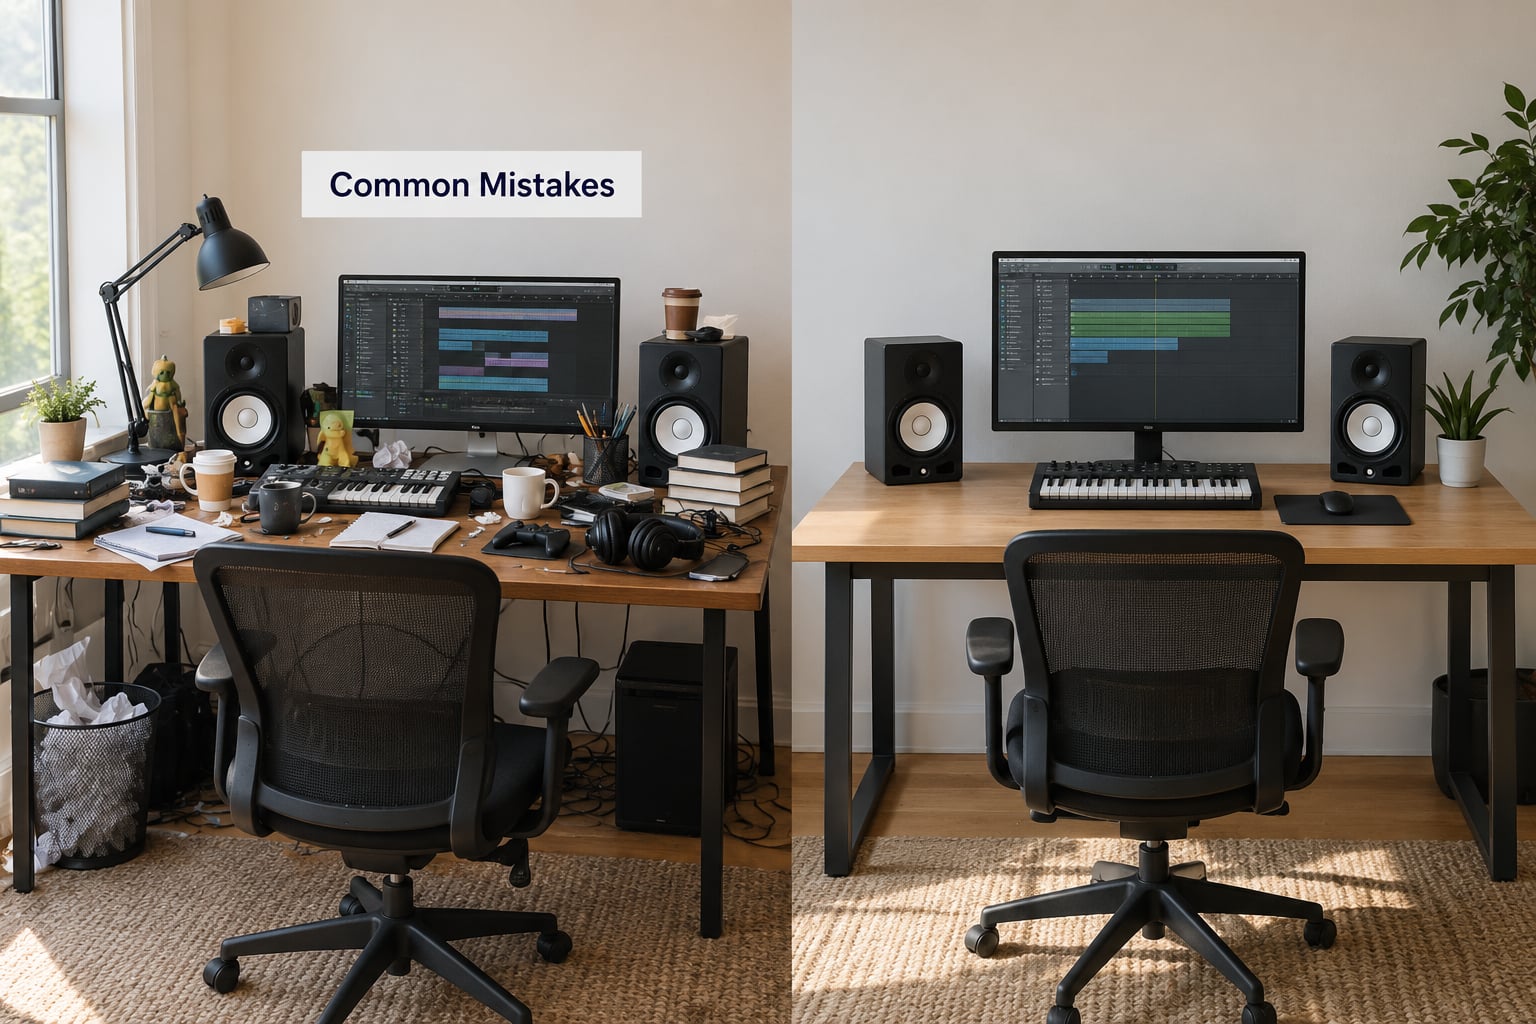
Six traps account for most wasted first-year budgets. Each one has a simple correction.
Spending on plugins before the chain works
Effects on an unfinished signal chain produce impressive-sounding demos and unusable tracks. Buy the interface, the microphone and the monitoring first. The plugins list is where money goes once the basic setup stops being the bottleneck.
Treating monitors as the first purchase
In an untreated room, monitors mostly tell you about the room. Closed-back headphones plus a few panels placed correctly will improve your mixes faster, and cost less to start with. Choose monitor size to match the space, not the spec sheet.
Ignoring setup and storage costs
Desk, chair, rug, cables, stand, pop filter and storage are small lines that together rival a microphone. Put them in the worksheet on day one and they never feel like an unwelcome surprise in month three.
Buying a budget with no contingency
A plan that spends one hundred percent of the money is a plan that breaks at the first surprise. Hold 10 to 15 percent back and treat it as part of the budget, not as an emergency fund you will raid.
Skipping compatibility checks
Wrong operating system, wrong plugin format, no phantom power for that condenser microphone. Fifteen minutes of reading the spec sheets prevents returns and dead weekends.
Budgeting the room as nothing
Shared walls, street noise and a reflective ceiling cost you in every session. A rug, a heavy curtain and a closed door are cheap and reversible. What you cannot treat, you monitor with headphones, which is exactly why monitoring comes before speakers.
One more habit worth keeping: write each purchase down with the reason before you make it. A list of reasons is easy to review in three months, and hard to argue with.
Frequently Asked Questions
How much does it cost to start a home studio?
A working first setup typically runs from about 300 dollars for a shoestring build using gear you already own, to roughly 750 for a lean setup, around 1,500 for a balanced one, and 3,000 or more for a serious room. Most of that goes to the audio interface, one microphone, closed-back headphones and cables. Add 10 to 15 percent for accessories and repairs. Prices vary by region and change over time, so check current figures before buying.
Is a laptop enough to produce EDM at home?
Yes, for most work. Modern laptops handle multitrack sessions and software instruments comfortably as long as they avoid thermal throttling and have enough storage and memory. Use an external drive for sessions and keep the laptop out of a bag to protect the cooling. Spend the audio budget on the interface and monitoring rather than on a faster computer, because processing power is rarely the bottleneck that stops a first EP.
Should I buy acoustic treatment before anything else?
No. Get a working signal chain and closed-back headphones first, because untreated rooms are handled by good monitoring and by technique, including mic placement, gain staging and recording close to the source. Once you are tracking regularly, spend on broadband panels with an air gap behind them, placed at the first reflection points. Thick foam wedges sold in bulk for very little do almost nothing to low-end buildup.
Do I need an audio interface if I have a USB microphone?
You can record with a USB microphone, but it caps your signal chain at one input with no separate control of preamp gain. An interface gives you gain control, phantom power for condenser microphones, balanced connections for several inputs at once, and lower latency for tracking. Many beginners start with the USB microphone they own and replace it as the second or third purchase once the interface is paid for.
Should I buy studio monitors or headphones first?
Headphones first. Closed-back headphones let you track while speakers are on, work around a noisy room, and cost a fraction of a monitor pair, so they solve more problems on day one. Add 5-inch nearfield monitors later once the room is set up and you know it well enough to judge them. That is also the point at which the monitors are worth what you paid for them.
Is it cheaper to build a home studio or rent a commercial studio?
Build it if you produce weekly and mostly need scratch vocals, mixing and mastering, since a home setup spreads its cost across many months. Rent when you need a live room, a specific large microphone, a good piano, or finished vocals that need an engineer you trust. Rates vary widely by city and room, so compare a few local quotes against what your own gear budget would have been and decide from the difference.
Conclusion
Set the ceiling today, before any shopping happens. Fund the core workflow first: interface, cables, stand, a DAW and closed-back headphones, with 10 to 15 percent held back. Test everything you can before it arrives, then wait until the room and the tracking habit are solid before spending on monitors, treatment and plugins.
That order is the whole answer to how to budget your first home studio. Spend it in the right sequence and the money stretches much further than the gear list suggests.