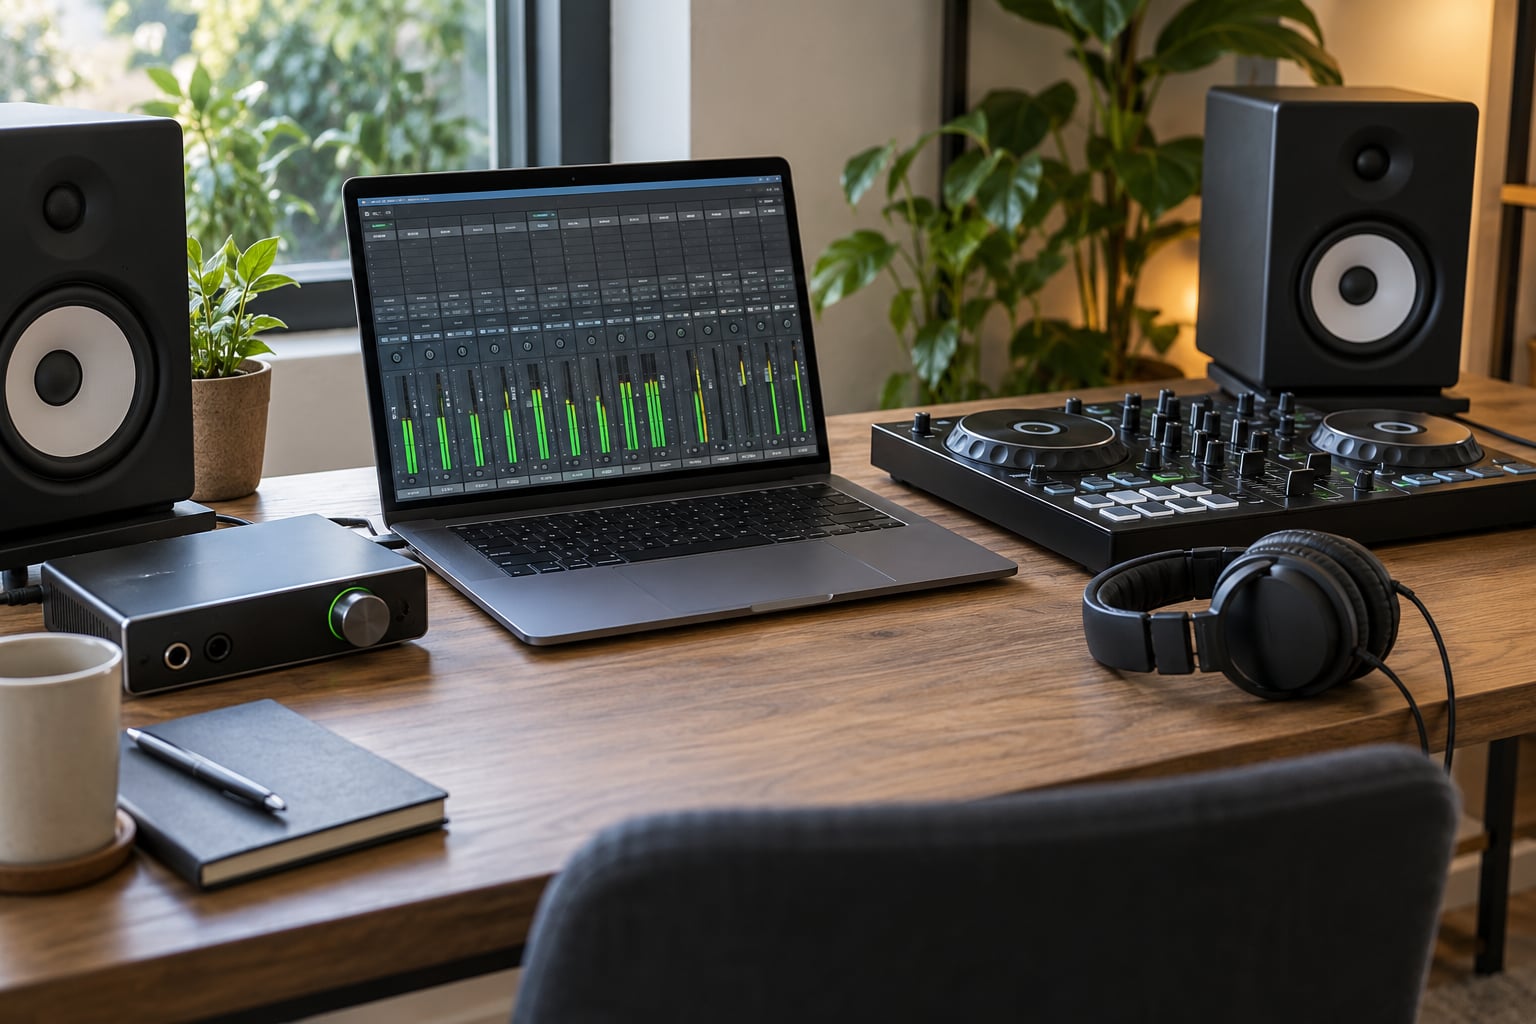
To gain stage in Ableton Live, you set every source to a deliberate level before you mix: peaks sitting roughly 6 to 12 dB below 0 dBFS on individual tracks, and the master output peaking around -6 dB to -3 dB. The whole routine takes about twenty minutes on a fresh session, and once you have it, your mix starts balanced instead of fighting you.
The reason it matters is boring but true: plugins only behave predictably when the signal arriving at them is in a sane range. A compressor with a -20 dB threshold does nothing useful on a track peaking at -30 dB, and a saturator driven too hot turns everything into the same mush.
Here is the short version of the targets before we get into the steps:
- Individual audio tracks: peaks between -12 dB and -6 dB, average level around -18 dB.
- Drum bus and instrument buses: peaks a little higher, around -9 dB, since they carry summed sources.
- Master output: peaks at -6 dB to -3 dB, leaving headroom for mastering.
Table of Contents
- What You Need
- Step-by-Step: How to Gain Stage in Ableton Live
- Common Mistakes
- Frequently Asked Questions
- What dB should I gain stage to in Ableton Live?
- Should I use track gain or the track volume fader in Ableton?
- Does Ableton Live actually clip, given 32-bit float processing?
- What is the difference between pre-fader and post-fader metering in Live?
- How do I gain stage MIDI and virtual instrument tracks in Ableton Live?
- How much headroom should I leave on the Ableton master for mastering?
- Conclusion
What You Need
Nothing exotic. You need Ableton Live itself, an audio interface with a hardware gain knob, and a way to hear the result. That last part matters more than people expect, because a large share of gain stage confusion is really a monitoring problem wearing a disguise.
A few things to sort out first:
- An interface with adjustable preamp gain. Every decent desktop interface has one. A bus-powered interface with a fixed gain is workable, but it removes your most important control for recording.
- Control room volume you know. Set it to a comfortable level and leave it there. Chasing levels while also adjusting monitoring volume is how you end up convinced a track is too quiet when it is not.
- A controller with its own level knobs if you are working with DJ-style hardware, and those knobs mapped correctly in Live’s MIDI Map mode.
- Pre-Fader Metering on (View menu). This arrived in Live 10.1 and is still there in Live 11 and 12. It is the difference between guessing and knowing what you are hearing.
One version note before we start. The exact menu labels below are for Live 11 and 12, and most of them are identical in Live 10.1 and later. If you are on anything older than 10.1, you will not have the pre-fader metering toggle, so skip that part and judge levels by ear plus the standard track meter.
Step-by-Step: How to Gain Stage in Ableton Live
1. Check Your Hardware Input Levels First
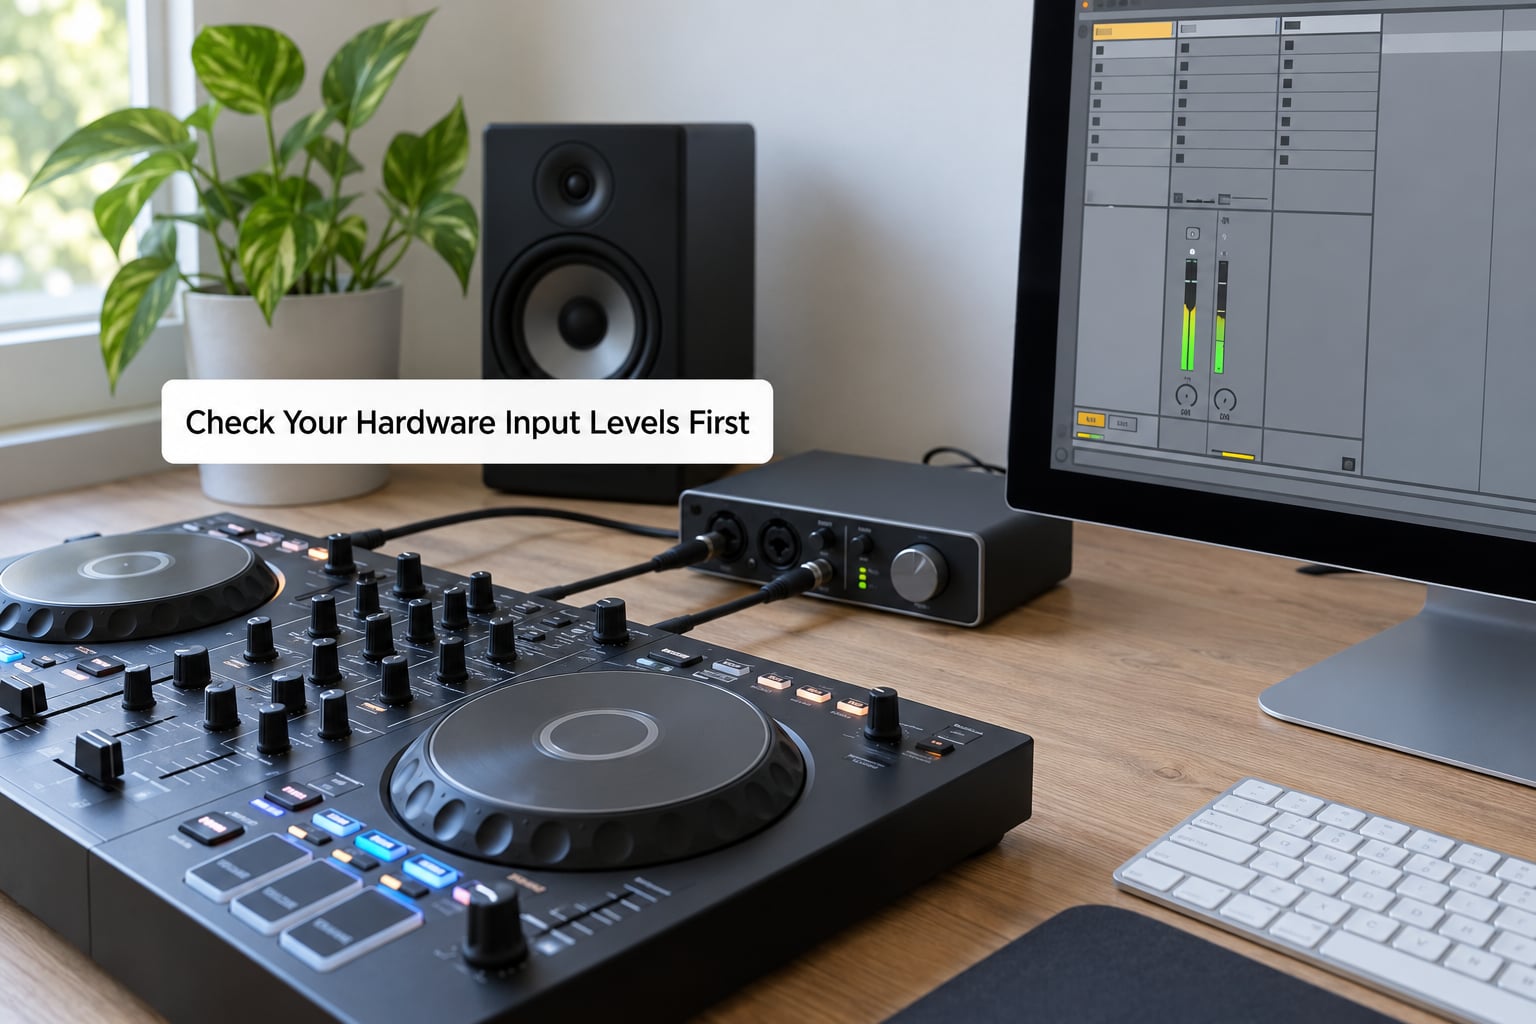
Start at the very beginning of the signal chain, before the sound ever reaches Live. Turn the interface preamp gain up until your loudest material peaks somewhere between -12 dB and -6 dB on the interface meter, then back it off a touch so peaks do not touch the red.
Play the loudest, quietest and most dynamic parts of your audio, not just the first bar. A vocal recorded at a whisper in one verse and a belt in the next will need more compromise than a mixed-in-one-sitting drum take, and you want to find out now rather than at export.
Here is the reference I keep coming back to. These are peak targets in dBFS, measured on the track meter with Pre-Fader Metering on:
| Source | Target peak | Typical average | Why that number |
|---|---|---|---|
| Kick drum | -6 dB | -14 dB | Transient-heavy, sits loud in the mix by design |
| Snare drum | -6 dB | -14 dB | Same reason as kick |
| Hi-hats | -12 dB | -20 dB | Sitting too high makes the whole kit feel spiky |
| Bass | -9 dB | -16 dB | Low frequencies read lower on peak meters |
| Lead vocal | -12 dB | -18 dB | Most compressors and EQs behave here |
| Backing vocals | -15 dB | -22 dB | Keeps them out of the lead’s way |
| Keys and pads | -15 dB | -22 dB | Wide content, not much transient energy |
| Full drum bus | -6 dB to -3 dB | -12 dB | Summed sources read hotter |
| Master output | -6 dB to -3 dB | -14 dB | Headroom for mastering |
Two things this table settles. First, a blanket rule of “everything at -18 dB” makes your drum tracks vanish, which is exactly the complaint you will hear from anyone who tried it. Second, the average level matters less than the peak, so set the peak and let the average land where it lands.
2. Use the Correct Audio Track Configuration
Open Preferences, then the Audio tab, and check three things. Your input and output Device should be your interface, not the system default. The Sample Rate and Buffer Size should match your interface setting, and leaving these mismatched forces resampling you never asked for.
Next, confirm your Launch Mode. For recording, Boot Mode should be Manual, so Live does not start recording before you hit the button. For DJ-style live performance, Normal or Queue is usually more predictable.
On the track itself, make sure Input Routing is set to the correct hardware channel pair. An input of 1 and 2 on an interface whose outputs are 5 and 6 will give you silence or a channel that only ever peaks on one side, and it looks exactly like a gain problem until you look at the routing dropdown.
Finally, check the input monitoring button. If it is engaged and you are also monitoring through the interface, you are hearing the same source twice, which flatters the level and makes quiet passages inaudible.
3. Set Ableton Live Track Gain Without Distortion
Now that the signal is inside Live, set its level with the right control. In priority order: the instrument’s own output control first, then a Utility device’s Gain knob, and the track volume fader last.
For audio tracks, drop a Utility device (drag it onto an empty area of a device chain, or use the browser to add it) and set the Gain knob. Utility has a clean gain control, and unlike a plugin from the library it adds no processing of its own. Aim for the peak targets from the table above.
For MIDI and virtual instrument tracks, the level comes from two places: the instrument’s output or volume control in its device panel, and MIDI velocity. A velocity range that is consistently too low produces a track that can never reach your target no matter where you set the fader. Live’s MIDI Velocity tool lets you remap a whole clip’s range in seconds.
Watch the meter while you adjust, and use a loop of the loudest section rather than watching a single hit. Short transients are easy to miss at low speed.
4. Balance Decks and Channels in the Mixer
Here is where most tutorials go wrong, and where the most common Reddit confusion comes from: staging a level and balancing a mix are two different jobs. Set the level with Utility or the instrument output. Use the fader to balance tracks against each other.
Once levels are staged, open the Session View mixer and pull faders until the mix holds together. A kick that needs 4 dB more than where you started tells you the recorded level was low, which is a note to yourself for next time, not a reason to leave it staged wrong today.
With Pre-Fader Metering on, you can now see the staged level no matter where the fader sits. That toggle is the reason this step is quick instead of guesswork. Toggle it off and the meter shows you the post-fader level, which is what your speakers hear but not what you staged.
For DJ-style work with two or more channels, balance the channels to each other with their faders and keep every channel’s utility gain in the same place. If channel 2 sits 6 dB hotter than channel 1 at the same fader position, your transitions will feel like a stumble even though nothing is clipping.
5. Route the Master Output Safely
Open the master track’s device chain and keep it short. Most sessions need nothing there, or one Utility for output trim, or a Limiter as a safety net on the very end. The instinct to pile processing onto the master is what causes the master-effects clipping people describe on GearSpace and in the Ableton user groups.
Here is the failure mode. A track peaks at -6 dB, a bus sums four of those into a moment of -2 dB, and your compressor is already adding gain reduction with makeup on. That stack can push a peak past 0 dB on the way out, and the distortion lands after your mixer, so you hear it but the interface meters never saw it.
Two habits fix this. Set the master volume fader so your loudest moment peaks at -6 dB to -3 dB rather than riding it near 0 dB. And if you do use a Limiter, set it to catch peaks rather than to make the track loud, then leave the makeup gain alone until you have heard the mix at a normal level for a while.
Live’s internal processing runs at 32-bit floating point, which is where the “Ableton cannot clip” argument comes from. Internally it is true that values above 0 dB can pass through without wrapping. It does not save you at your interface, in your plugins, or in the mastering engineer.
6. Check Levels in Headphones and Speakers
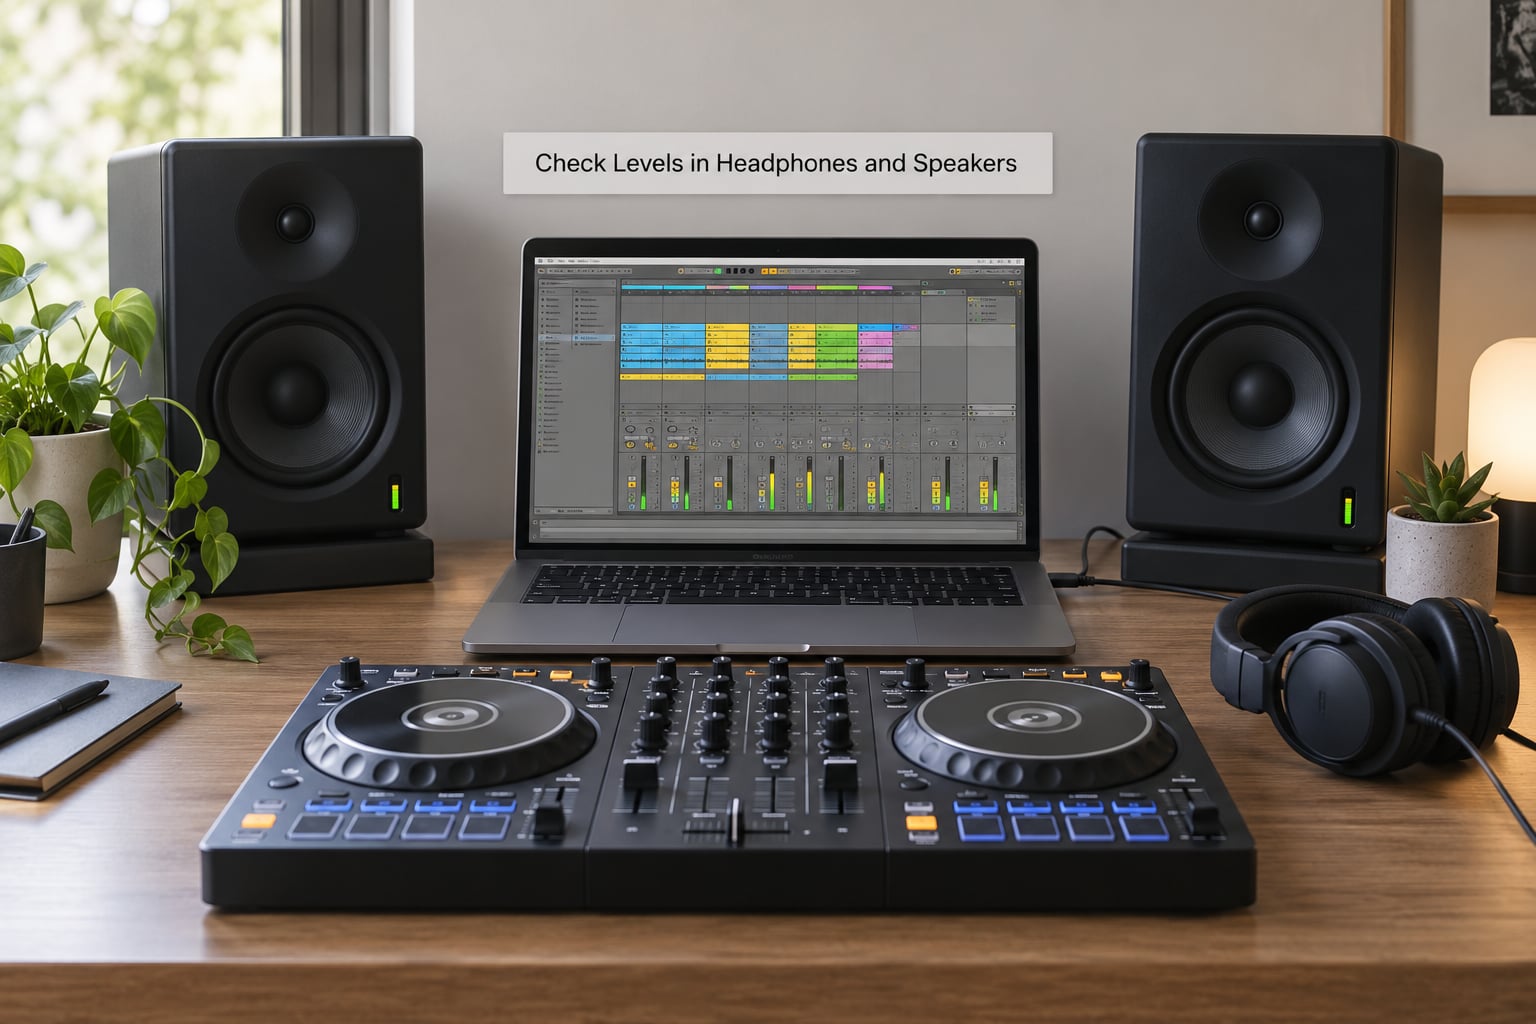
Cue in headphones on one channel while the other plays, at a level where you can hear a quiet reverb tail but are not being pushed. If the cued channel is clearly quieter, turn that channel up one notch and listen again; if it is clearly louder, turn it down. Cupping one ear against a headphone cup is normal in busy rooms.
Then check on speakers. A channel that sounds fine in headphones and thin or harsh on the monitors is usually a level or EQ issue in that channel, not a monitoring fault, so compare the two decks playing the same material at matched fader positions.
If your monitors are loud enough that you have to ask neighbours to stop complaining, you are at a level where gain staging is no longer measurable by ear. Turn the room down, and judge everything at a moderate level. The two checks together catch most of what people report as a mysterious quiet channel or a suddenly loud transition.
7. Test the Final DJ Performance Setup
Run a short real test: pick your two busiest tracks, set up an eight-beat transition, and perform it at performance volume rather than sitting close to the screen. Watch the master meter and the individual channel meters for the whole transition.
You are looking for three things. No channel meter touching red during the loudest section of either track. No sudden level jump when the fader moves. And a master that stays under about -3 dB at its loudest.
Record the output if you can, even just a phone capture from the room. Playing the recording back at a lower level is the fastest way to catch a channel that is quietly clipping all night, and it is the check most people skip.
Save your levels somewhere you will find them. A text file with your interface gain setting and each track’s utility gain value turns the whole routine into a two-minute setup next time.
Common Mistakes
These six account for nearly every gain stage problem I have seen in Live sessions, and each one has a direct fix.
Using the fader to set the level. The track volume fader is for balancing. A staged level belongs in the instrument output or a Utility device, so your fader position tells you the relationship between tracks rather than hiding it. The exception is performance, where moving a fader is the point.
Applying -18 dB to every track. That number came from a specific context and gets applied to everything by rule. Drums and summed buses sit far higher; use the table above and let the source type decide.
Leaving interface gain alone. Software gain cannot recover a recording made at four dB of noise floor. Hardware gain moves the signal before it is digitised, which is the only place signal-to-noise ratio is really won.
Reading a post-fader meter and blaming the plugin. With Pre-Fader Metering off, the meter shows what comes after the fader, so a pulled fader looks like a quiet source. Turn the toggle on in the View menu and check again.
Feeding nonlinear devices a level they were not designed for. Saturator and Overdrive have a fixed input range; hit them too hot and everything lands at the ceiling, turning to the same buzz. Pull the level down, or turn the device’s drive up and the input down, and audition the result.
Leaving no headroom on the master. A master peaking near 0 dB gives a mastering engineer nothing to work with and can force level reduction later, which undoes your balance. Target -6 dB to -3 dB.
One more worth calling out: adding Utility twice, or stacking a Utility gain with a big fader cut, gives you a level you cannot reason about. One control per track, and write the value down.
Frequently Asked Questions
What dB should I gain stage to in Ableton Live?
Aim for peaks between -12 dB and -6 dBFS on individual audio tracks, with an average level near -18 dB. Drums can sit at -6 dB peaks because their transients are naturally loud. Keep the master output peaking between -6 dB and -3 dB so a mastering engineer still has headroom to work with. Judge by peak, not by average.
Should I use track gain or the track volume fader in Ableton?
Use gain for staging and the fader for balance. Set the level with your interface preamp, the instrument’s output control, or a Utility device, then use the fader only to position tracks relative to each other. If you stage with the fader, every later balance move quietly changes the level you thought you had locked in.
Does Ableton Live actually clip, given 32-bit float processing?
Inside Live, 32-bit floating point means values above 0 dB can pass through without wrapping, so the software itself is unlikely to distort. The clipping you hear comes from elsewhere: a plugin that saturates internally, the master effects chain, your audio interface’s converter, or a plugin that does not tolerate a hot input. Headroom is still worth keeping for that reason.
What is the difference between pre-fader and post-fader metering in Live?
Post-fader metering shows the level after the track volume fader, which is what your speakers receive. Pre-fader metering shows the staged level before the fader, so you can verify your gain settings even while the fader is pulled down for balance. The toggle lives in the View menu and has been there since Live 10.1.
How do I gain stage MIDI and virtual instrument tracks in Ableton Live?
Start with the instrument’s own output or volume control, then use MIDI velocity as your second lever. A clip recorded with low velocities will not reach your target no matter where you set the fader, so remap the range with Live’s MIDI Velocity tool. Watch the track meter while you change the output level rather than trusting the instrument’s on-screen knob.
How much headroom should I leave on the Ableton master for mastering?
Keep the loudest moment in the track between -6 dB and -3 dB, which usually means the master fader sits well below its maximum. This gives a mastering engineer room for EQ, compression and limiting without pushing your mix back down and undoing your balance. If your master peaks near 0 dB, pull the fader down until it does not.
Conclusion
The safe order is short enough to memorise: interface preamp, then instrument output or Utility, then faders for balance, then master headroom. Work from the front of the chain backwards only when something is wrong, because a quiet master is usually a symptom rather than a cause.
Start by setting your interface gain so your loudest material peaks near -12 dB to -6 dB, then run a two-track transition and watch the meters while you perform it. Once that reads clean and stays under -3 dB on the master, write your numbers down and stop thinking about it.
Updated for 2026.