If you are searching for why is my kick losing punch after mastering, the short answer is that your mastering chain has flattened the kick’s transient and the kick has lost the low-frequency band where its weight lives. Two things usually happen: compression and limiting squeeze the first few milliseconds of the hit, and the bass or another low-frequency layer sits on top of it.
Neither problem is permanent. Once you know which stage is responsible, you can undo it in minutes. The trick is diagnosing it in the right order instead of tweaking knobs at random.
Table of Contents
- What Does Kick Punch Actually Mean?
- Why Is My Kick Losing Punch After Mastering?
- 1. Bus compression is pulling the attack down with everything else
- 2. The limiter is running too hard or releasing too slowly
- 3. Loudness normalisation shrank your crest factor
- 4. The bass is sitting on the kick’s weight
- 5. Low-end filtering removed the fundamentals
- 6. Linear-phase EQ introduced pre-ringing
- 7. Low-end distortion is eating the headroom
- How Mastering Compression Removes Kick Attack
- How High-Pass EQ and Low-End Cleanup Remove Body
- How Limiting and Clipping Make the Kick Feel Less Punchy
- How Other Instruments Can Mask a Kick
- How to Fix Punch Loss Without Making the Mix Too Loud
- Quick Checks for a Punchier Mastered Kick
- Frequently Asked Questions
- Conclusion
What Does Kick Punch Actually Mean?
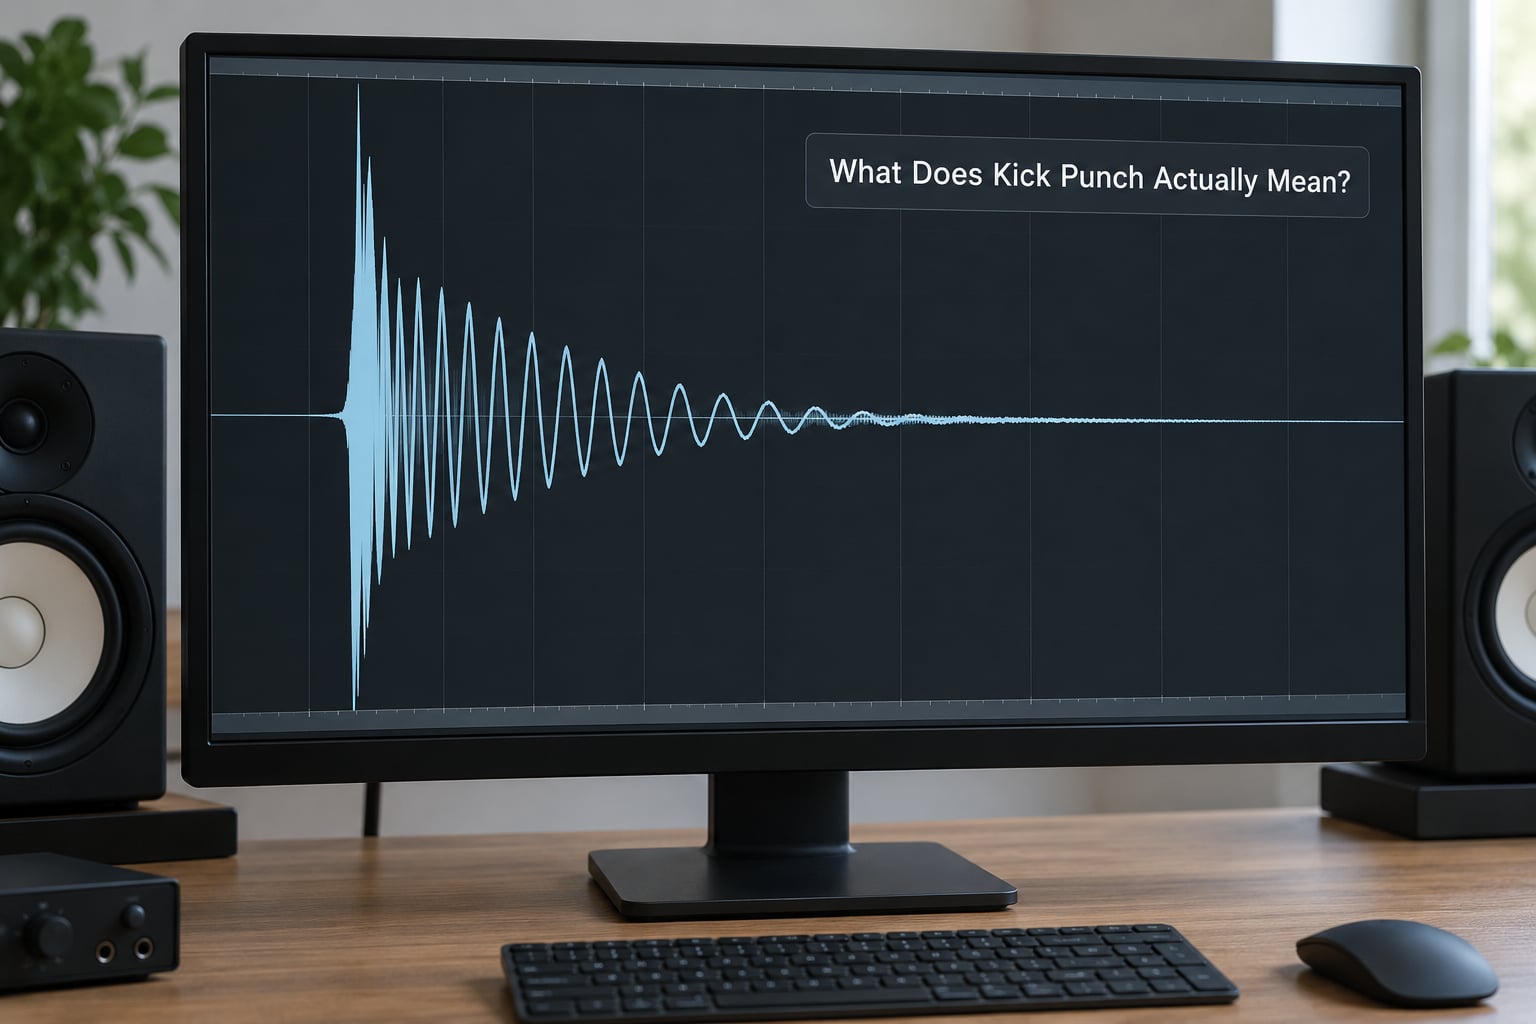
Punch is the sense that a hit connects with something physical. It comes from three parts working together: the transient attack in the first few milliseconds, the body in the low-mids that gives weight, and the contrast between the two.
That third part is where most people misdiagnose the problem. Crest factor is the gap between the peak of the signal and its average level. A kick with high crest factor has a sharp spike over a quieter body. Push every channel toward that same ceiling and the spike disappears, and the hit stops reading as an impact even though the loudness meter says the track is heavier.
So a weaker kick is not the same as a quieter kick. You can lose 3 dB of average loudness and gain impact, or lose 3 dB of peak and lose the hit entirely.
Why Is My Kick Losing Punch After Mastering?
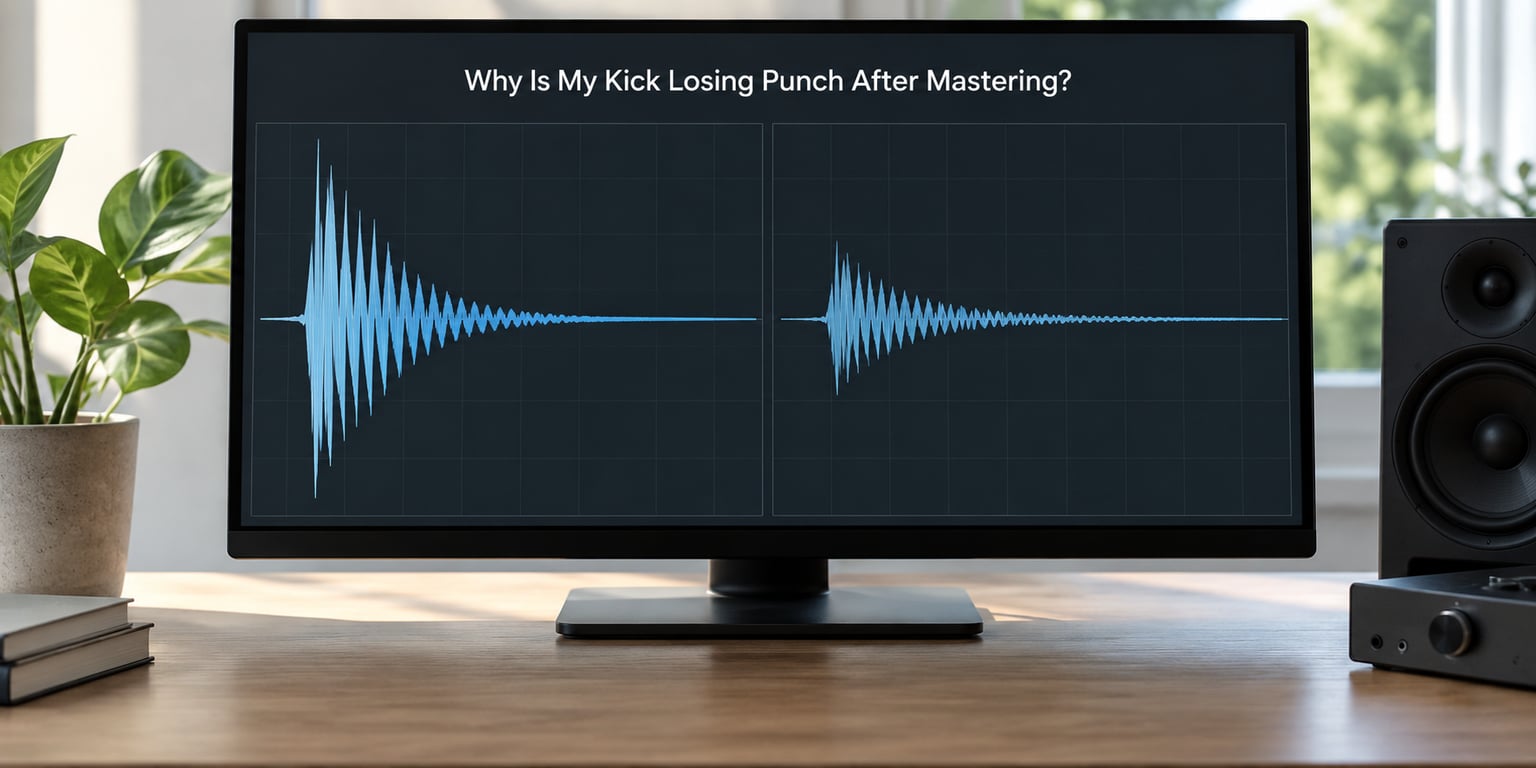
There are seven causes that show up repeatedly in mixing and mastering forums, and they stack. Most tracks suffer from two or three of them at once.
1. Bus compression is pulling the attack down with everything else
A master compressor reacts to the loudest thing in the mix, which is usually the kick. With a slow or medium attack time, the compressor starts pulling gain before the kick’s transient has finished, so the click gets flattened along with the body.
2. The limiter is running too hard or releasing too slowly
Push a limiter for 4 to 5 dB of gain reduction and every kick hit gets held against the ceiling instead of spiking past it. A long release tail then smears the low-end detail across the next few hundred milliseconds.
3. Loudness normalisation shrank your crest factor
Pushing a track up to a streaming target means every hit is quieter relative to the peak. Producers on r/audioengineering describe this pattern often: the mix sounds excellent, then a test master sounds flat and lifeless.
4. The bass is sitting on the kick’s weight
Kick and bass occupy the same territory. Long threads on the GearSpace mastering forum converge on a conflict zone around 105 to 140 Hz, where a bassline can quietly bury the kick’s body without any obvious level clash.
5. Low-end filtering removed the fundamentals
High-passing too high on the master or on the bass removes the part of the kick that carries weight. Cutting below 60 Hz on the kick sounds sensible and leaves you with a click and a hollow thud.
6. Linear-phase EQ introduced pre-ringing
Minimum-phase and linear-phase filters behave differently around a sharp cut. Linear-phase EQ smears energy ahead of the transient, and that pre-ringing softens the very attack you are trying to protect. It is a quiet cause that most guides never mention.
7. Low-end distortion is eating the headroom
A single loud bass note can overload the limiter on its own. Once the limiter is fighting a rogue low-frequency event, it starts ducking the kick as collateral damage, and the whole low end distorts instead of gaining weight.
| Cause | How it sounds | How to confirm it | Fix |
|---|---|---|---|
| Bus compression | Kick sounds flat and slightly dead, no click | Watch gain reduction on the kick hits | Faster attack, slower ratio, less reduction |
| Limiting | Whole mix feels dense, kick has no spike | Meter shows steady reduction over 3 dB | Lower the input, raise the ceiling |
| Normalisation | Track is loud but lazy on small speakers | Compare crest factor against the reference | Leave 6 to 8 dB of headroom before limiting |
| Kick and bass masking | Kick disappears only when the bass plays | Mute the bass and listen | Notch 105 to 140 Hz, duck the bass |
| Over-filtering | Hollow, no weight, click dominates | Sweep the high-pass on the kick alone | Keep the fundamentals, filter only rumble |
| Linear-phase EQ | Attack feels slightly smeared | Compare with a minimum-phase filter | Use minimum phase for sharp cuts |
| Low-end distortion | Master clips or distorts on one bar | Find the loudest low-frequency moment | Fix that element in the mix |
How Mastering Compression Removes Kick Attack
Compression works by watching level over time. When the signal rises, it reduces gain. That is exactly the wrong behaviour for a kick, because a kick is nothing but a sudden rise.
An attack time of 20 to 40 ms lets the compressor clamp down in the middle of the transient, which softens the click and pulls the body down with it. A faster attack of 0.1 to 1 ms passes the transient through first, then catches the body, which preserves the spike but flattens the sense of weight between hits.
Watch the gain reduction meter rather than the output meter. Most of the time you want a steady 2 to 4 dB, with the reduction moving rather than sitting pinned. If you see 6 dB or more holding still through a bar, the kick has already lost its transient before the limiter even sees it.
A high-pass filter in the sidechain, set somewhere between 100 and 200 Hz, keeps the compressor from reacting to bass content. That single change often does more than reducing the ratio.
How High-Pass EQ and Low-End Cleanup Remove Body
There is a difference between cleaning up rumble and thinning the instrument. Producers on the GearSpace mastering forum repeat the same practical rule: high-pass the bass at roughly 40 to 45 Hz and leave the kick alone.
Below 40 Hz you are mostly dealing with rumble, room noise, and distortion on small speakers that cannot reproduce it anyway. Above that, you are cutting the body that makes the kick sound heavy. If your kick sounds boomy after mastering, the fix is usually the opposite of more low-end EQ.
Boosting lows with a static EQ lift makes things muddier rather than punchier, which is a complaint that comes up constantly. The lift raises the bass and the kick together, so the mask gets stronger, not weaker.
Two filters deserve a warning. Static cuts change weight permanently, which is useful for a rogue resonance on one note but wrong for the whole bassline. For that, dynamic control responds only when the problem frequency spikes.
Then there is filter type. Linear-phase EQ can create pre-ringing before the transient, softening the attack. Minimum-phase filters keep the energy after it. For sharp cuts on a kick, minimum phase is the safer choice.
How Limiting and Clipping Make the Kick Feel Less Punchy
Limiting is the last stage before the ceiling, and it is where punch most often dies. The difference between a transparent limiter and an aggressive one is whether transients are allowed past the ceiling and then caught, or held against it the whole time.
Clipping is the harder version of the same problem. Soft clipping rounds the peaks off and adds harmonic content, which is why saturating a kick can make it sound bigger on a phone. Hard clipping flattens the peak into a block, and a kick with a flattened peak reads as a thud with no impact.
Release time matters as much as the threshold. A long release keeps the gain pulled down for most of the bar, which removes the space between kicks and makes the low end feel like a continuous bed. A short release lets the kick recover and spike again, and you will get more perceived impact from the same setting.
If your limiter shows heavy reduction only during the loudest bar, that bar is where your kick disappears. Find what is causing it there before touching the kick itself.
How Other Instruments Can Mask a Kick
A kick can be present in the file and still vanish. Masking means two sources occupy the same frequencies at the same time, and your ear hears them as one blended sound rather than two parts.
The reported worst zone for kick and bass is around 105 to 140 Hz. A narrow cut there, applied to the bass on the busy sections only, often opens the kick up without touching anything else.
Sidechain ducking solves the same problem in the time domain. A compressor keyed from the kick pulls the bass down on every hit and lets it back up afterwards. A band split near 110 Hz keeps the ducking focused on the part of the bass that actually conflicts.
Two common mistakes here. Ducking the whole bass removes its upper harmonics too, so the bassline thins out during the drop. And a very fast duck onset produces audible clicks, which show up as extra high-frequency noise around every kick hit. A slower onset with a release tuned to the tempo gives you a groove instead of a pump.
Pads, sub-basses and a bright snare all do the same thing in smaller ways. Mute everything except the kick and then bring each element back one at a time, and you will hear which one is eating it.
How to Fix Punch Loss Without Making the Mix Too Loud
Work through this in order and stop as soon as the punch comes back. Each step tests one stage, so you know what actually fixed it.
Step 1: Bypass the mastering chain completely
Play the pre-master mix straight into your monitors, then play the master. If the mix hits and the master does not, the problem is in mastering. If neither hits, it is a mix problem and no amount of limiter tuning will help.
Step 2: Compare at matched loudness
Turning the master up makes everything sound punchier, which hides the real problem. Use a loudness normalisation tool on both versions until they measure the same, then switch between them. That is the only fair comparison.
Step 3: Check the low band for masking
Mute the bass and the sub, then the pads. Whatever the kick was competing with is the element that needs room.
Step 4: Restore transient contrast
If the transient is gone, work on it deliberately rather than reaching for more volume. A compressor with a fast attack and medium release on the master bus, or a dedicated transient designer on the kick channel, brings the click back without adding loudness.
Step 5: Preserve headroom
Leave roughly 6 to 8 dB before the limiter engages. Mastering engineers consistently report that a track with less gain reduction can sound louder and hit harder than one pushed hard to the ceiling.
| Tool | Starting setting | Purpose |
|---|---|---|
| Master compressor | Attack 5 to 20 ms, ratio 1.5:1 to 2:1 | Even out the mix without touching the click |
| Compressor sidechain filter | High-pass at 100 to 200 Hz | Stop the bass from triggering the compressor |
| Master limiter | 2 to 4 dB of gain reduction, medium release | Catch peaks, not squash the body |
| Bass high-pass | 40 to 45 Hz | Clear the rumble zone for the kick |
| Bass dynamic EQ | Focus around 105 to 140 Hz | Tame rogue notes that eat headroom |
| Sidechain ducking | Band split near 110 Hz, release matched to tempo | Free space on every kick hit |
| Expander on the low band | Slow attack, medium release | Widen gaps between kicks so each hit jumps |
If you only have the finished master, your options are narrower. An expander on the low band makes the gaps between kicks more obvious, which reads as punch. Sound-replacing the kick with a synced sample on every hit is fast and effective, and a technique described on the GearSpace forum copies the mix, isolates the kick’s essential band with EQ, and swaps the original kick for that band. It is rough, but it works.
Quick Checks for a Punchier Mastered Kick
These take a couple of minutes and they catch most cases.
- Look at the kick alone in the master. Solo it and inspect the waveform. A visible spike on every hit means the transient survived. A flat-topped block means the kick hit the ceiling.
- Watch the gain reduction meter through the loudest bar. That is where the punch goes.
- Check mono compatibility. Anything below 120 Hz that cancels in mono will sound different on club systems and phone speakers.
- A/B against a reference track you trust. Match loudness first, then listen only to the kick.
- Play the finished file outside your DAW. Import it to a phone and a small speaker. If the kick vanishes there, the low end is doing work that small systems cannot reproduce.
Monitor limits what you can hear. If your room cannot reproduce below about 55 Hz, you are partly judging by ear what you cannot actually hear, and you will tend to over-cut.
Frequently Asked Questions
Does a louder master mean a punchier kick?
No. Loudness raises average level but shrinks the crest factor, and that peak-to-average gap is what your ear reads as impact. A track pushed hard to the ceiling often feels heavier and hits softer than the same mix mastered with more headroom. Judge both versions at matched loudness before you decide which one is punchier.
Is compression always the reason a kick loses punch?
No, compression is only one of several causes. A kick can lose punch to limiting, to loudness normalisation, to bass masking around 105 to 140 Hz, to high-pass filtering that removed its fundamentals, to linear-phase pre-ringing, or to low-end distortion stealing limiter headroom. Bypass the whole mastering chain first to find out which one applies to your track.
How much gain reduction is too much on a master limiter?
For most mixes, steady gain reduction beyond about 4 dB starts flattening the kick, and 6 dB or more will usually kill the transient outright. Watch the meter through your loudest bar rather than the average. If the reduction is moving with the music you are fine. If it is pinned flat through the bar, back off and lower the ceiling pressure.
Should the kick be louder than the snare?
Neither one has to win. In most electronic and hip-hop mixes the kick sits slightly forward in the low band while the snare carries the high-mid presence, and the two trade levels constantly. If your kick is louder in absolute dB but still loses punch after mastering, the problem is masking or transient contrast rather than level, so raising it further will not help.
How do you get punchy compression?
Punchy compression comes from a fast attack that lets the transient through first, a ratio around 2:1 or 3:1, and a release that returns the level fully between hits. Add a high-pass filter in the sidechain around 100 to 200 Hz so the bass does not trigger it. Parallel compression on a duplicate bus gives you density without the transient loss of heavy series compression.
How can I test punch on a system other than my monitors?
Export the final file and play it on a phone, a small Bluetooth speaker and your car if you have one. These systems cannot reproduce much below 80 Hz, so they rely almost entirely on the transient and its upper harmonics for impact. A kick that reads well there usually translates well, and one that disappears tells you the low end is carrying weight that most listeners will never hear.
Conclusion
Start by bypassing the mastering chain and comparing the mix against the master at matched loudness. That single test tells you whether the punch loss is a mastering problem or a mixing problem, and everything after it depends on the answer.
Then fix the first stage that reduces transient or body energy: the compressor attack, the limiter reduction, the high-pass setting, or the bass masking around 105 to 140 Hz. Fix masking in the mix rather than in the master, leave headroom before the limiter, and check the result on a phone before you call it done.
Techniques and thresholds in this guide reflect common practice shared across mixing and mastering communities as of 2026.