A drop hits hardest when it is the loudest, widest and densest moment in your track, and almost all of that work happens in the 16 to 32 bars before it rather than on the drop itself. If you have ever finished a drop, played it back, and wondered how to make your drop hit harder without turning it into noise, the answer is usually contrast rather than volume: the build-up has to sit lower, narrower, drier and darker so the first downbeat registers as a release rather than just another chord change. Any DAW will do it, and the whole workflow comes down to level, filter, width and transient decisions you can make in an afternoon.
The eight moves below are the ones I come back to, in this order:
- Pick a reference and define what impact means for that track
- Build tension in the 8-bar phrase so the payoff feels earned
- Create real contrast between the build-up and the drop
- Align the kick and sub on the first impact and clean the low end
- Layer drums by frequency band and shape the transients
- Keep the lead defined instead of buried in density
- Use clipping and saturation for energy, not for volume
- Set the final balance, keep headroom and check it on other systems
One warning up front, because it is the single most common thing I see. Pushing a limiter to make a drop feel bigger usually does the opposite: heavy limiting squashes the transient spike on the downbeat, and that spike is the thing your ear reads as impact. Gain it up before the limiter, not after.
Table of Contents
- What You Need
- Step-by-Step: Make Your Drop Hit Harder in Eight Stages
- 1. Choose a reference and define the target impact
- 2. Build tension that makes the drop feel bigger
- 3. Create contrast between build-up and drop
- 4. Strengthen the bass and sub on the first impact
- 5. Add weight and transient detail to drums
- 6. Preserve definition in the lead and arrangement
- 7. Use clipping and saturation for controlled intensity
- 8. Set the drop’s final balance and headroom
- Common Mistakes
- Frequently Asked Questions
What You Need
You do not need new plugins for any of this. What you need is a track you can play loud enough to feel, and honest notes about what the drop should sound like.
A reference track you actually like. Not a mashup, not a 30-second intro. A full track with a drop closer to yours in genre and energy than to whatever you normally listen to. You will learn more from one honest reference than from twenty plugin reviews.
An arranged build-up. Eight or sixteen bars with something changing in them. If the bars before the drop are static, there is nothing to contrast against, and no amount of processing rescues that.
Chosen sounds, grouped early. Put the kick, sub and bass on one bus, drums and percussion on another, melodic elements on a third. Every technique below is far faster on a group than on forty individual channels.
One focused impact stage. A compressor and a limiter on the master, or a mastering tool if you have one, is enough. Stacking transient shapers, multiband compressors and three limiters across the master bus is the fastest route to a drop that sounds busy and dead.
Monitoring that can tell you the truth. Headphones you trust, plus a phone speaker and a decent pair of speakers for translation checks. You cannot judge low end on laptop drivers, and you cannot judge width on headphones.
Step-by-Step: Make Your Drop Hit Harder in Eight Stages
1. Choose a reference and define the target impact
Put the reference on one bus, your drop on another, and level-match them by ear. Level matching matters more than it sounds: once both are playing at similar loudness, the difference you hear is arrangement, timbre and transient shape, not volume.
Then write down what the reference drop is doing that yours is not. More sub? Wider? Denser drums? A longer silence before it? Be specific, because every later decision should be traceable to one of those notes.
Set your target in four measurable buckets: weight (how much low-mid), clarity (can you hear every element), size (stereo width of melodic content) and loudness relative to the rest of the track. I have found that beginners almost always identify weight correctly and misjudge size, because headphones exaggerate width.
2. Build tension that makes the drop feel bigger
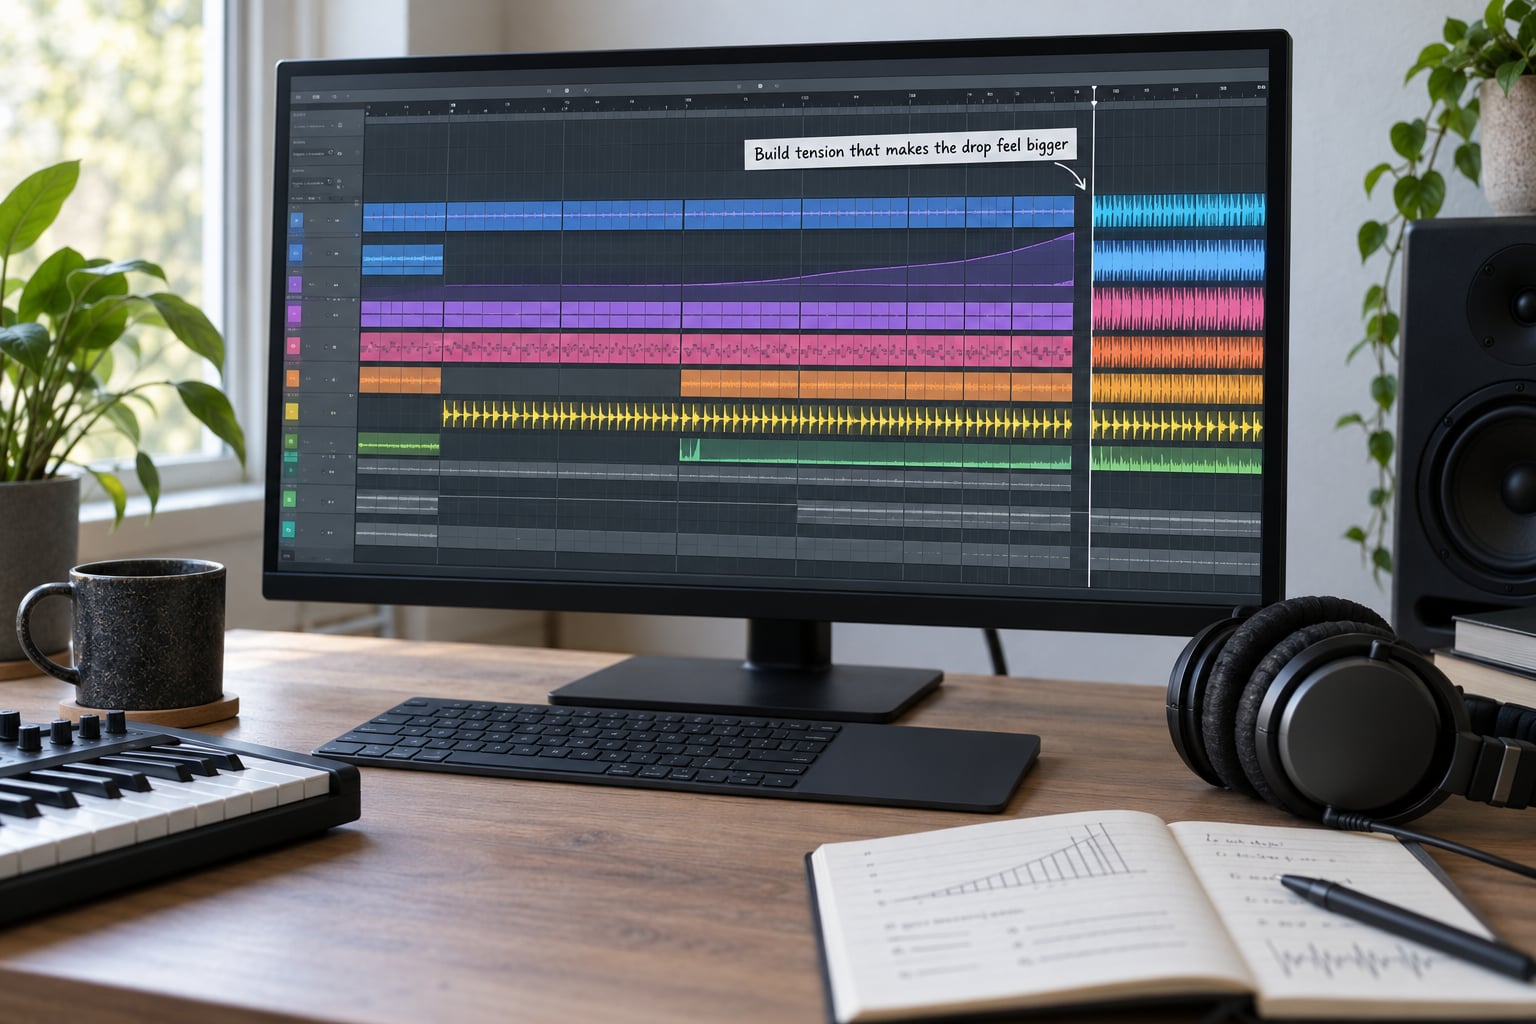
Length is the cheapest instrument here. If your build-up is four bars, make it eight. If it is eight, make it sixteen. Tension scales with time in a way that no plugin can fake, and a longer approach gives the drop room to arrive.
Density is the second lever. Add elements rather than replacing them: a snare roll that doubles in subdivision, a hi-hat opening from 8ths to 16ths, a shaker layered underneath, a vocal chop entering every four bars. Each new layer raises the ceiling the drop has to clear.
Register is the third. Lift the energy upward through the phrase with a low-pass filter, opening the cutoff bar by bar, and the ear starts to expect high frequencies. When the drop returns with full-spectrum content it reads as bigger even at the same level.
Rhythmic tension works too. Straight 4/4 hats for six bars, then a change in the last two. A held note where you would normally place a hit. Small holes in the pattern right before the downbeat.
3. Create contrast between build-up and drop
Contrast is the mechanism, and level is only one axis of it. Run a checklist on the last two bars of your build-up against the drop itself.
Level: pull everything that is not the drop down around 2 to 3 dB. This is the number producers across the FL Studio and EDM producer groups keep landing on, and it is almost always enough. On a master gain plugin, roughly -3 dB for the build-up returning to about -0.1 dB on the drop is a reasonable starting point, then adjust by ear.
High-pass filtering: sweep the cutoff of the build-up group up so there is progressively less low end as the phrase climbs. Start near 20 to 30 Hz and move toward 200 Hz or higher by the last bar. The drop then brings bass energy back from nothing, which is a much stronger effect than simply raising the bass level.
Width: narrow the stereo image during the build-up, sometimes to 40 to 50 percent, then return it to full at the downbeat. Mono-ising the low end throughout also removes any wobble that would blur the impact.
Space: drop the reverb and delay returns to near dry through the last bar, or reverse a reverb tail so the sound sweeps into the hit. Producers on r/edmproduction describe layering a normal clap with a reversed one at roughly 70 to 80 percent wet, which gives a tail that arrives already open.
New material: introduce something at the drop that was absent for eight or sixteen bars, a new drum layer, an octave-down bass, an extra percussion element. Novelty reads as impact.
4. Strengthen the bass and sub on the first impact
Keep the sub clean and let the upper bass carry the aggression. A sine-wave sub from 40 to 60 Hz should be almost pure, with distortion and harmonics sitting in the 100 to 400 Hz region. Producers in r/edmproduction describe exactly this split, and it holds up across genres.
Align the kick and the sub on the same sample. If the sub enters a few milliseconds late, the first downbeat smears instead of punching. Check the transient on the kick and make sure the sub starts on the beat, not slightly ahead of it.
Give the two elements complementary notes. A kick plus a sub a fifth or an octave apart stays clear. A kick plus a sub on the same pitch in the same octave turns to mud on small speakers, even if it sounds enormous on headphones.
Control duration. A long sub note ringing past the kick keeps the low end occupied through the whole phrase, so nothing else has room. A short, tight sub leaves space for the bass midrange to move.
Then check it somewhere without low end. A phone speaker with no bass driver is an unfair but excellent test: if the drop still feels powerful there, the energy is in the midrange, not just the sub. This is where the idea that impact lives in the mids comes from, and it is right more often than not.
5. Add weight and transient detail to drums
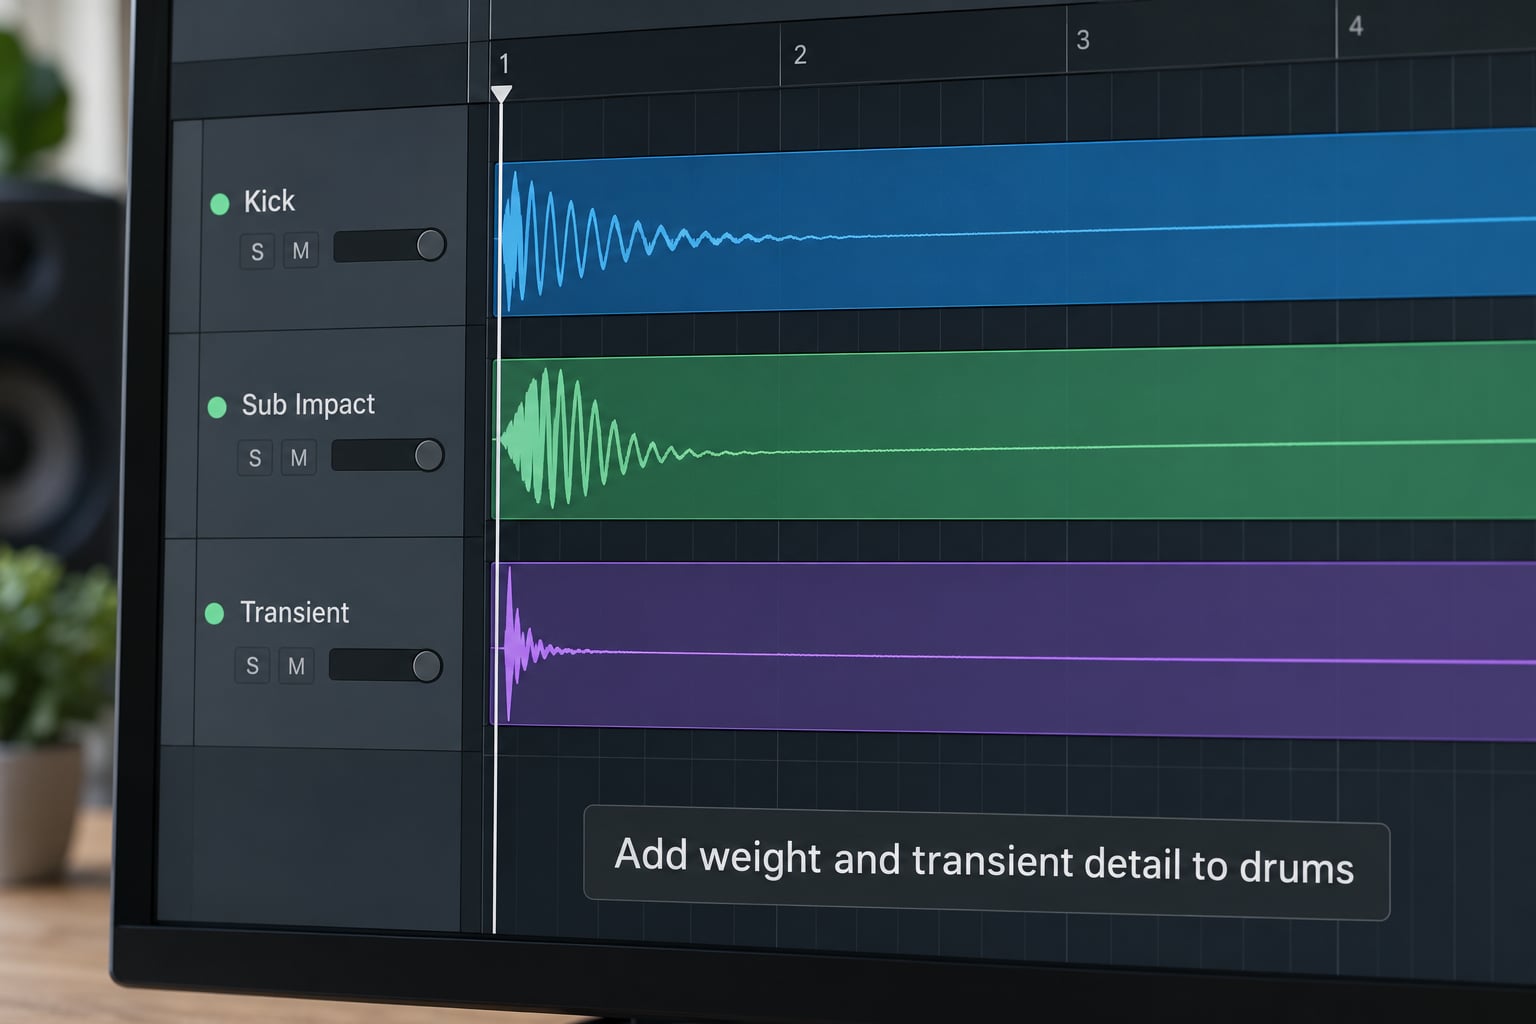
Split the kick into three frequency layers and treat each one differently. A sub layer around 40 to 60 Hz for weight, a mid body layer around 100 to 300 Hz for the punch you hear on small speakers, and a short top layer around 4 to 8 kHz for the click of the beater.
The sub layer wants a longer decay and no click. The mid body wants a fast attack and a tight tail. The top click wants to be short, quiet, and mono so it does not smear across the stereo image.
Tighten the kick envelope before you add anything on top. A kick with 300 ms of decay occupies the sub range for the whole phrase and leaves no room for the sub bass. Cutting the low tail to 100 to 150 ms often makes the drop feel heavier without touching the level at all.
Layer a second kick for weight and high-pass it, so it reinforces the body without doubling the sub. A tom or an impact drum tuned to the key of the track adds mass in the midrange where the ear reads weight fastest.
Shape transients on individual elements, never on the master. Attack time shortens the perceived punch; adding a short transient click layer to the top of the kick is often the single highest-impact edit in a mix. Watch for clicks: raise the attack shaping in small increments and solo the layer.
Add percussion in the drop that is not there in the build-up. Clap layered on top of the kick rather than beside it, a shaker at double time, a ride in the gaps. Density in the drums is what makes the drop feel full rather than sparse.
6. Preserve definition in the lead and arrangement
Everything you add to the drop makes it harder to hear the lead, and the lead is usually the reason the drop exists. Decide what the melody needs to do, then carve space for it rather than expecting it to survive a level fight.
Work spectrally. In a mid-side EQ, cut a narrow band around the melody’s fundamental in the side channel only, where the bass and pads sit. This removes masking without touching the mono centre, so the lead stays wide and clear while the low end stops fighting it.
Control reverb and delay with automation, not with taste on a single setting. A build-up that becomes progressively drier as it climbs makes the drop feel open. Automation on the send level is more predictable than automating the plugin’s mix knob.
Widen in bands, not globally. Buses processing tools let you push width above a chosen frequency while keeping the low end mono. Widening everything is the fastest way to make a drop sound thin and phasey on a club system.
Add a moment of space. Half a bar of drums only, or the lead alone, before the full arrangement returns. The eye and the ear both need somewhere to rest for the density to register.
7. Use clipping and saturation for controlled intensity
Saturation adds harmonics, and harmonics are what the ear reads as aggression. A clean sub sounds polite; the same sub with a little harmonic content reads as dangerous. This is why the sub and upper bass split works.
Use a soft clipper or a waveshaper with a gentle curve on individual elements, mostly the bass, the snare and the clap. Keep the drive modest. The right amount is usually the point where the waveform starts to look squared but the level only moves by 1 or 2 dB.
Parallel processing works well here. Blend a saturated copy underneath the dry signal to thicken without pushing the original into the limiter.
Keep headroom on the master. If the master bus is already sitting at 0 dB and you are adding drive, the only place the extra energy can go is distortion of everything at once, which flattens transients and kills the very impact you are chasing.
If the drop gets smaller when you add saturation, you are too far in. Back off and check the waveform.
8. Set the drop’s final balance and headroom
Start by removing conflicts rather than raising anything. Find the frequencies where the sub bass and the kick overlap, usually 60 to 120 Hz, and carve the bass there with a narrow dynamic EQ or a mid-side cut. That single move fixes a lot of muddy drops.
Then set relative levels, in this order: the drums, then the bass, then the melodic elements, then everything else. Set them with the drop playing in context, and check the whole track again afterward. Levels that only work in a 30-second window are not finished.
Watch your gain reduction. A limiter pulling more than 2 or 3 dB on the drop means the arrangement is too dense or the level is too high, and the fix belongs upstream.
Leave mastering headroom. Roughly 6 dB between the loudest peak and the ceiling is a sane starting point for an unfinished mix. If you are mixing loud, drop the fader and use it as an effect on short passes instead of working at a level that tires your ears.
Check the result three ways: at a restrained volume on headphones, on a phone speaker, and in the car or on a system with real low end. If the drop only works in one of those, it is not finished. Add a limiter for translation, listen back, then take a break before you judge it again.
Common Mistakes
Treating loudness as impact. The most expensive habit, and the one experienced producers warn about most. Volume and perceived impact are different measurements, and the second one is what listeners react to.
Stacking impact plugins. A transient shaper, a multiband compressor, an exciter and a limiter all doing similar work produce a dense, lifeless master. Use one focused impact stage and get the weight from the arrangement and the individual elements instead.
Overusing risers and noise. A riser is a punctuation mark, not a paragraph. Most build-ups read better with one riser in the last four bars and something else doing the work for the first twelve.
Cutting the sidechain too deep. Deep pumping on the drop makes the whole mix feel underwater. Moderate depth, or a shorter release, keeps the bass sustained and the drop intelligible.
Deciding the low end on headphones. The most expensive habit of all, because you will only find out at a festival. Check the sub and kick alignment on a system with a real woofer, and again on a phone with none at all.
Fixing arrangement problems in mastering. Mastering can glue, balance and add polish. It cannot add an element you did not arrange, fix a melody buried under a pad, or make a drop feel like a payoff. The table above is ordered by where the fix belongs, and the top of it is always the mix.
Mixing at one loudness forever. Your ears adapt in about twenty minutes and everything starts to feel bigger than it is. Mix loud for short bursts, drop the level, compare against the reference, repeat.
| Symptom | Likely cause | Fix |
|---|---|---|
| The build-up feels more exciting than the drop | No level or spectral contrast | Pull the build-up down 2 to 3 dB and high-pass it further each bar |
| The drop is the loudest part but still feels small | Over-limiting, flat transients | Lower the drive on the master, then add a short click layer to the kick |
| The bass disappears on small speakers | All the energy is below 100 Hz | Keep the sub clean, add midrange weight around 100 to 300 Hz |
| The lead disappears in the drop | Masking from pads, bass and reverb | Carve the melody’s fundamental in the side channel only |
| The drop feels thin on headphones but great in the club | Over-widening | Widen in bands above the low end, keep the sub mono |
| The first downbeat smears | Kick and sub not aligned, long decay | Sync the transients, trim the kick tail to 100 to 150 ms |
| It stops feeling powerful after a few listens | Fatigue from constant high density | Thin the arrangement in bars 1 to 2 of the drop, add back from bar 3 |
Frequently Asked Questions
How loud should an EDM drop be?
Your drop should be the loudest moment in your track by a clear margin, not by a fraction of a decibel. A common starting point is pulling the build-up and breakdown down around 2 to 3 dB and letting the drop sit at the top of your arrangement. If you are working on a master gain plugin, roughly -3 dB into the build-up returning to about -0.1 dB on the drop is a workable starting point. Level-match against a reference track before trusting any number.
Does a drop need more bass to hit harder?
Usually not more sub. What makes a drop feel heavy is a clean, short sub that leaves room for the upper bass and midrange to add weight, plus a high-passed build-up so the return of low end reads as an event. Producers in r/edmproduction describe it as a clean sub carrying weight in the 100 to 400 Hz region. If your drop disappears on a phone speaker, the energy is too low and needs midrange rather than more sub.
Should I layer the kick and sub bass?
Yes, and most hard-hitting drops do it deliberately, as long as the layers do different jobs. Let the sub handle sustained weight and keep the kick’s low tail short, around 100 to 150 ms, so the two are not fighting for the same space. Align their transients on the same sample and pick notes a fifth or octave apart rather than the same pitch. If it turns to mud on small speakers, the notes are too close.
How do I stop the lead from getting lost in the drop?
Carve space instead of raising the lead. In a mid-side EQ, cut a narrow band around the melody’s fundamental in the side channel only, which removes the pads and bass masking it without dulling the mono centre. Then automate reverb and delay sends downward through the build-up so the drop arrives drier, and check the arrangement around it for a section where the melody can be exposed. If it still disappears, the arrangement is too dense.
Do I need to master the drop separately?
No. Mastering works best on a finished arrangement, and bouncing an isolated drop out to master separately usually leaves it disconnected from the rest of the track. Keep a compressor and a limiter on the master bus, leave 6 dB or so of headroom below the ceiling, and finish the mix first. If you want a louder master than a single limiter can manage, that is a mix problem, and the fix belongs before the master bus.
Start with two edits and stop there for the day. Pull the build-up down 2 to 3 dB and high-pass it across the phrase, then align your kick and sub on the first downbeat with a short kick tail. Play the drop on a phone speaker afterwards, and if the answer to how to make your drop hit harder is still unclear to you, the missing weight is almost always sitting in the 100 to 300 Hz range waiting to be brought up.