To duck reverb under the lead, put a compressor on the reverb return and key its sidechain input from the dry lead vocal. When the singer plays, the compressor pulls the wet signal down by a few dB, then lets the tail swell back in the gaps. You keep the size of the room and lose the muddiness.
It takes about ten minutes to set up and roughly an hour to dial in, because the release time is where most people get it wrong. This guide covers the routing, the starting numbers, and what each DAW calls the same thing.
Table of Contents
- What You Need
- Step-by-Step: How to Duck Reverb Under the Lead
- Identify the masking problem
- Choose a compressor or gain-riding method
- Route the lead vocal to trigger the duck
- Set the amount and speed of ducking
- Refine the sound in context
- Common Mistakes
- Easy starting values and DAW variations
- Frequently Asked Questions
- What is reverb ducking?
- Should I duck the reverb send or the reverb return?
- What compressor settings should I use for vocal reverb ducking?
- Can I duck reverb without a sidechain compressor?
- Why does my ducked reverb sound like it is pumping?
- Should I use automation instead of a compressor for lead vocals?
What You Need
Four things, and three of them are already in your session:
- A lead vocal or lead synth line with its own track.
- A reverb send and a reverb return. If the lead has no send yet, create a return channel with the reverb on it.
- A compressor with a usable sidechain input. Every DAW ships one.
- Headphones or nearfield monitors, at a normal listening level.
A gain-riding option is your fallback if your DAW has no flexible routing. A volume shaper, an envelope follower, or plain draw automation on the return all work, they just cost you more time.
Step-by-Step: How to Duck Reverb Under the Lead
Identify the masking problem
Before you touch a plugin, confirm that the tail is the problem and not the dry level. Solo the lead, play it, then bring the reverb return up until it sits where you think it should. Now mute the backing music entirely and listen again in mono.
If the vocal suddenly becomes clearer with the music muted, the tail is masking it. That is frequency masking: the reverb tail holds the same midrange energy as the voice, and your ear reads both as one thick band instead of a word in front of a space. Ducking removes the competition instead of turning the dry vocal up and pushing everything else down.
Choose a compressor or gain-riding method
Most people end up in one of these four, and the right one depends on your routing, not on taste:
- Compressor on the reverb return (Method A). The whole wet signal ducks. Simplest, most predictable, and my default for a lead vocal.
- Compressor on the send itself (Method B). Only that one send ducks, so a pad sharing the same reverb stays untouched. Useful when several sources feed one return.
- Envelope follower or dedicated ducker. No threshold guesswork, and some ducker plugins let you run their own internal source as the trigger instead of keying from a track. That internal mode keeps a lead line audible without the mix getting muddled.
- Manual or drawn automation. Slower, but nothing pumps, and you can sculpt the duck phrase by phrase. Fine on a ballad, miserable on a fast rap verse.
If the lead is a synth rather than a voice, an envelope follower with a medium speed is often cleaner than a sidechain because the trigger no longer follows every filter sweep.
Route the lead vocal to trigger the duck
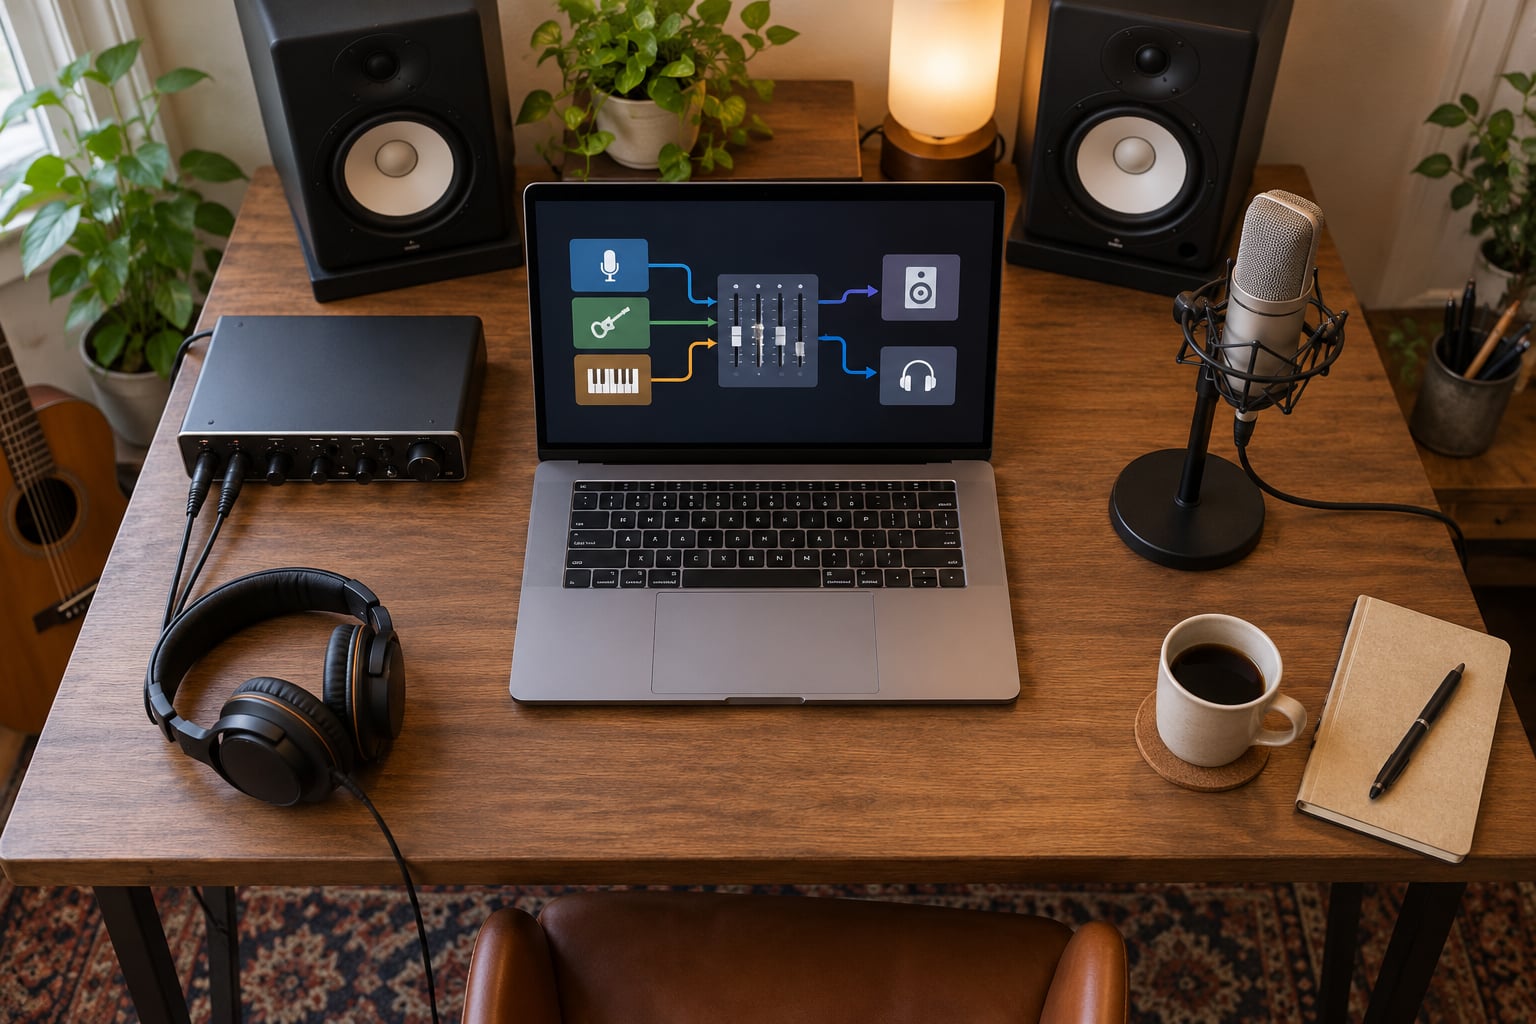
This is the part beginners get stuck on, because the dry track has to feed two places at once: the mix bus as usual, and the compressor’s key input on the return.
DRY LEAD TRACK ──┬──────────────────────────► MIX BUS (unchanged)
                 │
                 └─► sidechain / key input
REVERB RETURN ─────► COMPRESSOR (audio in) ──► MIX BUS
Two rules keep it clean. First, never feed the reverb return back into the sidechain input, or the compressor will react to its own output and latch down. Second, send the dry lead to the key input, not the return. Keying off the wet signal is what creates the feedback loop that makes people think sidechains are broken.
On the trigger itself, add a high-pass filter around 300 Hz to 1 kHz so the detector only responds to the vocal range. Low-frequency energy in the tail can otherwise nudge the threshold on every kick hit.
Set the amount and speed of ducking
Threshold is the awkward one, and it is where most people lose the plot on how to duck reverb under the lead. The trigger is the lead itself, so the lead’s own dynamics decide how deep the duck goes. Here is a repeatable procedure instead of guesswork:
- Play the loudest, most belted phrase on the lead and note the peak level in dBFS.
- Set the compressor’s ratio to its maximum and the attack to 1 ms, release to 200 ms.
- Raise the threshold until the meter shows roughly 10 dB of gain reduction on that belted phrase.
- Drop the ratio back to 3:1. The depth will fall on its own.
- Play a quiet verse. If the duck barely engages there, lower the threshold 2 dB and check that quiet phrases do not pump.
Starting values: ratio 2:1 to 4:1, attack between 0.1 and 5 ms so the duck engages before the tail becomes audible, release between 100 and 400 ms to match the length of a sung phrase. Aim for 3 to 6 dB of gain reduction on the return while the vocal is singing. More than 8 dB sustained and the reverb stops receding, it starts disappearing.
Attack and release are the pair that decide whether the reverb breathes or chops. Too fast a release cuts the tail off mid-word and the vocal sounds disconnected, which is the single most common complaint. Too slow and the reverb swallows the gap between phrases, so the sense of one continuous room breaks. If the tail is chopped, raise the release. If the gaps fill in, lower it.
One extra move worth knowing: the trigger dependency means loud belts over-duck and quiet lines barely duck. Duplicate the lead, mute the copy, and use the duplicate as the key signal. You can then compress or limit the trigger itself to a flat level, so the duck stays consistent across the whole song. It is an old trick and it still works better than any threshold setting.
Refine the sound in context
Bypass the compressor and play the whole chorus, not the solo. Then bring it in. If the reverb seems to move more than the vocal does, cut the range by half.
Then check two more things. Duck the delay return with the same trigger if the mix is still unclear, because delay muddiness survives a reverb duck on its own. And pull the background vocals further back with level automation rather than with more reverb send, since sending more wet signal to them usually thickens the mix instead of pushing it away.
If you only want to clear the vocal’s own frequencies, a dynamic EQ on the return keyed from the lead gives narrower, less obvious movement than broadband compression. It is a good second pass, not a replacement.
Common Mistakes
- Over-ducking. The reverb turns into a gated slapback and the room character disappears. Raise the range and let the compressor make up gain so the return sits where it did.
- Release too fast. The tail chops mid-word. Raise the release to 300 to 400 ms.
- Triggering on the wrong signal. Keyed from the return or from another vocal, the duck fires constantly or never fires. Key off the dry lead only.
- Feedback routing. The return feeding the key input latches the compressor down. Unplug that path.
- Audible pumping. Usually the ratio is too high or the attack too slow. Drop the ratio to 3:1 and shorten the attack.
- Ducking reverb but not delay. The mix stays unclear and you assume the duck failed.
- Processing before the vocal is finished. Comp and tune first, then duck.
Easy starting values and DAW variations
Start here, then move by ear. Every number here is a starting point, not a rule.
| Goal | Threshold | Ratio | Attack | Release | Expected depth |
|---|---|---|---|---|---|
| Subtle space | Set so a belted phrase gives 3-6 dB | 2:1 | 1 ms | 150 ms | 2-4 dB |
| Clear vocal | Same, then drop 2 dB | 3:1 | 0.5 ms | 250 ms | 3-6 dB |
| Deep duck | 2-3 dB lower | 4:1 | 5 ms | 400 ms | 6-10 dB |
| Swell effect | 3-6 dB lower | 6:1 | 0.1 ms | 500 ms+ | 10-20 dB |
The menu names differ, the concept does not. In Ableton Live you enable the Sidechain Listener on the compressor and click the small triangle beside it to pick the lead track, or you put the compressor after the return track with a send from the dry vocal. FL Studio routes the same way through mixer tracks, and you can also flip the envelope on an articulator to draw the duck by hand. Logic Pro places the compressor on the reverb return and lets you assign a source in the sidechain menu. Cubase and Pro Tools need an audio track as the key source feeding the compressor’s sidechain input, which is where most beginners stall.
Studio One treats the return like any other bus, so the compressor goes in the insert slot and the key input picks the lead directly. Reaper and Bitwig follow the same convention. If your DAW is not on that list, the question to ask is simply: can this plugin be told what signal to watch?
Frequently Asked Questions
What is reverb ducking?
Reverb ducking is lowering a reverb return automatically whenever another signal plays, most often the lead vocal. A compressor sits on the return and watches the dry lead through its sidechain input. When the vocal exceeds the compressor threshold, the reverb is pulled down by the set ratio and recovers during the gaps. You keep the depth and lose the masking.
Should I duck the reverb send or the reverb return?
Duck the return in most cases, because every source feeding that reverb ducks together and the mix stays coherent. Duck the send when several instruments share one reverb and you only want the lead’s contribution pulled back. If you are unsure, put the compressor after the return and leave the sends alone.
What compressor settings should I use for vocal reverb ducking?
Start at a 3:1 ratio, 1 ms attack, 250 ms release and a range set so a loud phrase pulls the return down 3 to 6 dB. Keep the ratio between 2:1 and 4:1 or the movement becomes obvious. Find the threshold by raising it until a belted phrase shows about 10 dB of reduction, then dropping the ratio back.
Can I duck reverb without a sidechain compressor?
Yes. A dynamic EQ on the return keyed from the lead ducks only the vocal’s frequency range, which moves less than broadband compression. A volume shaper or envelope follower can duck on a timed trigger or an internal source. Drawn automation on the return volume works too, though it takes longer on a fast passage.
Why does my ducked reverb sound like it is pumping?
Pumping usually means the ratio is too high, the attack is too slow, or the release is too fast for the phrase. Drop the ratio to 3:1, shorten the attack below 5 ms, and lengthen the release to 300 or 400 ms. If it still pulses, the lead’s own dynamics are driving the duck, so use a compressed ghost copy of the vocal as the trigger.
Should I use automation instead of a compressor for lead vocals?
Automation wins on slow, sparse material where you want a hand-drawn duck per phrase and no mechanical feel. A compressor wins on fast passages, dense mixes and anything that will change later, because it responds to the performance without you redrawing it. Many producers sketch the automation first and add a light sidechain on top to catch the gaps.
Start with the return compressor, key it from the dry lead, and set the range so a belted phrase pulls the wet signal down 3 to 6 dB. Leave the release around 250 ms and play the whole chorus rather than the solo. That is how to duck reverb under the lead in its shortest form, and it should take you ten minutes.