To set compressor attack and release by ear, get the threshold and ratio doing a known amount of gain reduction first, then move the attack from fully slow toward fast until the transient starts to lose snap, back off one click, and do the same with release until you hear pumping or a gap after each note. Ten minutes of focused listening beats an hour of copying presets.
The reason this matters is simple: attack and release decide whether compression sounds like invisible level control or like an effect you keep noticing. Get them wrong and you get pumping, dead transients, or vocals that sound like they are being squeezed through a straw. Get them right and nobody in the room knows a compressor is even on the track.
Nobody starts out with an ear for this. You build it by moving one control at a time, in a known order, until you can name what you hear. The steps below give you that order and, more importantly, tell you what to listen for at each position.
One caveat up front, because it is the honest framing: there is no universal attack and release setting. Genre, tempo, instrument, playing style and the compressor circuit all change what the same millisecond value sounds like. Treat every number you read anywhere, including mine, as a starting point for listening, not an answer.
Table of Contents
- What You Need
- Step-by-Step: Set Compressor Attack and Release by Ear
- Step 1: Prepare a Clean Test Signal
- Step 2: Set the Threshold and Ratio First
- Step 3: Use Attack to Control Transients
- Step 4: Use Release to Control the Recovery
- Step 5: Check the Sound in Musical Context
- Step 6: Save Settings That Support the Song
- Common Mistakes
- Frequently Asked Questions
- Can I set compressor attack and release by ear without knowing the numerical values?
- What does a faster compressor attack do to a kick drum or bass sound?
- How do I know whether compressor release is too short or too long?
- Should I adjust compressor attack and release before setting the threshold?
- How can I prevent compressor settings from causing pumping in electronic music?
- Is there one best attack and release setting for trance, house, and techno?
- Conclusion
What You Need
You need very little, which is part of why this is learnable in a sitting rather than over a degree. Here is the honest list.
- A compressor you can open. Any stock or third-party dynamics processor with manual attack and release. An optical, VCA or FET design is fine. Some opto units hide release behind a program-dependent mode, which is worth knowing about before you start.
- One soloed audio source. A single vocal take, a drum bus, a bass DI, one pad. Soloed, because masking makes timing judgments unreliable.
- A monitoring path you trust. Headphones or speakers, both acceptable. What matters is an even, familiar level and no obvious low-end problems in the monitors themselves.
- A quiet, consistent playback level. Loud enough to judge detail, low enough that you are not leaning forward. Set it once and do not touch it again.
- A gain reduction meter. Most compressors show it, and you will use it as a sanity check rather than as the target.
You do not need a preset, a genre reference, or a ratio chosen from a chart. The first listening pass is always with the compressor bypassed, so the unprocessed version becomes your reference.
Step-by-Step: Set Compressor Attack and Release by Ear
Step 1: Prepare a Clean Test Signal
Solo the source you are going to compress and bypass the compressor. Listen for a few seconds and pick one thing that bothers you: a peak that jumps out, uneven notes, a vocal that disappears under the track. You are setting timing to solve a specific problem, not to see what the knob does.
Set an even, moderate monitoring level and leave it. Comparing at mismatched levels is the single most common reason people conclude two settings are different when they are simply louder.
Where useful, mute distracting processing such as a heavy bus compressor or an EQ boost in the same range, so you are hearing the source rather than the chain around it. Then play the phrase you plan to use as your test, twice, so you know what it sounds like untreated.
Step 2: Set the Threshold and Ratio First
Attack and release are only judgeable once the compressor is doing a known, steady amount of gain reduction. Start with a moderate ratio, around 4:1, and pull the threshold down until you see steady movement on the meter, roughly 3 to 6 dB of gain reduction on average.
That meter reading is a reference point, not a goal. Plenty of engineers deliberately over-compress first, then back the threshold off until the sound opens up again, because hearing the heavily squashed version makes the timing differences obvious.
Match the make-up gain so the compressed version sits at the same perceived loudness as the bypassed one. If the processed version is obviously quieter or louder, you will judge the transients incorrectly.
Do not go so quiet or so squashed that you cannot make out the source. If you cannot tell where the note starts, the attack is impossible to judge.
Step 3: Use Attack to Control Transients
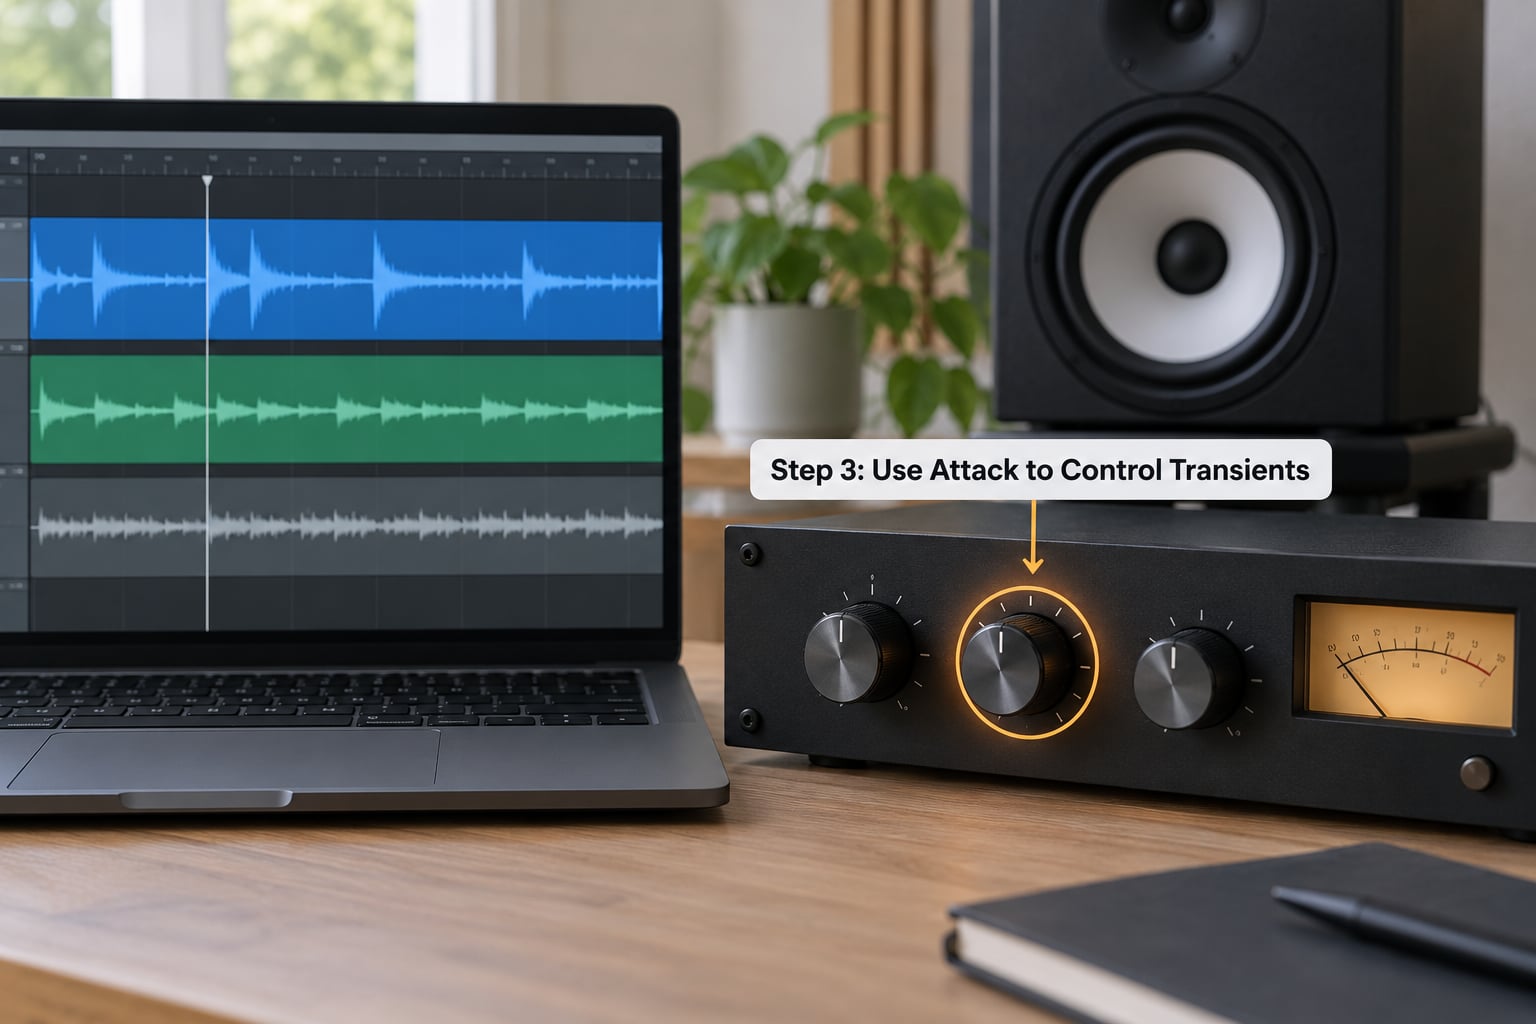
Attack is how quickly the compressor begins pulling gain down once the signal passes the threshold. Start with it fully slow, at the least aggressive end, and sweep toward fast while you play the same phrase on a loop.
Here is the listening target at each end of the sweep. On a slow attack the initial transient slips through before the compressor clamps down, which reads as punch, snap and edge. On a fast attack the compressor grabs the peak almost immediately, which reads as controlled, dense and even but flatter, especially on low-frequency material where the transient carries most of the perceived tone.
Stop the sweep at the point where you first hear the note start to lose its edge, then back off one click. That is your attack. With a compressor whose attack is fast at one end of its range, you may need finer movements than the knob suggests; many plugins have a range control for exactly this reason.
Across sources the effect reads differently, so test the same sweep on more than one. On a kick drum, a slow attack leaves the beater click intact and the drum reads as big; a fast attack makes it dense and harder to cut through a dense mix. On a snare, slow preserves the crack and the separate attack of each hit, fast pulls the two together into a thicker block. On bass, bassists consistently report that anything much under 20 ms starts to eat the punch that defines the note, with a useful working range sitting roughly between 15 and 40 ms. On synth leads and plucks, a slow attack leaves the note start intact while a fast one flattens it into a wall. On pads and sustained textures, attack matters far less than release, because there is rarely a discrete transient to protect.
Watch for the low-frequency failure mode while you sweep. On material with a lot of energy around 100 Hz and below, an extremely fast attack can push a compressor into distortion on the cycle itself, which sounds like grit or a broken speaker rather than clean compression.
Step 4: Use Release to Control the Recovery
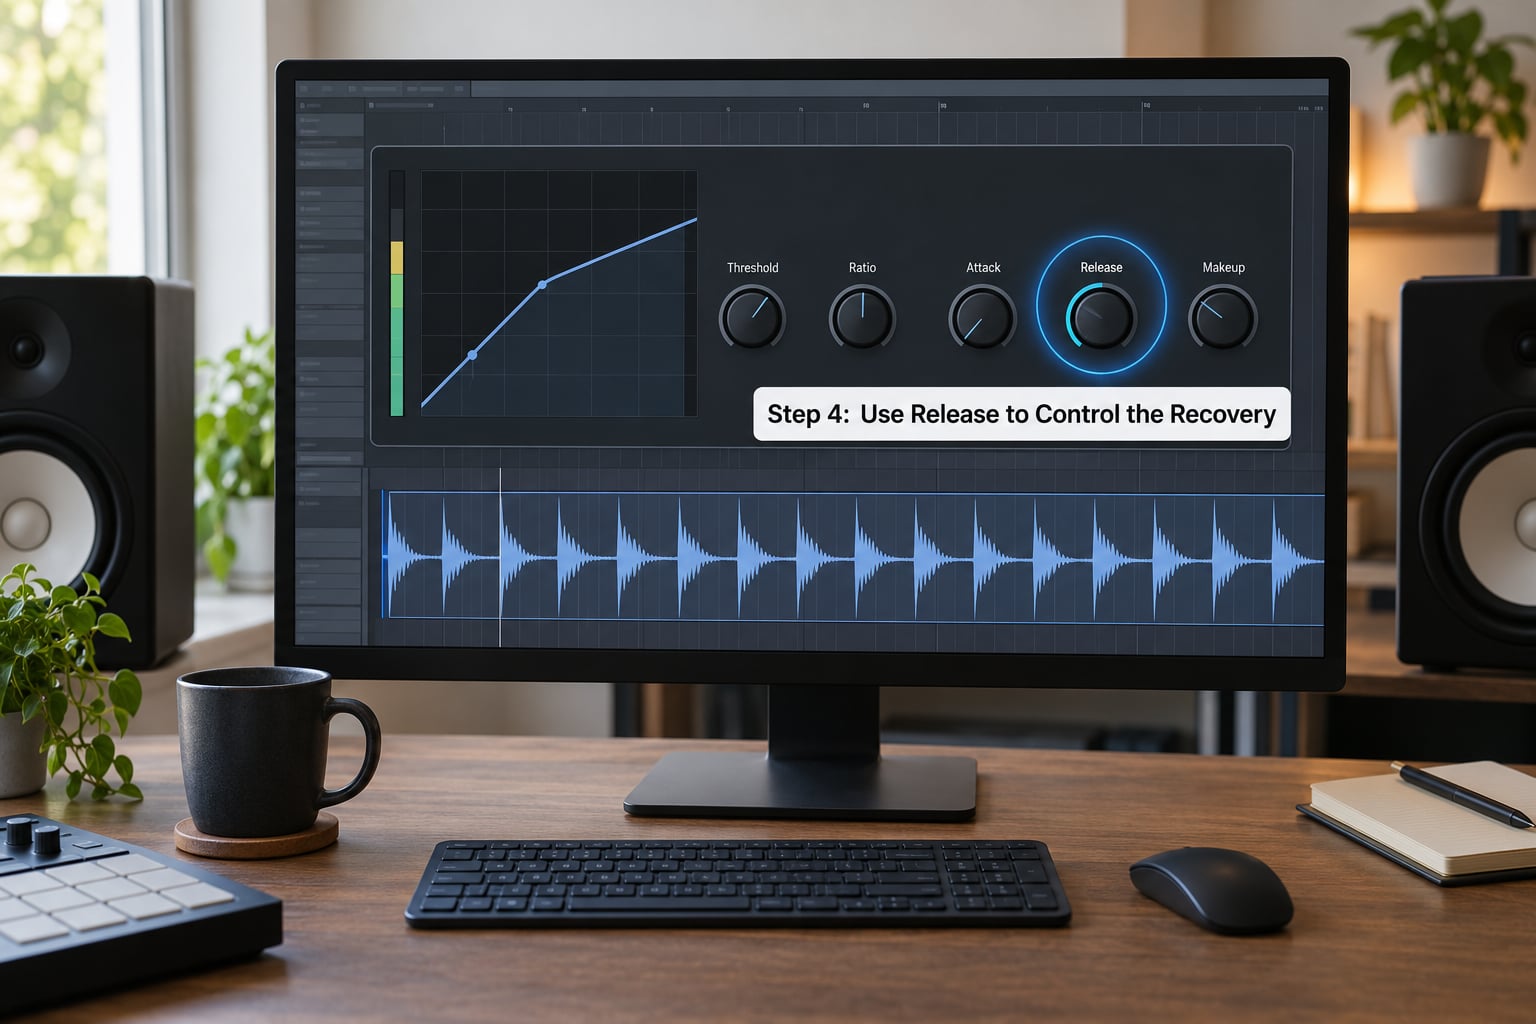
Release is how quickly the compressor stops pulling gain down and returns to full gain once the signal drops back below the threshold. Start with release at the fastest end and lengthen it slowly while you loop the phrase.
Short release gives the compressor time to recover between notes, which sounds tight and percussive. Long release holds the reduced gain across the phrase, which sounds smoother and more sustained but starts to pull at the level. The two failures are opposites, and you need to be able to name both.
If the release is too short you hear a hole or a dip after each note, a tail that seems to get cut off, or a chattering, gravelly quality on sustained material. If it is too long you hear the level sagging, pumping in time with the rhythm, or breathing on a vocal where the quiet parts sound quieter than they should. Pumping is the classic symptom, and it happens because the compressor is still holding gain down when the next transient arrives, so each hit is made quieter than the one before.
Use two tests. First, play a repeating kick or snare pattern at a steady level. If the volume of each hit rises and falls audibly, the release is too long for that groove. Second, play a sustained pad or a long vocal phrase and listen for breathing. Shorten the release until the pumping stops, then lengthen it by the smallest amount that keeps the sustain without the sag.
The tempo relationship helps here and it is not a number so much as a mental model. Bassists tend to think of release as locking to the groove rather than to a fixed time, and the useful range for bass is forgiving, often somewhere between 50 and 200 ms. For a vocal, longer releases in the several-hundred-millisecond range tend to even out phrases; for a mix bus, a slower release across roughly a bar often holds the whole track together.
If your compressor has a program-dependent or auto release mode, listen to what it does for a few passes. It will usually behave reasonably, and it is a fine default. But it is reacting to signal level rather than to your intent, which is exactly the ambiguity that makes by-ear decisions hard when you do not know what it is doing.
Step 5: Check the Sound in Musical Context
Soloed judgment is where you learn, but it is not where you finish. Bring the source back into the full mix and play the section with the neighbouring instruments, because compression changes how a sound sits against other sources.
Listen for four things. The instrument should still have its intended punch. The mix should not be pumping. Peaks should be controlled without the instrument stepping back in level. And the compressed source should stay present without drawing attention to itself as an effect.
If it works soloed and falls apart in the mix, the usual culprit is not attack or release at all. It is the threshold being low enough to react to other sources, which is a sidechain problem. Filtering what triggers the compressor solves it far more reliably than timing adjustments will.
Step 6: Save Settings That Support the Song
Write down what you did: the instrument, the threshold, the ratio, roughly how many decibels of gain reduction, and one sentence describing the character you chose. Something like kick bus, 4:1, about 4 dB, slow attack so the click survives, release matched to the groove.
Re-check these when the arrangement, tempo or loudness context changes. A release that worked on a sparse verse often pumps once you add a layer of extra percussion, and the fix is a short release or a bus re-route, not more compression.
If your settings move more than once per session on the same source, that usually means the threshold is doing too much and the timing is compensating.
Common Mistakes
Judging timing before amount. If the ratio and threshold are wrong, attack and release changes sound like random level moves. Fix the gain reduction first, then listen. If you have to ask how much reduction is normal, a rough sanity check is around 3 to 6 dB on a vocal and 2 to 3 dB for glue, but the ear decides the final number.
Chasing numbers. Reading that a 1176-style compressor needs a fast attack and copying it onto a plugin is how people end up with dead transients. Knob labels are not comparable between units, and some units describe release as the time to recover half the gain reduction while others use a full change, so the same figure means different things on different hardware.
Comparing at mismatched levels. Anything louder sounds better, especially transients. Match the level first, then compare, and use a short fade in and fade out on both versions so your ear is not switching between them constantly.
One setting for every sound. A vocal and a mix bus want opposite things. If your approach depends on a single compressor setting across the whole project, you are using a tool as a preset rather than as an instrument.
Moving attack and release together. Two variables at once means you cannot tell which one caused what you heard. One control, one sweep, one verdict. It is slower for about ten minutes and faster forever after.
Ignoring the trigger. If the compressor is ducking on other instruments, changing timing will not fix it. Look at the sidechain source and filter it instead.
Over-compressing to be safe. Heavy reduction feels controlled and permanently damages breaths, sibilance and note starts. If the same control surface has a release setting, the original take may not be recoverable, so back off earlier than feels necessary.
Defaulting to auto release. Program-dependent modes are convenient and often fine, but they make the compressor unpredictable when you move it to a different source. Learn the manual mode at least once so you know what the machine is doing.
Reaching for attack and release to shape a transient. If your goal is to add click to a kick that has none, a transient designer or envelope shaper does it directly. A compressor is a level tool that shapes shape as a side effect of its timing.
Frequently Asked Questions
Can I set compressor attack and release by ear without knowing the numerical values?
Yes, and for most sources that is the better way to learn. Set ratio, threshold and make-up gain first so the compressor is doing a steady, known amount of gain reduction. Then sweep attack from slow toward fast until you hear the note start losing snap, back off one click, and sweep release from fast toward slow until you hear pumping or a dip after each note. Numbers become a sanity check afterwards, not the target.
What does a faster compressor attack do to a kick drum or bass sound?
A faster attack grabs the initial peak almost immediately, which makes the sound denser and more even but takes the edge off it. On a kick, that often means losing the beater click that makes the drum feel big. Bassists consistently report that attack times much under 20 ms start flattening the punch that defines the note, with a useful range around 15 to 40 ms. Sweep slowly and back off as soon as the note starts to sound smaller.
How do I know whether compressor release is too short or too long?
Too short, you hear a hole or dip right after each note, tails that sound cut off, or a chattering quality on sustained material. Too long, you hear the level sag between hits, pumping in time with the rhythm, or breathing on a vocal where quiet parts get quieter. Test with a repeating kick or snare pattern for pumping, then a long pad or vocal phrase for breathing, and shorten or lengthen until both are clean.
Should I adjust compressor attack and release before setting the threshold?
No. Attack and release are only judgeable once the compressor is doing a steady, known amount of gain reduction. Start at a moderate ratio around 4:1 and pull the threshold down until the meter shows roughly 3 to 6 dB, then match the make-up gain so the compressed and bypassed versions sit at the same loudness. If you move timing first, every change sounds like a random level shift.
How can I prevent compressor settings from causing pumping in electronic music?
Pumping happens when the compressor is still holding gain down when the next transient arrives, so each hit is quieter than the last. Shorten the release until a repeating kick or snare pattern plays at an even level, then lengthen it by the smallest amount that keeps the sustain. If the source is reacting to other instruments, filter what triggers it with a sidechain or look for a bus re-route, because timing changes alone will not fix it.
Is there one best attack and release setting for trance, house, and techno?
No, and anyone giving you one number for three genres is not being straight with you. Those styles share a tempo range and a four-on-the-floor pattern, but the arrangement density, the sub content, the tempo and the compressor circuit all change what the same millisecond value sounds like. Learn the listening targets instead, then re-check your settings when the arrangement or tempo context changes.
Conclusion
Start with the boring part. Solo the source, listen to it unprocessed at a level you will not change, set ratio, threshold and make-up gain until the gain reduction is steady, then move one control at a time against a named listening target.
If you only do one thing, do this: sweep the attack from slow to fast until the note loses its snap, back off one click, and leave it there. Once that sounds right, the release is a five-minute job instead of a guessing game.