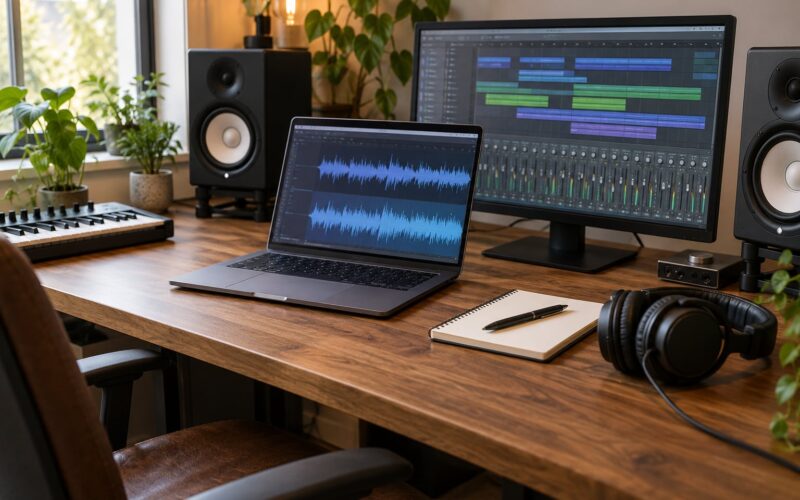
Yes, you can mix at low volume and get it right, and for electronic music in a bedroom or semi-pro room it is often the better way to work. The trick is not simply turning the monitors down: you pick one repeatable listening level, measure it once, and do the bulk of your mixing there, then turn up on purpose for a short low-end check at the end. How to mix at low volume and still get it right is mostly a discipline problem, not a gear problem.
Most engineers I have talked to about this land in the same place. On a long Gearspace thread about mixing accurately at low volume, several described spending something like 90 to 95 percent of their mix time sitting between 50 and 65 dB SPL, with an occasional louder moment to confirm the low end. That is not extreme quiet. It is roughly a normal conversation level, which is where your ears are least tired and your balance decisions are most reliable.
Below is the setup, then a seven-step workflow where every step tells you how to check that it worked.
Table of Contents
- What You Need
- Step-by-Step: a seven-step low volume mixing workflow
- 1. Start with a controlled monitoring level
- 2. Set gain staging before you judge the balance
- 3. Build the low-frequency balance
- 4. Place kicks, snare, hats and vocals in the stereo field
- 5. Use EQ and compression to improve clarity
- 6. Control the master bus without flattening the mix
- 7. Reference, compare and rest your ears
- Common Mistakes
- Frequently Asked Questions
- Can you actually make a good mix at low volume?
- What volume should I use when mixing music?
- How do I know if my mix is too quiet or too loud?
- Should I mix with headphones or studio monitors?
- Why does my mix sound better when I turn the volume up?
- How do I prevent low-volume mixing from making everything sound muddy?
What You Need
Five things, and only one of them is a purchase decision. The rest is setup work you can do in an afternoon.
A repeatable monitoring level is the foundation. Either measure it with a cheap SPL meter or a phone meter app and write the number on a piece of tape next to your speaker, or fix it by feel at a specific setting on your interface knob and never touch that setting again. Either way works. What does not work is deciding afresh each session.
A gain-safe signal chain matters more at low volume than most people expect. If your converters are clipping or if you are pushing into the interface’s preamp, the monitoring level stops being a listening choice and becomes a distortion choice. Leave real headroom there.
Closed-back headphones give you the second reference point. Small speakers in a treated corner and decent closed-backs disagree with each other in useful ways, and you want both. Open-back headphones leak too much sound to mix against at low levels.
Level-matched reference tracks matter more than expensive ones. Pick three or four in the same genre and rough loudness as your track, and use them constantly. If you have not heard how the mix is meant to sit, you are guessing.
A DAW template saves the most time of all. Put your metering, your bus layout and your limiter ceiling in it so you are not rebuilding the same chain every time you start.
Step-by-Step: a seven-step low volume mixing workflow
1. Start with a controlled monitoring level
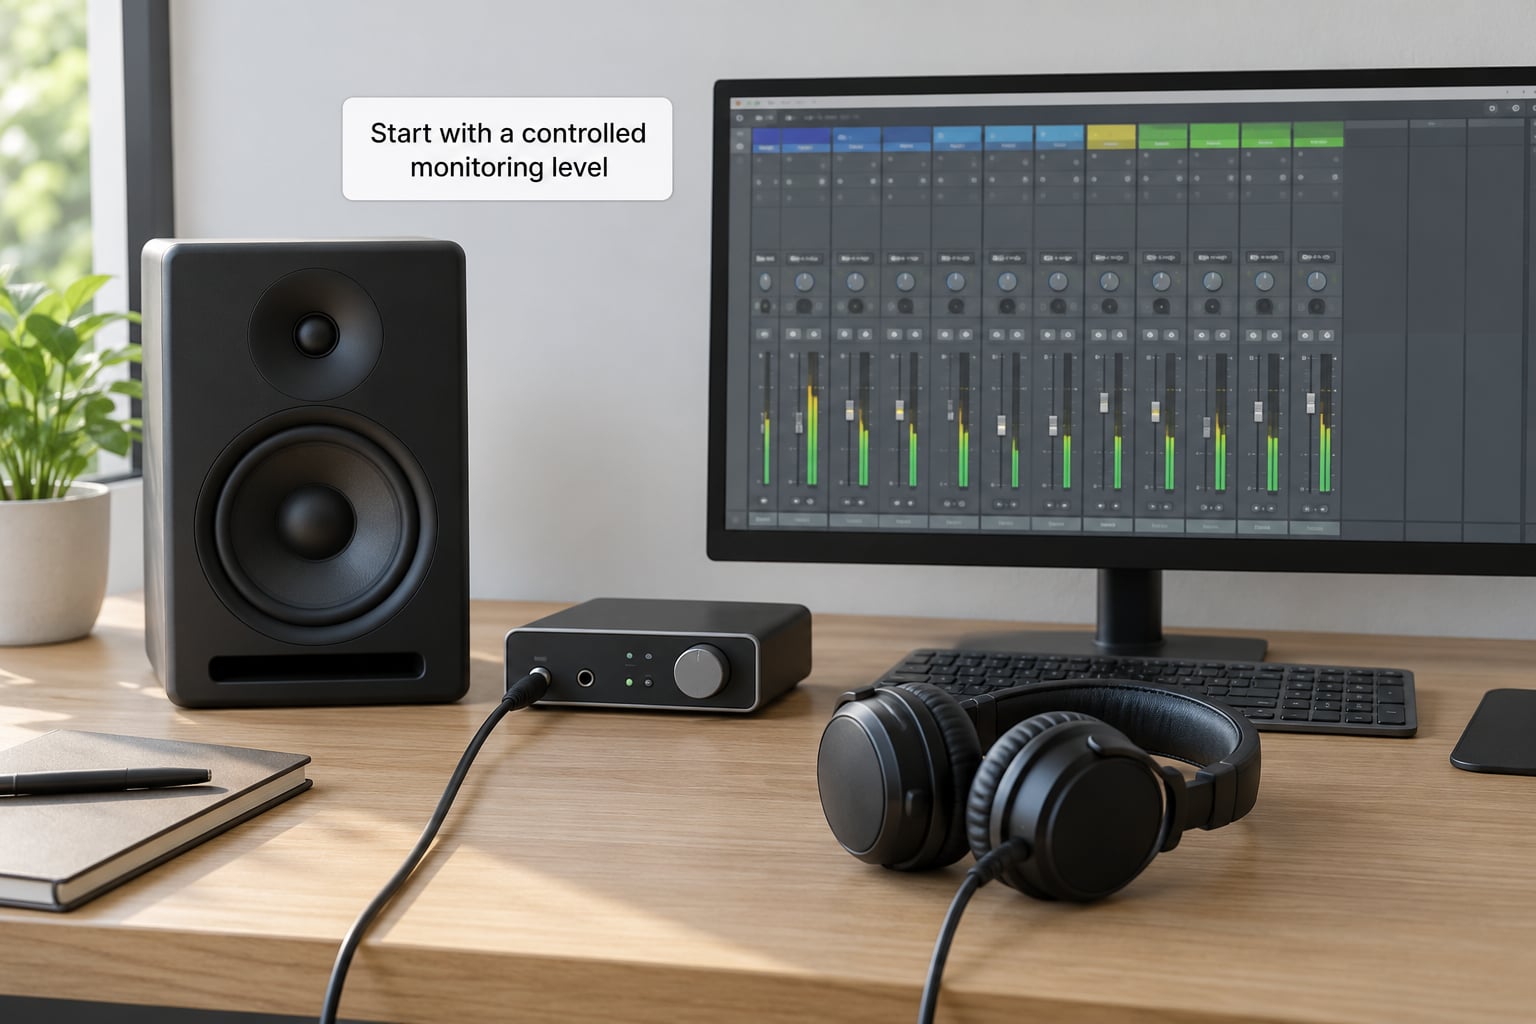
Set the level once and mark it. Around 70 to 80 dB SPL is the range most engineers quote as the flattest place to judge balance, with 60 to 70 dB being the sweet spot for fussy work like EQ and compression.
The absolute number matters far less than the consistency. A mix judged at 65 dB every single day will end up better than one judged at whatever level you felt like on Tuesday. Once the level is set, the physical volume knob stops being part of your mixing decisions.
Here is why it works. Human hearing is level-dependent, described by equal-loudness contours historically called the Fletcher-Munson curve. At high levels your ear treats low and high frequencies as roughly equal in loudness, so a boomy bass and a hissy top both sound more prominent than they really are. Lower down, the ear’s sensitivity rolls off at both ends, so those exaggerations shrink and the actual balance between kick, bass, vocal and top end becomes far closer to what a listener hears.
How to verify this step worked: play a reference track you know well, note the volume, then mute and unmute the master. The reference should sit at a comfortable, fatigue-free level where you can hear a hi-hat without it grabbing you.
2. Set gain staging before you judge the balance
Do this before any EQ, because a track peaking near digital full scale tells you nothing useful about its relationship to anything else.
Pull your instrument tracks down so their peaks sit around -12 to -6 dBFS on a meter with peak detection enabled, then build your mix from faders rather than from the plugin gain knobs. Busses get the same treatment. Leave the master output itself somewhere around -6 dBFS peak on loud sections, with nothing clipping into the interface.
Watch your peak meters, not the loudness number, while you are doing this. Peak metering shows you the transient peaks that clipping cares about. If your DAW has true-peak metering switched on, leave it on, since inter-sample peaks are the ones that bite first when a track is later mastered.
In Logic the meter mode is set under the Output or meter settings of the Main Output or a bus; in Ableton, right-click the master track’s meter and choose the peak mode. In Cubase, the meter options live in the project setup or on the meter itself.
How to verify: solo one track at a time at your reference level. If a single instrument is startlingly loud, its gain is wrong and every balance move you make after that will be built on a mistake.
3. Build the low-frequency balance
The kick-to-bass relationship is the decision low-volume mixing is best at, because at conversation level you hear how much space each one leaves for the other.
Allocate rather than overlap. If the kick owns roughly 60 to 100 Hz and your bass line is melodic and busy, carve a little room for the kick out of the bass with a dynamic EQ or a compressor sidechained from the kick. If the bass is a sub with nothing harmonic on it, it can sit underneath the kick instead of ducking for it.
At low monitoring levels the sub energy is genuinely hard to judge, so use this rule: get the harmonic balance right quietly, then raise the level for one focused check and listen for the sub only. Do not balance the sub while sitting quietly, and do not let it dominate the loud check either. The loud check confirms it is there; the quiet check is where you set how loud it should be.
For EDM, especially anything with a strong sub, expect to visit that louder check two or three times across a mix. That is normal and not a failure of the technique.
How to verify: play the low end alone with everything else muted. The kick should have a defined edge and the bass should have a defined note. If you cannot hear either one clearly, they are fighting.
4. Place kicks, snare, hats and vocals in the stereo field
At low volume, level and placement carry the whole mix, because there is no loudness to lean on. Get these four right and the mix holds together; get them wrong and no amount of master processing rescues it.
Start with level. Set the vocal, the kick and the snare relative to each other in fader terms, then refine with gain. Vary the level on your hi-hats and top loops with the fader rather than pushing them into the mix with brightness, which changes their tonal character as you do it.
Then place them. The kick and snare usually sit dead centre, the bass close to centre with maybe a small amount of width, hats and percussion spread across the top, and the lead vocal centred. Subtle and wrong is worse than obviously wrong, so start with narrow placements and widen only where it helps.
Depth comes from time rather than volume. A short slap delay or plate reverb on the vocal, and a short room on the snare, push elements back without touching their level, so the front of the mix stays legible when everything is quiet.
How to verify: pull the vocal up and down a few dB while playing. If it disappears entirely when you drop it, it is buried. If it stays on top regardless, the balance is wrong.
5. Use EQ and compression to improve clarity
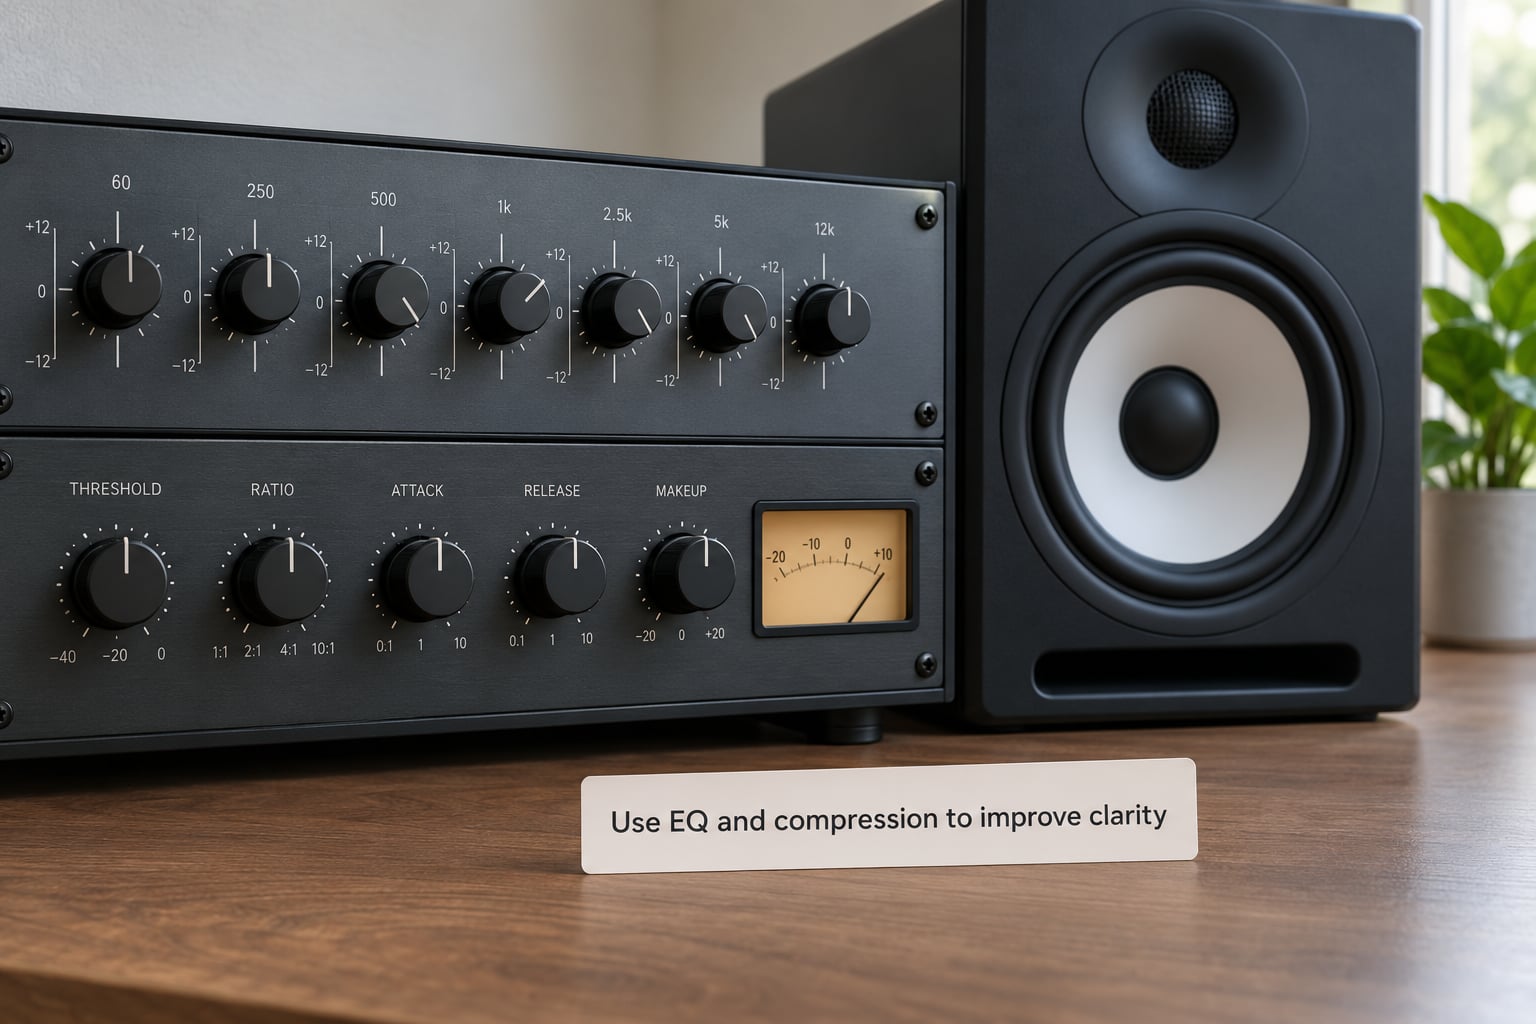
Low-volume listening makes masking obvious. When a vocal is fighting a bass synth for the same 200 to 400 Hz range, the fight is much easier to spot at 65 dB than at 90 dB, because your ears are not being drawn to the loudest thing in the frame.
Work in small moves. Cut 1 to 2 dB, bypass, compare, then decide. If you cannot hear the difference, undo it. The temptation at low volume is to make bigger moves than usual because everything feels quiet, which is exactly backwards.
For EQ, start with subtractive cuts on whatever is causing the mud, use a moderately narrow band for that, and only reach for a boost when you are fixing something you can specifically name. A gentle high-pass on every channel except the bass is a good default.
For compression, use a slower attack and moderate ratio so it evens out rather than pumps, and set the makeup so you are comparing level and tone separately. Set the threshold, then bypass: if the compressed version is not obviously more even, the threshold is wrong or the compression is unnecessary.
How to verify: play the section, then solo the two elements that were fighting. They should each sound complete on their own, which is the real test of a good EQ cut.
6. Control the master bus without flattening the mix
The master chain should be light. Its job is glue and a ceiling, not tone, and anything more than that tends to hide the mix decisions you just made.
A compressor on the master bus with a slow attack, a ratio around 1.5 to 2 and a couple of dB of gain reduction on your loudest section is plenty. Follow it with a limiter for the ceiling only. As a starting point, streaming-normalised electronic music commonly lands somewhere between -14 and -9 LUFS integrated, though the number that matters most is what the reference tracks in your genre measure.
Set true-peak ceiling to -1 dBTP. That gives mastering a little room to work while staying safe for lossy encoding.
Then the quiet check. Play the finished mix at your low reference level and listen for the low end disappearing and the mix sounding thin or fragile. That thinness is exactly what a listener on a phone speaker will hear, and it means your balance is over-bright or under-bassed.
How to verify: the integrated loudness number, the true peak reading and your low-level playback all agree. If the meter says -9 LUFS but it feels restrained at low volume, something upstream needs attention.
7. Reference, compare and rest your ears
Level-match your references to your mix with the loudness-match or gain-match button in your DAW. Comparing a mastered track played 6 dB hotter against your raw mix tells you almost nothing except that theirs is louder.
Then run the quick checks. Switch the mix to mono, because phase problems and overly wide elements collapse instantly in mono. Play it through a phone speaker, since that is a translation test. Drop it down a few more dB, because quiet listening is the harshest test of balance.
Rest is part of the method, not a break from it. Ear fatigue is cumulative and it is the reason loud mixing goes wrong: you stop hearing the imbalance you introduced an hour ago. A ten-minute break every 45 minutes costs you almost nothing and saves your decisions.
If you have always mixed loud, give it two to four weeks before you judge the method. Engineers describe that recalibration period as the hardest part, and the first few sessions will feel like the mix is too quiet no matter what you do.
How to verify: after a break, the first thing you hear should be an imbalance you did not catch before. If that keeps happening, extend your break intervals rather than making more moves.
Common Mistakes
Treating low volume as a volume setting rather than a method. Turning the monitors down without a repeatable level leaves you guessing differently every session. Pick a level, measure it, write it down.
Balancing the sub while listening quietly. This is the most common error and it is why low-volume mixing gets blamed for weak bass. Set the harmonic balance low, then raise the level briefly to confirm the sub is present.
Making bigger EQ and compression moves to compensate. If everything sounds timid at low volume, the answer is usually arrangement, contrast and level, not more processing. Cut 1 to 2 dB and listen again rather than 6 dB.
Ignoring the meters. Peak meters tell you whether your chain is clean; integrated loudness tells you how your mix compares to references. Never use fader position alone as a level judgement.
Comparing unlevel-matched references. This produces the false conclusion that your mix is quiet or dark when it is simply not mastered. Always level-match before you judge.
Skipping the loud check entirely. Low-volume mixing is not a ban on turning it up. Short, deliberate higher-level passes for low end and impact are part of the technique.
Mixing straight through for three hours. Fatigue is what turns a small mistake into a finished mix you regret. Schedule the break in advance, because you will not take it once you are in the zone.
A quick rule of thumb: if you are mixing at low volume and want more impact, fix the arrangement and the balance before you touch the master bus.
Frequently Asked Questions
Can you actually make a good mix at low volume?
Yes. Most professional engineers spend the majority of their mix time at conversation level, roughly 50 to 70 dB SPL. At that level your ears are least fatigued and the equal-loudness effect shrinks, so the balance you hear is closer to what a listener hears. The caveat is that low end needs a short louder check to confirm.
What volume should I use when mixing music?
Around 70 to 80 dB SPL gives the flattest frequency response, and 60 to 70 dB is better for EQ and compression detail. Consistency matters more than the exact number. Measure your level once with an SPL meter or phone app, mark the knob, and use that same level every session.
How do I know if my mix is too quiet or too loud?
Level-match a reference track and compare, rather than guessing from fader positions. Read your integrated loudness and true peak meters, and compare those numbers against tracks in your genre. If your mix feels restrained at your low reference level, listeners will hear it as thin regardless of what the meter says.
Should I mix with headphones or studio monitors?
Use both when you can, because each reveals different problems. Monitors give you room behaviour and low-end translation; closed-back headphones give you detail and let you work anywhere. Mixing on headphones only is workable, especially at low volume, but check the low end and translation on a speaker system regularly.
Why does my mix sound better when I turn the volume up?
Loud playback makes low and high frequencies seem more prominent, which can disguise a mix that is actually unbalanced. It also engages your adrenaline and hides fatigue. If a mix only works at high volume, check the level-matched reference first, then look at arrangement and balance rather than reaching for a louder master.
How do I prevent low-volume mixing from making everything sound muddy?
Allocate frequencies instead of letting everything overlap, especially kick versus bass and vocal versus the low-mid instruments. Use a high-pass on everything except the bass, small subtractive EQ cuts of 1 to 2 dB, and depth from short reverbs rather than volume. Mud usually comes from arrangement, not from the listening level.
Start tomorrow by picking one number, measuring it, and writing it next to your monitors. Do your next full mix at that level, take a break every 45 minutes, and check the low end once at a higher volume before you call it done. That single habit usually fixes more balance problems than another plugin will.