Knowing how to do subtractive EQ on busy mixes comes down to one idea: cut problem frequencies out of a mix instead of boosting the ones you want. On a busy arrangement where fifteen tracks compete for the same range, that means finding where instruments are masking each other, then removing the buildup with the smallest cut that clears it.
It is the first corrective move, not the last one. A mix usually sounds muddy or crowded because too much energy sits in the same place, and adding a boost on top of a pile only makes the pile louder.
The workflow below takes about an hour per mix once it becomes habit. I use the same order every time, whether the session is 12 tracks or 60.
Table of Contents
- What You Need
- Step-by-Step
- 1. Set Up a Level-Matched Listening Check
- 2. Find the Actual Frequency Range to Treat
- 3. Make a Small Cut With a Wide, Gentle Slope
- 4. Control Low-End Rumble and Mud
- 5. Reduce Boxiness and Lower Mids Without Hollowing the Mix
- 6. Tame Harsh Upper Mids and Resonant Peaks
- 7. Check the Whole Mix and Keep Only What Helps
- Common Mistakes
- Cutting Too Much at Once
- Using One Preset on Every Channel
- Treating Broad Problems With Narrow Cuts
- Judging the Cut Without Gain Matching
- Cuts That Create New Masking
- Quick Tips for Cleaner Results
- Frequently Asked Questions
- What Q setting should I use for subtractive EQ?
- Can subtractive EQ fix a mix that sounds crowded?
- Should I EQ every instrument in a busy mix?
- Is it better to use a high-pass filter or a low-shelf cut for mud?
- When is subtractive EQ the wrong solution?
- Conclusion
What You Need
Subtractive EQ is any EQ move that reduces a band: a high-pass filter, a low-shelf cut, a bell cut, or a dynamic band that pulls down only when it crosses a threshold. Additive EQ does the opposite, lifting a band to add character or presence.
Neither one is the correct approach. Additive EQ on a mix that already has too much energy in a range just buries the element you were trying to feature, which is why subtractive work happens first.
Before you touch anything, have these in place:
- A rough mix with a reference. Levels balanced roughly, plus one commercial track you trust, level-matched.
- A spectrum analyzer in high-resolution mode. Every DAW ships one.
- Headphones and monitors. You will cross-check low-mid problems in both.
- Main instrument and vocal buses, so cuts can be applied once to a group instead of channel by channel.
- A parametric EQ with adjustable Q and filter type. Ableton Live’s EQ Eight, Logic’s Channel EQ, Pro Tools’ Channel Strip, and FL Studio’s Fruity Parametric EQ 2 all cover this.
Step-by-Step
1. Set Up a Level-Matched Listening Check
Put your playback level where you can work for an hour without straining. Set it once, then do not touch it. Most bad EQ decisions come from a level change, not from the EQ itself.
With levels roughly balanced, open the channel you suspect in your DAW. In Ableton Live that is the EQ Eight device on the mixer channel; in Logic it is the Channel EQ inserted on the audio track. Do the same for your reference track so switching between them is one action.
If you hear improvement only when you push the fader, you have not made an EQ decision yet. You have made a level decision.
2. Find the Actual Frequency Range to Treat
Do not cut a preset frequency. Find the range the problem actually occupies by sweeping a moderate bell slowly while the mix plays, and note where the sound gets worse rather than better.
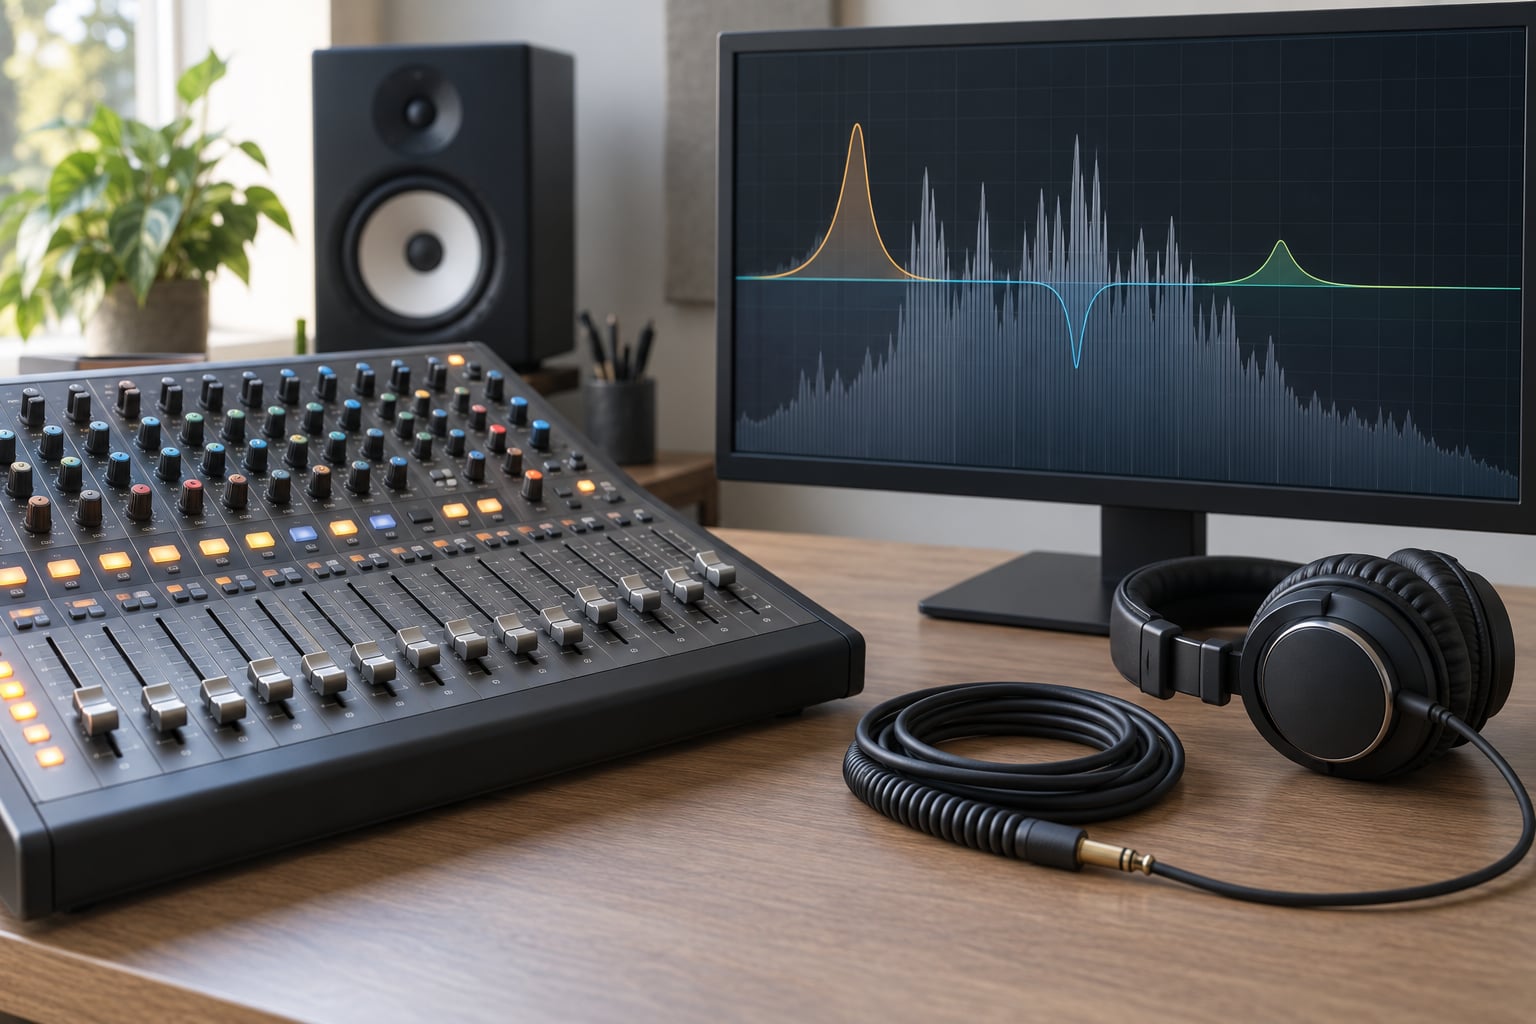
Switch the analyzer to a high-resolution, slow-refresh view. A fast-looking curve with a slow refresh time shows narrow peaks properly, which is where it matters most. On a busy mix, look for two shapes: a single sharp spike, or a broad lump with shoulders.
Those two shapes need different filters, which is the reason step 3 separates them. A spike is a resonance in the instrument or the room. A broad lump is accumulation, often several sources adding up in the same octave.
Compare with the reference while you sweep. If your guitar sits 3 dB hotter at 400 Hz than the reference track’s, that is evidence, not opinion. Solo briefly to confirm the source, then return to full context immediately.
3. Make a Small Cut With a Wide, Gentle Slope
Start with 2 to 3 dB. Pull it down, listen to the full mix for ten seconds, and pull back up until the problem is just resolved. Beginners routinely cut three times more than they need to.
For a broad lump, use a wide bell. Low Q spreads the cut across more frequencies and leaves the shape of the instrument intact. Raise Q only while the problem persists.
For a single sharp peak, raise the Q until the filter affects just that spike. Too high a Q on a broad problem changes the timbre without fixing the density, which is how mixes end up thin and hollow.
In EQ Eight, bands 2 to 4 are bell filters by default and bands 1 and 8 are the high-pass and low-pass filters. Match the band type to the shape you identified, then set the frequency and Q before touching the gain.
4. Control Low-End Rumble and Mud
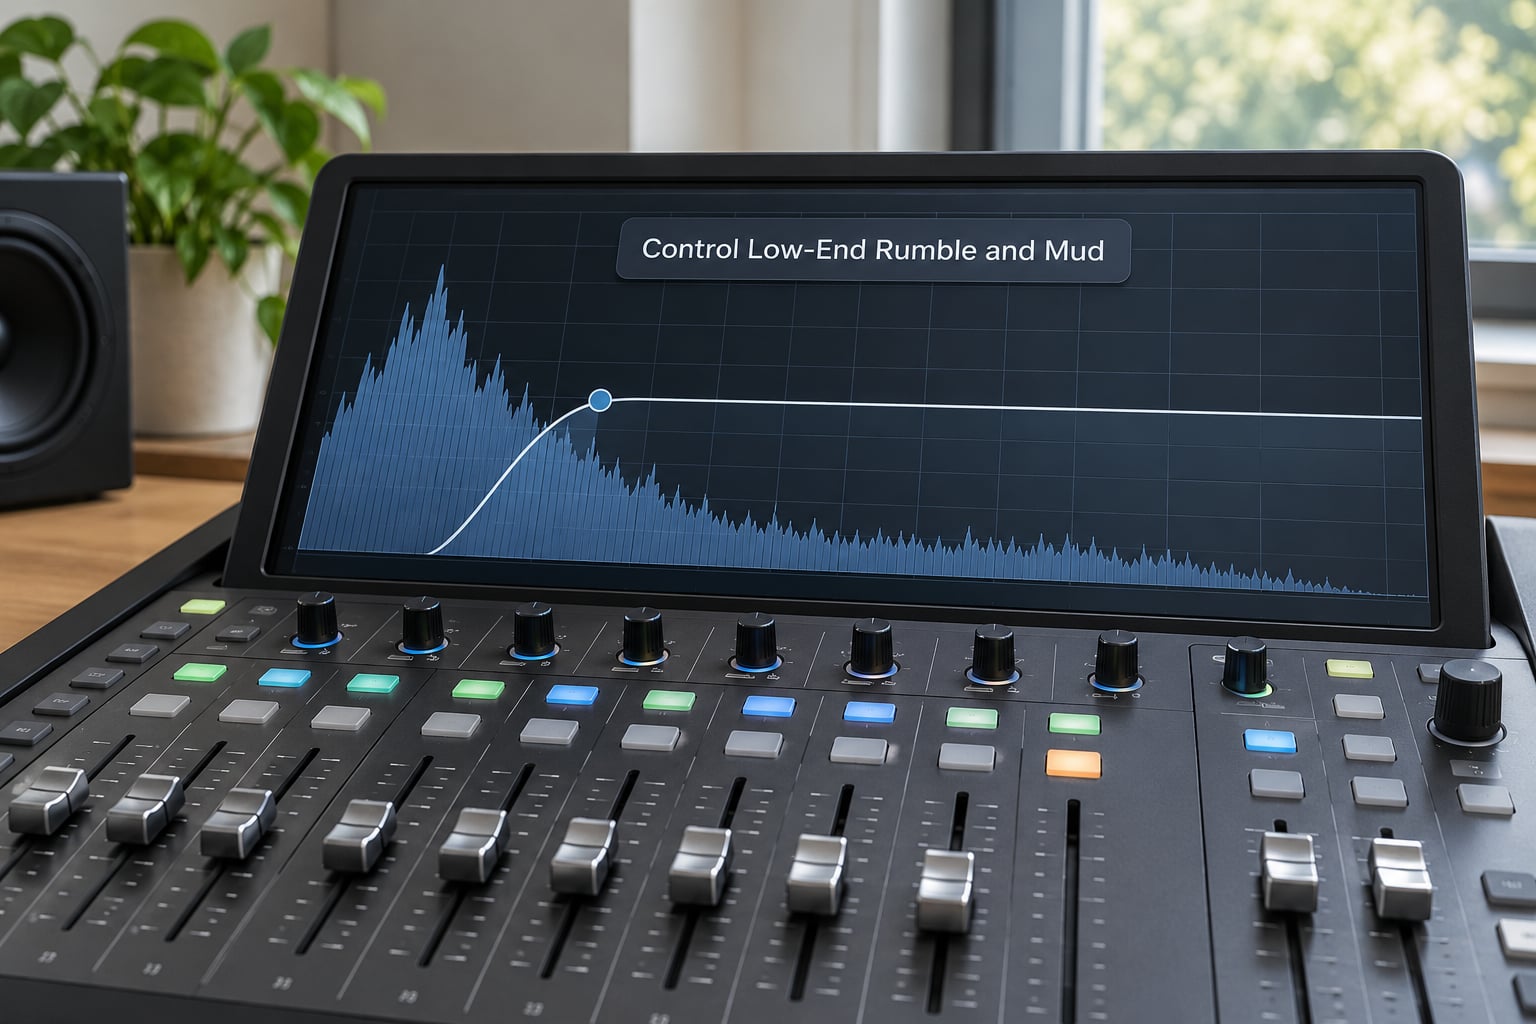
Most muddy low end is energy below where the instrument’s fundamental sits. A guitar tuned to E has a fundamental around 82 Hz, so everything under roughly 60 Hz on that channel is room noise, handling noise, or bleed from another take.
Find your low-end conflict by soloing the kick and bass together. If you can hear the bass note clearly on its own, they are competing. If the bass disappears into the kick, they occupy the same space.
Set a high-pass filter just below the fundamental of the important source, using a steep-ish slope but not the steepest one. Then use a gentle low-shelf cut, 1 to 2 dB, in the 100 to 300 Hz region where mud usually builds.
One warning that gets repeated constantly on mixing forums: check whether a high-pass is already on the channel or the bus before adding another. Stacking two filters on the same corner frequency produces a steeper slope than most people intended, and takes body with it.
You will notice the mix gets heavier on monitors and lighter on headphones, not the other way round. If low-end information disappears on small speakers, the cut went too far.
5. Reduce Boxiness and Lower Mids Without Hollowing the Mix
Boxiness usually lives between 300 and 800 Hz and nasal tone usually sits between 1 and 2 kHz. The source is nearly always a resonant body: a guitar cabinet, a snare shell, a wooden room, or a large condenser mic proximity effect.
Compare the offending channel against the channels it masks. A 3 dB cut at 400 Hz on one guitar is enough if the other guitar sits there too, and not nearly enough if three instruments share the range.
Cut from the element that matters least in that moment. If the vocal is the priority, take it out of the guitars, not the other way round, even when the guitars are easier to reach.
Watch for the hollow result. When a cut removes the body along with the boxiness, the fix is a narrower cut with more reduction rather than a wider one with less, and sometimes a small amount back at a nearby frequency. Listen in mono at this stage; masking that stereo hides shows up immediately in the sum.
6. Tame Harsh Upper Mids and Resonant Peaks
Harshness above 2 kHz is usually one of three things: a narrow resonant peak, sibilance on consonants, or hard transient content such as pick attack and cymbal wash.
A narrow peak gets a narrow cut, with Q between 8 and 15 depending on how wide the resonance is. Sibilance is different; it lives on specific syllables and comes and goes, so a static cut is a compromise at best.
For sibilance, a dynamic band with a threshold set just below the level of an S and a fast attack handles only the syllables that need it, and leaves the rest of the vocal untouched. Logic’s Channel EQ and Ableton’s EQ Eight both have this built in, as does any multiband compressor with an EQ section.
When the harshness covers a wide range instead of isolated moments, use a high-shelf cut of 1 to 3 dB rather than chasing peaks. Before and after screenshots of the analyzer at the same settings will show you whether the cluster of peaks is tighter or simply quieter.
7. Check the Whole Mix and Keep Only What Helps
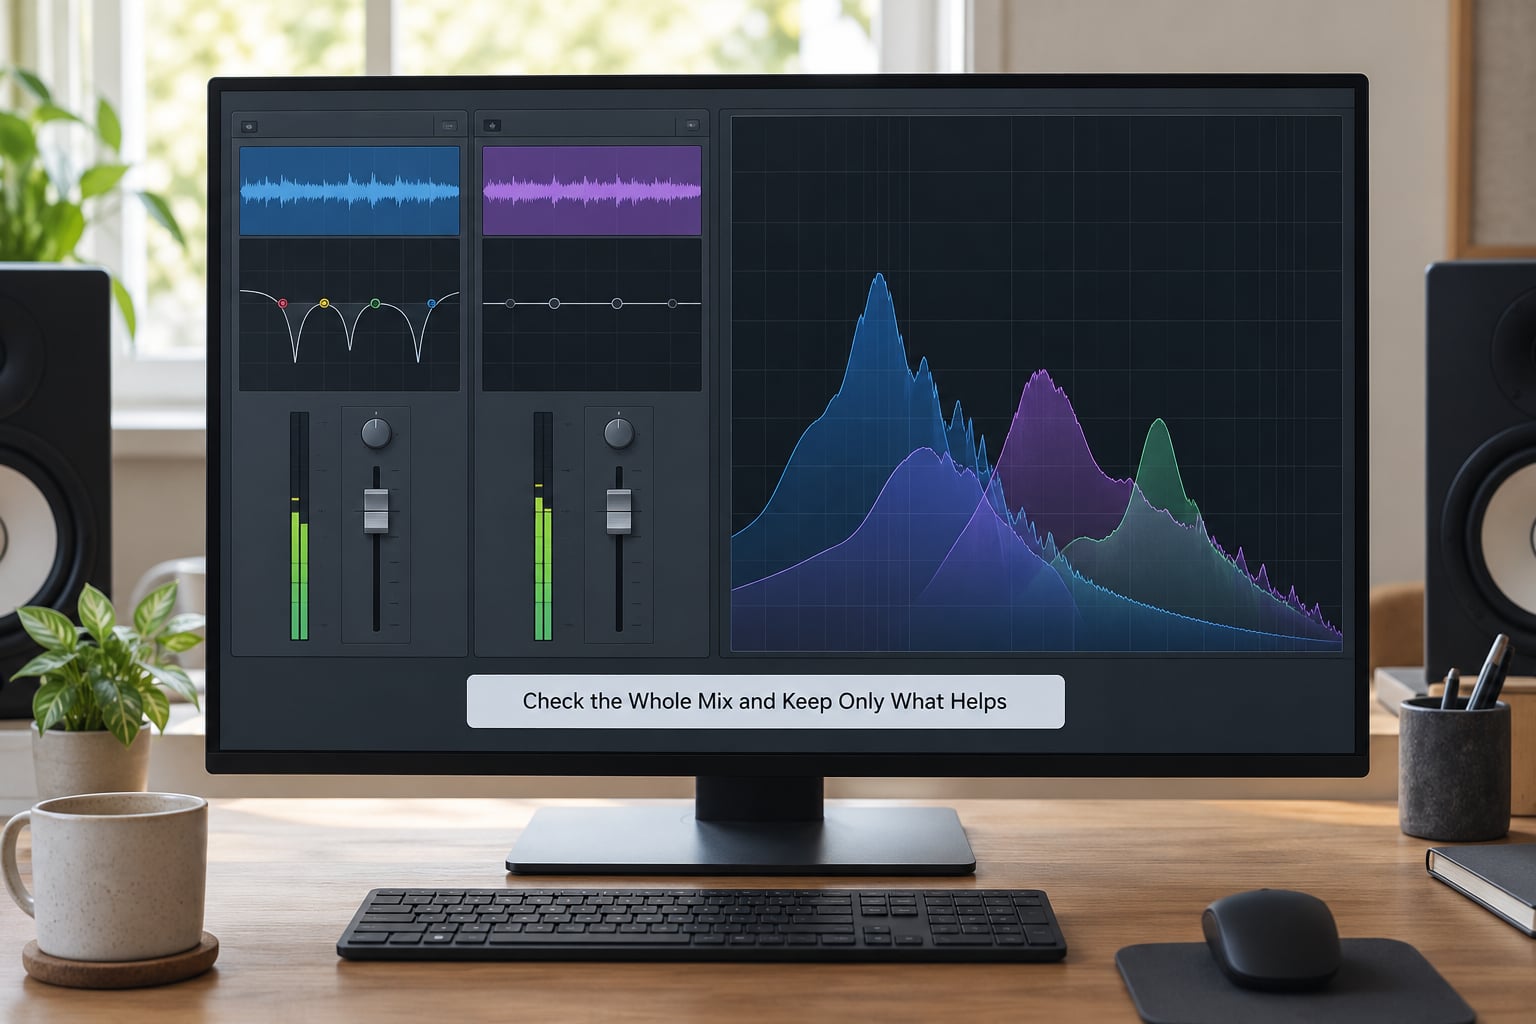
Bypass the EQ and compare. If the difference is a bit of clarity, keep it. If you cannot hear a difference, remove the cut, because it is only adding risk.
Play the full track start to finish at your fixed level. Cuts that work in a static loop often fail in a dense chorus or a quiet breakdown where extra elements enter.
Where masking appears only in the busiest sections, automate the cut rather than applying it permanently. A 2 dB reduction written in for eight bars of the final chorus is invisible until it is missing.
Repeat the same pass at low volume and in mono. Problems that survive all three checks are real problems. After that, compare against the reference one more time and stop.
Common Mistakes
Cutting Too Much at Once
A large cut drags down the whole channel and the mix seems clearer because everything got quieter. It removes useful harmonic content along with the problem, and the result sounds dull rather than clean.
Fix: work in 1 dB increments, level-match after each one, and stop at the smallest reduction that resolves the conflict. If 2 dB works, 6 dB is a different and worse decision.
Using One Preset on Every Channel
Copying the same settings across instruments treats the mix like a template instead of a set of sources. Two channels with identical cuts at 400 Hz will fold into each other exactly as badly as before.
Fix: analyse each source and its role in the arrangement separately. The same bell frequency means something different on a bass DI and a snare top.
Treating Broad Problems With Narrow Cuts
An isolated resonance is a spike you can point to on the analyzer. A density problem is an accumulation with no single culprit, and a narrow filter on it reshapes the timbre without reducing the density.
Fix: lower the Q or switch to a shelf for wide problems, and reserve the high-Q bell cut for peaks you can isolate by soloing the source.
Judging the Cut Without Gain Matching
Attenuation always sounds like improvement at first. Without a matched comparison you are grading loudness, and the settings that seemed transparent in solo will collapse when the neighbouring channels come back in.
Fix: match the perceived level of the bypassed and processed paths, then compare. In Ableton and Logic, a pass on the EQ bypass plus a channel fader trim is enough.
Cuts That Create New Masking
Remove the guitar’s 300 Hz and the bass suddenly owns that range, or clear the vocal’s 2 kHz and a synth becomes the brightest thing in the song. Cuts change the balance, including the parts you did not touch.
Fix: play the full mix after every change. If the new balance is worse, back the cut off and solve the shared problem with arrangement, panning, or bus processing instead.
Quick Tips for Cleaner Results
Work at a level where EQ moves are obvious but not flattering. Very quiet monitoring is where low-end mud becomes impossible to ignore.
Use solo for diagnosis and context for decisions. The classic mistake from mixing forums is EQing a track in solo until it sounds perfect on its own, then discovering it does not fit anything.
Stay aware of what is already filtering. Every channel and bus may already have a high-pass or low-pass, and a new filter placed on top of an existing corner steepens it faster than you expect.
Avoid the same cut on six channels. Six channels cut 2 dB at 400 Hz is a 12 dB hole in the arrangement, and it takes the arrangement down with it.
Write your settings down, including the ones you rejected. Most of the work in a busy mix is deciding what not to do, and the notes are the only thing that stops you from re-testing it next week.
Stop once the relationship is clearer. If the vocal sits clearly on top of the guitars at a normal level with the reference playing, the EQ is finished.
| Problem | Where it lives | Filter and Q | Typical cut | Listen for |
|---|---|---|---|---|
| Rumble and handling noise | Below 60 Hz | High-pass, 12 or 24 dB per octave | Set the corner, not the gain | Silence between notes on a guitar or vocal |
| Mud and boom | 100-300 Hz | Low-shelf or wide bell, Q 0.7-1 | 1-3 dB | Blurred separation between kick and bass |
| Boxiness | 300-800 Hz | Bell, Q 1.5-3 | 2-4 dB | Sound collapsing when you listen on headphones |
| Nasal vocal tone | 1-2 kHz | Bell, Q 2-4 | 1-3 dB | A pinched, forward vocal that tires quickly |
| Harshness and bite | 2-5 kHz | Bell or high-shelf, Q 4-12 | 1-3 dB | Fatigue in the upper mids after a few minutes |
| Sibilance | 5-9 kHz | Dynamic bell, fast attack | 2-5 dB when triggered | Harsh S and T sounds that come and go |
| Isolated resonance | Anywhere | High-Q bell, Q 8-15 | 2-6 dB | A single ringing frequency on one channel only |
Every number in that table is a starting point, not a prescription. It is a place to begin and a shape to listen for, which is worth more than a fixed setting when the mix in front of you has its own problems.
Frequently Asked Questions
What Q setting should I use for subtractive EQ?
Use a wide Q, around 0.7 to 1, for broad problems such as mud or boxiness, because the cut spreads out and leaves the instrument’s character intact. Raise Q to 4 or higher only for narrow resonances, and to 8 or more for a single ringing frequency you can point to on the analyzer. If the cut changes the timbre but the density stays the same, the Q is too high for that problem.
Can subtractive EQ fix a mix that sounds crowded?
Partly. Subtractive EQ can remove buildup and clear space between elements, but crowding is often an arrangement problem: too many parts fighting in one octave, or too many effects in the same range. EQ works best on the sources that can be moved in level, panned, or edited out. If cutting leaves you thin and tired, the arrangement needs less in it, not more filtering.
Should I EQ every instrument in a busy mix?
Work with a priority list instead. Every source that plays at the same time as another needs attention; a part that never overlaps with anything does not. Most busy mixes need corrective cuts on maybe half the tracks, and the other half only needs gain staging and a high-pass. Analysing and cutting everything is how sessions end up with dozens of overlapping notches and no clarity.
Is it better to use a high-pass filter or a low-shelf cut for mud?
They solve different problems. A high-pass filter removes energy below a chosen frequency, which suits rumble, handling noise, and bleed that has no business on the channel. A low-shelf cut reduces a band of existing low-mid energy, which suits mud around 100 to 300 Hz where the kick and the bass fundamentals both live. Start with the high-pass, then use the shelf for what remains.
When is subtractive EQ the wrong solution?
When the problem is not frequency content. Level imbalance, a recording that is too quiet to shape, a missing reference, or a phase problem between two microphones all survive subtractive EQ untouched. Cut harder and the source only gets thinner. If bypass comparisons sound the same and the mix still feels wrong, check gain staging, arrangement density, and drum timing before adding another band.
Conclusion
Learning how to do subtractive EQ on busy mixes comes down to removing energy rather than adding it: level-match the check, identify whether the buildup is a spike or a lump, then cut the smallest amount with the right filter shape and leave everything else alone.
Start with one specific problem tonight. Find the masking between the vocal and one instrument, make a 2 dB wide cut on the less important source, bypass it to confirm the improvement, and play the whole track before you touch a second band.