To use sidechain compression on pads in Ableton Live, put a Compressor on a dedicated track, send your pad into it, and feed the kick drum into the Compressor’s sidechain input. The pad then ducks a few dB every time the kick hits, which clears space for the low end and gives a sustained pad rhythmic movement it would not have on its own.
The whole process takes about ten minutes once you have done it a few times. Most of that time goes into choosing a trigger and setting a release that fits your tempo, not into clicking anything complicated.
Table of Contents
- What You Need
- Step-by-Step: How to Use Sidechain Compression on Pads
- 1. Choose a Musical Trigger
- 2. Route the Pad Into a Dedicated Compression Track
- 3. Set the Sidechain Input
- 4. Dial In the Threshold, Ratio, and Timing
- 5. Blend the Compressed and Dry Signals
- 6. Automate and Check the Result
- Common Mistakes
- Frequently Asked Questions
- Should pads be sidechained to the kick?
- What compressor settings work best for sidechain pads?
- How do I sidechain a pad in Ableton Live?
- Should I use attack or release automation with sidechain compression?
- Can I sidechain pads in FL Studio, Logic Pro, or Cubase?
- How much gain reduction is too much for a pad?
- Conclusion
What You Need
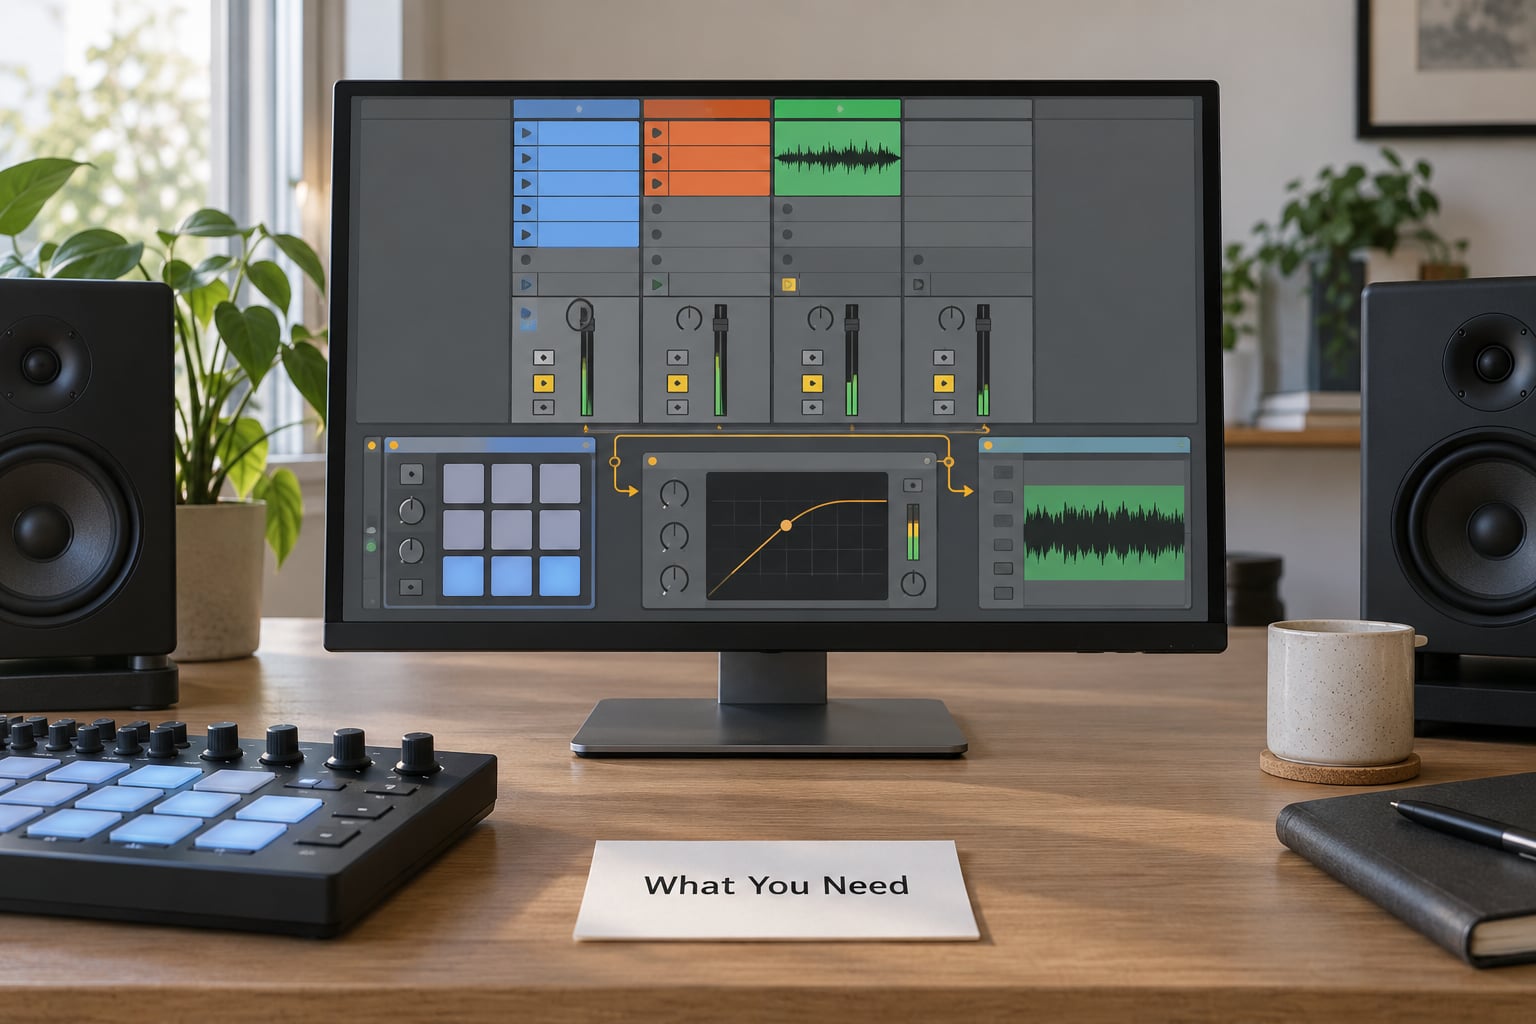
Everything required ships inside Live itself. You need three things: a pad source, somewhere to put the compressor, and a key signal to trigger it.
- A pad track. Either a MIDI track running a soft synth like Pad or an audio track holding a rendered pad.
- An empty audio track with a Compressor on it. Putting the compressor on the pad’s own chain works too, but a separate track gives you a dry send to blend against later.
- A trigger source. In most cases that is your kick drum track or drum bus.
- Optional: an EQ Eight before the Compressor to clean the pad’s low-mids, a Glue Compressor for smoother movement, or an Auto Filter if you want rhythmic filter sweeps instead of level movement.
The same idea translates directly to other DAWs. Logic Pro has a sidechain input dropdown on the Compressor and a dedicated Compressor on the pad’s channel strip. FL Studio exposes sidechain routing through the Fruity Parametric EQ 2 and the sidechain panel on each channel. Cubase and Nuendo use the Sidechain routing menu above the compressor insert, and Reaper has a sidechain option in the compressor’s routing menu. The device names change, the signal flow does not.
Step-by-Step: How to Use Sidechain Compression on Pads
1. Choose a Musical Trigger
The kick is the default answer because it hits hardest and lowest. It is also the answer that produces the most obvious pumping, so it is not always the right one.
A snare gives you movement on the backbeat, which suits half-time and hip-hop beats where the kick is sparse. Hats work when you want a pad that shivers on every sixteenth without touching the low end. Bass can trigger a pad if the bass itself carries the rhythm. If your kick plays only on the one and you want a four-to-the-floor pulse, put a short silent MIDI or audio clip on a muted track and use that as the trigger instead, so the pad moves every beat without the kick doing it.
Listen to which rhythm already defines the track. Trigger the pad to that element and it will feel intentional rather than bolted on.
2. Route the Pad Into a Dedicated Compression Track
Add a new audio track, name it Pad Duck, and drop a Compressor on it. Now send your pad into that track using the track activator’s send section.
Keep the original pad track sending to your mixer as well. That dry path is your reference, and in step 5 you will blend it back in to restore the parts of the pad the compressor chews off.
Watch your gain staging while you do this. Ableton sends are pre-fader, so a hot pad means the compressor sees more signal than you expect and the duck comes in harder than the numbers suggest.
3. Set the Sidechain Input
On the Compressor, turn Sidechain on and choose the trigger track from the dropdown. Ableton sends the audio from that track to the compressor’s detector input instead of the compressor’s own input.
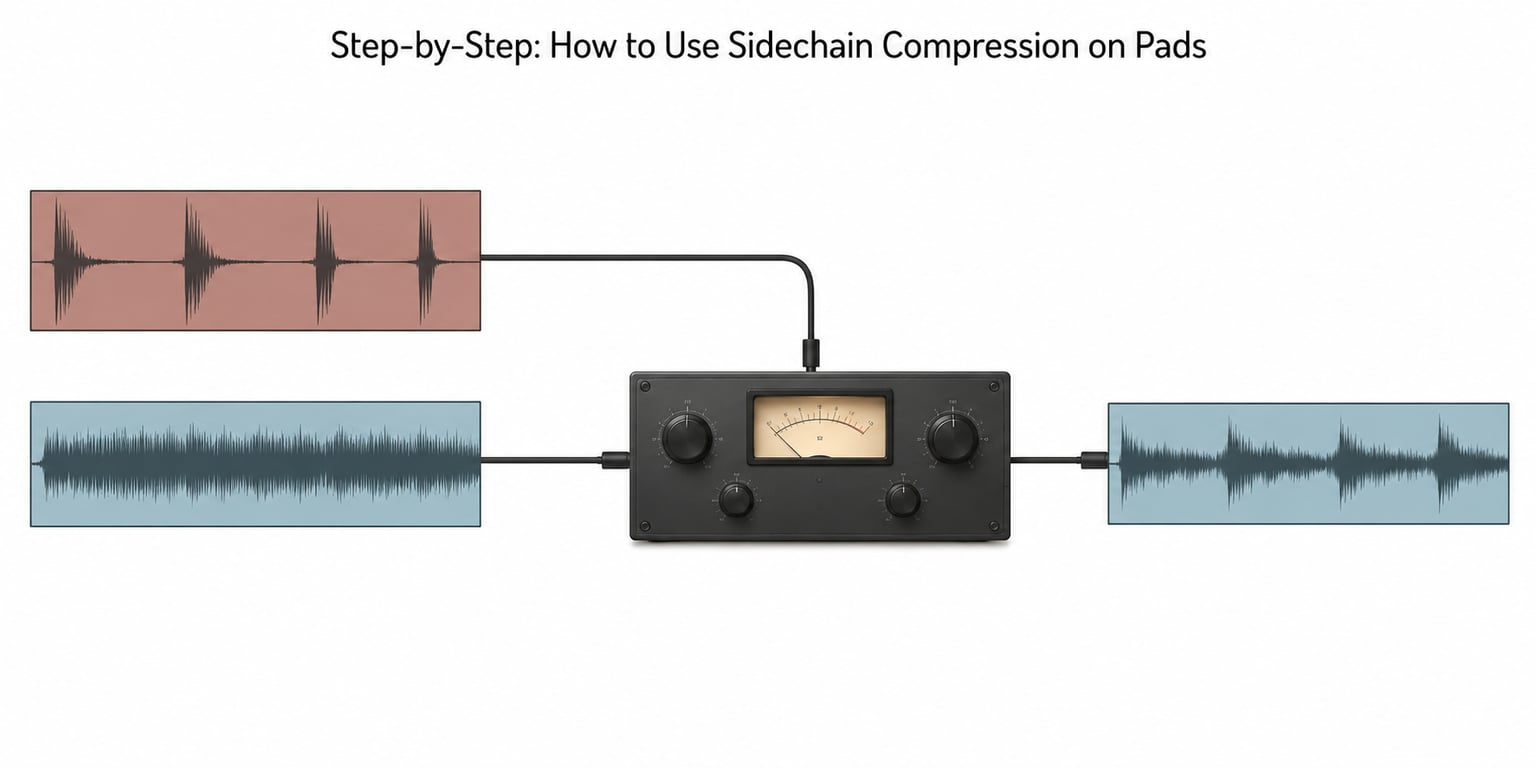
That single switch is the whole technique. The compressor still compresses the pad, but its gain reduction is now driven by the kick’s level rather than the pad’s. When the kick crosses the threshold, the pad is pulled down, and when the kick passes, the pad returns to normal.
Check the routing matrix if the effect does not appear. In Session View, right-click the trigger track and make sure its Output routing is not set to something that bypasses the send.
4. Dial In the Threshold, Ratio, and Timing
Pads are sustained sounds, so they need slower settings than a bass sidechain. A pad ducked with 1 ms attack and 30 ms release sounds like a chattering stutter, not a groove.
| Setting | Subtle movement | Classic pumping | Ambient swell |
|---|---|---|---|
| Threshold | -12 dB | -18 dB | -9 dB |
| Ratio | 2:1 | 4:1 | 1.5:1 |
| Attack | 20 ms | 10 ms | 60 ms |
| Release | 300 ms | 200 ms | 600 ms |
| Gain reduction | 3-6 dB | 8-12 dB | 2-4 dB |
Those numbers are starting points, not rules. Trance and techno usually live near the classic column because the kick is dense and the pad wants to move. House sits between subtle and classic. Ambient and cinematic pads usually want the swell column, because a hard duck fights the slow build.
Watch the gain reduction meter while the track plays. Aim for 3 to 6 dB if you want the effect felt rather than heard. That meter reading is the fastest way to tell a tasteful pad duck from an over-processed one, and it is the number beginners most often push too far.
5. Blend the Compressed and Dry Signals
Raise the dry pad with the track volume fader on the original pad track until it sits where you want it under the ducked version. Roughly 70 percent dry to 30 percent compressed is a reasonable starting balance.
Be careful with makeup gain inside the compressor. If you push 6 dB of output gain back in, the pad ends up at its original level between kicks, which can make the duck feel deeper than it is and leaves you with less headroom than you thought.
If the pad still sounds thin, the ratio is probably too high or the release too short. Pull the ratio back before you pull the dry signal up.
6. Automate and Check the Result
Draw volume automation on the pad duck track to deepen the effect in the drop and open it up during breakdowns. This is the step that separates a static sidechain from a mix that breathes.
For a cleaner result with no audible pumping, split the pad with a multiband compressor or an EQ Eight band and key only the low band to the kick. The pad’s top end then stays untouched while the low-mid buildup under the bass is cleaned up. A dynamic EQ set to cut a narrow low-mid band gives you that same selective keying when you would rather not reach for a second compressor.
Finally, solo nothing and judge the duck in context. Compare against the uncompressed pad by bypassing the send. If you cannot hear the difference on a bypass, the sidechain is doing its job rather than announcing itself.
Common Mistakes
Ducking too hard. If the pad drops 15 dB or more, you will hear the effect rather than feel it. Reduce the ratio or raise the threshold until the meter sits between 3 and 6 dB.
Copying bass settings onto the pad. Bass sidechains use attack times under 5 ms because they need to snap. Pads need 10 to 30 ms so the note onset survives the duck. Fast attack on a sustained pad produces chattering distortion that sounds like a broken signal.
Leaving the pad’s low-mids intact. If the pad and bass still fight after ducking, the problem is frequency masking, not level. Add a high-pass filter around 150 to 250 Hz on the pad, or key only the low band.
Setting one release for the whole track. At 128 BPM a 400 ms release smears across the next beat. Halve the release when you speed the tempo up, and watch for the duck bleeding into the next downbeat.
Forgetting that the pad’s reverb and delay sends are also ducked. A sidechained pad sends get ducked too unless the send is placed after the compressor. Check your aux routing if the space around the pad collapses on every kick.
Using it where it does not belong. Acoustic, orchestral and lo-fi tape material rarely benefits from a ducked pad. The technique is a stylistic choice, not a mixing fix, and it works best when the low end genuinely needs the room. Sidechaining nearly every channel to the kick produces a recognisable sound, but it is a sound, not a rule.
Frequently Asked Questions
Should pads be sidechained to the kick?
Usually yes, because the kick and a pad compete for the same low-mid frequencies. Sidechaining the pad to the kick creates space under the low end and gives a sustained sound rhythmic movement. If your kick is sparse, trigger from a snare or a silent ghost clip on every beat instead so the pad still moves.
What compressor settings work best for sidechain pads?
Start around -18 dB threshold, 4:1 ratio, 10 ms attack and 200 ms release for classic pumping, then soften to -12 dB and 2:1 for subtle movement. Pads need slower attack and release than bass because sustained notes chatter under fast settings. Aim for 3 to 6 dB of gain reduction so the effect is felt, not heard.
How do I sidechain a pad in Ableton Live?
Create a new audio track with a Compressor, send your pad into it, then switch Sidechain on in the Compressor and pick your kick track from the dropdown. The pad now ducks when the kick crosses the threshold. Keep a dry send from the original pad track so you can blend the two together.
Should I use attack or release automation with sidechain compression?
Use release automation more than attack. Writing release time on a track lets you lengthen the duck during a breakdown and tighten it in the drop, which creates the sense of a track opening up. Attack automation is useful for accent hits but rarely needed on a continuous pad layer.
Can I sidechain pads in FL Studio, Logic Pro, or Cubase?
Yes. Logic Pro uses the sidechain input dropdown on the Compressor. FL Studio routes sidechain keys through the channel rack sidechain panel or Fruity Parametric EQ 2. Cubase and Nuendo use the Sidechain routing menu above the insert slot. Reaper exposes the same option in the compressor routing menu.
How much gain reduction is too much for a pad?
More than 8 dB on a sustained pad usually sounds obvious and thin, and heavy ducking can hollow out the pad’s sustain entirely. Stay in the 3 to 6 dB range for most material. If you need more movement than that, split the pad into bands and key only the low band to the kick.
Conclusion
Start with a new audio track, a Compressor with sidechain enabled, and the kick as your key. Set threshold to -18 dB, ratio to 4:1, attack to 10 ms and release to 200 ms, then pull the ratio back until the gain reduction meter sits between 3 and 6 dB.
That is gentle enough to hear what it is doing. Once it works, blend the dry pad back in and automate the release so the duck opens up during your breakdown.