Compression is a reactive tool: it only touches the loud parts of a sound. Volume automation is a deliberate one, and you draw it phrase by phrase. Every mix runs into the same question of compression vs volume automation, and the honest answer depends on what you are hearing: if the problem is that the level is wrong, reach for automation. If it is that the music is not moving, reach for compression.
That distinction matters more in electronic music than in most genres. A house or trance mix lives or dies on how energy builds across eight minutes, and a compressor set to fix a quiet vocal line will quietly flatten exactly the movement that makes the track work. Below is how I decide between the two, instrument by instrument, with numbers attached.
Table of Contents
- When to Compress and When to Just Automate at a Glance
- Compression vs Automation: What Each Control Does
- Clip gain, fader, compressor: which stage to automate
- When Compression Is the Better Choice
- Drums: when to use compression vs automation
- You want transients shaped, not just levels evened
- Tone is the goal, not level
- Glue on the mix bus
- Controlling sibilance and breaths
- Multiband and parallel work
- When Automation Is the Better Choice
- Arrangement energy and section contrast
- Filter sweeps and risers
- Intro reveals
- Vocal phrasing
- Send levels and space
- When the quiet part should stay quiet
- How to Decide in a Mix
- Which Should You Choose?
- Frequently Asked Questions
- Should I compress or automate a synth pad?
- Is compression bad for electronic music?
- When should I use volume automation instead of compression?
- Can I use compression and automation on the same sound?
- How do I know if a mix needs more compression?
- Final: Start With the Problem You Hear
When to Compress and When to Just Automate at a Glance
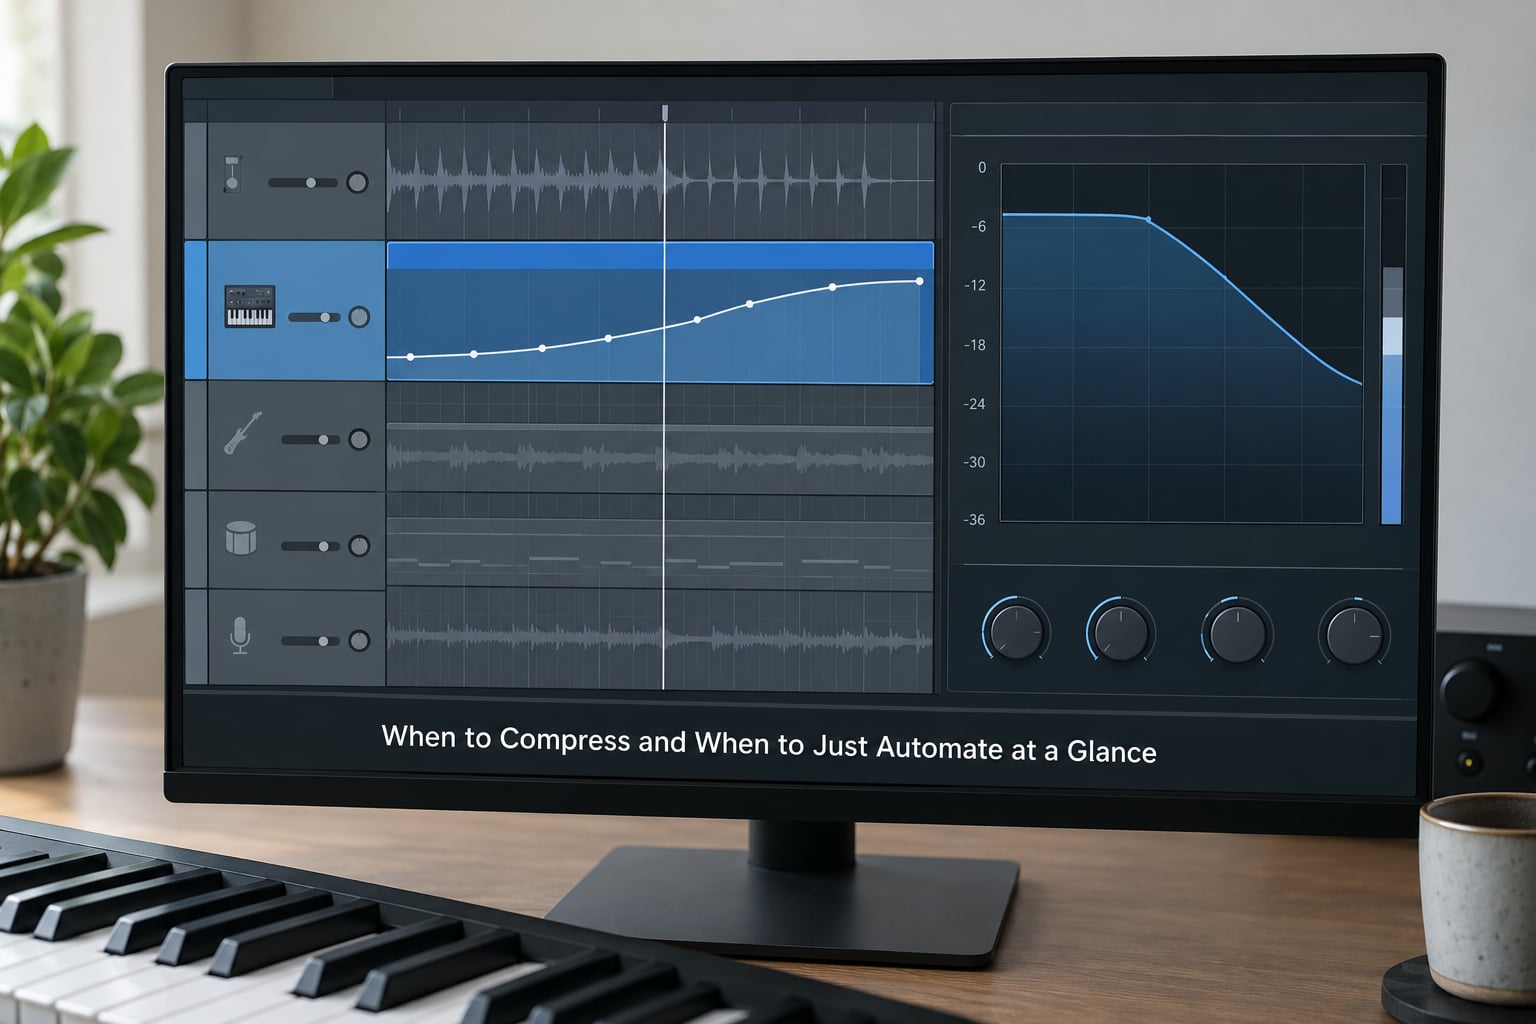
Compression vs volume automation comes down to timing. One of them waits for the signal and reacts; the other already knows where the level should be. A compressor decides in real time based on a threshold you set once; you decide where every note and phrase sits by drawing breakpoints on a lane.
| Criterion | Compression | Volume automation |
|---|---|---|
| What it controls | Level above a threshold, plus tone and transients through attack, release and ratio | Level, and by extension any parameter that follows it: EQ, filter cutoff, send returns, width |
| When it acts | In real time, reactively, on every loud moment | Exactly where you draw it, phrase by phrase |
| Best for | Inconsistent sources that need glue or consistent impact | Musical movement: builds, drops, breakdowns, intro reveals |
| EDM example | Tightening a drum bus so the kick and snare sit together | Lifting a pad 3 dB entering the chorus and dropping it 2 dB for the breakdown |
| What it costs you | Dynamic range, transients, and sometimes tone | Your time drawing breakpoints |
| Main mistake | Using it to fix a level problem that automation solves cleanly | Drawing every bar by hand until the mix sounds sequenced |
If you read one row, read the last two. Almost every painful mix decision I get asked about comes down to paying with dynamics when time was the cheaper currency.
Compression vs Automation: What Each Control Does
A compressor is a device with a moving threshold. Signal passing below the threshold gets nothing; signal crossing it gets turned down by a set ratio, and the amount it turns down is called gain reduction. Attack time decides how fast it reacts to a transient, release time decides how quickly it lets go once the peak passes.
Here is the part that catches people out: a compressor only processes what crosses its threshold. On an uneven vocal, the loud phrases get squashed while the quiet ones pass through untouched, so the track stays uneven and you have paid for transients you did not keep.
Automation has no threshold and no timing. You set the level at a breakpoint, and it stays there until the next one. That means a compressor applied to uneven material colours the loud sections differently from the quiet ones, which is why engineers on mixing forums keep saying the same thing: automation is the better choice when you are fixing a problem rather than chasing a sound.
Neither tool can do the other’s job. A compressor will never make a breakdown feel emptier on purpose, and no amount of fader riding will give you the transient control you need to stop a hi-hat from cutting through a mix.
Clip gain, fader, compressor: which stage to automate
The gain stage you automate changes the result more than most people expect. Clip gain sits at the very top of the channel and applies before anything else, including the compressor. Engineers who write about this regularly argue for it over fader moves because a compressed source is already being shaped, and trimming the input first means the compressor sees a more even signal and does less work.
Channel fader automation happens after the insert chain, which makes it the right place for performance moves that should feel like the playing rather than like gain staging. Compressor makeup gain is for restoring level after gain reduction, not for mixing moves.
A workable order, and the one I use on nearly every session: clip gain for source-level matching, then channel fader automation for phrasing and arrangement, then the compressor, then a final trim pass on the fader to balance the finished track against the rest of the mix.
When Compression Is the Better Choice
Compression earns its place when the problem is inconsistency between events, or when you want a specific sound the level alone cannot deliver. These are the situations where I reach for it first.
Drums: when to use compression vs automation
A drum bus where every kick and snare has a slightly different level is the classic case. Nothing is wrong with any single hit; the bus simply does not read as one instrument. Gentle bus compression, around 2 to 3 dB of gain reduction with a slowish release, ties them together without obviously squashing anything.
You want transients shaped, not just levels evened
Compression is a transient tool when you want it to be. A fast attack and medium release on a kick, roughly 3 to 4 dB of reduction, can tighten the impact without audible pumping. Fader automation cannot make a kick punchier; it only makes it louder or quieter.
Tone is the goal, not level
If you are chasing the saturated, glued sound of modern EDM bass and pads, that is a colour compressor or waveshaper doing tonal work. Set the ratio higher, let it work harder, and lean into it as a sound rather than as a fix. Just be honest with yourself about which one you are doing, because a sound decision and a repair decision want opposite settings.
Glue on the mix bus
A very light mix bus compressor, 1 to 2 dB of reduction with a long release, is about the most accepted use in the genre. It is not level control, it is cohesion, and it is the one place I would never reach for automation instead.
Controlling sibilance and breaths
Once sustained vocal words get squashed, the short events that survive are the breaths and the S and T sounds. Automation handles this well, syllable by syllable, and is often kinder than reaching for a harder de-esser. But on a dense vocal that already sits in a loud mix, a dedicated de-esser or a second gentle compressor with a fast attack is the faster route.
Multiband and parallel work
Multiband compression belongs on sources where one band needs a different job from another, typically taming a low-end wobble without touching the top. Parallel compression, where a compressed copy is blended under the dry signal, gives density and glue while keeping the original transients intact. Automation has no equivalent for either, because both are about frequency or blend, not level over time.
When Automation Is the Better Choice
Automation wins whenever the difference between two parts of the track is musical rather than accidental. If the loud part should be loud on purpose, no threshold is going to get you there without fighting you.
Arrangement energy and section contrast
This is the big one for EDM. Lift the intro elements 2 dB when the drop lands, drop the pad 3 dB through the breakdown so the lead sits forward again, bring the riser up 4 dB across eight bars. These are moves about how the track feels over time, and a compressor cannot make them because it has no idea what a chorus is.
Filter sweeps and risers
A riser is volume automation by definition. Draw the level up through the bars and pair it with a filter cutoff sweep moving from 400 Hz to 16 kHz over the same span. Short ramps, roughly one bar before the drop, read as tension; long lazy ramps just sound like a fader move.
Intro reveals
When a synth or vocal sits hidden for sixteen bars and then enters, automate the level from minus infinity rather than fading it in by hand over eight bars. You get an entrance instead of a fade, and you do not spend any dynamic range to make it louder later.
Vocal phrasing
Ride the words, not the take. Lift a quiet entry 2 to 4 dB, settle a loud chorus line back down by the same amount, and leave the breaths alone unless they jump above the words. Engineers describe this as the professional version of the trick: a compressor for smoothing, a hand on the fader for the phrasing, with the full instrumental playing underneath the whole time.
Send levels and space
Automation is not limited to volume. Reverb and delay sends, EQ moves, filter cutoff, stereo width and even plugin bypass all take breakpoints. Pulling a reverb send down 4 dB on a verse line to keep consonants clear is exactly the kind of move that does not need a compressor at all.
When the quiet part should stay quiet
If a breakdown is meant to feel fragile, a compressor holding everything up to the drop level fights the arrangement. Let the quiet section be quiet, then automate the lift. The contrast is the point.
How to Decide in a Mix
Here is the process I run before touching either one. It takes about ten minutes and it stops me from guessing.
- Name the symptom in one sentence. “The chorus vocal disappears” and “the chorus vocal is loud but lifeless” are different problems. The first is level, the second is dynamics. Only one of them is an automation problem.
- Check the arrangement before the mixer. If a part is quiet because something is masking it, automation and compression both treat the symptom. Fix the masking with EQ, arrangement or a send level first.
- Solo and listen to the source. A soloed vocal with a compressor on it will tell you immediately whether the compressor is doing tone work or just rescuing an uneven performance. If gain reduction only appears on the loud phrases, automation is your answer.
- Bypass test. A/B the compressor while the track plays. If the level change is what you notice, use automation. If the texture changes, the compressor is earning its slot.
- Reach for the least destructive fix. Every decibel of compression is permanent loss of dynamic range. Every breakpoint is only time.
- Only then automate, and move in small numbers. Most good moves land between 1 and 4 dB. If a move needs more than 6 dB, something upstream is usually wrong.
One honest test: some engineers mix an entire track with fader automation only, riding the master by hand, no compressor anywhere. That is not a stunt, it is a useful exercise, because it teaches you how much of your level control was really just gain riding in disguise.
Which Should You Choose?
Match the tool to the problem you can hear, not to the plugin you happen to enjoy.
- Level is inconsistent on every hit of the same instrument — bus compression on drums, or clip gain matching across takes.
- Parts are loud and lifeless rather than uneven — that is a dynamics and tone issue, so compression, possibly parallel, is the tool.
- Energy needs to change between sections — automation, without exception.
- Vocal words sit at wildly different levels — automation for phrasing, a light compressor for tone.
- A pad is drowning out the lead in the chorus — automate the pad down 2 to 3 dB, or filter it, before touching the lead.
- The mix has no movement at all — skip the compressor for an hour and write automation instead. That is usually where the answer is.
And there is a third option nobody likes to hear: sometimes the fix is neither tool. Edit the take, comp the best bars, re-record the one broken synth line, or change the arrangement so the problem stops existing. Processors are the third repair tool, not the first.
On mixes where both are needed, compression almost always comes first for tone, with automation riding on top of the compressed signal. Doing it the other way round means the compressor keeps reacting to a moving input, which is exactly how you end up with pumping that no release time fixes.
Frequently Asked Questions
Should I compress or automate a synth pad?
Automate it. A pad usually needs to move between sections, and a compressor only reacts above its threshold, so it cannot make a breakdown feel emptier or a chorus feel fuller on purpose. If the pad is also fighting other layers for space, add a slow compressor for tone with only 1 to 2 dB of gain reduction, then draw the arrangement moves by hand.
Is compression bad for electronic music?
No. Bus compression, parallel compression and mix bus glue are standard tools in house, trance and techno for good reason. What causes problems is using a compressor to solve a level problem, which costs transients and flattens the movement the genre depends on. Keep gain reduction modest and keep it as tone control rather than level control.
When should I use volume automation instead of compression?
Use automation when the level difference between two parts is intentional: section changes, risers, breakdowns, intro reveals, vocal phrasing, and send levels. Use compression when the difference is accidental and repeats on every hit of the same instrument. If you can name the bar where you want the level to change, draw it.
Can I use compression and automation on the same sound?
Yes, and it is the normal professional workflow. Compress first for tone and consistency, then automate the compressed signal for phrasing and arrangement. If the compressor reacts to a moving input you will get pumping, so keep the compression gentle and let the automation do the level shaping.
How do I know if a mix needs more compression?
Bypass the compressor and listen. If the track sounds thinner, spikier or less glued without it, compression was doing real work. If the only change is level, you probably wanted automation instead. In your DAW, look at the gain reduction meter during a full playthrough: if reduction only appears on the loudest moments, the source is uneven and automation is the better fix.
Final: Start With the Problem You Hear
Before you open either tool, decide what is actually wrong, because when to compress and when to just automate is decided by the symptom, not by the plugin. Inconsistent level between hits means compression. Missing musical movement means automation. If the level is wrong in a specific bar, draw it in that bar.
My default order is clip gain, then fader automation, then compression, then a trim pass. That sequence keeps your dynamics intact and still gets you a controlled, glued mix, which is the balance most EDM records land on.