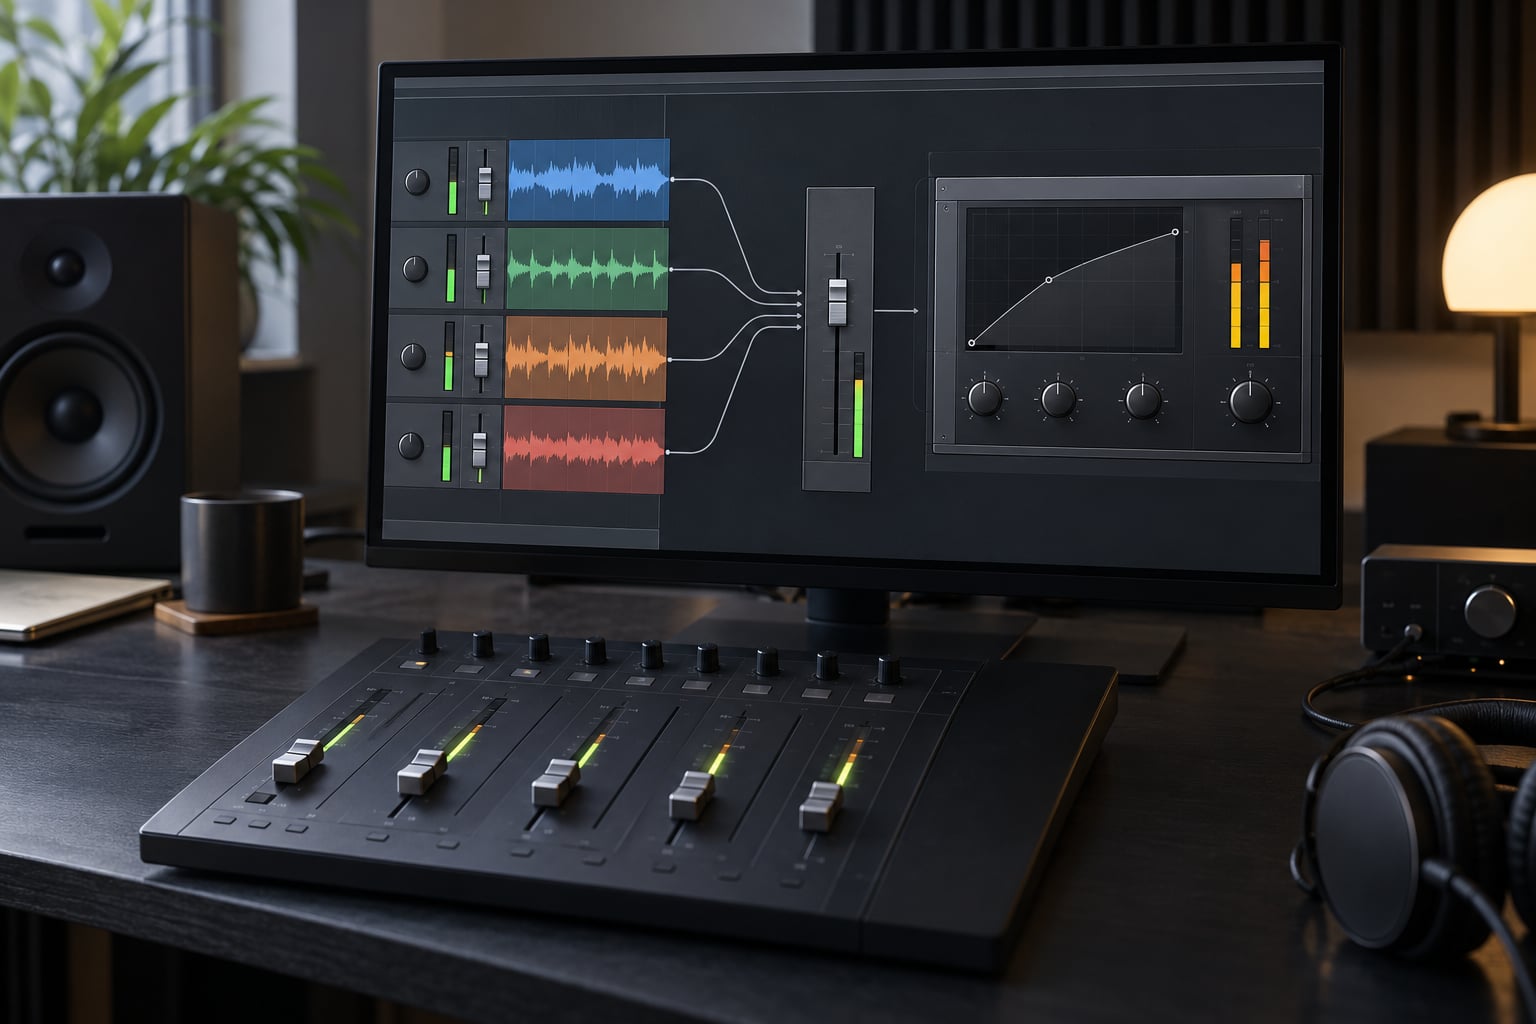
Glue compression on a group means routing several tracks into one shared bus and running a single gentle compressor on that bus, usually at a ratio between 1.5:1 and 2:1 with only 1 to 3 dB of gain reduction. The result is that a drum kit, a stack of synth layers or a set of doubled parts behave like one section instead of separate sources. It takes about ten minutes per group once you know where your DAW’s bus tools live.
The honest part first: this is not a magic move. On a lot of mixes the right answer is no compression at all, and a compressor set too hard will flatten everything it touches. The technique earns its place when elements sound fine alone but drift apart or fight as a group.
What follows is the workflow I use, in the order I use it: build the group, set its level, pick a gentle setting, blend it against the dry signal, then check it against the full arrangement. Every step has a number attached to it so you can copy the starting point instead of guessing.
Table of Contents
- What You Need Before Using Glue Compression on a Group
- Which groups are worth compressing
- What to check before you start
- How to Use Glue Compression on a Group: Step by Step
- Step 1: Choose the Right Group to Glue Compress
- Step 2: Set the Group Level Before Processing
- Step 3: Choose a Gentle Compressor Setting
- Step 4: Blend the Compressed and Dry Signals
- Step 5: Check the Group in the Full Mix
- Common Mistakes When You Use Glue Compression on a Group
- Quick troubleshooting checklist
- Frequently Asked Questions
- How do I group tracks and compress them in my DAW?
- What are the best settings for a drum glue compressor?
- Is glue compression the same as parallel compression?
- How much gain reduction is too much on a group compressor?
- Should I glue a subgroup or the master bus?
- When does a glue compressor actually make the mix worse?
- Conclusion: Start with a Small, Controlled Amount
What You Need Before Using Glue Compression on a Group
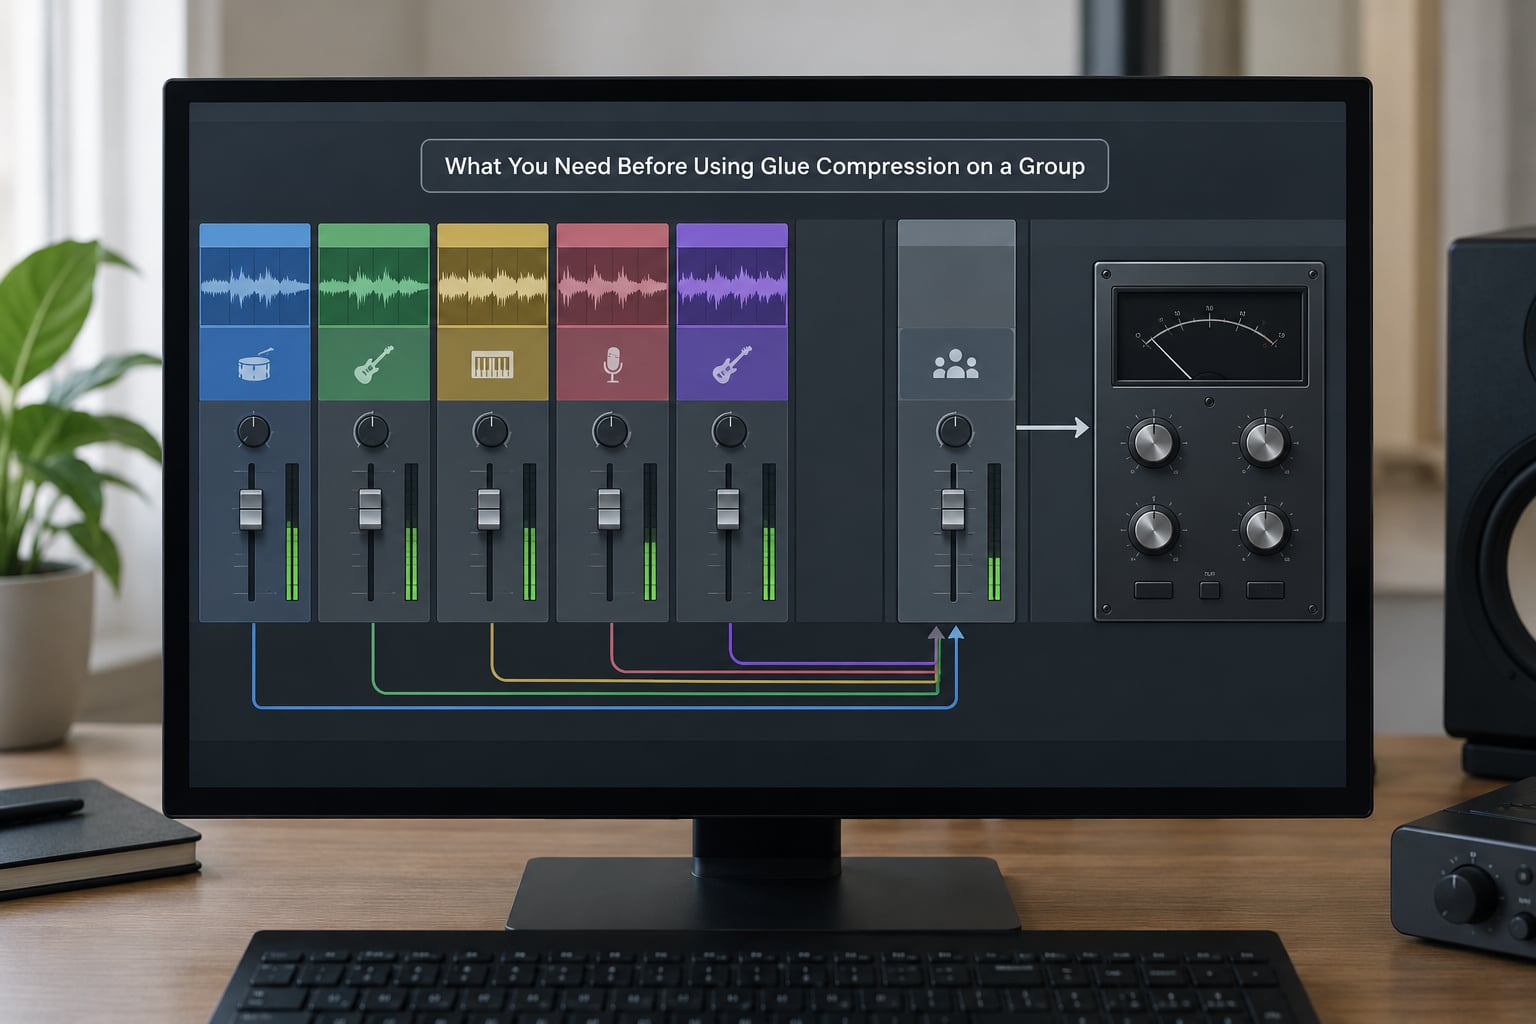
Group compression is just bus compression applied to a subgroup rather than the whole mix. A “group” is any set of tracks that play the same musical job: your drum kit, your lead vocal plus its doubles, four guitar layers, a pad wall. Once they share a bus, one dynamics processor controls all of them at once.
Why bother, when you could compress each track separately? Because a single shared processor reacts to whichever track is loudest at that moment and pulls the whole group down slightly. That evens out the internal level differences between the parts, which is the thing you cannot fix one channel at a time. Some producers get most of the same effect by adding tape-style saturation and sending the group to a shared space, which layers on top of compression rather than replacing it.
Which groups are worth compressing
In an EDM track the candidates are usually four, and you rarely need all of them:
- Drum subgroup — kick, snare, claps and percussion sent to one drum bus. The most common starting point because the kit has the biggest internal level swings.
- Melodic layers — every synth or pluck playing the same part, across octaves and voices.
- Percussion and toms — the elements that fill the gaps between the four-to-the-floor beat.
- Vocals — lead plus doubles and ad-libs, which is where glue compression first became standard practice.
Leave your bass alone unless you know exactly why you are touching it. Sidechain-pumping bass is a separate technique, and gluing it usually makes the pumping worse rather than more musical.
What to check before you start
Three things save you time later. First, confirm every track in the group is already panned where you want it, because the bus sums them into one stereo stream and you cannot repan them afterwards. Second, make sure nothing is feeding that bus twice by accident, which is the classic reason a group bus is louder than expected. Third, note your peak level on the group fader before you insert anything.
Any DAW will do this. Every major one ships a stock compressor that can glue a bus, so you don’t need a plugin purchase to follow along. In Ableton Live you build a group by selecting the tracks and grouping them, then dropping a Group from the browser onto the new bus; in Logic a Summing Stack created from the track stack options does the same job; in Pro Tools you create an aux input and assign the tracks to it as inputs. The naming differs, the concept does not.
How to Use Glue Compression on a Group: Step by Step
Step 1: Choose the Right Group to Glue Compress
Pick one group and only one for your first pass. Drums are the safest because their transients are regular in a club track, so any smearing shows up immediately. Melodic layers are the better choice when the real problem is a synth stack that wanders in level between the build-up and the drop.
Keep the group focused. If your kick belongs in both a drum group and a kick-plus-bass group, that is a routing decision you make on purpose, not something to stumble into while building subgroups. Decide what each bus is for before you start stacking processors on it.
Send only tracks that play the same role. Mixing a lead vocal and a hi-hat into one group tells you nothing useful, because they never peak together.
Step 2: Set the Group Level Before Processing
With the compressor bypassed, set the group fader so the bus peaks comfortably below clipping. Leave a few dB of headroom above your loudest hit, because makeup gain will push the output up and you do not want to find that out at the drop.
Balance the individual tracks relative to each other first. If one layer sits 8 dB hotter than the rest, the compressor spends all its time reacting to that single track while the others pass through untouched, which defeats the point. Spend ten minutes on the individual faders and the group compressor will behave predictably.
Then set the threshold by watching the gain reduction meter rather than by matching a number. Lower the threshold until the meter moves between 1 and 3 dB on the loudest hits, and holds steady or sits still on the quieter parts.
Step 3: Choose a Gentle Compressor Setting
Glue compression lives in a narrow range, and staying inside it is what separates this from normal track compression. Start here:
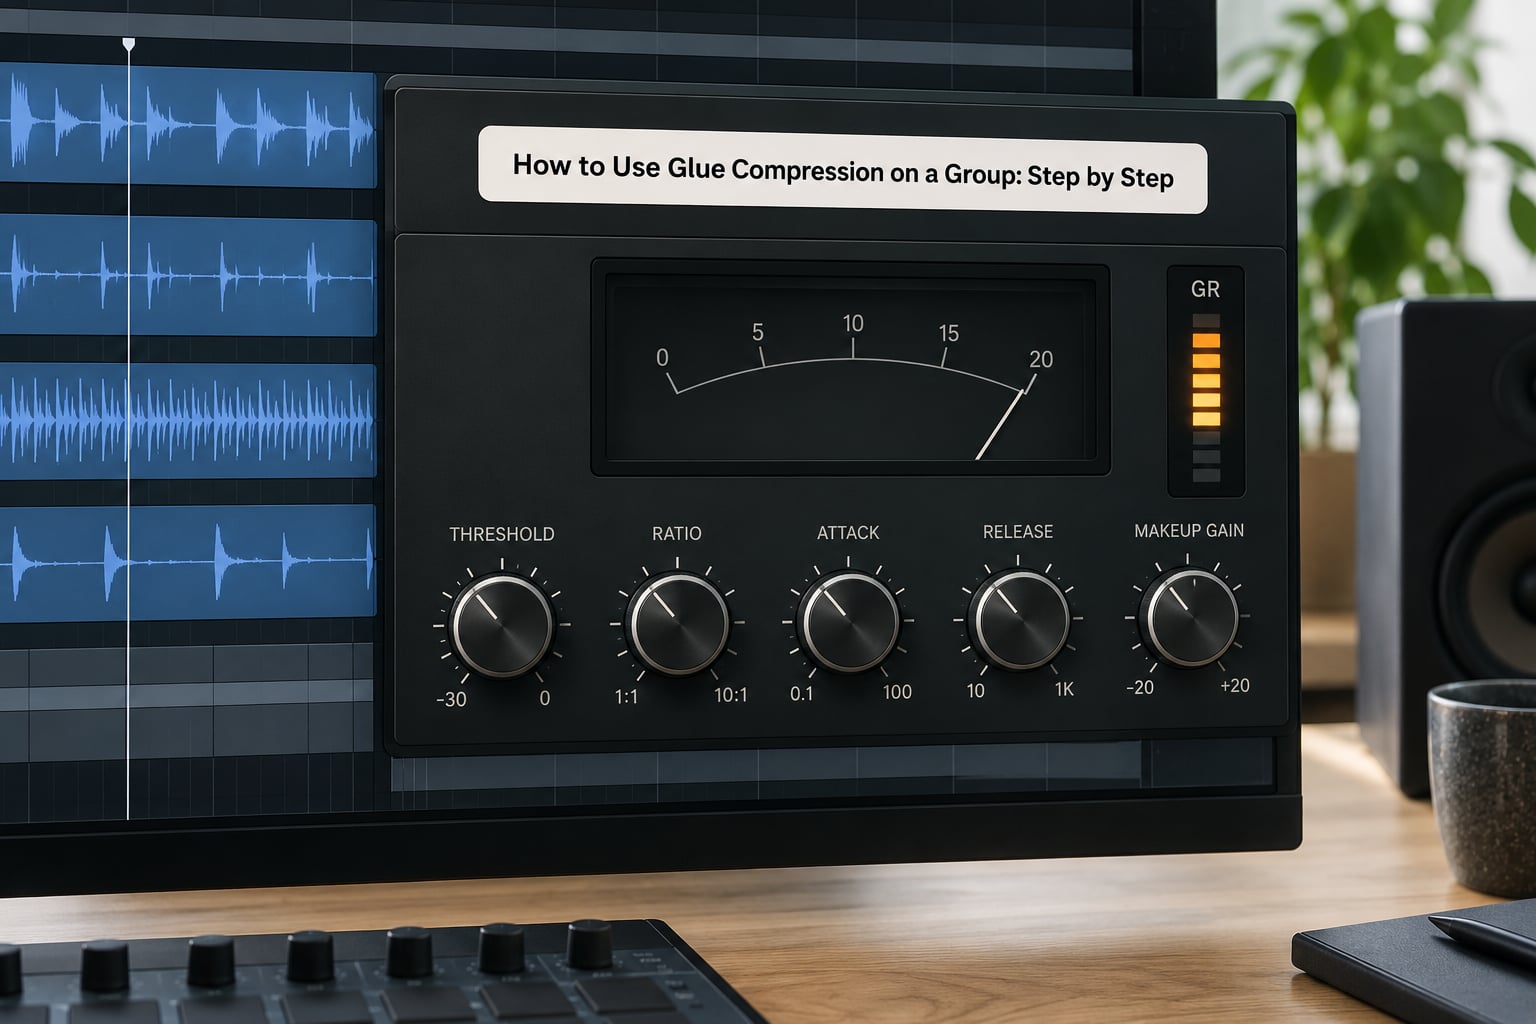
- Ratio: 1.5:1 to 2:1. Anything above 3:1 starts behaving like a mixing tool rather than a cohesion tool.
- Threshold: set by ear and meter, not by dBFS. Aim for 1 to 3 dB of gain reduction on the peaks. More than 3 dB and you are squeezing, not gluing.
- Attack: slow, roughly 10 to 30 ms. Slow enough that kick and snare transients pass through before the compressor clamps down. On an EDM drum bus, go slower still.
- Release: matched to the tempo. Between 100 and 250 ms for most four-on-the-floor material, or use your compressor’s tempo-sync option to match a quarter or an eighth note.
- Makeup gain: whatever restores the perceived level. Compensate after you hear the balance, not before.
Release time is where a lot of group compression goes wrong. Too fast and the drum bus pumps audibly, which is instantly distracting in a dance track. Too slow and the group stays squashed through the quiet bars, so a breakdown feels as heavy as the drop. Producers on production forums describe tuning release against the track’s tempo for exactly this reason, and it is the first thing to change when a glued mix feels wrong in a way you cannot name.
Step 4: Blend the Compressed and Dry Signals
Put the dry-wet or blend control to work. Start around 30 percent wet and raise it until the group starts to sound like a single part, then back off slightly. That range keeps enough of the original transient and stereo movement for the group to stay alive while still gaining cohesion.
If your compressor has no blend control, you can build the same thing in parallel: duplicate the group bus, compress the duplicate hard, and mix it back underneath the original. The result is glue without the transients being flattened, at the cost of a little more routing work.
Watch for two things as you blend. If the stereo image narrows noticeably, the compressor’s detector is catching side information, so try a detector that ignores the sides or a mid-only setting. If the group suddenly jumps in level, pull the wet down until the loudest moment matches the dry.
Step 5: Check the Group in the Full Mix
Bypass the compressor and compare at matched loudness. Most DAWs offer a level-matched or gain-compensated bypass; if yours does not, pull the fader down by exactly the amount of gain reduction you are seeing on the meter. Comparing an uncompressed bus at full level against a compressed one at lower level tells you nothing except that the compressor is quieter.
Then play the whole arrangement, not the soloed bus. Listen for pumping on the drop, a loss of kick attack, or a layer that now masks something it did not before. Solo the group if you need to hear the change clearly, but confirm it in context before you keep it.
If the group sounds better processed but the mix is worse, the usual cause is that the group got louder. Trim the group fader to match where it sat before, and the change usually falls into place.
Common Mistakes When You Use Glue Compression on a Group
Over-compressing. Six dB of gain reduction on a drum bus is no longer glue, it is pumping with extra steps. Pull the threshold back until the meter sits at 1 to 3 dB.
Ignoring release timing. A fast fixed release on a 128 BPM track fights the tempo. Use a slower release or the tempo-sync option and compare both.
Making the group too large. Compressing a bus that contains drums, bass and a pad means the kick is ducking the pad every beat. Split the bus until each group peaks together.
Turning the wet up past unity. A glued group that sounds louder is often just louder. Level-match before you judge.
Skipping parallel blending. The blend control is free cohesion. Leaving it fully wet throws away the transients you spent the mix protecting.
Judging the subgroup in isolation. A group can sound great alone and still crowd the mix. Always confirm against the full arrangement before moving on.
Quick troubleshooting checklist
If the group sounds worse than it did before you compressed it, run these in order. Check the bypass at matched level, because half the time the problem was never the compression. Confirm no track is sending to the group twice. Look at the gain reduction meter during the loudest section and confirm it stays under 3 dB. Solo the bus and listen for pumping. If it survives all four checks, bypass the compressor and ask whether the group needed anything at all.
Frequently Asked Questions
How do I group tracks and compress them in my DAW?
Select the tracks that play the same job, create a shared bus for them, and assign each track to output into it. In Ableton Live, group the selected tracks and put a Group on the bus; in Logic, create a Summing Stack from the track stack options; in Pro Tools, make an aux input and assign tracks as inputs. Insert a compressor on that bus, start at 2:1 with a slow attack, and set the threshold until you see 1 to 3 dB of gain reduction.
What are the best settings for a drum glue compressor?
Start at a ratio of 1.5:1 to 2:1, attack around 10 to 30 ms, and release between 100 and 250 ms or synced to a quarter note at your tempo. Set the threshold by watching the meter until the loudest hits pull down 1 to 3 dB. Keep the blend control around 30 percent wet so the kick and snare keep their attack, and leave headroom above the bus peak for makeup gain.
Is glue compression the same as parallel compression?
No, they solve different problems. Ordinary group compression squeezes the group in place, which risks flattening transients. Parallel compression mixes a heavily compressed duplicate underneath the original, so you get density without touching the dry signal’s attack. A glue compressor with a blend control is a simple version of the same idea, and beginners often confuse the blend knob with the whole technique.
How much gain reduction is too much on a group compressor?
More than about 3 dB of steady gain reduction on the peaks. That is the widely used ceiling for glue compression, because the goal is cohesion rather than a louder, denser signal. If you are seeing 6 dB or more, the group is being squeezed and you will hear pumping in a dance track. Raise the threshold, check that no single track runs far hotter than its neighbours, and re-evaluate the mix.
Should I glue a subgroup or the master bus?
Glue a subgroup first, because that is where a specific problem lives and you can hear exactly what changed. A master bus sits downstream of your final limiter and mastering chain, and heavy settings there remove headroom you still need. If you do compress the full mix bus, keep the ratio around 1.5:1 to 2:1 with 1 to 2 dB of gain reduction and check it level-matched against a commercial reference.
When does a glue compressor actually make the mix worse?
When the group is too broad, when the tracks inside it are badly balanced, or when the release fights the tempo. It also hurts when the bus was doubling as a level fader, so raising the wet simply makes the group louder and masks everything around it. If a group sounds flat and lifeless after compression, bypass it. A quieter, more dynamic arrangement with no glue often beats a squashed one.
Conclusion: Start with a Small, Controlled Amount
The first thing to do is pick your drum bus, or your main synth layer group if the drums already sit well, and route those tracks into a subgroup with nothing else on it. Insert a compressor, set the ratio to 2:1 and the attack to 20 ms, then pull the threshold down until the gain reduction meter moves between 1 and 3 dB on the loudest hits. That is the whole starting point.
From there, work in small increments. Nudge the threshold a fraction, listen to the full arrangement, nudge again. Much of what reads as “better” early on is really just level matching, so keep the bypass comparison honest. If the group does not sit tighter after five minutes of tweaking, take the compressor out and move on. A well-balanced mix with no glue on one bus beats a squashed one every time.