Critiquing your own mix objectively means listening to it the way a fresh listener would: with a fixed set of questions, a playback setup you trust, and enough distance from your own decisions that your ears have stopped adapting to them. Most producers don’t need better monitors or a more expensive plugin. They need a repeatable critique process that produces the same result whether they are fresh or six hours into a session.
This guide walks through that process in seven steps. It takes about 90 minutes the first time you run it, and 45 minutes once it becomes routine.
Table of Contents
- What You Need
- Step-by-Step: How to Critique Your Own Mix Objectively
- 1. Prepare a Fair Listening Test
- 2. Separate Your First Impression From Technical Analysis
- 3. Check Levels, Dynamics, and Clipping
- 4. Score It: How to Critique Your Own Mix Objectively
- 5. Look for Masking and Frequency Imbalances
- 6. Judge Depth, Space, and Stereo Image
- 7. Prioritize a Short List of Fixes
- Where the Process Usually Breaks Down
- Common Mistakes
- Frequently Asked Questions
- How long should I wait before critiquing my own mix?
- Are headphones enough to critique a mix objectively?
- How many exports do I need for a proper mix critique?
- When is another person’s feedback actually useful?
- How do I know when my mix is finished?
What You Need
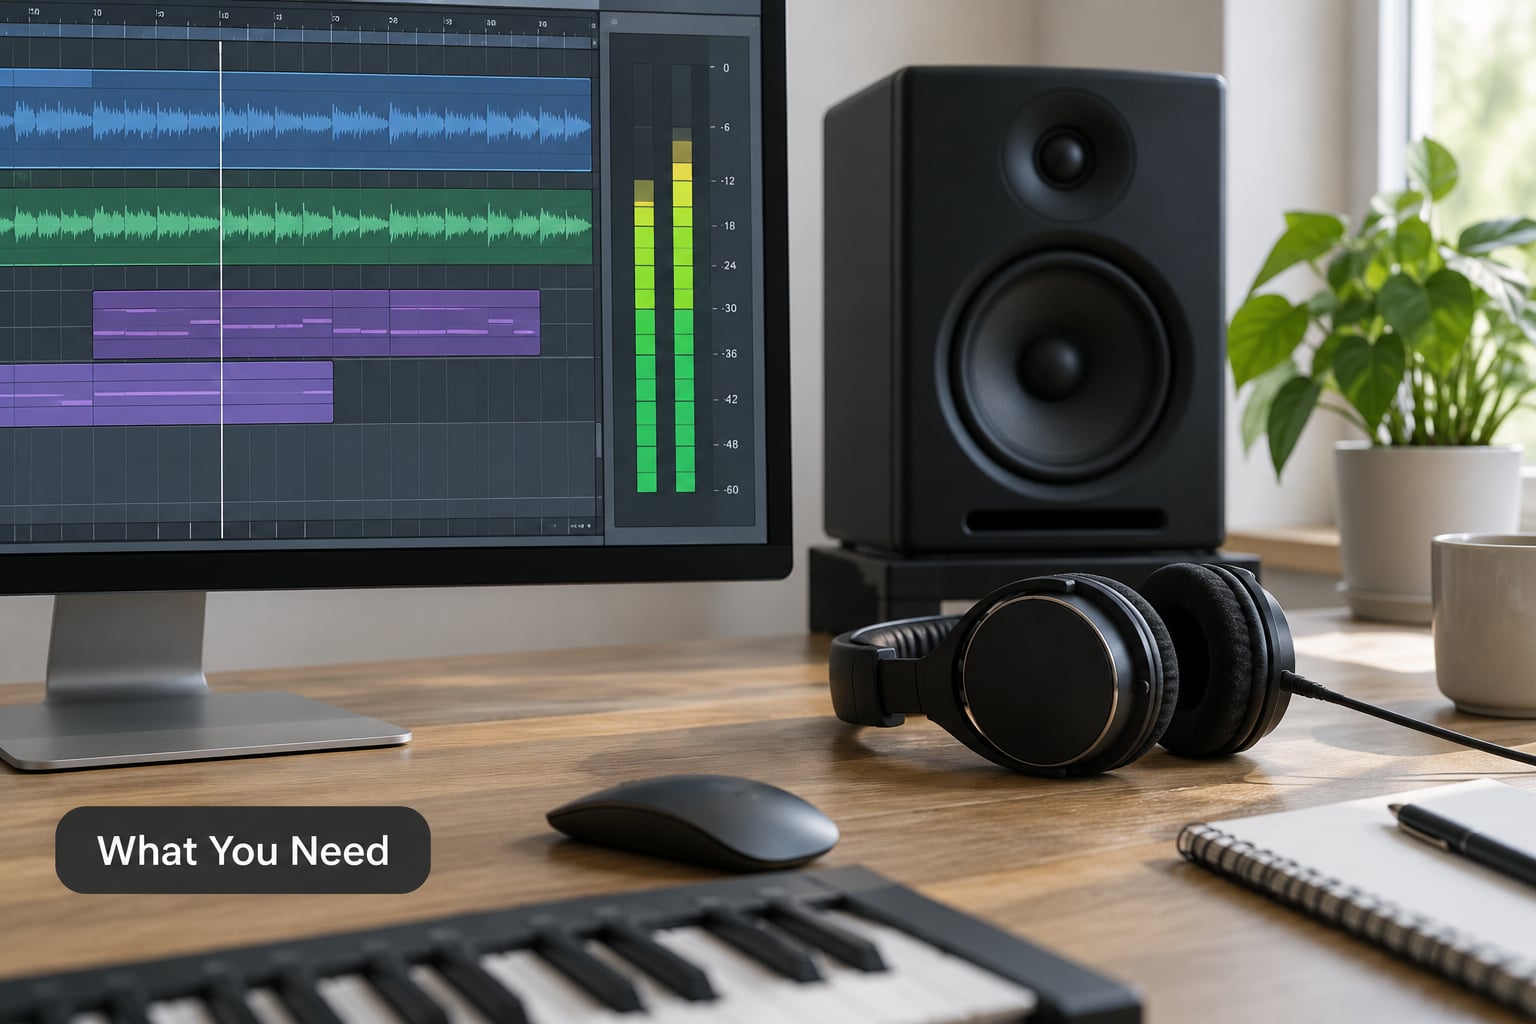
You need very little. Here is the minimum kit for an honest critique, and it costs nothing beyond the setup you already mix on.
- A saved rough mix with a clear name. Not “mix_final_v7_REAL”. Name it with a date and a number so you can A/B it against a later version without guessing.
- A loudness-matched export. Export the mix at a level that sits near your reference tracks. If your mix is louder than the reference, it will always sound better and more forward, and you will over-correct when you switch back.
- An instrumental version. Same export settings, all vocals and melodic leads muted. This is the single most useful file for spotting masking.
- A monitoring chain you know. Calibrated monitors help, but a familiar pair of speakers at a familiar level is worth more than an expensive pair you have never learned.
- Headphones or a second playback device. A phone and a laptop are both fine, and both reveal problems your monitors hide.
- A level meter and the solo and bypass controls in your DAW. Whatever application you use, these exist somewhere.
- A notes template. Four columns: timestamp, what you heard, likely cause, evidence. Keep it next to the keyboard.
A neutral playback chain matters more than expensive speakers. If your monitors are boosting the low end because they are parked against a wall, no amount of careful listening will help you see that problem.
Step-by-Step: How to Critique Your Own Mix Objectively
1. Prepare a Fair Listening Test
Export three things: the mix, the instrumental, and two or three reference tracks in your genre that you genuinely admire. Match their loudness before you press play. Play the reference, then your mix, then the reference again, without touching anything in between.
Skip the first few seconds of playback. Your ears are still adjusting to the room and to whatever was playing before.
Test on at least two systems. Start on your main monitors, then check on headphones, then on a single phone speaker. Write down the limits of each one so you do not chase a problem that only exists on a system you do not need to satisfy.
Keep this first pass completely free of corrective actions. No opening the EQ, no riding the fader. You are collecting information, not fixing anything.
How do you know the step is done? You have one clean, level-matched file, you have heard it once without touching the mouse, and you have written down which system you are working on.
2. Separate Your First Impression From Technical Analysis
Before you look at a single plugin setting, write down your immediate reaction in six words or categories: balance, clarity, width, depth, energy, and emotional impact. One sentence each, no jargon.
“The vocal feels far away” is a useful note. “The 3 kHz region is boosted” is a conclusion you have not earned yet, and it usually sends you to the wrong plugin.
Then go back and translate each reaction into a testable claim. Describe the perceived problem, the likely cause, and the evidence. If you cannot find evidence, mark it “gut, unverified” and leave it alone. Gut feelings are worth keeping, but they are worth less than measurement.
Doing this in two separate passes is the whole trick. Producers who open the session and start nudging never gather the first impression, and they end up defending decisions they made in the first ninety seconds.
3. Check Levels, Dynamics, and Clipping
Play back and watch the meters. Look for three separate problems, because they have different fixes.
- Hidden clipping. If red lights are appearing on individual tracks, your mix bus limiter may be catching overs that should have been fixed at the source. Solo each offending track and look at its own meter.
- Excessive loudness. A mix pushed far past where the genre lives leaves no headroom and makes every element feel like it is shouting. Compare against a reference, not against how it sounds on your system.
- Crushed dynamics. If the mix never breathes, that is a compression and gain-staging problem. Check whether every element is riding the same envelope, and whether your gain staging is pushing hot sources into the bus.
There is a difference between intentional impact and a technically unstable peak. Intentional impact is loud, compressed and controlled on purpose. Unstable peaks jump out at you on a chorus and pull the mix sideways. You can hear which one you have.
Log each finding with a timestamp. When you come back to this list after a break, the timestamps are the map.
4. Score It: How to Critique Your Own Mix Objectively
This is the scoring frame that makes the critique objective rather than emotional. Score four dimensions from zero to five, and write the evidence next to each number.
- Full mix, 0-5. One number for the mix as a whole. What is it worth?
- Frequency balance, 0-5. Is energy distributed where the genre expects it, with no band hogging the mix?
- Stereo image, 0-5. Does width create space and support the arrangement, or is it just an effect?
- Time-based behaviour, 0-5. Do dynamics, depth and transitions move over the length of the song?
The notes column is not optional. A score with no evidence is just a mood, and moods change every time you open the session. For each number, write one line on what is working and one line on what can improve. That two-sided note is what stops a critique from turning into a list of complaints.
Read the score as a conversation starter, not a verdict. A 3 that stays at 3 across three separate listens is a real signal. A 2 that becomes a 4 the moment you play a reference track was a measurement problem, not a mix problem.
5. Look for Masking and Frequency Imbalances
Switch between the full mix and the instrumental, then start soloing the layers that carry most of the energy. Common EDM problems show up in predictable places: kick and bass fighting in the same low-mid region, a muddy buildup around 200 to 400 Hz, harsh synths cutting through the stereo field, a vocal that disappears the moment the reverb comes up, and an over-airy top end that makes everything feel thin.
Use temporary EQ or a high-pass filter to isolate. A quick test is to solo the kick, note the frequency where it gets indistinct, then solo the bass and check whether it lives there too. If it does, one of them has to move or narrow.
Be careful about correcting every narrow frequency you find. Narrow cuts are a last resort, and they cost clarity in the arrangement. Before you carve, ask whether the arrangement is the problem: two elements fighting for the same role is an arrangement issue, not an EQ issue, and no filter fixes it cleanly.
6. Judge Depth, Space, and Stereo Image
Depth is built from more than reverb. Check front-to-back placement: does the lead vocal sit unmistakably in front, do the drums have a clear position, and does the background stay behind? Frequency supports depth too, since higher frequencies are perceived as further away.
Play the mix in mono. If it collapses or the elements change position dramatically, you have a problem that will show up on every single-speaker system. The goal is for mono and stereo to sound like the same song. This is the least glamorous check in critical listening, and it is the one that catches the most.
Then test width honestly. Pull the stereo width plugin down to zero for a bar. If the mix sounds better with less width, the width was doing nothing except impressing you on headphones. Check reverb tails too: an oversized tail on a busy sound blurs the lead and destroys the front-to-back read.
Use temporary level changes rather than plugin tweaks here. Ride a layer up and down a few decibels and notice which position makes the arrangement clearer. That tells you the mix bus is unbalanced, and the fix is a fader, not a plugin.
7. Prioritize a Short List of Fixes
Turn your notes into a ranked list. Score each item on four things: how much impact it will have, how confident you are in the diagnosis, how much effort it takes, and whether it risks hurting the mix on other systems.
Work in this order: structural problems first, then tonal balance, then dynamics, then depth and space, then polish. If the arrangement is cluttered, fixing a hi-hat level will not matter.
Change one thing at a time, and time-box each fix to five minutes. If it is not clearly better in five minutes, revert and move to the next item. The opposite trap is stopping playback every ten minutes to solo a single element, and the session turning into an hour of small disconnected decisions. Keep the song playing.
After each change, do a before-and-after A/B. If you cannot hear the difference, you did not fix a problem, and the session is heading toward overmixing.
Where the Process Usually Breaks Down
Most critiques fail in the same seven ways, and each has a practical fix.
- Changing too many things at once. Fix: one change, one A/B, then move on.
- Trusting emotional familiarity. Fix: listen to a reference track you love, then yours, then the reference again.
- Judging at an unsafe volume. Fix: pick a moderate level and never change it during the session. Loud playback makes problems sound like energy, and the ears tire faster.
- Using only one system. Fix: at minimum, monitors plus a phone speaker plus mono.
- Over-referencing. Fix: two or three references, not a twenty-track playlist. You are matching a target, not collecting data.
- Making tiny corrections. Fix: if a change is under about 1 dB, you will not hear it in context. Skip it.
- Confusing preference with a fault. Fix: a preference only becomes a problem when it survives translation to a phone speaker and to a reference track.
Add a palate cleanser before the loudest listening pass. The most useful version is a drum or noise track that is as neutral as possible, with no pitched sounds at all, played first to reset tonal memory. It is a two-minute move that works better than it has any right to.
Common Mistakes
These are the errors that quietly destroy objectivity, gathered into one place so you can scan them before a session.
- Mixing on the same day you tracked. You cannot hear a mix you are still attached to. Wait until tomorrow.
- Listening to one four-bar loop for an hour. Repetition blindness sets in fast. Loop the whole song, or stop the session.
- Fixing loudness before balance. If the relative levels are wrong, no amount of bus processing fixes it.
- Judging a rough mix as a finished one. Tell yourself which stage the track is at, then critique it against that stage.
- Rewriting the arrangement while mixing. Separate the two. A mix session that becomes a re-tracking session loses its objectivity entirely.
- Never exporting. Bounce the mix, close the session, and listen to the file. Translation problems appear immediately and never inside the DAW.
Four habits keep a session honest. Write notes during playback instead of stopping to act on them. Keep your monitoring level fixed for the whole session. Take a break before the final review, not after. And when a decision stays unclear, put another person in the room and ask one narrow question rather than “does it suck?” Fresh ears plus a specific brief is still the fastest route to a genuinely new perspective.
Frequently Asked Questions
How long should I wait before critiquing my own mix?
At least one full day if you tracked and mixed in the same session. The practical test is whether you still remember every decision you made while hearing it as a fresh track. If you remember the compressor move you made at 2 a.m., you need more distance. Overnight works for most people; a week is better for arrangement-level problems.
Are headphones enough to critique a mix objectively?
Headphones are good for detail, mono checking and catching sibilance or hiss, but they hide low-end translation problems and room-dependent issues. Use them as one viewpoint among several: main monitors, headphones, a phone speaker and a mono fold-down. A mix should sound like the same song on all four. If it only holds together on one system, it is not finished.
How many exports do I need for a proper mix critique?
Three. The full mix, an instrumental at identical playback settings, and a loudness-matched reference track. A fourth useful export is a mono or a single-speaker version for translation. Keep every export at the same level as the reference, because a louder mix always sounds wider, clearer and more exciting than it is.
When is another person’s feedback actually useful?
When they are hearing the track for the first time and you ask specific questions instead of asking whether they like it. Tell a non-musician to write down the first three things they noticed. Tell a producer to check one thing you are unsure about. Vague requests produce vague politeness; a narrow question produces usable information.
How do I know when my mix is finished?
A repeatable protocol is how to critique your own mix objectively without letting emotion drive the call. You are close when the full mix, the instrumental and the mono version all tell the same story, the balance survives a phone speaker, and your ranked fix list is down to preference-level items. Export it, stop, and revisit tomorrow before touching anything else.
Start with step one tomorrow morning. Export the mix, the instrumental and a reference at matched levels, listen once without touching anything, and write down six words about balance, clarity, width, depth, energy and impact. That single pass takes fifteen minutes and it will tell you more than an hour of fiddling.