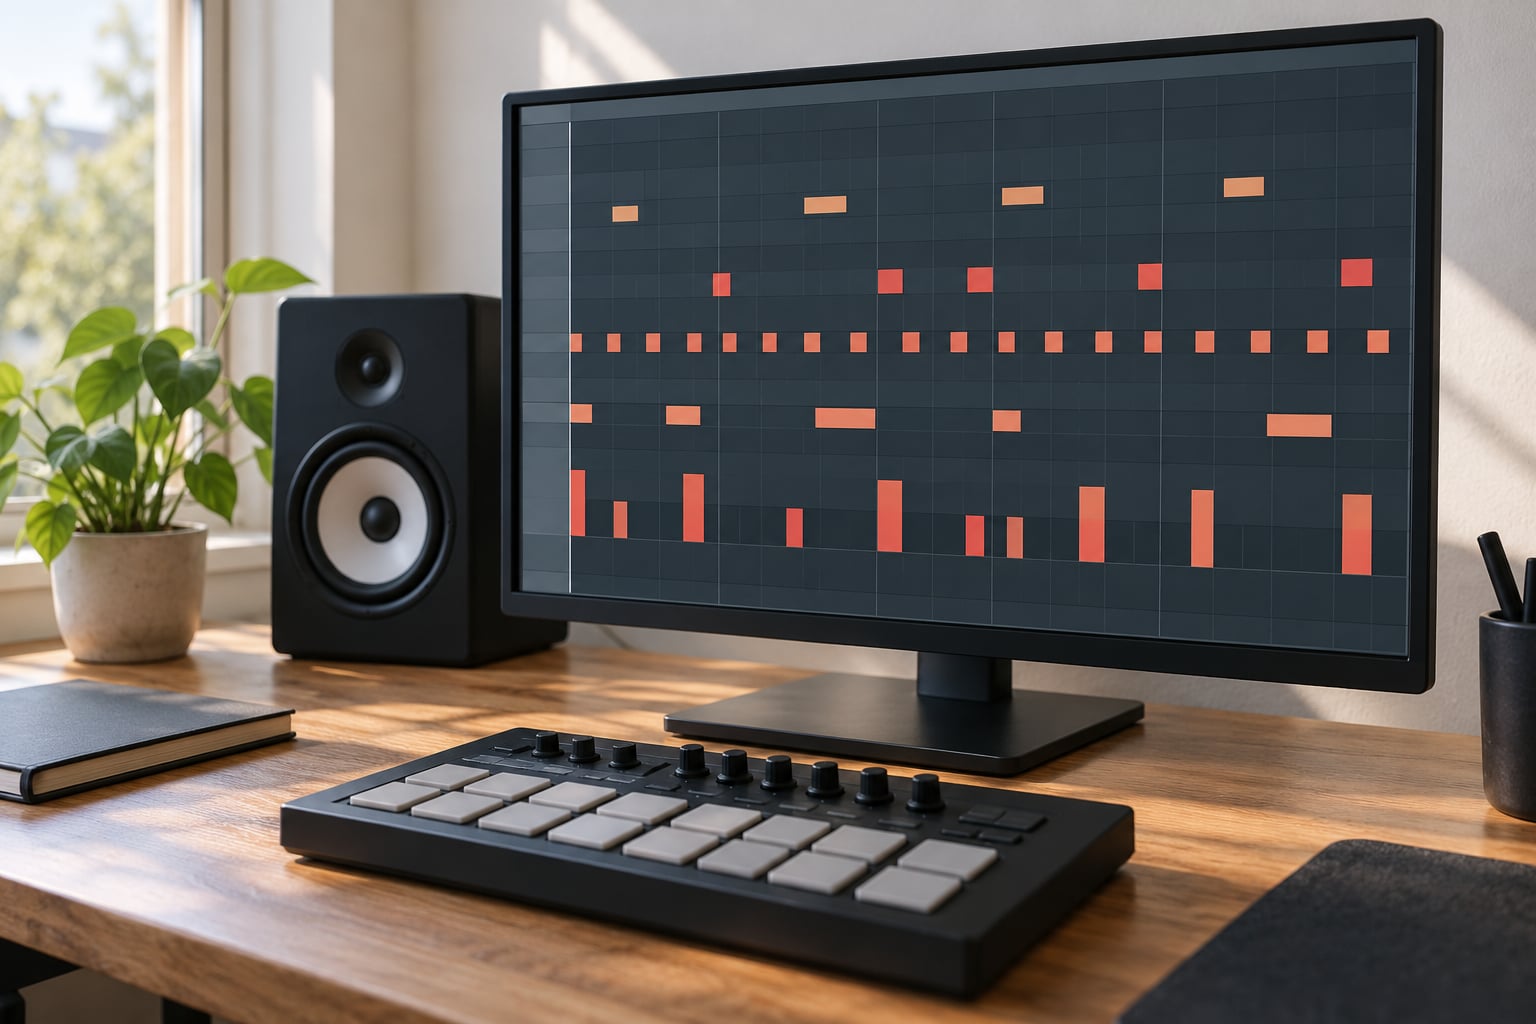
MIDI velocity is the number attached to every note you program, running from 1 to 127, and it tells a plugin how hard that note was struck. When all of your notes share one value, a track reads as machine output. Learning how to humanize MIDI velocity means giving that number a base value, a limited random range, and deliberate accents on the beats that carry the groove.
The method below takes about 20 minutes for a drum pattern and longer once you apply it to piano, bass and synth parts. You do not need a plugin to start, and most producers who skip the editing step regret it later. The work is not fiddly: it is a handful of numbers per part, done with judgement.
Table of Contents
- What You Need to Humanize MIDI Velocity
- Step-by-Step
- 1. Listen for a Velocity Problem
- 2. Set a Musical Velocity Range
- 3. Shape Accents by Hand
- 4. Use Your DAW’s Native Humanize Tools
- 5. Control Humanization with Automation
- 6. Refine, Humanize, and Check the Groove
- Common Mistakes
- Frequently Asked Questions
- What is a good MIDI velocity range for drums?
- Should I humanize MIDI velocity before or after quantizing?
- Does a lower MIDI velocity make an instrument quieter?
- How much randomness is enough when using a MIDI humanizer?
- Can MIDI velocity be automated for a build and drop?
- Conclusion
What You Need to Humanize MIDI Velocity
You need four things, and three of them are already inside your DAW.
- A MIDI clip with visible velocity data. Open the piano roll or velocity lane and confirm you can see the bars. If velocities are not displayed, turn the lane on before you start editing.
- A DAW with velocity editing. Every major DAW does this, though the route differs. Logic, Ableton Live, FL Studio, Cubase, Studio One, Pro Tools, Reaper, Bitwig, GarageBand and MPC all expose it somewhere.
- Per-note control, not just a global random. A tool that randomizes an entire clip at once is a blunt instrument. Per-note or per-phrase control is what makes the result musical.
- Optional: a humanizer plugin or MIDI processor. Native functions are enough for most work. Plugins help when you want the same movement applied across a whole MIDI track in real time.
Understand the scale first. Velocity 0 is silence and 127 is the maximum a MIDI message can carry, so it is a relative control, not a loudness measurement. How loud a note ends up depends on how the instrument maps that number: many drum libraries switch sample layers, some synth voices filter down and lose brightness, and others barely change at all. Higher values almost always sit forward in a mix.
Downbeats want more energy than the notes between them. A kick on the one at 108 with its offbeat partner at 96 sounds like a player pushing the beat, while a flat 100 everywhere sounds like a sequencer printing tickets.
Audio and drum plug-ins benefit from the same treatment. A sampled snare or a saturated drum bus responds to the small dynamic differences you build here, and it costs nothing to try.
Keep these starting numbers somewhere handy while you work:
| Part | Base velocity | Random range | Accent | Ghost notes |
|---|---|---|---|---|
| House kick | 110 | plus or minus 4 | 115 on the one | not used |
| Snare or clap | 100 | plus or minus 5 | 110 on the backbeat | 45 to 60 |
| Closed hi-hat | 85 | plus or minus 6 | 95 on offbeats | 35 to 50 |
| Piano chords | 80 | plus or minus 5 | 90 to 100 on phrase starts | not used |
| Bass sequence | 95 | plus or minus 4 | 105 on root notes | not used |
| Synth lead | 90 | plus or minus 3 | 100 at phrase peaks | not used |
Step-by-Step
1. Listen for a Velocity Problem
Before touching a number, play the clip and find the exact bar that bothers you. The failure has three common shapes: every note carries an identical value, the range is so wide that quiet notes disappear in the mix, or an accent sits on every sixteenth note so nothing actually stands out.
Play one bar alone. Then compare the strength of the downbeat against the hit immediately after it. If they sound identical, you have a flat-velocity problem and the fix is variation. If the quiet notes vanish when the bass comes in, your range is too wide and the fix is a smaller one. If every note feels urgent, you have over-accenting.
Run that same test on four parts: the kick pattern, a snare groove, a bass sequence and a chord progression. They rarely need the same treatment, and treating them all the same is the most common reason a programmed track still feels stiff after an afternoon of editing.
2. Set a Musical Velocity Range
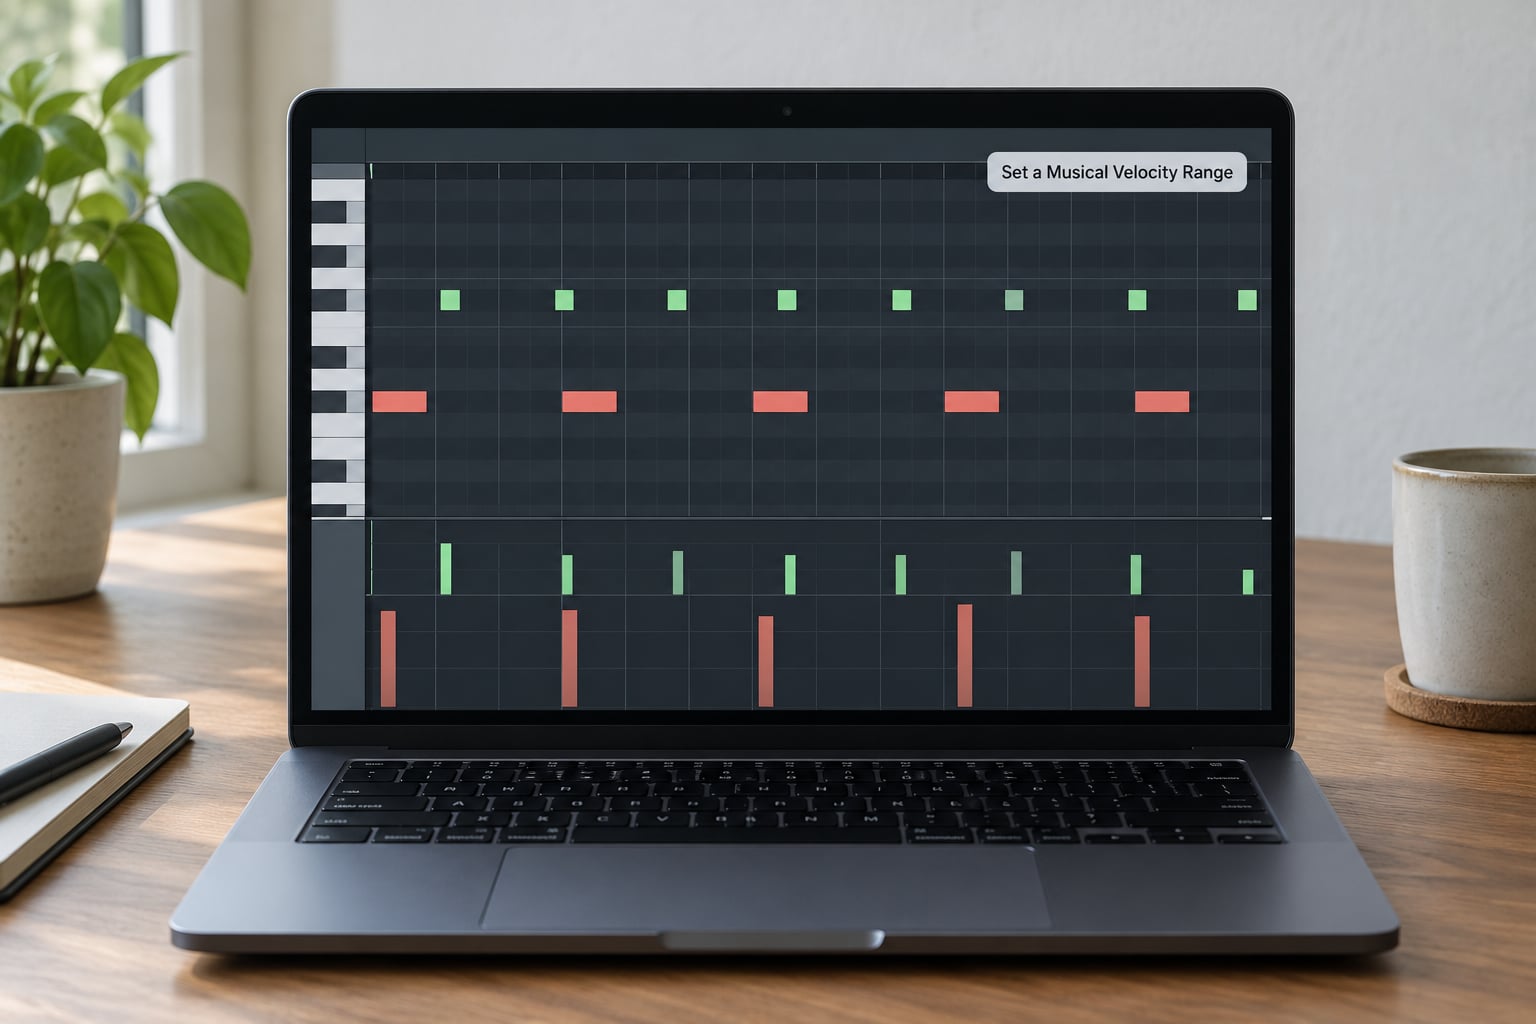
Choose a base value and a narrow window around it, then keep every note inside that window. For a restrained house groove, 100 to 118 is a sensible starting range. Punchier progressive trance sits comfortably around 95 to 125. Reserve 70 to 127 for passages where dramatic dynamics are the point, such as a breakdown that has to feel like it drops in.
Treat velocity as relative expression rather than an absolute loudness setting. The number that sounds perfect on a solo snare may bury a chord underneath it, so audition the part in context rather than in isolation.
Watch the low end of your window. Push the minimum too low and those notes stop contributing, especially once a compressor is squeezing the drum bus. An 18-point window is plenty of movement on a hi-hat, and it will not disappear under a mix.
Write the base value on the first note of the phrase and the maximum on the accent note, then use the DAW’s fill or scale function to push the rest into line. In Cubase and Logic the quickest route is a select plus a transform in the Logical Editor or MIDI Transform window; in Ableton Live, the velocity lane can be scaled with a selection in the editor.
3. Shape Accents by Hand
This is where a programmed part becomes a played one, and it is the step that random functions cannot replace. Give four repeated kicks four slightly different values rather than one value plus noise, for example 112, 106, 101 and 109, and the pattern stops repeating audibly.
Small changes do most of the work. Two to five points is enough for most variation, and anything above that should be deliberate. Ten to twenty point changes belong on a fill, a crash, a snare accent on the backbeat of a chorus, or a bass root that needs to cut through.
Alternate across chord notes too. A three-note chord with values of 90, 84 and 78 reads as a player rolling their wrist slightly, while three identical values read as a block. The same idea applies to a sixteenth-note bass sequence, where alternating high and low values creates a groove without touching timing.
Protect the parts that were intentional. Fills, transitions, drops and any note you moved by hand earlier should keep their exact values. Humanization is a layer on top of your arrangement decisions, not a replacement for them.
4. Use Your DAW’s Native Humanize Tools
Every major DAW has a humanize or randomize command, and the name, location and available parameters differ enough that it is worth checking yours rather than guessing from a tutorial written for a different DAW. Menu paths below reflect current desktop versions as of 2026 and do drift between releases, so treat them as a starting point.
| DAW | Where the humanize or randomize command lives | What it controls |
|---|---|---|
| Logic Pro 11 | Select the region, then use the Transform setting in the region’s MIDI modifiers (Inspector or Region Inspector) | Timing, note length and velocity, each with its own range and seed |
| Ableton Live 12 | Select notes in the MIDI Note Editor and use the Randomize command; swing and groove templates sit in the clip’s groove settings | Velocity randomisation, plus timing through swing and Groove Pool templates |
| FL Studio | Piano roll, select notes, then right-click for Randomize and pick Velocity, Timing or Duration; per-channel swing lives on the channel rack knob | Velocity, timing and duration separately |
| Cubase | Quantize panel Humanize section, or a Logical Editor transform preset using Random Range | Position, length and velocity with independent ranges |
| Studio One | Edit menu humanize command on a selected range or clip | Timing and velocity with a range limit |
| Pro Tools | Edit then MIDI Event Operations, using the Add Note Touch or Modify operations | Velocity range, timing and note length, with a seed control |
| Reaper 7 | Item properties, MIDI tab, humanize velocity option with minimum and maximum fields | Velocity range and timing within a set window |
| Bitwig Studio | Insert the Humanizer device on the MIDI track and adjust note spread | Timing, velocity and length spread, live and non-destructive |
| GarageBand | No dedicated command; edit the velocity bars in the piano roll and write a velocity automation lane on the track | Whatever you draw manually |
| MPC software | Tools menu humanize function with independent timing, length and velocity amounts | All three parameters, adjustable per amount |
Whatever you use, set the range to match the window you chose in the previous step instead of leaving it wide. Logic’s MIDI Transform humanize window in particular only randomises the parameters you enable, which trips up anyone who expects timing movement and gets velocity only.
Then bypass the processing and compare several passes. Re-roll the seed if your DAW offers one, or run the command twice from the same starting values. Most of the time the first pass is too wide and the third is better, and you cannot know that without listening back and forth.
5. Control Humanization with Automation
Velocity that is identical in every section of a track is a flat arrangement, even if each section sounds human on its own. Use a velocity automation lane so a verse sits restrained, a build gathers momentum and a drop puts its weight on selected impacts.
Work on a copy. Duplicate the MIDI clip, then draw automation over the duplicate so your original values stay intact. That way you can dial the automation back without re-editing notes. Some DAWs write automation straight to the MIDI clip, others need a separate lane, so check whether your version writes velocity or only note height.
A concrete example for an eight-bar progressive-trance sequence: bars 1 and 2 sit at a 95 to 105 range with the kick on the one at 108. Bars 3 to 4 widen to 96 to 112 while a riser climbs. Bars 5 and 6 push to 100 to 118, with the crash at 125 and the kick landing at 115. Bars 7 and 8 return to 96 to 104 so the loop point does not arrive already exhausted.
Keep the drop’s range wide and the verse’s narrow. Widen everything and you only get louder, not more dynamic.
6. Refine, Humanize, and Check the Groove
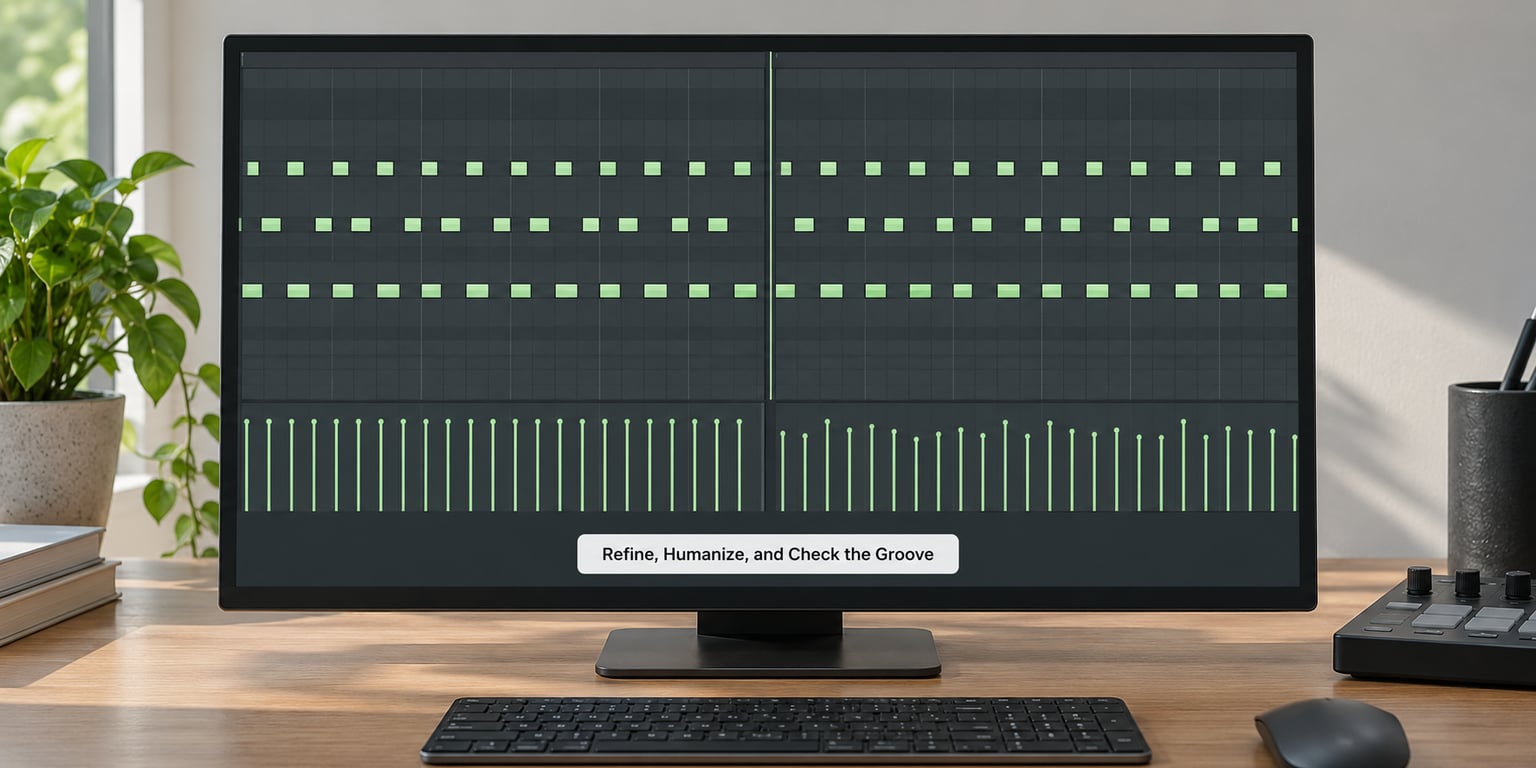
Once velocity is convincing, add small timing variation. Pull quantize strength back to somewhere between 60 and 80 percent instead of 100, and nudge individual notes by three to ten milliseconds. Push the snare slightly ahead of the grid for momentum and drag the kick a few milliseconds behind it so the two lock into a pocket.
Vary note length next. Sustain pedals on strings and piano produce overlapping tails of different lengths, and held chords that all end on the same tick are one of the clearest tells of programming. Shorten some releases by a fraction and add a touch of variation to the pedalled notes.
Then run a short quality check:
- Timing tight enough that the kick and bass still lock, loose enough that the groove breathes.
- The downbeat clearly stronger than the notes around it.
- Range consistent across a phrase, with variation inside it rather than everywhere.
- No two adjacent notes with identical values unless the accent is on purpose.
- Ghost notes audible without being louder than the main hits.
Finish with a dry-versus-processed listening test. Bypass the humanization, listen, then bring it back. If the difference is obvious but the processed version still feels musical, you are in the right zone. If the processed version sounds loose or drunk, your range is too wide and it needs to shrink by a few points.
Common Mistakes
Randomizing every note. Full-range randomization on every event is the single biggest reason humanized MIDI sounds worse than the original. Producers working across Cubase, Ableton, Studio One and Reaper describe the same sloppy, drunk feel from over-humanization. Set a range and stick to it.
Using too much range. A 60-point spread on a hi-hat means the quiet notes vanish under the mix. Keep the window near 18 points for hats and snares, and reconsider any part where you cannot hear every note.
Humanizing timing first. If you move notes before settling velocities, you spend your time fixing placement you never decided on. Sort the dynamics first, since velocity is the fastest lever and the easiest to hear problems on.
Treating velocity as one global setting. A kick, a hat and a piano chord want different ranges even in the same bar. Set them separately or the groove will fight itself.
Running the humanizer on a whole clip. Randomization applied to everything, or to the wrong selection, is the most common complaint in producer forums. Select the phrase you actually want and leave the rest alone. Reaper and Pro Tools users in particular rely on a seed control and careful selection management to avoid this.
Ignoring notes that stop short. Quantizing and humanizing move note starts and note ends together, so a chord can end early and sound clipped. Shorten the quantize or humanize grid, or lengthen the notes slightly before you run the command, so the ends have room to move.
Judging the edit in isolation. Solo the clip while editing and you will over-accent everything. A part that sounds wildly expressive alone can be far too busy in the full arrangement.
Two habits keep you out of trouble. Spend most of your time on kick, snare and hi-hat, since those carry the groove and everything else sits around them. And when a section needs to feel deliberately flat, for example a cold intro or a lo-fi loop, leave it flat. Intentional consistency is more musical than indiscriminate variation.
Frequently Asked Questions
What is a good MIDI velocity range for drums?
For most programmed drum parts, a window of roughly 100 to 118 gives you a groove that pushes without turning into a fumble. That leaves about 18 points of travel for the drummer’s hand. Put your kick near the top of the window, your snare in the middle, and your closed hats lower so they sit behind without disappearing. If ghost notes are part of the pattern, place them at 35 to 60, well below the main hits.
Should I humanize MIDI velocity before or after quantizing?
Humanize velocity after you have quantized position. Quantize sets where the notes sit, velocity sets how hard they land, and the two decisions fight each other if you interleave them. A common workflow is full quantization first, then micro-timing offsets of three to ten milliseconds, then a partial quantize at 60 to 80 percent strength to pull everything slightly back toward the grid.
Does a lower MIDI velocity make an instrument quieter?
Not always. Velocity is a trigger value from 1 to 127, and how it translates into level depends on the instrument. Many drum libraries switch between sample layers, so a lower value plays a softer recorded hit rather than a quieter version of the same one. Other synths close a filter and lose brightness instead. Some patches barely respond at all, so audition the actual instrument rather than assuming.
How much randomness is enough when using a MIDI humanizer?
Three to five points either side of your base value is enough for most parts, and up to eight for hi-hats and sixteenth-note sequences that need to feel alive. Beyond ten points on most notes, listeners start hearing sloppiness rather than feel. If in doubt, humanize the phrase, then listen dry and processed; if the difference is obvious but the groove still sits well, the amount is fine.
Can MIDI velocity be automated for a build and drop?
Yes, and it is the easiest way to make sections feel different without re-editing notes. Every major DAW can draw a velocity lane over a clip or write velocity to the clip itself, so duplicate your MIDI, then widen the range through the build and narrow it in the drop. Watch your version’s behaviour: some DAWs write automation to the clip, others need a separate lane, and in GarageBand you draw it manually.
Conclusion
Start with the pattern that bothers you most. Set a base velocity, cap the range at a window you can live with, give the downbeats values the rest of the bar does not have, then run your DAW’s humanize command on that selection with the range limited rather than wide.
That is how to humanize MIDI velocity: numbers, decisions and a listening pass. Audition the result against the rest of the groove rather than on its own, keep your accents intact, and remember that a part which stays deliberately flat is a choice, not a failure.