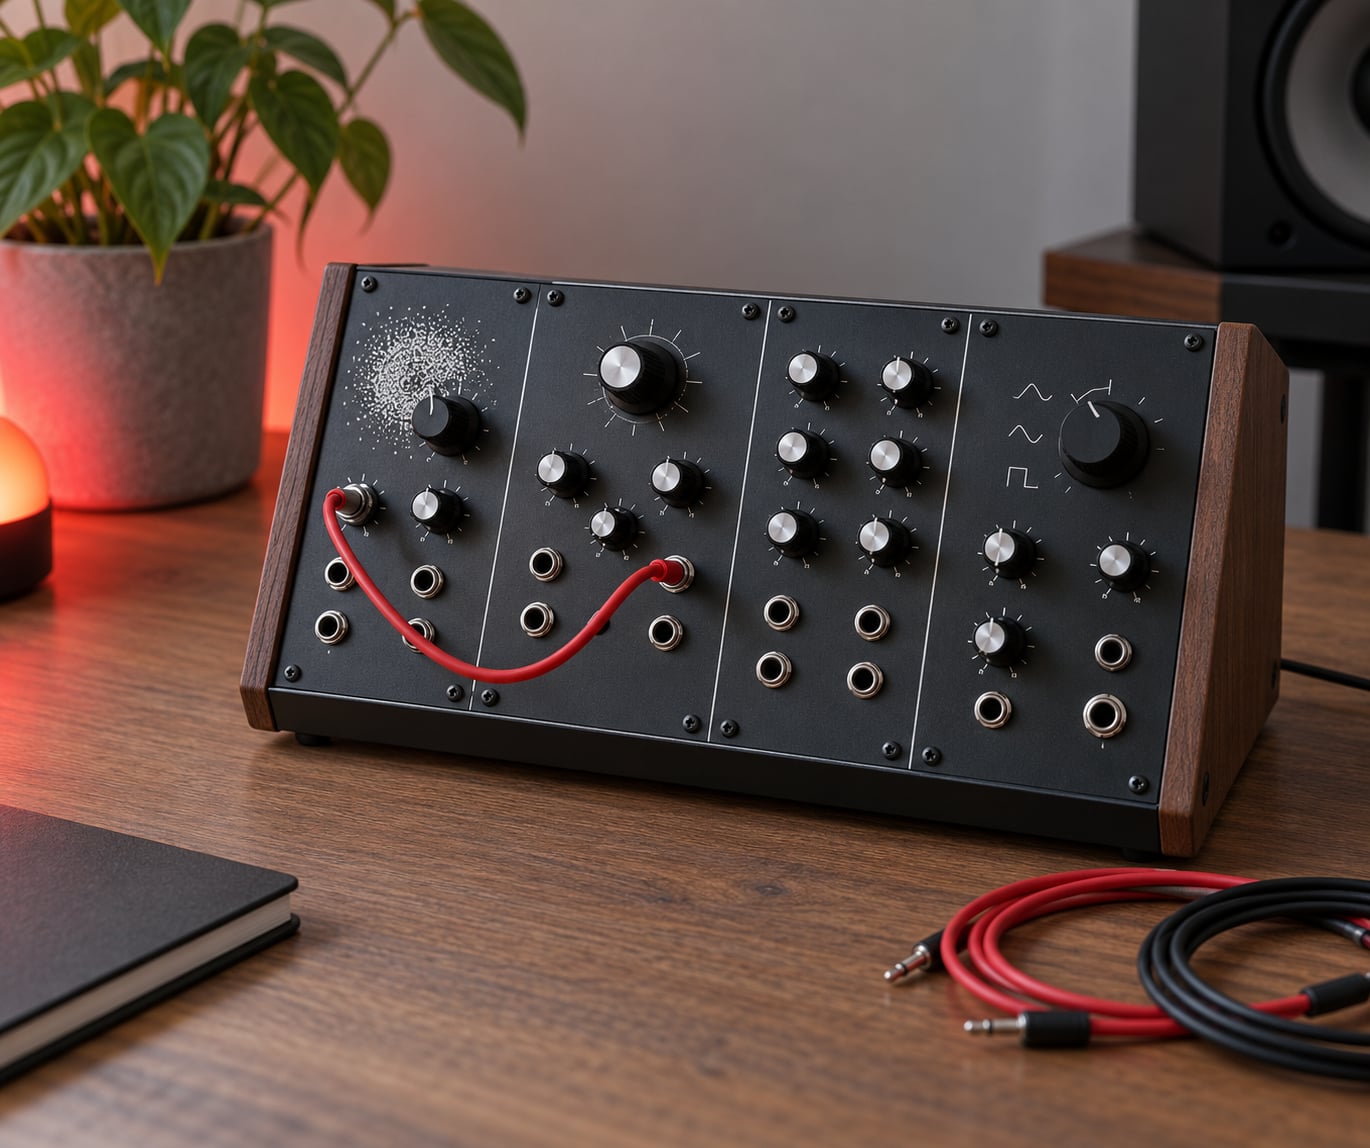
A noise oscillator is a sound source that outputs a random, pitchless signal instead of a repeating waveform, and once you know how to use noise oscillators in synth design, that hiss becomes one of the most useful things in a patch. Filters carve it into air, rumble, hats and risers. Envelopes give it an attack, and modulation keeps it moving instead of static. This walkthrough covers the seven steps, with the filter type, cutoff, resonance and envelope values I would start from.
The whole thing takes about twenty minutes for the first pass. You do not need a hardware modular rig, and you do not need to understand synthesis theory first. What you need is a synth that has a noise source, which by 2026 is almost every hardware semi-modular and every decent software instrument.
One thing worth saying up front: noise has no pitch. It cannot play a melody or be the root of a chord. Its job is non-harmonic content, the stuff that makes a sound feel alive, wide and a bit dangerous. On the IDM Forums thread that prompted half of this guide, producer relic put it neatly: adding noise is how you blur and thicken sounds that have become too clean.
Table of Contents
- What You Need
- Step-by-Step: How to Use Noise Oscillators in Synth Design
- 1. Choose the right noise source
- 2. Route noise through a filter
- 3. Set a musical level and mix position
- 4. Shape the noise with an envelope
- 5. Modulate filter cutoff or noise amplitude
- 6. Add movement and variation
- 7. Test, refine, and save the patch
- Common Mistakes
- Frequently Asked Questions
- What is a noise oscillator?
- What is pink noise and when should I use it instead of white noise?
- Can you hear an LFO?
- How much noise should I mix into a synth patch?
- Is noise a waveform, and does noise have a pitch?
- Can you give me examples of sounds built from noise alone?
- Conclusion
What You Need
You need four things, and every major synth has all of them, whether the button is labelled Noise, a white waveform icon, or an unlabelled waveform slot you have to scroll to find.
A noise source. In hardware that is usually a dedicated noise generator module or an oscillator switched to a noise waveform. In software it is a waveform option on oscillator 2, or its own noise voice in synths with a dedicated FX oscillator.
A filter. Every subtractive synth has at least a low-pass, and nearly all of them give you a band-pass and a high-pass as well. Without a filter, noise is just hiss, which is the single most common reason a noise patch sounds broken.
An amplitude envelope and at least one modulation source. The envelope shapes when the noise is audible, and the modulator (an LFO, an envelope, a randomiser, velocity, or a macro knob) is what stops it sounding like a broken cable.
Headphones or monitors, plus one optional extra: your DAW’s spectrum analyser. Watching the noise move through the filter tells you far more about what is happening than guessing with your ears alone.
Step-by-Step: How to Use Noise Oscillators in Synth Design
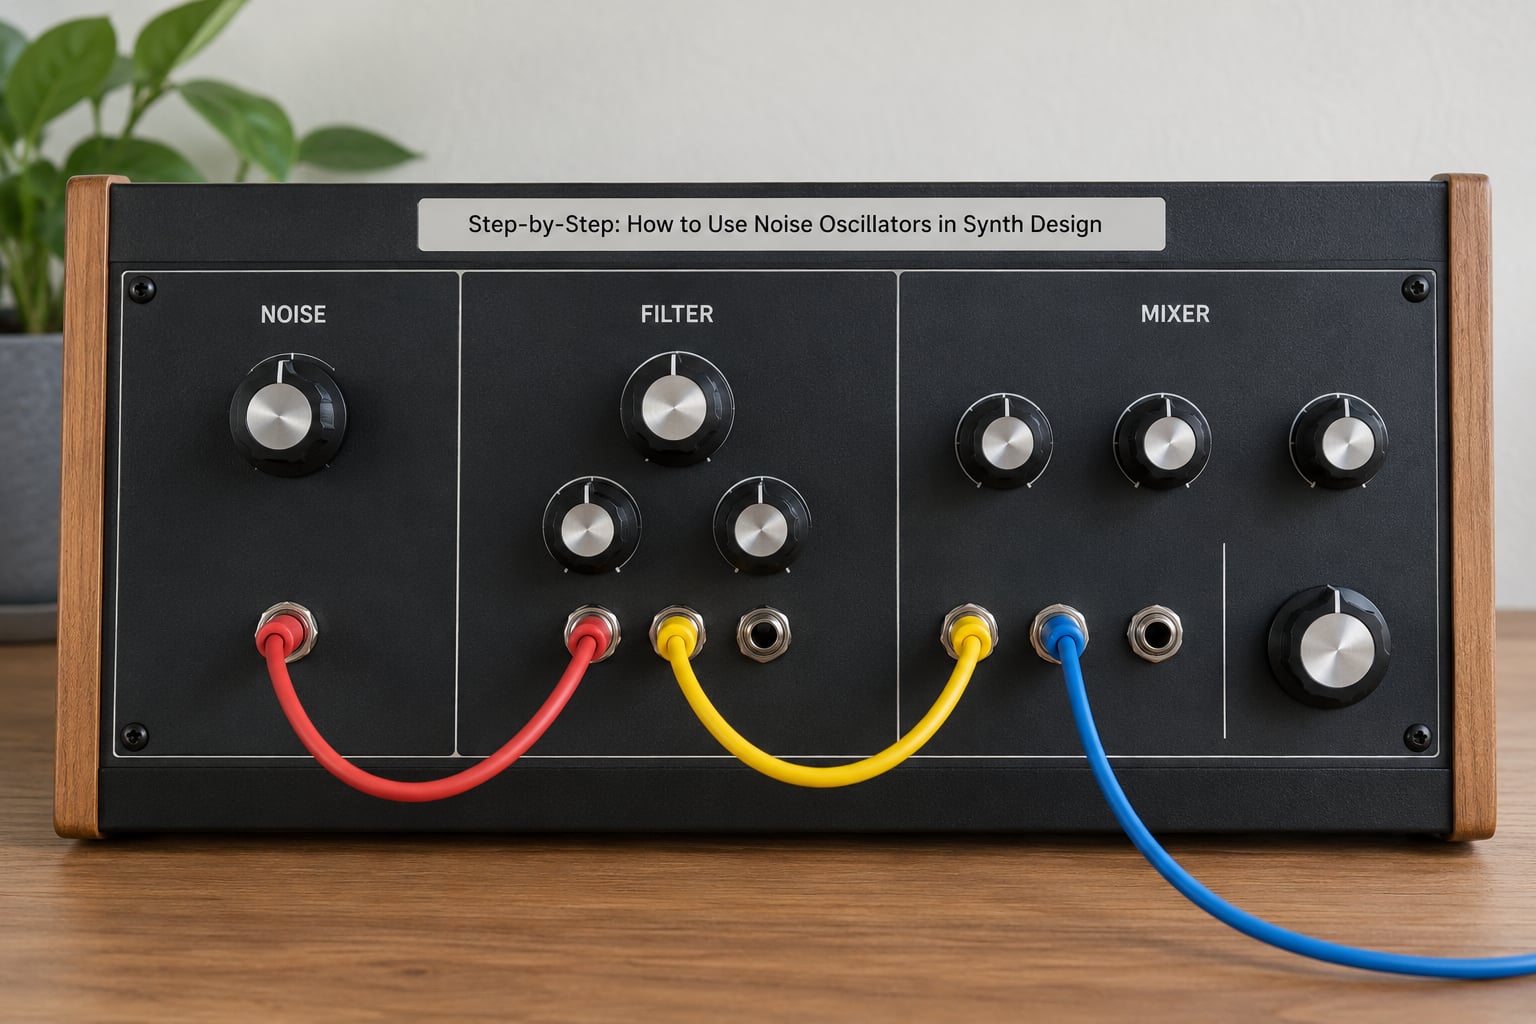
The order below matters more than the individual techniques. Pick the source, filter it, set the level, add an envelope, then add movement, then trim and save. Skipping straight to random modulation is why most beginner noise patches sound like a glitch that got stuck.
1. Choose the right noise source
Choose white noise for anything bright and thin, pink noise for balanced texture, and brown noise for weight and rumble. White noise has equal energy across the spectrum and reads as hiss and air. Pink noise falls off at a steady rate across octaves, so it sounds more even to the ear. Brown noise falls off faster and carries most of its energy at the low end.
That difference decides the job before you touch a filter. White gives you hats, snares, risers and sizzles. Pink is the safe default for pads, wind and general thickening, because it does not demand any particular attention. Brown is rumble, sub-bass texture and cinematic weight, and it needs a high-pass to stay out of your way.
Start in the middle. If you reach for white noise by default every time, half your patches end up brighter and more fatiguing than you intended.
| Noise colour | Spectral tilt | Sounds like | Best used for |
|---|---|---|---|
| White | Flat across frequency | Hiss, sizzle, static | Hats, snare layers, risers, laser sweeps, air |
| Pink | Falls off steadily | Balanced rush, soft static | Wind, pad thickening, granular swells, general texture |
| Brown | Heavy low-end bias | Rumble, distant roar | Sub texture, cinematic beds, vinyl floor noise |
2. Route noise through a filter
Route the noise into a filter and let the filter decide what part of the spectrum you hear. A low-pass keeps the bottom and removes hiss, and it is your default for wind, beds and thickening. A band-pass carves a narrow moving band out of the noise, which is how you get a laser, a water drop or a resonant sweep. A high-pass clears the low end so the noise sits on top of a bass or a kick without fighting it.
Starting values: low-pass at around 800 Hz for a bed, band-pass at 1.5 kHz to 4 kHz for a laser or a drop, high-pass at 200 Hz to 400 Hz when the noise layers over low-end material. Turn key tracking off for FX sounds so the filter position stays put regardless of note.
Resonance is the resonance control, sometimes labelled emphasis or Q. It boosts the band right at the cutoff. A little, around 10 to 20 percent, adds presence. Too much and the filter screams on its own, so the noise gets thin and whistly and loses its body.
3. Set a musical level and mix position
Set the noise level low and raise it until you can hear it without it asking for attention, usually somewhere between 6 dB and 15 dB under the pitched oscillators. Noise is perceptually louder than it measures because it covers so much spectrum, so your ears lie to you here. Trust the level meter over your first impression.
Then decide where it sits. As a background layer, high-pass it and keep it quiet. As a foreground layer, band-pass it so it occupies a narrow space in the stereo image and does not smear the whole mix. For parallel processing, send noise to its own filter and mix it in post so you can push it harder than you could in-line.
If the mix suddenly sounds veiled or dull, you have buried a tone under noise. Cut the noise, not the tone.
4. Shape the noise with an envelope
An amplitude envelope is what turns a continuous hiss into a musical event. For percussive bursts, use a very short attack, around 1 to 5 ms, a decay of 50 to 200 ms, and no sustain. That is a snare body or a hi-hat, and it is the fastest noise patch to build.
For an evolving bed, use a slow attack of 200 ms to 1 s and a long release, and you have a swell or a reverse-like riser without touching a single audio file. For continuous texture, use a fast attack and a sustain that holds, then ride the level with the filter instead of the volume.
Filter envelopes usually matter more here. A short filter envelope on a resonant band-pass turns noise into a pitched blip, which is exactly how the classic water drop is made.
5. Modulate filter cutoff or noise amplitude
Modulation is what keeps a noise layer from sounding like a fault. An LFO on filter cutoff gives you a repeating sweep, an envelope on cutoff gives you a one-shot riser, and velocity mapped to noise amplitude makes quiet notes airy and hard hits aggressive.
Keep modulation depth small at first, 10 to 20 percent of a full sweep, then widen it until the motion is obvious. A macro knob mapped to the noise level, the filter cutoff and the modulation depth gives you one control for the whole layer in a live set, and it is the fastest way to make a fixed noise patch playable.
Sync the LFO to the tempo when the patch is rhythmic, and use a free-running rate when you want the movement to feel alive and unrelated to the grid.
6. Add movement and variation
Add movement in small doses: a slow cutoff drift, a stereo-spread duplicate of the noise band, or a randomiser that changes the cutoff per note. Long, slow sweeps read as atmosphere, and per-note randomisation reads as human play.
Two things to avoid. Movement fast enough that your ear chases it causes the seasick, headphone-y feeling that makes people mute a track. And wide-band stereo noise with no filter on it collapses the image, because noise at both extremes smears across the whole field, so band-pass it before you widen it.
Layering two colours works too. Pink for the body, white for a thin high layer at lower level, gives more shape than either alone.
7. Test, refine, and save the patch
Test the layer across different notes, a different tempo, and against the loudest part of your track. Solo it once at the level it will actually sit at, because a noise layer that sounds great alone can disappear behind everything else, or the reverse.
Then save it with meaningful controls. A preset called Noise Layer with macro knobs labelled Air, Body and Movement is worth far more six months later than one called Init Patch 7. Save a version with no modulation too, as your neutral starting point.
Common Mistakes
Almost every bad noise patch is one of a handful of mistakes, and each has a direct fix. Work down this table before you start changing sounds at random.
| Symptom | Cause | Fix |
|---|---|---|
| Percussion sounds thin or squeaky | Resonance too high, or white noise with no low content | Drop resonance to 10-20%, add a second noise layer high-passed at 200 Hz |
| Everything sounds muffled or veiled | Noise layer sitting too loud across the midrange | Band-pass the noise to one region, lower it 3 to 6 dB |
| Pure hiss, no shape at all | Noise going straight to the output with no filter or envelope | Route it through a filter, then add an amplitude envelope |
| Muddy low end | Brown or pink noise unfiltered under a bass part | High-pass at 200 Hz to 400 Hz |
| Sounds random and uncontrollable | Modulation depth at maximum before finding a static sweet spot | Set the filter and level with no modulation, then add depth slowly |
| Uncomfortable after a minute | Bright noise left wide and static | Switch to pink, high-pass it, slow the LFO, or lower the level |
| Riser feels like a reversed cymbal | Envelope too linear and too short | Raise the attack to 1 to 2 s and curve the filter envelope |
Two habits that prevent most of these. Build the static version first and only then add modulation, and check the level meter instead of trusting your ears on the first pass. Beginners routinely reach for pink noise when white was needed, or leave noise at full level into a resonant filter with no envelope, and both are fixed by exactly those two checks.
Frequently Asked Questions
What is a noise oscillator?
A noise oscillator is a sound source in a synthesizer that outputs a random, pitchless signal instead of a repeating waveform. It produces a continuous hiss or static across the whole frequency spectrum, which you then shape with filters, envelopes and modulation into percussion, risers, wind, or texture added to a tonal patch.
What is pink noise and when should I use it instead of white noise?
Pink noise is noise whose energy falls off steadily across frequency octaves, which makes it sound more even to the ear than white noise. Use white for bright, thin material like hats, snares and risers. Use pink when you want texture that does not draw attention to itself, such as wind, pad thickening or a general wash under a lead.
Can you hear an LFO?
On its own, no: an LFO is a low-frequency modulator, usually running below 20 Hz, and you feel it as movement rather than hear it as tone. You hear its effect on the parameter it is connected to, such as filter cutoff or noise amplitude. You can hear an LFO only if you raise its rate into the audible range, or route it to an audio path.
How much noise should I mix into a synth patch?
Start between 6 dB and 15 dB below the pitched oscillators and raise it until you notice it without it grabbing attention. Noise is perceptually louder than it measures because it covers so much spectrum, so check the level meter rather than trusting your ears. If the mix turns dull or veiled, cut the noise, not the tone.
Is noise a waveform, and does noise have a pitch?
It behaves like a waveform slot in a synthesizer, but the signal is random rather than periodic, so it has no fundamental frequency and no pitch you could sing. That is why noise is used as a layer or a modulation source rather than a melodic voice. Band-passed noise can sound pitched at a moment, but that pitch is an artifact of the filter, not the source.
Can you give me examples of sounds built from noise alone?
Common ones include hi-hats and snare layers from a short amplitude envelope, risers from a slow attack and rising filter, lasers and water drops from a resonant band-pass with a short filter envelope, wind from filtered pink noise with a slow LFO on cutoff, and vinyl crackle from gated white noise with a random trigger. All of them come from the same source.
Conclusion
Start with the smallest useful patch: pick a noise colour, band-pass it around 2 kHz, set the level about 10 dB under your oscillator, and automate the cutoff across one bar. That single test will tell you more about noise oscillators than any amount of reading. Once it sits right, save it as a reusable layer with a macro for movement, and build the rest of your noise work on top of that instead of reaching for raw hiss every time.