A snare that cuts through is one whose attack transient and midrange body sit clearly above whatever else is playing, so it stays audible and defined without being pushed until the track feels tiring. Most snares fail this test for one reason: they share frequency space with the bass, guitars or vocals already in the arrangement. You fix that by building the sound in three named layers, carving the ranges that collide, and adding weight with compression and saturation rather than volume. It takes about 45 minutes on a rough mix once you know the numbers.
Updated for 2026. Written for producers and mix engineers working in any DAW, whether the kit is recorded or programmed.
Here is the version of the answer people actually want first: if your snare is being buried, EQ in context, cut the kick and bass out of the snare’s range rather than pushing the snare up, then add a separate attack layer with a near-zero attack time and a short decay. That single split between body and attack does more work than any compressor setting, and it is where most bedroom producers stop short.
Table of Contents
- What You Need
- Step-by-Step: How to Design a Snare That Cuts Through a Dense Mix
- Choose a Focused Starting Sound
- Shape the Attack for Definition
- Control Frequency Conflicts With EQ
- Add Texture Without Turning the Snare to Hiss
- Use Compression and Saturation Intentionally
- Place the Snare in the Arrangement
- Common Mistakes
- Frequently Asked Questions
- What is the best EQ setting for a snare drum?
- Should I EQ the snare before or after compression?
- How do I make my snare punchier?
- Why does my snare disappear in the mix?
- How many snare layers are too many?
- Should I layer a snare with a clap instead of processing one sample harder?
What You Need
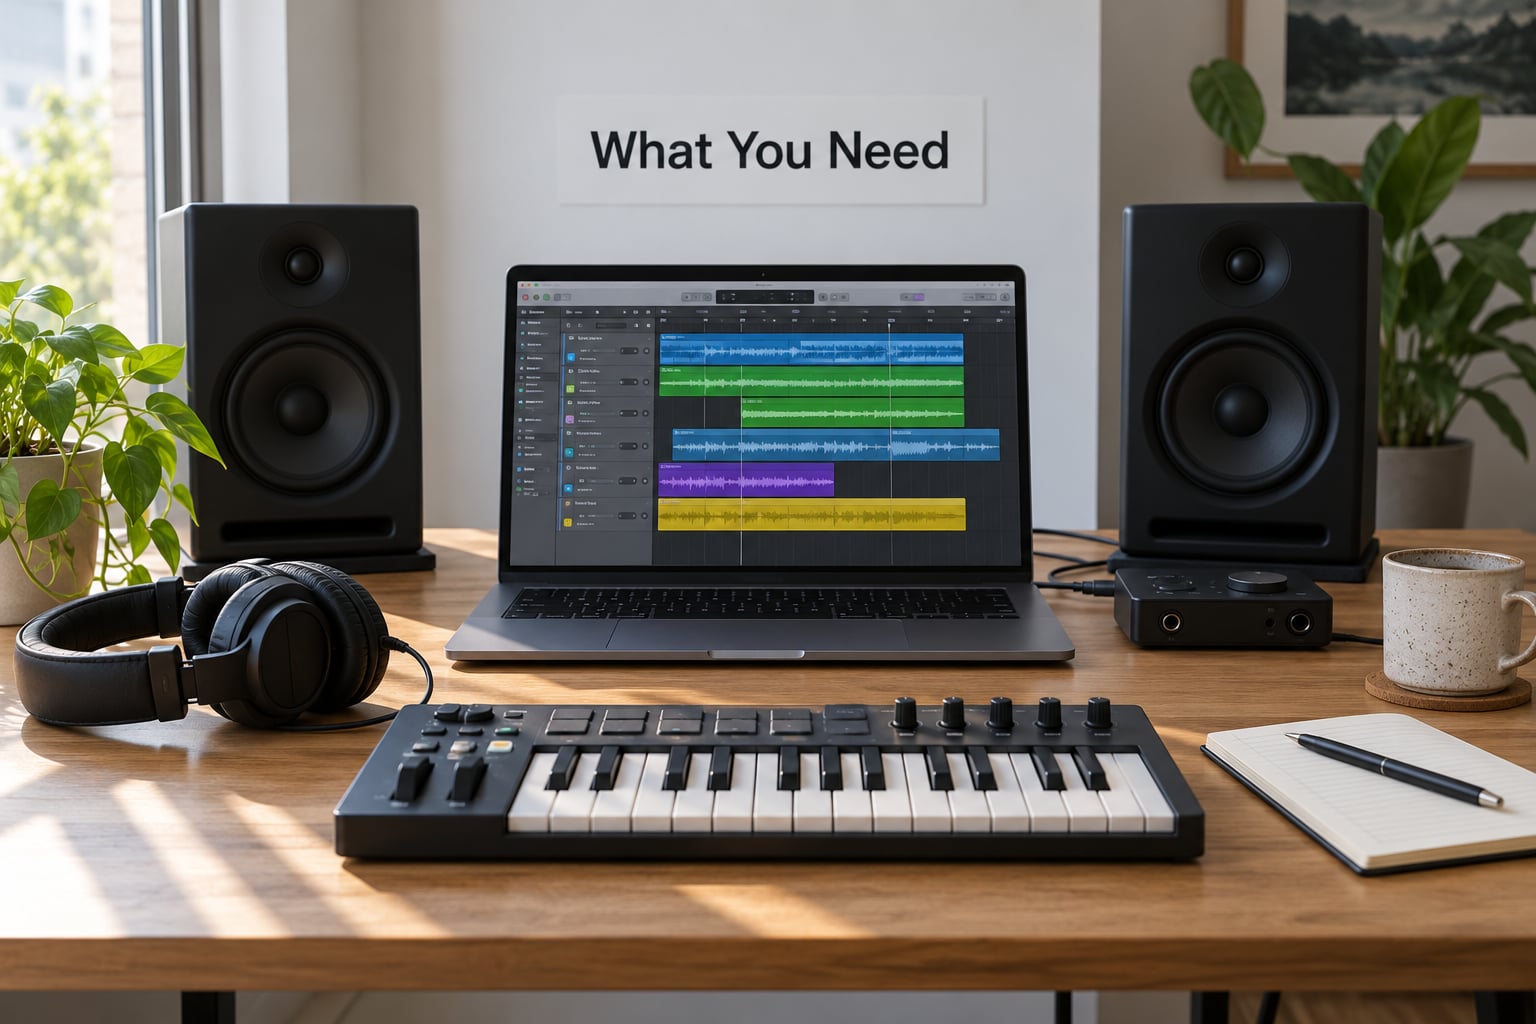
The tool list is short, and every producer already owns it. What matters is having each piece available before you start bouncing.
- A rough mix, not a finished one. The snare only means anything in context. If you are EQing against a solo drum bus you will make a decision that collapses the moment the bass comes back in.
- Two or three snare sources. One for body, one with a hard transient, one with noise or room character. Free sample packs are fine for this. Starting with what you have beats hunting for a perfect one-shot.
- A parametric or semi-parametric EQ with a sweepable band. A fixed bell curve will not get you to 200 Hz or 3.5 kHz quickly.
- A compressor with adjustable attack. A FET-style or opto compressor and a clean one will behave differently on the same signal, and knowing which one you are reaching for saves time.
- Saturation, either a tape or tube emulation or a stock drive circuit on your mixer.
- A transient shaper, if your DAW has one. Most stock plugin racks include a multiband or transient designer. If not, a very fast compressor doubles as one.
- A spectrum analyser in your master insert chain or on a separate output. Watching the snare and the bass at the same time is the fastest way to see the collision you can hear but cannot name.
Step-by-Step: How to Design a Snare That Cuts Through a Dense Mix
Choose a Focused Starting Sound
Pick one source and get it alone before you build anything. A good foundation has a clear tonal centre, a noise floor that does not dominate, and enough body to hold the groove on its own at a moderate level.
Trim first. Most sample libraries pad the start with silence or a tiny pre-delay, and if you leave it there the hit arrives slightly late and the whole groove feels loose. Find the first energy spike on the waveform and cut everything before it. Work with the source until it sits well in the rough mix soloed against the drums, then move on.
Listen for one thing at this stage: a snare that is beautiful alone but too fat will fight the kick from the first hit. Thin it slightly with a high-pass around 150 to 200 Hz so the low end belongs to the kick and the bass. You can always add weight back in the arrangement stage with a pitched or longer layer.
Shape the Attack for Definition
This is where most of the work happens. Body and attack are different jobs, and a single sample rarely does both well. Split them.
- Body layer: the sustained part of the sound, roughly 150 ms to 400 ms of decay. This is what gives the beat weight and sits with the kick.
- Attack layer: the first few milliseconds. A tight noise burst, a clipped rim shot, a ride cymbal sample, or a short pitched click. Set the ADSR attack to 0 ms, decay to about 20 to 40 ms, sustain to 0, and let the release do the rest. The decay being shorter than the body is the whole point.
- Tail layer: room, reverb or noise character. Keep it quiet, wide, and mostly below the snare in level.
Sound On Sound’s practical advice and what comes up constantly in producer forums agree on this split, and the reason is simple. Small speakers and cheap headphones roll off below about 150 Hz, so any definition a listener perceives on those systems has to live in the transient and the low mids. A fast attack layer survives the small speaker; a fat body layer does not.
Balance it so the attack layer sits maybe 2 to 4 dB above the body layer in the summed snare bus. Then check it on a phone speaker. If the hit is still audible there, you have a snare that cuts through.
Control Frequency Conflicts With EQ
EQ is where “cut through” actually happens. Pushing a snare louder fixes loudness and leaves masking exactly where it was, which is why a fader-heavy approach never works.
Here is the reference I keep going back to. These are starting values, not laws. Listen and adjust.
| Band | Frequency | What it does | Starting move |
|---|---|---|---|
| Fundamental | 180 to 220 Hz | The pitch of the drum, the part that carries weight on a big system | Boost 1 to 3 dB with a narrow band, Q around 2 |
| Body | 200 to 400 Hz | Thickness and weight | Boost 1 to 2 dB, then listen for mud |
| Mud zone | 300, 500, 1000 Hz | Where a snare turns to boxy garbage when the guitars and bass pile in | Cut 2 to 4 dB, wide Q, only if the mix is boxy |
| Crack and snap | 2 to 5 kHz | Definition and the sense of an actual stick on a head | Boost 2 to 4 dB, bandwidth wide enough to cover the region |
| Air | 8 to 12 kHz | Brightness and the sense of space around the hit | Boost 1 to 2 dB, gentle slope, check for sibilance fatigue |
| Rumble | Below 100 Hz | Head and body resonance that fights the kick and bass | High-pass, steep slope |
Two rules keep this honest. Cut before you boost, and do all of it with the full arrangement playing. Solo EQ on a snare drum is a habit that has to be trained out of you, because the fattest, nicest snare in the world is a problem when there is a bass guitar underneath it.
If you want to see the masking rather than guess at it, put a spectrum analyser on the master and solo the snare, note the shape, then solo the bass and note where its energy sits. The overlap is your problem area. Cut the snare or cut the bass there, not both.
Add Texture Without Turning the Snare to Hiss
Noise is useful and dangerous in equal measure. A little high-frequency noise makes the snare read as present rather than as a synthetic thud, but too much of it turns the whole low end grey and every hit in the track starts to feel like sandpaper.
Keep the noise layer as a separate layer at low level, high-passed somewhere between 3 and 6 kHz, and blend it under the body rather than over it. If you are using a layer with room character, keep it short. Tail bleed into the next snare hit is one of the most common reasons a programmed kit sounds robotic, and you can hear it as a loss of clarity long before you can name why.
Watch for comb filtering whenever you pitch a layer. Pitching a sample shifts everything in it, and two layers with different pitch positions interfere with each other in a series of narrow notches, which reads as a thin, hollow, phasey snare. In practice that means two options: nudge layers by no more than a couple of semitones so they land on compatible fundamentals, or accept the detune and use a very short, heavily compressed layer where the cancellation matters least.
For room, snare-triggered ambience works better than a normal reverb send. Send the snare to a reverb bus with a high-pass around 400 Hz, and give the reverb a gate keyed off the snare itself with a hold around 50 ms and a release that ends well before the next hit. The tail blooms only on the hit and then shuts off, so the silence between hits stays clean and every hit gains impact. The same trick applied to the main reverb send is sometimes all a dull mix needs.
Use Compression and Saturation Intentionally
Compression does not make a snare cut through. It makes the snare consistent, and consistency is what lets you hear it as one element instead of a series of separate hits.
Start soft. Producers on mixing and audio engineering forums consistently recommend 3 to 5 dB of gain reduction on drum sounds rather than the 12 dB squashing that older tutorials celebrate. You want the quiet ghost notes to come up and the loud backbeats to calm down slightly. If you find yourself riding the fader to keep every hit at the same level, the ratio is too high.
| Processor | Starting setting | Why |
|---|---|---|
| High-pass | 150 to 200 Hz, 12 dB/octave or steeper | Leaves the low end to the kick and bass |
| EQ | As the table above, cut before boost | Moves the snare out of the way of everything else |
| Compression | 3 to 5 dB GR, 2:1 to 4:1, attack 10 to 30 ms, release auto or 80 to 150 ms | Faster attack lets the transient through and catches the body; slower attack glues without softening |
| Saturation | Light tape or tube drive, roughly 10 to 20% of the drive range | Adds harmonics the ear reads as loudness and weight without turning up the fader |
| Transient shaping | Attack +2 to 4 dB, sensitivity low to medium | Front-loads the very first milliseconds |
| Parallel compression | Sidechain off, threshold set so only the peaks are caught, mix at -12 dB | Punch without the rest of the sound being squashed |
That counterintuitive result shows up constantly: a fast attack time and a high ratio can make a snare sound less punchy, because the compressor is flattening the very transient that carries the punch. Slow the attack down and let the body get caught instead.
For extra weight, try parallel compression. Duplicate the snare, crush the duplicate hard with an exaggerated attack, and bring it in quietly underneath. You get density without touching the main signal’s dynamics. Keep the sidechain off on this bus, or the kick will duck it too.
Place the Snare in the Arrangement
A technically perfect snare can still vanish if it plays the same velocity on every hit. Humanising it is part of designing it.
Set the backbeat somewhere around 85 to 95% velocity, ghost notes at 30 to 50%, and fills or accents at 100%. Ghost notes are useful here because they show the listener the snare exists in the quiet moments, so the loud hits register as accents rather than as the only information arriving.
Doubling on the chorus or the drop is the cheapest arrangement fix available. Leave the verse sparse and thin, then add a second attack layer or a tuned low layer for the last eight bars. Snares that cut through are usually snares that are doing something different at the moment you want the listener to notice.
Automate the snare with the arrangement rather than leaving it static. A 1 to 2 dB lift on the crash-heavy bar and a small dip under the vocal line go a long way. If the vocal and the snare fight for the same range, the fix is not more snare: use a compressor on the snare bus keyed by the vocal so the snare ducks slightly whenever someone sings. Snare down, vocal up, no frequency war.
Starting values by genre, so you are not guessing from scratch:
| Genre | Attack layer | Body decay | EQ focus | Compression | Space |
|---|---|---|---|---|---|
| Techno | Very short click, 0 ms attack | 150 to 250 ms, tuned down | Fundamental 180 to 200 Hz, crack 3 to 4 kHz | 2:1, 10 ms attack | Very little, tight room only |
| Drum and bass | Rim or clipped layer, short | 180 to 300 ms | Heavy cut around 300 to 500 Hz, boost 3 to 5 kHz | 4:1, 15 ms attack | Short plate, gated tail |
| Trap | Long crack, 60 to 120 ms decay | 250 to 400 ms with a pitched layer | Cut under 150 Hz, boost 4 to 6 kHz for the clap | 3:1, 20 ms attack, parallel bus | Snare-triggered ambience only |
| Rock | As recorded, minimal added | Follow the drummer | Small cut at 300 Hz, boost 2 to 3 kHz | 2:1 to 3:1, gentle | Room miking, natural decay |
| R&B and pop | Layered crack plus clap | 200 to 350 ms | Boost 1 to 2 dB at 200 Hz, 3 kHz presence | 2:1 to 4:1, light | Snare-triggered reverb, moderate |
Common Mistakes
Almost every lost snare comes down to one of these, and each one has a straightforward correction.
- Turning the fader up instead of carving space. This raises loudness and leaves every masking frequency exactly where it was. Open the spectrum analyser, find the collision with the bass or the guitars, and cut it.
- EQing in solo. The snare sounds perfect alone and vanishes in the mix because you optimised it in a vacuum. Do the EQ with the arrangement playing, at the level it will actually sit at.
- Boosting the same band everyone else is boosting. In a dense mix, a large broadband boost around 3 to 4 kHz makes the snare louder and the whole track harsher. Boost a narrower band, or raise the attack layer instead of the whole snare.
- Ignoring the mud zones. 300, 500 and 1000 Hz are where a snare turns boxy in the company of guitars and pads. Sweep a wide cut through each and keep it only if the mix improves.
- Over-compressing. Crushing the snare to 12 dB of gain reduction flattens the groove and takes the transient with it. Stay at 3 to 5 dB and let the arrangement do the emphasising.
- Layering too many samples. Three or four is plenty. Beyond that the layers cancel each other and the transient turns to mush. Check your layer count by muting them one at a time; if removing one changes almost nothing, it is not earning its place.
- Pitching layers without checking phase. Detuned layers comb filter and hollow out the snare. Nudge the pitch by small amounts and listen in mono.
- Leaving reverb tails bleeding into the next hit. A gated or snare-triggered send fixes this in one move, and it makes the snare hit harder as a bonus.
- Processing the kick and snare identically. They compete, so they need different settings. A snare with a slower attack and less low end than the kick will sit better than two copies of the same chain.
- Ignoring velocity. Every hit at the same level reads as a machine. Drop the ghost notes to a third of the backbeat level and let the accents reach the top.
One habit worth adding: check your snare in mono every time. Anything that collapses on a phone speaker or in a club system is not going to survive the real test anyway.
Frequently Asked Questions
What is the best EQ setting for a snare drum?
Start with a high-pass at 150 to 200 Hz, a small 1 to 3 dB boost around 180 to 220 Hz for the fundamental, and a 2 to 4 dB boost between 2 and 5 kHz for crack and snap. Cut 2 to 4 dB around 300, 500 or 1000 Hz if the mix turns boxy. These are starting values, so EQ with the full arrangement playing and adjust by ear.
Should I EQ the snare before or after compression?
Do the main corrective EQ before compression, then make small moves after. Compression changes the balance between the transient and the body, so the band that felt right beforehand can need a decibel or two afterwards. A common order is high-pass, EQ, compression, saturation, transient shaping, then any parallel bus. Re-check the EQ last with the whole track up.
How do I make my snare punchier?
Slow the compressor attack down to around 15 to 30 ms so the initial transient passes untouched and the body gets caught. Then add a separate attack layer with a 0 ms attack and a 20 to 40 ms decay, and bring it in 2 to 4 dB above the body. Light saturation and a parallel compression bus underneath add weight without raising the fader.
Why does my snare disappear in the mix?
Almost always masking. Something in the arrangement occupies the same frequency range, usually the bass between 80 and 250 Hz or guitars and pads in the 300 to 1000 Hz region. Solo the snare, note its spectrum, then solo the competing instrument and compare. Cut the overlap on one of the two rather than pushing the snare louder, which fixes loudness but not masking.
How many snare layers are too many?
Three or four is a sensible ceiling for most programmed snares: one for body, one for attack, one for room or noise, plus an occasional tuned layer. Past that the layers start cancelling each other and the transient turns to mush, especially once you pitch them. Mute your layers one at a time and if removing one barely changes the sound, it is only adding headroom use.
Should I layer a snare with a clap instead of processing one sample harder?
Often yes, because a clap sits in a different part of the spectrum from a snare body and adds brightness without adding mud. Keep the clap high-passed above roughly 1 kHz so it does not fight the low end, and run a short reverb into it so the two fuse into one sound rather than reading as two separate hits. Processing one sample harder gets you further in the low mids, less further up top.
Start with the split, not the EQ. Trim one sample to its attack, duplicate it, crush the duplicate into a 20 ms attack layer, and sit it a few decibels above the body. High-pass the pair above 150 Hz, cut whatever the bass is sitting on, and check it with the full arrangement up before touching anything else. Everything after that is refinement.
If you are mixing programmed drums from scratch, route the whole kit to a drum bus before you start, because every move in this article assumes the snare and the kick are meeting on the same fader. Once the balance is right, the loudness decisions on the master bus are a separate job and worth treating that way.