Wavetable position modulation means moving the control that tells a wavetable oscillator which single-cycle waveform frame to play, usually by routing an LFO, an envelope or a performance controller into it. Because the engine crossfades between neighbouring frames, the harmonic content changes as the position moves. That is what makes a plain wavetable patch breathe instead of sitting still.
It is the first thing I reach for when a sound feels dead, and it takes about two minutes to hear whether it is working. Nothing else in a subtractive chain does quite the same job.
Table of Contents
- What You Need
- Step-by-Step: How to Use Wavetable Position Modulation
- 1. Choose a Wavetable With Useful Contrast
- 2. Find a Strong Neutral Starting Position
- 3. Route an LFO to Wavetable Position
- 4. Shape the Range and Speed
- 5. Combine Position and Filter Modulation
- 6. Automate, Record, and Refine the Movement
- Common Mistakes
- Frequently Asked Questions
- Is wavetable position modulation the same as oscillator scanning?
- Can I modulate wavetable position with an envelope instead of an LFO?
- What LFO rate works best for trance and house?
- Does wavetable position modulation work in Serum, Vital, Pigments, and Ableton Wavetable?
- Should I modulate wavetable position and filter cutoff together?
- Where To Start With Your Own Patch
What You Need
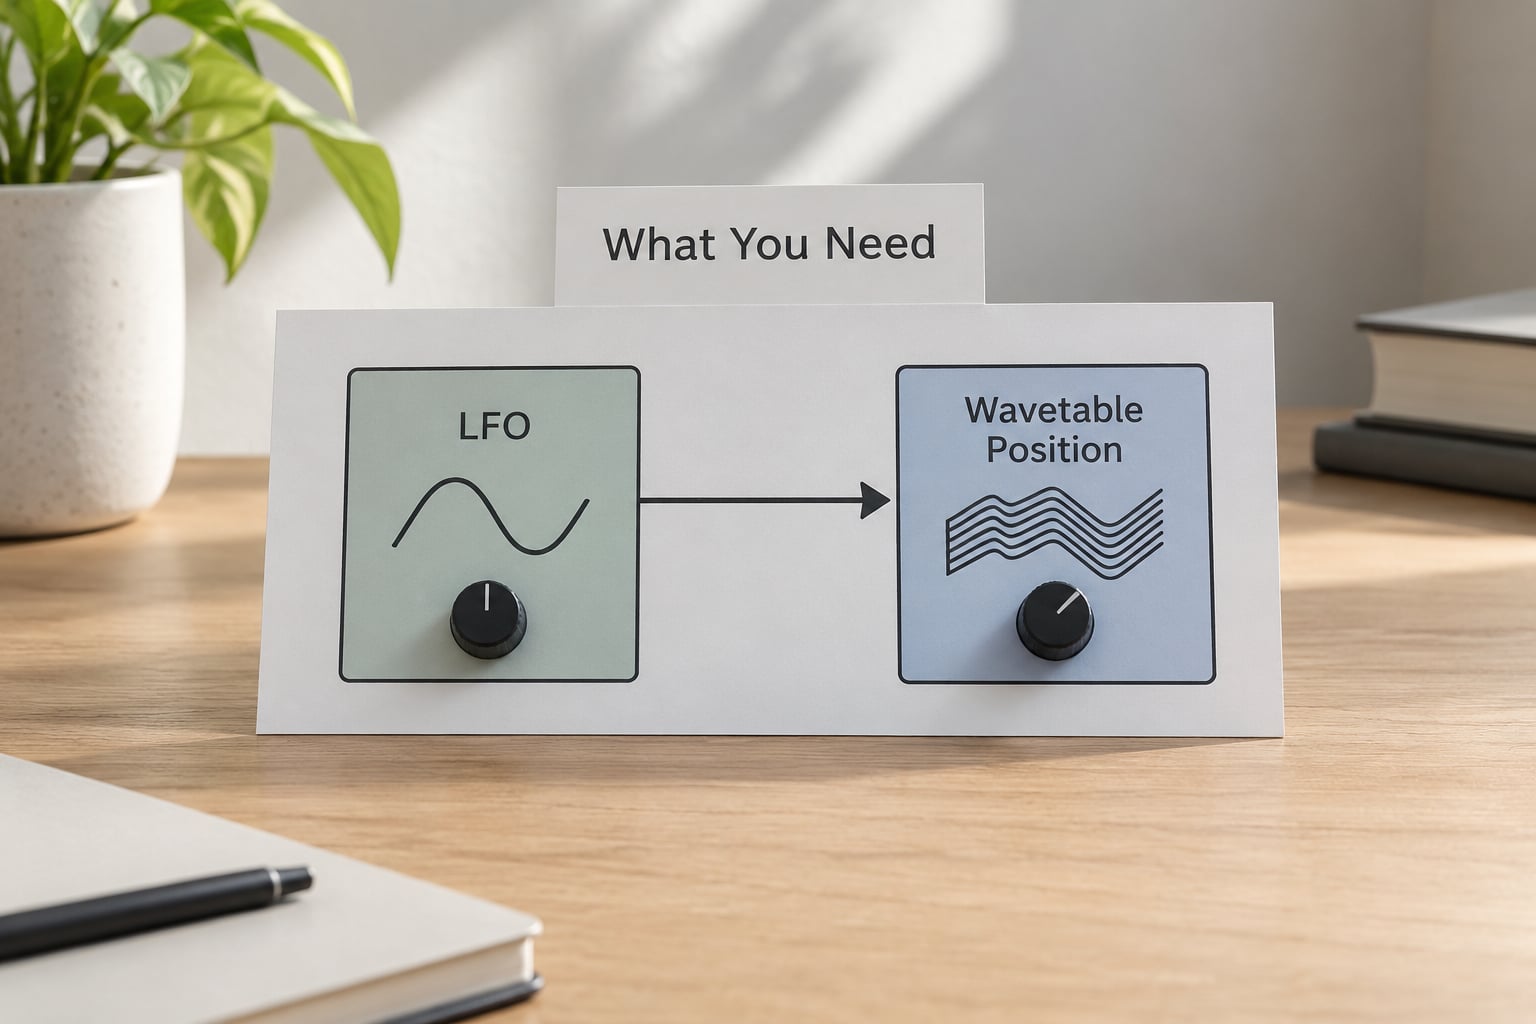
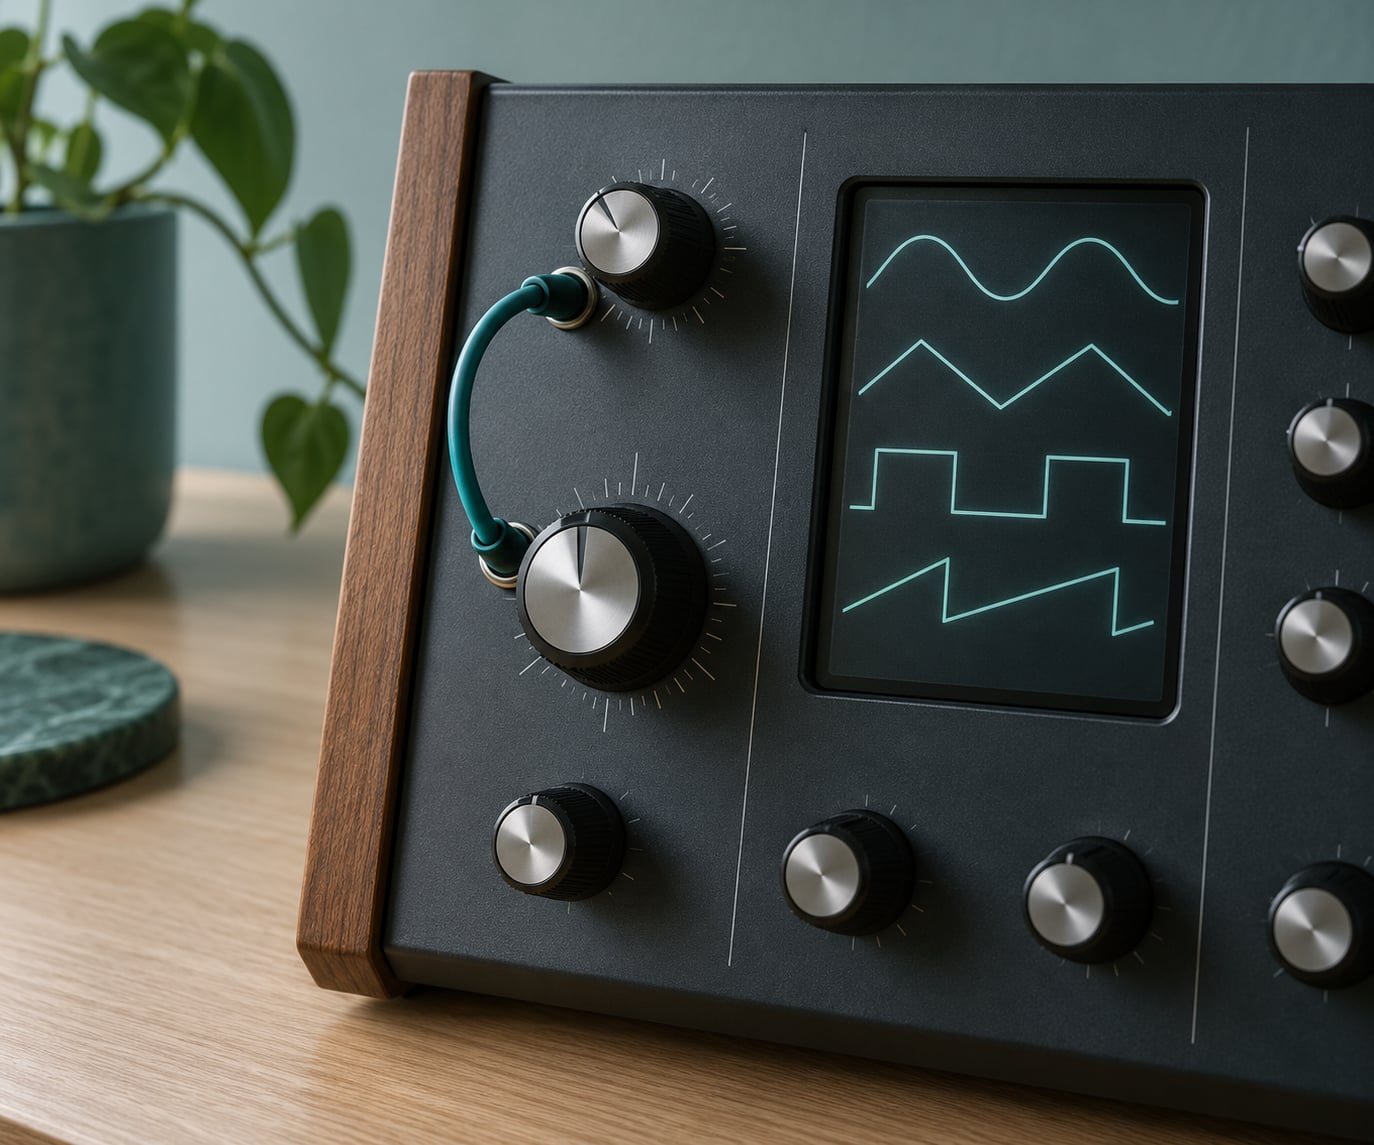
A wavetable is a bank of single-cycle waveforms stored in sequence. Each one is a full cycle of a waveform, a bit over a thousand samples long in most engines, and each slot in that sequence is called a frame. One oscillator can read any frame in the bank, which is why the same patch gives you a pure sine at one setting and something buzzy at another without any filter involved.
The position control, sometimes called the index or WT POS depending on the synth, picks the frame. Most engines also interpolate, meaning they read across the gap between two adjacent frames rather than snapping between them. That crossfade is the reason a slow sweep sounds continuous instead of steppy.
Beyond the sweep itself, you need a modulation source and something to send it. Any of these will do the job:
- An LFO for repeating motion at a rate you choose.
- An envelope for a one-shot change that follows the note.
- Velocity or note pitch so different notes or playing strengths sound different.
- A macro knob, mod wheel or aftertouch for movement you control by hand.
- A DAW automation lane if you want the sweep written in rather than generated.
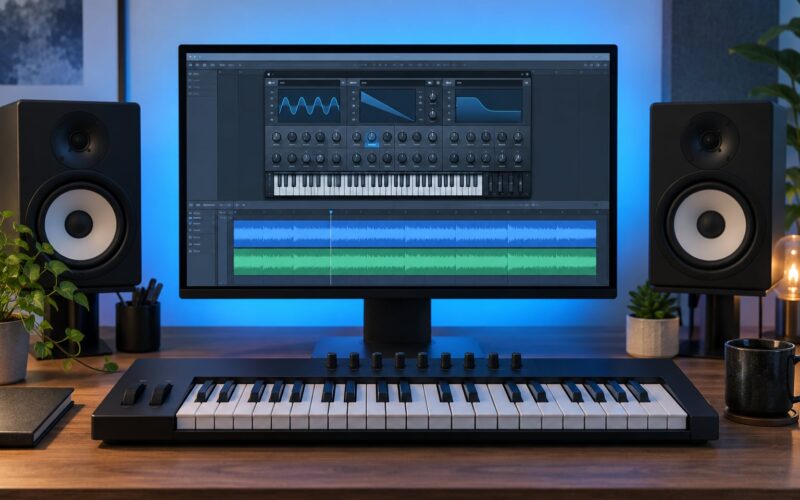
Menu names change between instruments, so here is how the same job is done in the five most common places you will meet it. In Ableton Live 12 the Wavetable device exposes its oscillators and filter as modulation destinations in the device title bar, so you drag an LFO from the modulation section directly onto the frame readout.
| Synth or environment | Where the position control lives | How to route a source to it |
|---|---|---|
| Ableton Live 12 Wavetable | Frame slider under each Oscillator, plus a Position mode switch | Open Modulation, set the source to an LFO, then drag the LFO chip onto the frame value in the title bar |
| Xfer Serum | WT POS knob on Oscillator A and Oscillator B | Click the knob’s small arrow to choose a source, then drag the source up or down to set depth |
| Vital | Position slider on each oscillator | Hover the slider and drag a source from the modulation matrix straight onto it |
| Arturia Pigments or Phase Plant | Wavetable panel position and morph handles | Drag a modulation handle from the matrix onto the position strip, or open the full modulation matrix and pick the destination from a list |
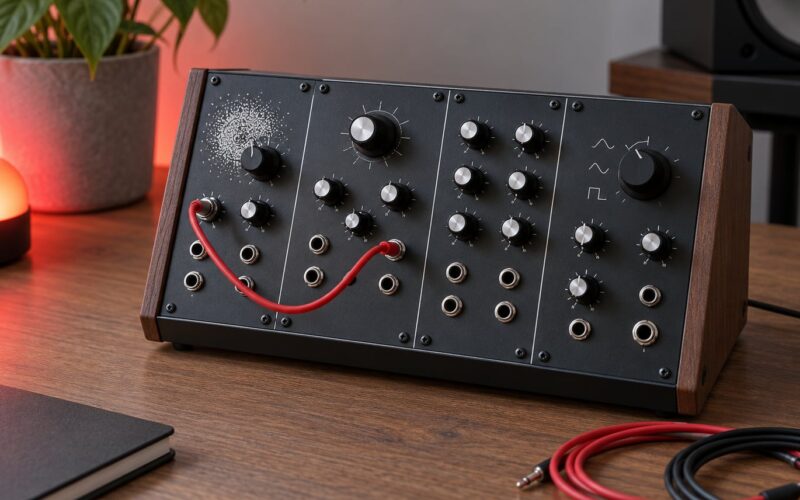
| Modular, for example VCV Rack | A dedicated CV input on the wavetable oscillator | Patch an LFO, sequencer or random source into that input and add an attenuverter to control depth |
The engines differ in how they interpolate, and that difference is audible on slow sweeps. A well-interpolated engine glides between frames, while a cheaper one can leave faint stepping at low frame counts. If a sweep sounds gritty in a way you did not ask for, that is usually the engine, not your settings.
Step-by-Step: How to Use Wavetable Position Modulation
1. Choose a Wavetable With Useful Contrast
Not every table rewards a position sweep. Some hold a single tone across the whole bank, so moving position changes nothing you would ever notice, and those tables are why people conclude the technique does not work. Others leap from a thin sine straight to a harsh buzz with nothing in between, and those make the sweep sound like a sound effect rather than a timbre change.
The table you want sits in the middle. Look for neighbouring frames that visibly differ in the waveform display but still share a harmonic family, so the change reads as the same instrument opening up rather than two different patches swapping places.
- Smooth tables drift subtly. Good for pads and background texture, useless if you want a clearly audible sweep.
- Moderately contrasted tables are the workhorse. Neighbouring frames change noticeably but stay related, which is what most movement needs.
- Highly contrasted or broken tables flip between radically different spectra. Useful for growl basses and stabs, and easily overdone.
A quick test: hold a note, drag the position control slowly from one end to the other, and count how many distinct timbres you pass on the way. Three to six is plenty for a pad. More than ten and you will hear the steps rather than a morph.
2. Find a Strong Neutral Starting Position
Set the position control to the middle of its range, or to whatever value it saved as its default, before you send anything to it. That centre value becomes your offset, and it determines what the sound sounds like at rest.
Audition it in three states: on its own, through your filter, and in the arrangement at playing velocity. If the middle position sounds thin, an unbalanced lead or a dull pad, moving the position will not rescue it, because the modulation only travels a limited range either side of where you started.
Check the neighbours too, at maybe 25 and 75 percent, so you know what your extremes sound like before the LFO reaches them. If the sound at full sweep is unpleasant, you have put the depth too high for the table rather than picked the wrong table.
3. Route an LFO to Wavetable Position
Assign any LFO or modulation source to the position parameter and turn the amount up slowly from zero. The usual first move is a sine or triangle shape at a sub-audio rate, because those give a continuous rise and fall rather than a jump.
Two details decide whether the sweep feels right or not. Phase matters: if the LFO starts at the top of its cycle, the first thing you hear is a bright attack that falls away, whereas starting near the bottom means the sound opens up as you hold it. Where the source starts is usually a small sync or phase control on the LFO itself.
Bipolar versus unipolar is the other one. A bipolar LFO swings above and below the start value, so the timbre moves both ways around your chosen centre. A unipolar or positive-only source climbs from below and returns to the bottom, which reads as a swell. Neither is wrong; they just suit different roles.
Test it with the arrangement playing and the filter wide open. If the timbre does not move, the amount is too low, the LFO rate is too slow to notice, or the range you chose has almost no contrast in it.
4. Shape the Range and Speed
Depth and rate work against each other. A large amount at a slow rate gives an obvious, wide sweep, while a small amount at a fast rate gives a texture. Both extremes fall apart quickly: too much depth muddies everything, and too fast a rate on a complex table aliases.
If your synth has tempo sync, use it and set the rate in divisions rather than hertz. The table below is a sane starting point for 124 BPM, and you can halve or double from there.
| LFO sync division | Depth to start at | What it sounds like |
|---|---|---|
| 1 bar | Low, around 15 percent | A slow swell under a pad that never repeats in an obvious way |
| 2 bars | Low to medium, 20 to 30 percent | Evolution across a phrase, audible but never the focus |
| 1/2 note | Medium, 30 to 40 percent | The slow churn underneath a progressive or trance lead |
| 1/4 note | Medium, 35 to 50 percent | The standard growl on a bass patch, one movement per beat |
| 1/8 or 1/16 note | Low, 10 to 20 percent | Animated shimmer on plucks and stabs rather than an audible sweep |
Those numbers are starting points, not rules. The useful habit is to set depth first at a slow rate until the extreme sounds right, then speed the LFO up and pull the depth down until the fast version stops being abrasive.
Once the sweep is behaving, this is the table worth keeping open. It maps sources to destinations with the ranges that tend to work, so you can reach for a known-good setup rather than guessing.
| Source | Destination | Typical depth | Result |
|---|---|---|---|
| Slow LFO, sine | Wavetable position | 15 to 30 percent | Evenly evolving timbre across a long note |
| Attack-decay envelope | Wavetable position | 20 to 40 percent | A bright attack settling back into the body of the note |
| Envelope, negative offset | Wavetable position | 20 to 40 percent | A reverse sweep that travels the table the other way |
| Velocity | Wavetable position | 10 to 25 percent | Hard hits land brighter, soft notes stay round |
| Mod wheel or macro | Wavetable position | Full range, performed | Live morphing that a single patch can cover a whole set |
| Fast LFO or random | Wavetable position | 5 to 15 percent | Fine texture and unstable edge on stabs and plucks |
| Slower LFO | Filter cutoff | 20 to 40 percent | The classic breathing filter, layered on top of position |
One detail beginners miss: an envelope can only ever travel outward from the value you set, so it sweeps from your start point to one end of the table and back. If you need the sound to travel the other direction, either pull the start point to the far end of the range or give the route a negative offset.
5. Combine Position and Filter Modulation
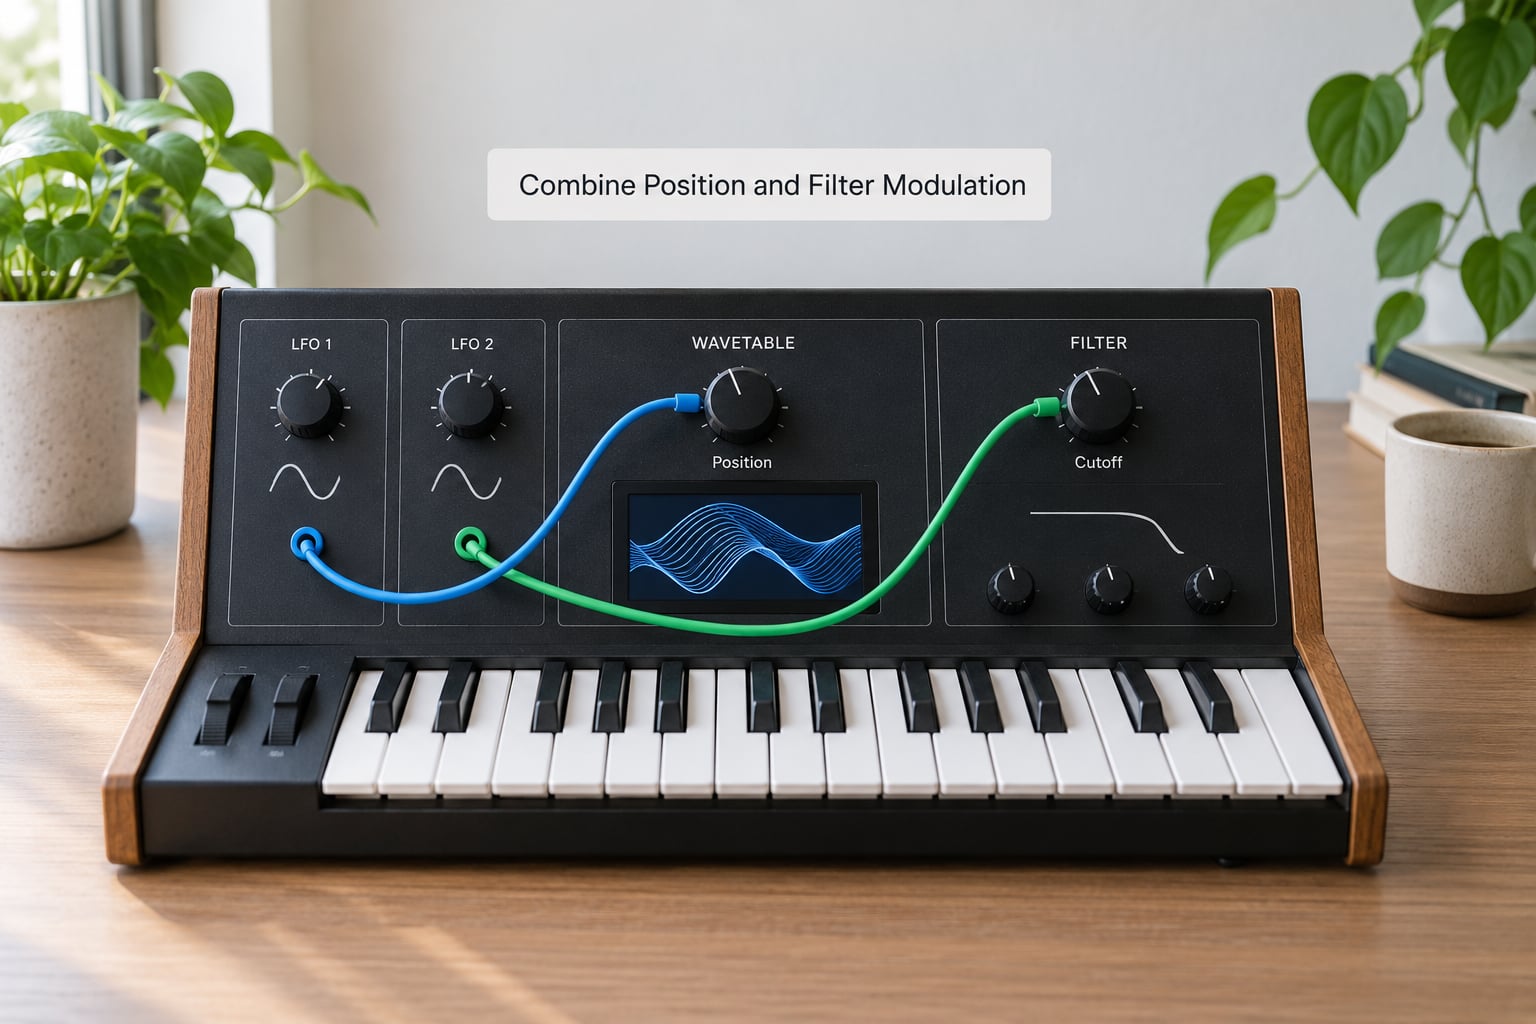
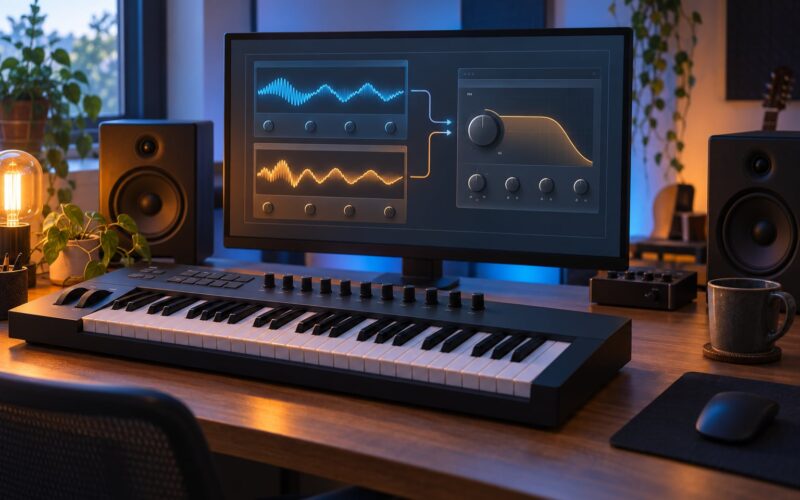
Position and filter modulation are not alternatives. Position decides which harmonics exist, and the filter decides which of those you can hear. Run both and you get a sound that changes shape and brightness at the same time, which is far more convincing than either alone.
The risk is that two slow sources moving at once makes the patch feel restless rather than alive. The fix is separation of rates. Give position a rate around two bars and cutoff a rate around eight bars, so the timbral change reads clearly while the filter change is almost subliminal. If both are on the same division they will pump in lockstep and the result will feel mechanical.
Watch the low end. Large position sweeps drag the fundamental around, and on a sub-heavy patch that smears the note, especially below about 80 Hz. Keep the sub oscillator static if the patch has one, or narrow the position modulation so the sweep stays in the range where your speakers and your kick drum can still hear the note.
Watch resonance too. Modulating cutoff while resonance is cranked makes peaks jump to different harmonics as the sweep moves, which sounds like a fault. Turn resonance down before adding modulation depth, then bring it back after you are happy with the movement.
6. Automate, Record, and Refine the Movement
Written-in movement beats generated movement once you have a working patch. Draw the position parameter in your DAW’s automation lane and shape the curve by hand: a slow ramp across eight bars, a jump on the downbeat, a fade back down at the break.
Automate the modulation depth as well as the position. If you can send the LFO amount itself to a second parameter, ride that up for the drop and down for the breakdown and the patch will follow the arrangement without you duplicating anything.
Automating the mod wheel route works the same way, and it is the usual route when a patch needs to be performed rather than played back. The mod wheel case is the one technique worth mapping to a controller, because no other control gives you continuous manual access to the whole table.
Audition the result in context before you save it. A sweep that sounds exciting alone will often sit behind the vocal or under the kick, and reducing the depth by a third is usually enough to bring it forward. Save the tuned-down version as your main patch and keep the loud one in case the arrangement opens up.
Common Mistakes
Nearly every problem people hit with wavetable position modulation comes down to one of six things.
The sweep is inaudible. Usually the filter is closed over the region where the neighbouring frames differ, so the movement is happening behind something that hides it. Open the cutoff, or narrow the position range to the part of the table where the change is most audible. Confirm the route first by muting the filter entirely.
The table barely moves. The frames you are sweeping between are almost identical, so no amount of depth will help. Pick a more contrasted table, or shorten the range so the sweep is confined to the part that does differ.
It turns to mud. The sweep is dragging the fundamental and you are in the low register. Reduce depth, raise the position centre so the sweep sits higher in the harmonic series, and check whether you are stacking the movement on top of a sub oscillator that already occupies that space.
It crackles or sounds gritty. Fast sweeps across complex frames produce aliasing, because the harmonic content changes faster than the engine can band-limit it. Slow the LFO down, cut the depth, or move to a table with fewer abrupt transitions.
It sounds like an obvious repeating LFO. Two fixes work well: drop the sync so the LFO free-runs, which gives you similar but never identical motion each pass, or keep the sync and automate small random offsets to the depth. Free-running is the more organic option on long pads.
Phase fights the rest of the patch. If position and cutoff move out of step, the peaks and dips land against each other and the result wobbles. Offset one of the sources by 90 or 180 degrees so they interleave instead of colliding.
A few habits worth keeping: use a very small amount on pads so the movement sits under the mix, keep trance leads and house stabs clear by holding position modulation below about a third of the range, and check that a unison stack is not detuning alongside the position sweep and smearing into a wide fuzzy band.
Frequently Asked Questions
Is wavetable position modulation the same as oscillator scanning?
They are the same action described in different words. Scanning is the older name for reading through the frames of a wavetable in order, and position modulation is what happens when something moves that read position for you. A scan driven by an LFO is position modulation. The terms diverge only when a synth offers a free-running scan mode separate from its position control.
Can I modulate wavetable position with an envelope instead of an LFO?
Yes, and it is the better choice for percussive sounds. An envelope gives each note its own one-shot sweep that starts fresh every time you play, which suits plucks, stabs and basses. Set the position to a neutral value first, then route the envelope and adjust its attack and decay to shape how quickly the timbre opens or closes.
What LFO rate works best for trance and house?
For a trance or progressive lead, two bars at around 124 BPM gives movement that stays under the melody. For a house stab or a growl bass, a quarter note works, with a sync division of 1/4 or 1/8 and depth around a third of full. Pads usually look best on one or two bars at a lower depth, or free-running so they never repeat exactly.
Does wavetable position modulation work in Serum, Vital, Pigments, and Ableton Wavetable?
All four do it, and the technique is identical underneath. Serum uses the WT POS knob on each oscillator, Vital has a position slider, Pigments and Phase Plant use a position strip with matrix handles, and Ableton Live 12 Wavetable exposes the frame value in the title bar for drag-and-drop modulation. Only the menu paths differ, so the settings below transfer between them.
Should I modulate wavetable position and filter cutoff together?
Usually yes, as long as the two sources run at different rates. Position decides which harmonics exist and cutoff decides which you hear, so layering them gives movement in two dimensions at once. Give position something like a two-bar division and cutoff something slower, keep resonance modest, and check the low end so the sweep does not blur the note.
Where To Start With Your Own Patch
Open the wavetable you already use, centre the position control, pick a table with a few clearly different frames, and send one slow LFO into it at about 20 percent depth. Mute the filter while you do it so nothing hides the change. Listen for the moment the timbre moves and dial the depth back until that moment is obvious but still comfortable.
Everything after that is rate and refinement. Set a division, check the low end, and layer cutoff underneath at a slower rate once the position sweep already sounds good on its own. These habits have not changed much, but getting those five numbers right still does more than hours of browsing presets.