A reese bass is a handful of detuned sawtooth voices running through a resonant low-pass filter, and knowing how to make a reese bass in Serum mostly comes down to controlling that detune so the low end stays solid while the top keeps moving. The core move: set one oscillator to a saw wave, raise the unison voices, spread the detune with two opposing unisons, add drive into the filter, then keep a slow LFO on the filter cutoff so it breathes with the pattern.
It takes about 30 minutes for a first usable patch. The tricky part is not the click sequence, it is knowing when a patch is drifting into mud and what to pull back. I will walk through the whole build, then the fixes for the six problems that come up most often.
The name comes from the Reese brothers, the Ohio DJ duo whose late-90s Amen break track rode on a slow-moving detuned bass. Producers have rebuilt that texture in every synth since, and the technique has stayed remarkably consistent. If you have ever wanted a proper breakdown or rolling bassline rather than another plain saw, this is the sound.
Table of Contents
- What You Need
- Step-by-Step: How to Make a Reese Bass in Serum
- Step 1: Start with a focused bass patch
- Step 2: Detune and thicken the oscillators
- Step 3: Add distortion and harmonic movement
- Step 4: Shape the sound with filters and envelopes
- Step 5: Modulate movement and stereo width
- Step 6: Finish the sound in your DAW
- Genre variations to try once the base patch works
- Common Mistakes
- Frequently Asked Questions
- What waveform should I use for a reese bass in Serum?
- Should a reese bass be mono or stereo?
- How do you automate a reese bass to add movement?
- Can a reese bass work in trance and melodic house?
- How do I stop a reese bass from clipping?
- Conclusion
What You Need
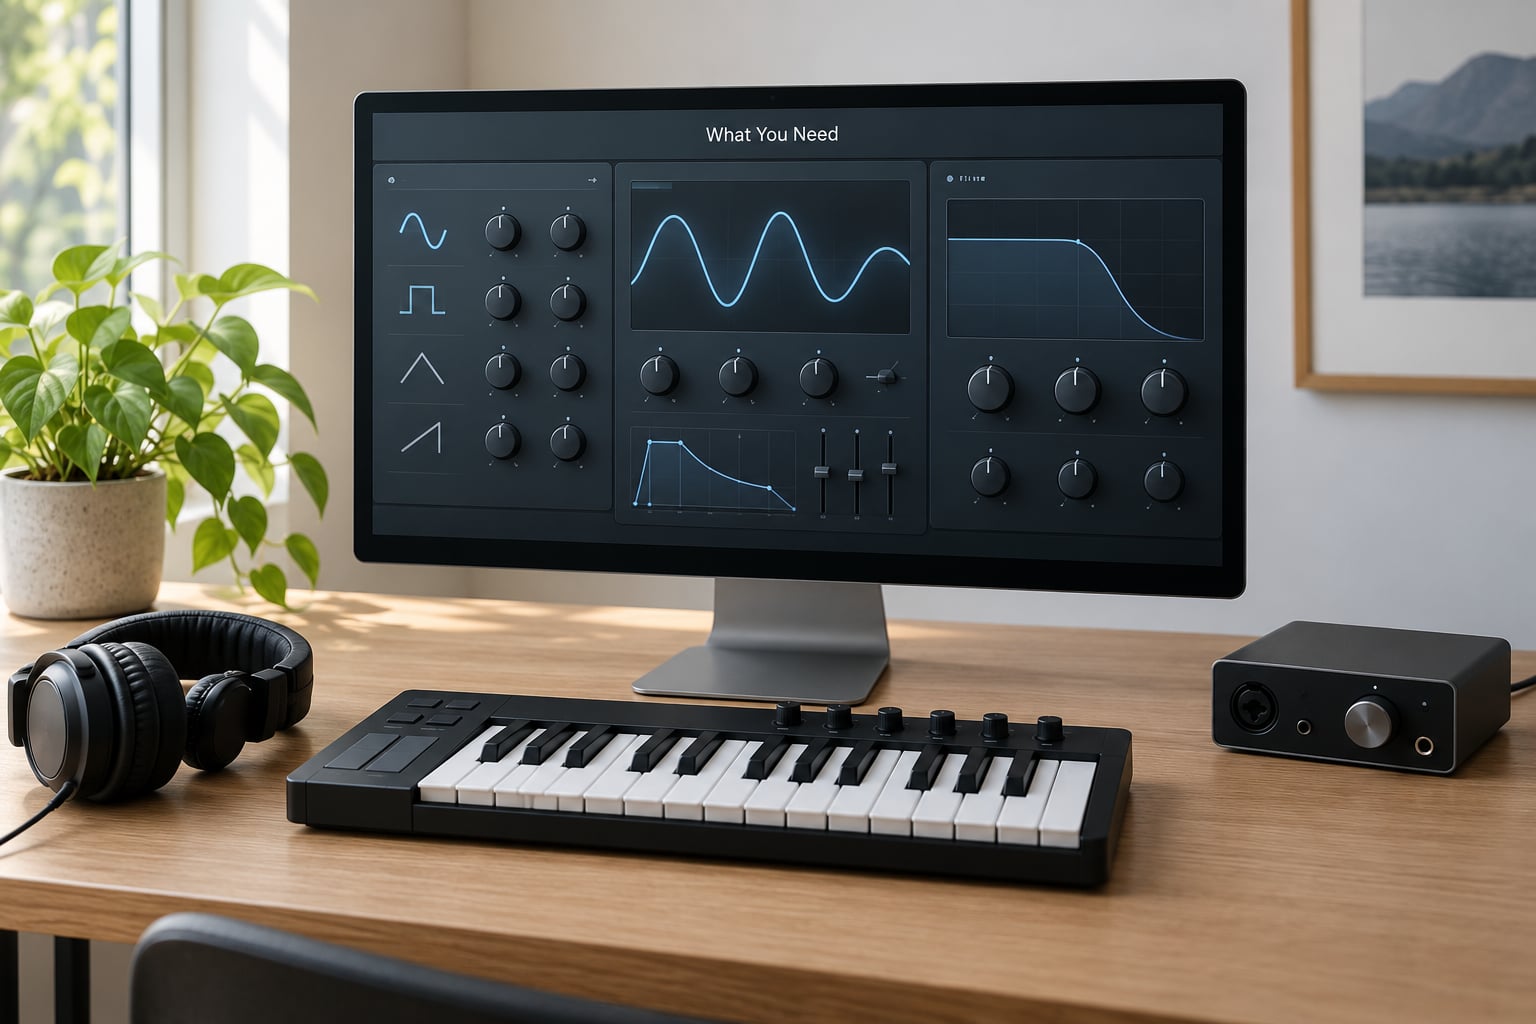
Serum itself, either version, and nothing else is required. Everything in the signal chain happens inside the plugin. Serum 1 and Serum 2 both have the oscillator, unison, filter and effects sections this guide uses, though Serum 2 adds a granular oscillator and a cleaner wavetable editor if you want to push further.
A reference track matters more than people expect. Pick one whose bass you actually like and keep it on a bus you can flip to. Half of the reason a patch sounds wrong is that nobody decided what right sounds like.
For monitoring, headphones are the quickest way to hear phase cancellation between the detuned voices. Check the patch on speakers too, because that is where a bass that sounds huge and wide collapses into mush for everybody else.
A MIDI controller is not essential. The bass glides on if you play notes legato with any keyboard, which is how the Reese texture is supposed to behave, and drawing automation on the mod wheel to open and close the filter is where the movement comes from.
Outside Serum, you will want whatever EQ, saturation and compression your DAW already has. Serum’s effects are fine for shaping the patch, but most of the finish happens on the mixer, and doing it in one place makes the sidechain easier to set up.
Step-by-Step: How to Make a Reese Bass in Serum
Step 1: Start with a focused bass patch
Load Serum, bypass the FX rack, and start on oscillator A with a plain saw wave. Ignore every wavetable preset that comes loaded. A raw saw gives you a predictable harmonic series, which makes it much easier to hear what each later stage is doing to the sound.
Turn off everything on oscillator B for now, and set the octave so the fundamental lands where you want it. If you are playing in F minor and want a bass around F1, tune the oscillator so C4 produces that F. Starting in the right register matters more than most presets suggest, because a reese sitting an octave too high has no weight.
Play a held note and listen for a clean, boring tone. If it is already buzzy or thin at this stage, the problem is the tuning or the wavetable position, not the filter. Fix it now rather than later.
Step 2: Detune and thicken the oscillators
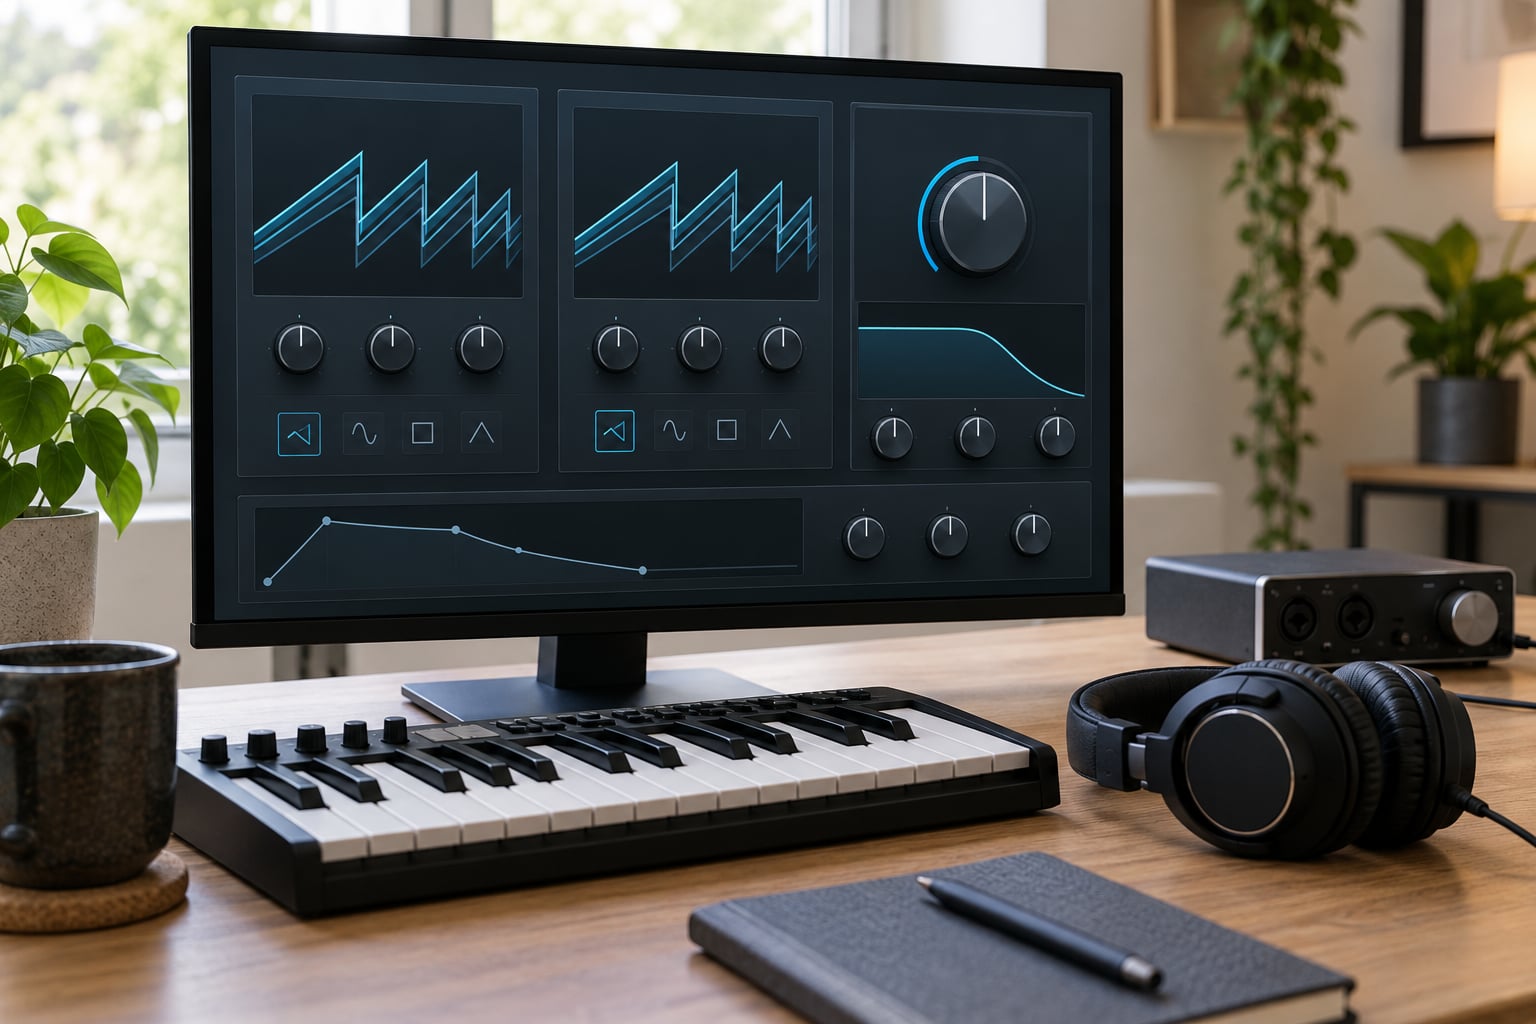
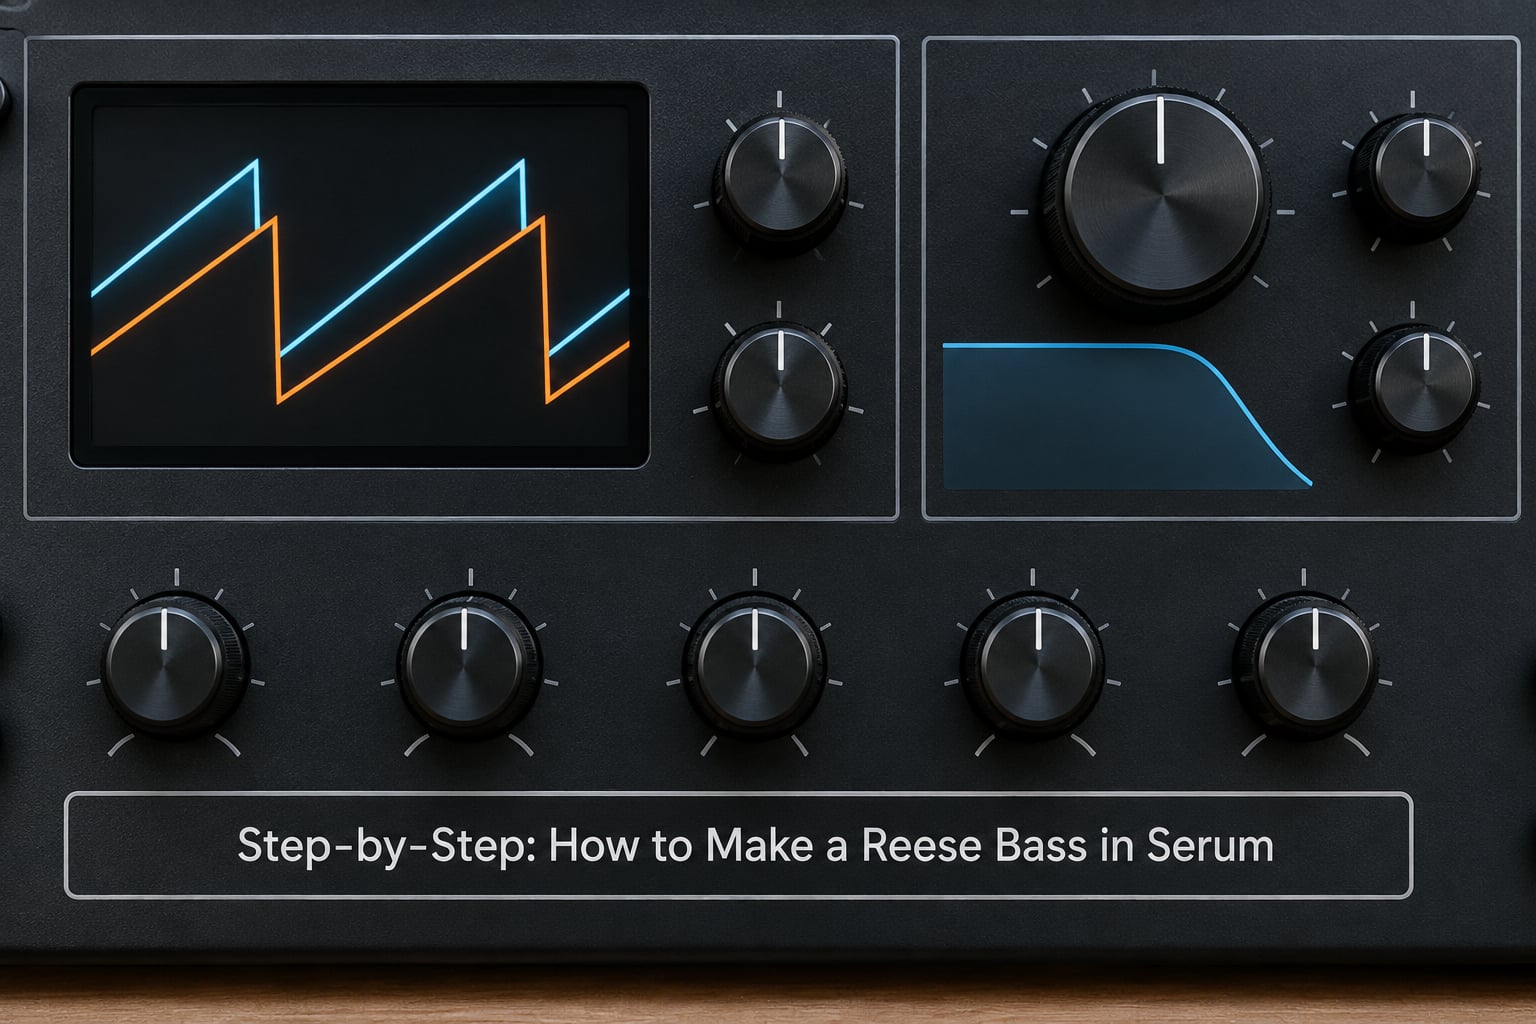
This is the part that makes it a reese and not a supersaw. Set unison voices on oscillator A to somewhere between 2 and 4, and add a second unison with the detune amount on its side. On oscillator B, copy the saw shape and set its unison detune negative so the two groups spread in opposite directions.
Set the unison voices on oscillator A to 4 and on oscillator B to 4, with a detune spread that lands somewhere between 10 and 25 cents per voice. Below 10 cents you get chorus, above 30 cents voices wander far enough that the low end loses focus. You are aiming for a texture that shimmers without sounding out of tune.
Balance oscillator B lower than A so the fundamental stays dominant. Roughly 70 percent A and 30 percent B is a good starting point, then lower B further if the patch gets fuzzy on small speakers.
If it sounds like a chorus pad rather than a bass, you have two options. Increase the unison on A and raise the filter resonance so one central pitch is emphasised, or drop the level of B by another 10 percent. The central pitch is what the kick drum needs to sit against.
Step 3: Add distortion and harmonic movement
Turn on filter drive before you reach for the distortion effect. Drive on the low-pass filter thickens the low mids and gives the texture an aggressive edge without the fizz that a waveshaper alone produces. Start with drive around 10 to 20 and raise the resonance alongside it so the filter has something to ring on.
Then add Serum’s distortion effect after the filter, on a low mix. Between 10 and 30 percent mix is usually enough. Distortion here is a seasoning, not the main course; producers who pile it on end up with a harsh, fatiguing patch that masks the kick.
For a gentler sound, use a soft-clip style distortion or Serum’s compressor with a fast attack instead. The classic Reese is not very distorted. It is a fairly pure detuned sound that gets its aggression from detune range and filter movement instead, which is exactly what people miss when they only hear the modern loud version.
Watch your levels. If the peaks are hitting the red as you play, pull the drive down before the distortion. Clipping at this stage bakes the harshness in permanently.
Step 4: Shape the sound with filters and envelopes
Select a low-pass filter on the filter type and set the cutoff to sit mid-bass, roughly in the 400 to 700 Hz range at rest. Keep resonance between 15 and 30 percent. Resonance is what turns a flat bed of saws into a voice with a centre, and pushing it past about 40 percent will make the reese whistle at high cutoff settings.
Use the low-pass filter’s envelope to add an opening bite on each note. Set a short attack under 10 milliseconds, a decay that drops the cutoff by roughly 1 to 2 octaves, and a sustain that leaves the filter partway open. That decay sweep is the classic “dying motor” shape most reese presets use.
On a reese playing sustained notes, invert the usual settings: a slower attack of around 30 to 50 milliseconds stops the bass from popping on every note in a fast roll, which keeps the low end from turning to mud. Start with the sustain fairly high and let the filter envelope do the shaping.
Experiment with a notch filter for neuro-style movement. A band-pass or notch swept by an LFO carves audible holes through the midrange, and that is the main trick behind the precise, chewed-up sound in modern neurofunk. Save it as a variation once the plain reese works.
Step 5: Modulate movement and stereo width
Wire a slow LFO to the filter cutoff with an LFO rate around 0.2 to 0.5 Hz. Any speed faster than that stops reading as movement and starts reading as wobble. The gain is subtle, maybe 5 to 15 percent, so the texture opens and closes over a bar or two.
Turn on pitch tracking for that LFO so the rate rises with the note. This is what makes the higher notes of a melody move faster than the low ones, a detail lifted straight from the Reese brothers’ original sound and something plain presets rarely get right.
For width, Serum’s unison engine already spreads the voices across the stereo field, and a Haas-style delay in the FX rack can widen it further. Use a short delay time under 30 ms with low feedback. Anything longer and the two halves start fighting rather than blending.
Check the result in mono. Many reese patches that sound enormous in headphones lose their low end entirely on a club system, because the sub content was sitting in one side only. If the bass nearly disappears in mono, lower the sub range on the stereo-widening effects before adding a separate mono layer.
Step 6: Finish the sound in your DAW
Duplex the Serum instance and hard pan one copy left, the other right, set the width knob to zero on both and widen with the DAW’s pan instead. That gives far cleaner control over width than the unison spread alone and makes the mono check meaningful.
Filter the low end so the reese stops competing with the sub. Cut everything below 40 to 60 Hz on the main reese layer, then layer a clean sine or triangle sub underneath on its own channel. A reese does not produce useful sub, so give the sub its own job and let the detuned texture live above 60 Hz.
EQ a small scoop around 300 to 400 Hz if the reese and kick fight for space in the low mids. That frequency range is where most reese patches turn to mud once a bassline starts rolling.
Set up sidechain compression from the kick. Start with a ratio of 4:1, an attack around 10 ms and a release between 120 and 200 ms. Too fast a release and the bass pumps so hard it sounds like it is choking, so adjust by ear against the kick’s decay.
Keep the master limiter off this channel, or set it gently. Once a reese has a slow LFO, the peak level moves over time, and a hard limiter will flatten exactly the movement you built.
Genre variations to try once the base patch works
For drum and bass, drop the cutoff a little, push the unison detune to the wider end of the range and turn portamento on. For neurofunk, add the notch sweep and keep the resonance higher than feels sensible. For dubstep, use a single pitch with longer release and heavier filter drive.
Tech house usually wants the smallest version: two or three voices, light detune, short glide, and room left for the vocal. A full reese in that context turns into a wall. Save each one as a separate variation instead of editing your main patch into the ground.
Common Mistakes
The bass is a muddy mess in the low mids. Almost always unison detune that is too wide combined with no low-end cut. Bring the detune spread down, reduce oscillator B, and EQ everything below 60 Hz out of the reese layer. If the mud survives that, you are running too much resonance.
It sounds out of tune or seasick. You have pushed the unison detune past roughly 30 cents and lost the fundamental. Pull the spread back and raise the level of the first oscillator. A reese only needs to sound out of tune when the fundamental drops out entirely.
The distortion is harsh and fatiguing. You are using too much waveshaper mix and not enough filter drive. Halve the distortion, raise the filter drive, and pull the resonance down a few points. Aggressive reeses get their bite from the filter, not the shaper.
The patch has no movement. It is static because nothing is modulating the cutoff. Add the slow LFO with pitch tracking, then automate the filter cutoff over the length of a phrase. Static patches read as pads, and pads do not carry a breakdown.
The kick and bass are fighting. Two fixes, both needed. Set up sidechain compression from the kick with a moderate ratio, and carve the low mids where they overlap rather than boosting the bass. Pumping is not the fix; the frequency conflict is.
It is wide in headphones and gone on speakers. The sub content is sitting in one stereo channel. Check in mono, narrow the unison spread, and add a dedicated mono sine sub layer underneath. That is the standard fix and it costs you about ten minutes.
Frequently Asked Questions
What waveform should I use for a reese bass in Serum?
A plain sawtooth wave on one oscillator is the best starting point, with a second saw on oscillator B set to negative detune. The two saws beating against each other create the width and phase movement that define the sound. Wavetables work too, but only if you keep the position in a band that stays stable while playing. If the texture shifts when you change notes, the wavetable is doing things a reese should not do.
Should a reese bass be mono or stereo?
Both, layered. Keep the main reese body as narrow as you can tolerate and pan a second copy for width, then add a separate sine or triangle sub underneath. Purely mono reeses lose the movement, and purely wide ones lose the low end on a club system. Check the patch in mono after you widen it, and if the sub disappears, the sub content was sitting in one channel all along.
How do you automate a reese bass to add movement?
Draw the filter cutoff on an automation lane and open it across the build-up of a track, then close it back down for the drop. Automate the resonance more gently for a wider effect, and automate the LFO rate to make the movement speed up over a phrase. Mod wheel or aftertouch in the DAW works too and is more responsive. The key is that the cutoff opens and closes rather than sitting still.
Can a reese bass work in trance and melodic house?
Yes, but usually in a smaller form than most tutorials suggest. Use three or four unison voices, a detune spread under 15 cents and a short glide, then leave the midrange open for the lead. A full-fat reese in those genres competes with the melody and the vocal, and the mix turns grey. Keep a big version for the breakdown and switch to the small one for the main sections.
How do I stop a reese bass from clipping?
Turn down filter drive before adding waveshaping distortion, and keep the distortion mix low, somewhere between 10 and 30 percent. Watch the output meter on sustained notes rather than on the note that triggers the loudest peak, since a slow LFO will lift the level later. EQ out everything below 60 Hz and use a gentle limiter on the channel instead of a hard one, so the movement survives.
Conclusion
Start by loading a saw, raising the unison on oscillator A and adding oscillator B with opposite detune. Get that sound clean and focused first, then add filter drive, then the slow LFO. Those three moves alone give you most of a usable reese.
Save every stage as a variation as you go. Knowing how to make a reese bass in Serum is mostly about keeping the plain version intact while you push the distorted and notch-filtered ones further. The narrow version, the distorted version and the notch-filtered version all end up in a track at different moments, and rebuilding them from scratch each time is wasted time. Test the patch at low volume, on headphones, on speakers and in mono before you judge it, and try it in the genre you are actually producing for.