A sample pack is a curated folder of audio files — one-shots, loops, and sometimes MIDI or synth presets — grouped by instrument and delivered as 24-bit WAV at 48 kHz. Learning how to make your own sample pack takes one focused session of sound design, a batch export, and about an hour of naming and organizing, and the result gives you sounds nobody else has.
I built my first pack because I kept hunting for a kick that did not already sound like every other house record from the last decade. Once I understood that “making samples” simply means designing a sound, processing it, and saving it in a consistent format, the whole thing stopped being mysterious.
Here is the short version before the detail:
- Choose one narrow concept — genre, mood, and a sound count.
- Set up one DAW template with a fixed sample rate, bit depth, tempo, and master bus.
- Create or record every source sound, keeping levels controlled.
- Edit each sound into a finished one-shot or loop: trims, fades, saturation, headroom.
- Name and tag every file the same way before you export, not after.
- Batch-export at 24-bit / 48 kHz and check for clicks, clipping, and wrong lengths.
- Package into a ZIP with a contents list, a license note, and a preview folder.
If you follow those steps in order, the pack builds itself and takes far less time than the sound design does.
Table of Contents
- What You Need
- Step-by-Step: How to Make Your Own Sample Pack
- 1. Choose a Focused Sound Concept
- 2. Set Up Your DAW and Project Structure
- 3. Create and Record Your Source Sounds
- 4. Edit Sounds Into Production-Ready Samples
- 5. Add Labels, File Names, and Metadata
- 6. Export, Preview, and Quality-Check the Pack
- 7. Package and Use Your Sample Pack
- Common Mistakes
- Frequently Asked Questions
- How do I make my own sample pack without selling it?
- What bit depth and sample rate should samples be?
- Should I include loops or one-shots?
- Should I ship wet and dry versions of my loops?
- How do I sample other music without getting sued?
- How many samples should a sample pack have?
- Conclusion
What You Need
You need three things: somewhere to make sounds, a way to save them consistently, and a folder structure that survives contact with the rest of your library.
- A DAW. Any of the big four handle this fine. Ableton Live, FL Studio, Logic Pro, and Reaper all export 24-bit / 48 kHz WAV without extra plug-ins. Exact menu names shift between versions, so if a path below does not match what you see, look for the equivalent export or bounce command.
- Something to record with. That can be a MIDI keyboard, a drum pad controller, a microphone, or nothing at all if you are designing inside a synth. A two-channel interface is enough for most bedroom work.
- A resampling or slice tool. Reaper’s region render is the quickest batch path most people use, and slice-to-regions is how people turn a long recording into dozens of one-shots.
- A folder skeleton. Build it before you make a single sound.
MidnightDrums/
  01_Kicks/
  02_Snares/
  03_Hats/
  04_Percussion/
  05_Loops/
  06_FX/
  07_Preview/
  00_Source_Recordings/
Decide two metadata conventions now, while nothing exists yet: your file naming pattern and how you label BPM and key. Changing either one after four hundred files is miserable.
Step-by-Step: How to Make Your Own Sample Pack
1. Choose a Focused Sound Concept
Decide the concept before you touch a knob, because a vague concept is why most abandoned packs never get finished.
“Electronic music samples” is too wide. “Warm, tape-worn 1990s house drum loops at 120 to 124 BPM” is a pack you can actually make in a weekend. Write down three things: the tempo range, the key range if any of the material is tonal, and how many sounds you are aiming for. Small focused packs run roughly 50 to 150 samples, larger libraries run 300 to 1000.
A useful structure is to set a per-category goal before you start — for example twenty kicks, twenty snares, thirty melodic loops — so you stop at a natural stopping point instead of drifting.
2. Set Up Your DAW and Project Structure
Set your session format once and never touch it again, because mixed formats are the most common cause of a pack that sounds wrong on someone else’s system.
Fix the sample rate and bit depth first. For 48 kHz electronic material, 24-bit is the sensible pair. Set a tempo that suits the concept, or set a flexible tempo if you are going to build loops from scratch. Give yourself one master bus with a limiter on the end so nothing you record can spike past your headroom.
Save the project as a template. Every time you start a new batch, you open the template, so the folder path, bus layout, and export settings are identical every single time.
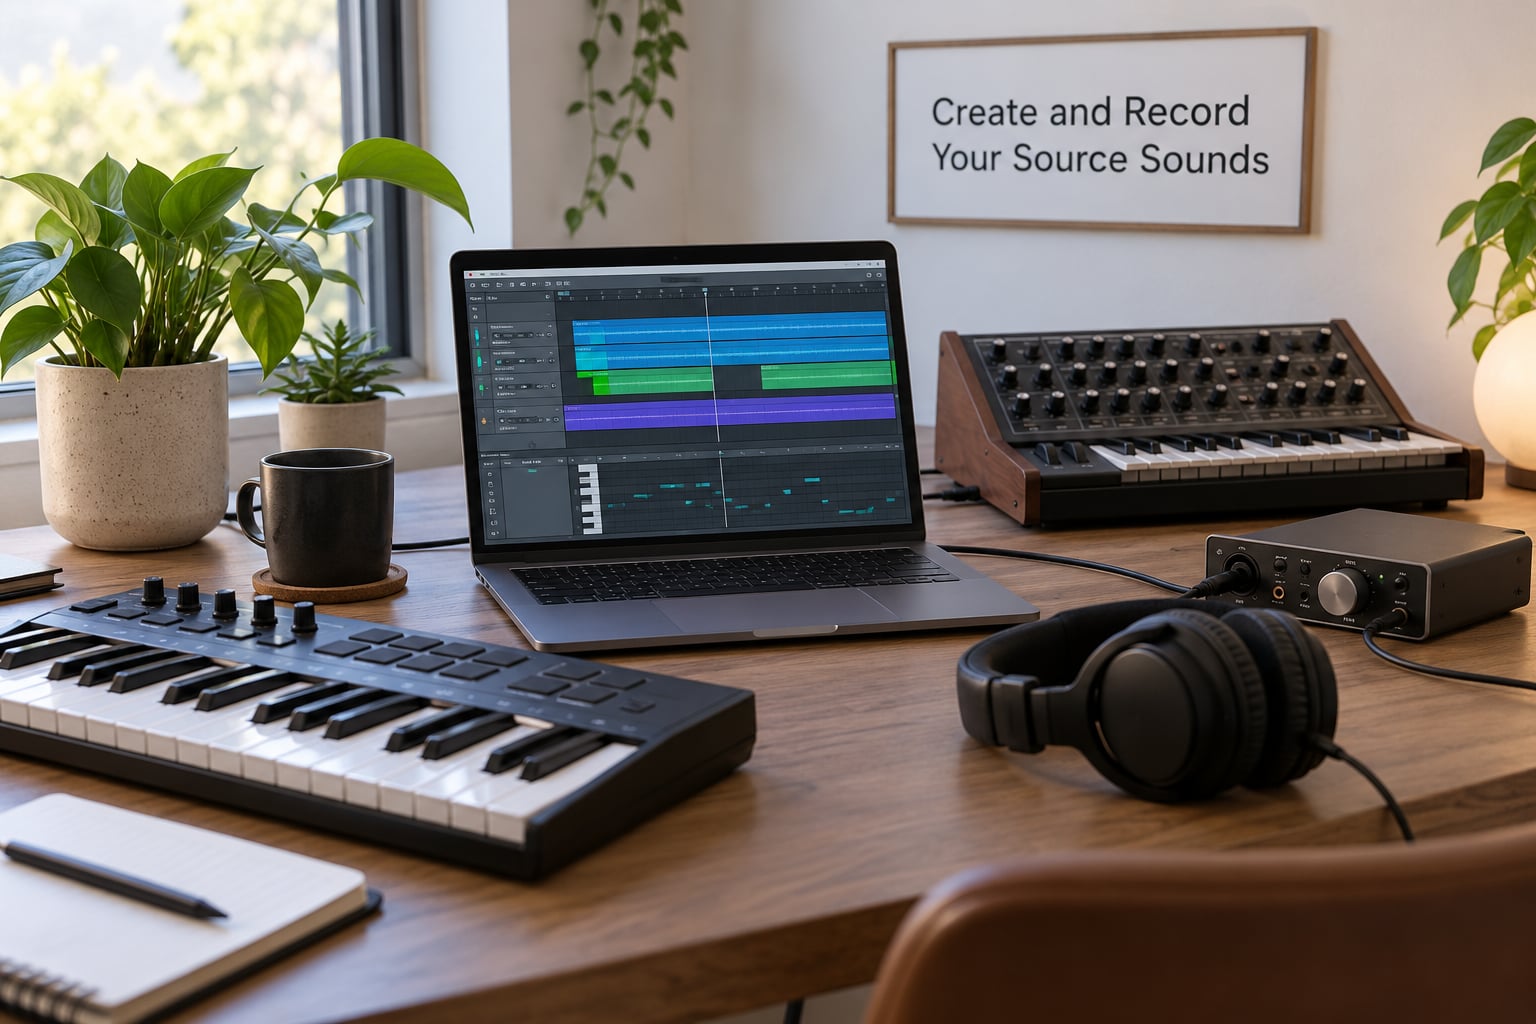
3. Create and Record Your Source Sounds
Create the raw material here, and keep every recorded level well below clipping — you want headroom for processing later.
Most sounds come from one of four places. Synthesized: design a patch, automate it, and print it to audio so the pack ships as WAV. Recorded: play a one-shot into the audio track and record it in a single clean take. Resampled: feed something into resampling hardware or a resampler inside your DAW, then render the result. Chopped: record a longer break or a full loop, then slice it into pieces.
Hardware samplers work the same way with different plumbing. On an MPC, an OP-Z, a Roland SP-404, or an Elektron Digitakt, resample into a folder on the SD card and your kit is already a pack in progress. Record the same idea to a memory card, drag it to your computer, and you are at the editing stage in minutes.
4. Edit Sounds Into Production-Ready Samples
Turning raw recordings into usable samples is where most of the work happens, and it is the step that decides whether a producer can actually use what you made.
- Trim the silence. Cut the leading silence and clip the tail at the point where it stops sounding useful. A kick with two seconds of room tone on the end is dead weight in a library.
- Add a short fade. A millisecond or two on each edge kills clicks. Longer fade-ins are useful on loops that need to start mid-decay.
- Shape the transient. A touch of attack shaping or a compressor on the bus makes one-shots cut through a mix without needing to be pushed later.
- Add gentle saturation. Low drive adds harmonics that survive a sample rate conversion and give a sound some weight.
- Leave headroom. Peaks near -1 dB are the practical ceiling. Users on the KVR Audio and Gearspace forums consistently describe preferring raw and dry files over hot, compressed ones, because dry material is what they can actually process.
Decide what each file is before you save it: a one-shot, a loop, or a stem. Loops get BPM and bar labels, one-shots usually do not need a tempo, and stems ship beside the loop as separate files.
If your material is tonal, consider tuning the one-shots so they sit in a key. Unpitched samples all sitting at one pitch are a real complaint from producers, and tools like Melodyne or Mixed In Key handle the pitch detection part. Keep an untuned duplicate if you also want the raw character.
5. Add Labels, File Names, and Metadata
Consistent naming is what makes a pack searchable six months later, and it is much cheaper to do now than to fix later.
Use one pattern and never deviate:
MidnightDrums_Kick_01_C1_142bpm_Fm.wav
MidnightDrums_Loop_House_Gm_124bpm_8bar.wav
The order is pack name, category, running number, pitch or key class, tempo, and tonal center. Batch renaming inside your OS or your DAW’s file window turns a hundred correct edits into one action.
Then embed metadata rather than relying on the filename alone. Fill in BPM, key, instrument, and genre fields so a sample manager can search the pack later. Producers who buy packs complain constantly that unlabelled files are effectively invisible, and this is the fix that costs ten minutes.
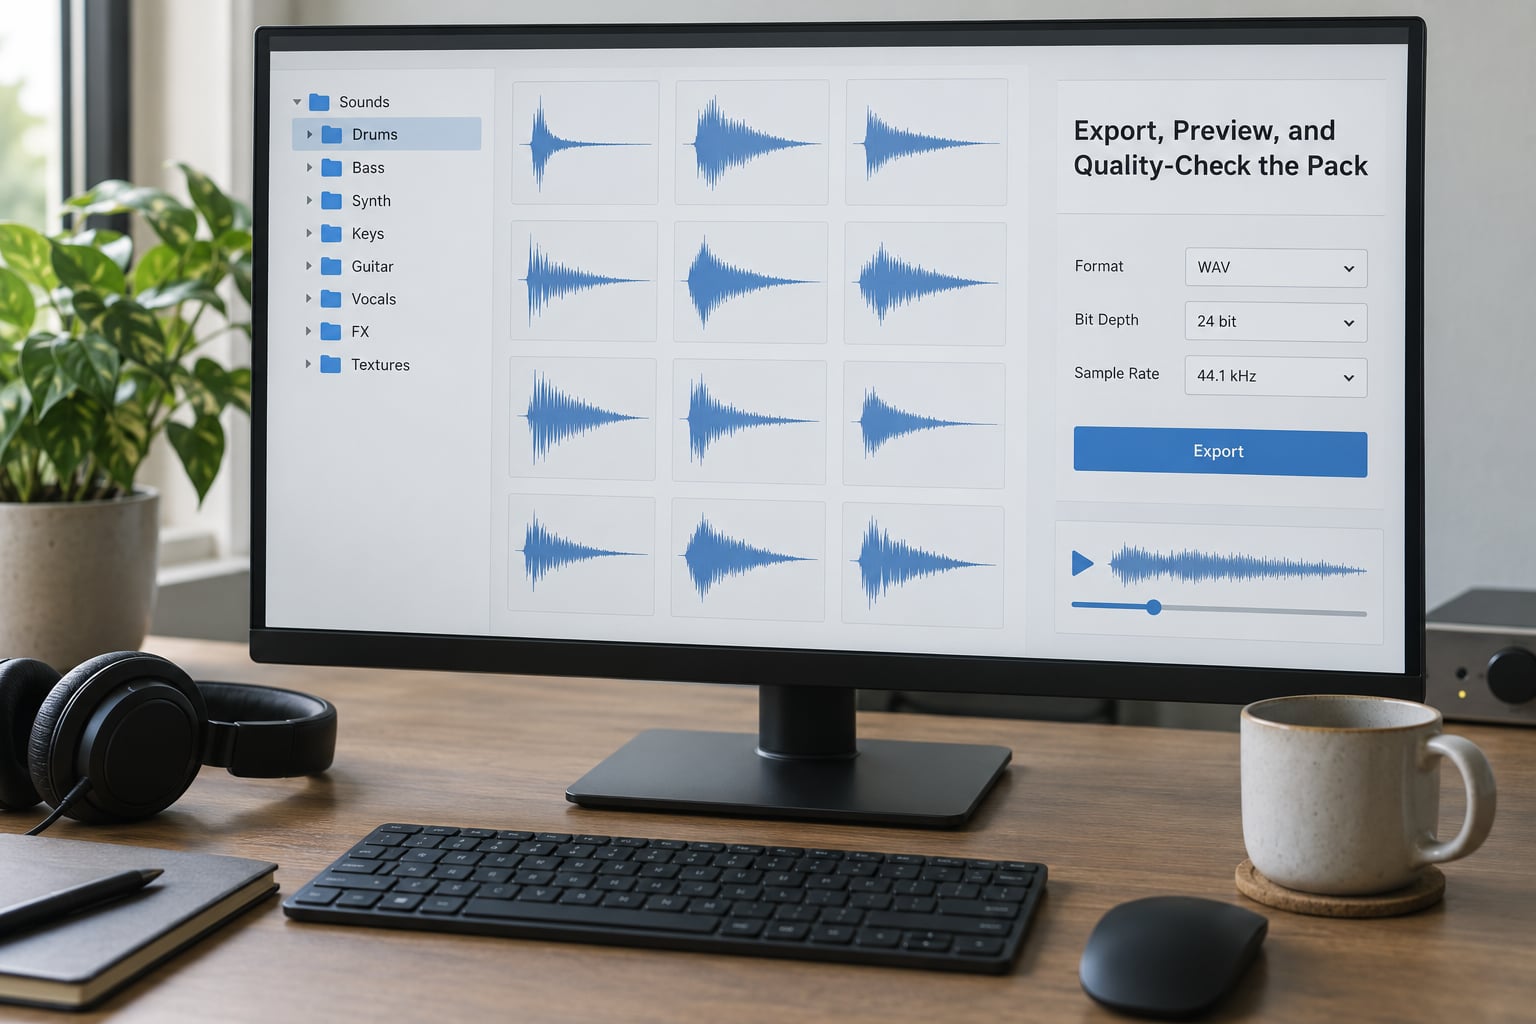
6. Export, Preview, and Quality-Check the Pack
Export in a format that survives everyone else’s workflow, then check the batch before it goes anywhere.
- WAV, 24-bit, 48 kHz. The default for any electronic pack and the one you should reach for first.
- WAV, 24-bit, 44.1 kHz. Only for projects that will be bounced to CD or older hardware.
- AIFF, 24-bit, 44.1 or 48 kHz. Useful for Logic and older Mac workflows.
- MP3 previews at 320 kbps. Preview audio and web playback only, never the deliverable files.
Batch export beats exporting one clip at a time by a mile. In Reaper, slice the long audio, convert the slices to regions, then render the regions — that is the path the Elektronauts thread names as the fastest known method, and the same approach works with any DAW that supports region rendering. Ableton Live is widely reported as slower for this specific job, since it has no region-to-render-queue shortcut; a render queue with a wildcard name pattern is the workaround.
Render a short preview of each category too, so someone can hear the pack without opening forty folders.
Then run a quick check on the batch:
- Listen to every file at the same level. One sample that is much quieter than the rest will be blamed on your pack.
- Look for clipped peaks and for files that are shorter than a single frame.
- Confirm loop lengths are actually whole bars and that the BPM label matches what is in the audio.
- Open a random handful on a different machine to check nothing depends on plugins you had loaded.
7. Package and Use Your Sample Pack
Packaging is what turns a folder of files into something you will actually find and use again in six months.
Zip the folders, then add four things inside: a contents list, a short README with installation instructions, a license note, and your preview folder. If you plan to share the pack beyond your own drive, write the license terms in plain language — what the buyer may use the sounds for, whether they can include them in released music, and whether redistribution is prohibited.
Include both a dry and a wet version of your loops. The dry folder is what most producers actually load, and the wet folder is still useful as a starting point for someone who wants the finished sound as written.
Load the sounds into a brand-new empty project and try to build something in twenty minutes. That test exposes unplayable sounds fast, and it is the last step most people skip. Improve the ones that feel awkward instead of shipping them as they are.
Common Mistakes
Most problems with a home-made pack come from the same handful of habits. Each has a straightforward fix.
- Inconsistent levels. Samples range from whisper to clipping. Normalize peaks to the same ceiling across the whole pack before you export.
- Excessive silence. Trailing room tone makes files feel broken. Trim to the end of the useful decay.
- Vague file names. “kick_final_2b.wav” tells a producer nothing. Use the pack_category_number_key_bpm pattern instead.
- Wrong BPM or key labels. A loop labeled 128 that plays at 124 wastes the buyer’s time. Check labels against the audio before packaging.
- Mismatched loops. Loops of different lengths are hard to layer. Standardize bar counts per pack, or label them clearly.
- No previews. A demo track and per-category preview files save you support questions and help people decide.
- Unclear rights. Ship a written license note. Producers building packs ask about this constantly and written tutorials rarely answer it.
- Harsh high frequencies. Commercial packs get criticized for piercing tops and audible digital artefacts. Leave headroom and audition every file on small speakers before you ship.
- Sampling material you do not own. If a sound comes from a record you did not make or license, do not include it. Record your own, use royalty-free sources whose terms you have read, or stick to material released for reuse.
Frequently Asked Questions
How do I make my own sample pack without selling it?
Keep it entirely local. Build the pack in your own folder structure inside your DAW library, export the WAV files there, and use a README that says personal use only. The workflow is identical whether the pack is for yourself or for release; the only difference is where the files live and what the license note says.
What bit depth and sample rate should samples be?
Export at 24-bit and 48 kHz for almost all electronic material. It gives more headroom than 16-bit and a sample rate that matches most plugins and hardware. Choose 44.1 kHz only if the samples will be used in a project destined for CD or older hardware.
Should I include loops or one-shots?
Include both. One-shots give producers raw material to build from, while loops give them a starting point they can reshape. For a first pack, roughly one third one-shots and two thirds loops works well, and a per-category preview file makes both easy to browse.
Should I ship wet and dry versions of my loops?
Yes, and keep them in separate folders. Dry loops are what most producers load into a project because they want to process them themselves. Wet versions are still worth including as a ready-made starting point, but producers frequently complain that wet files mixed in with dry ones waste folder space.
How do I sample other music without getting sued?
Sample only material you created, recorded, or licensed with terms that permit it. Check whether royalty-free sources allow redistribution inside a pack, since many do not. If you use someone else’s recording, you need a clearance, and public domain material still has rules about derivatives in some jurisdictions.
How many samples should a sample pack have?
Small focused packs usually run 50 to 150 samples, and larger libraries run 300 to 1000. Set a per-category goal such as twenty kicks or thirty loops before you start, and stop there. A finished pack of eighty consistent sounds is far more useful than an abandoned folder of three hundred.
Conclusion
Start with one folder and one concept. The first thing to do is pick twenty sounds in a single genre, put them in one DAW template, and export them at 24-bit / 48 kHz.
Small and finished beats ambitious and abandoned. Once those twenty sound right and you know how to make the next eighty quickly, the rest of how to make your own sample pack is just repetition with better naming.