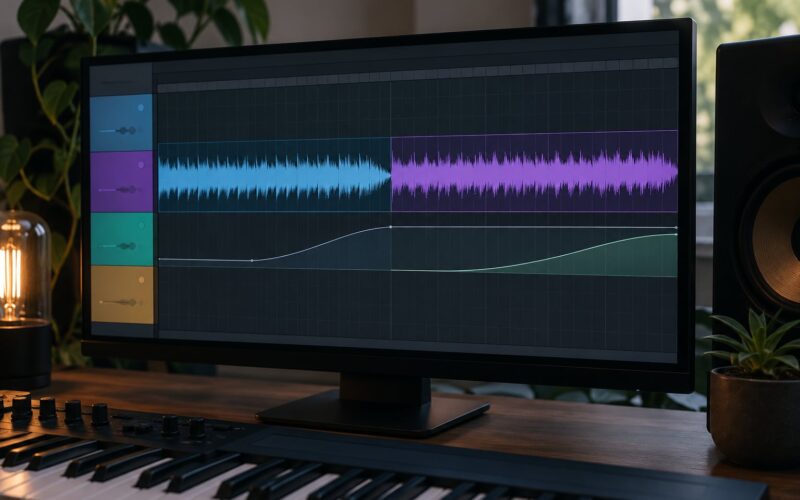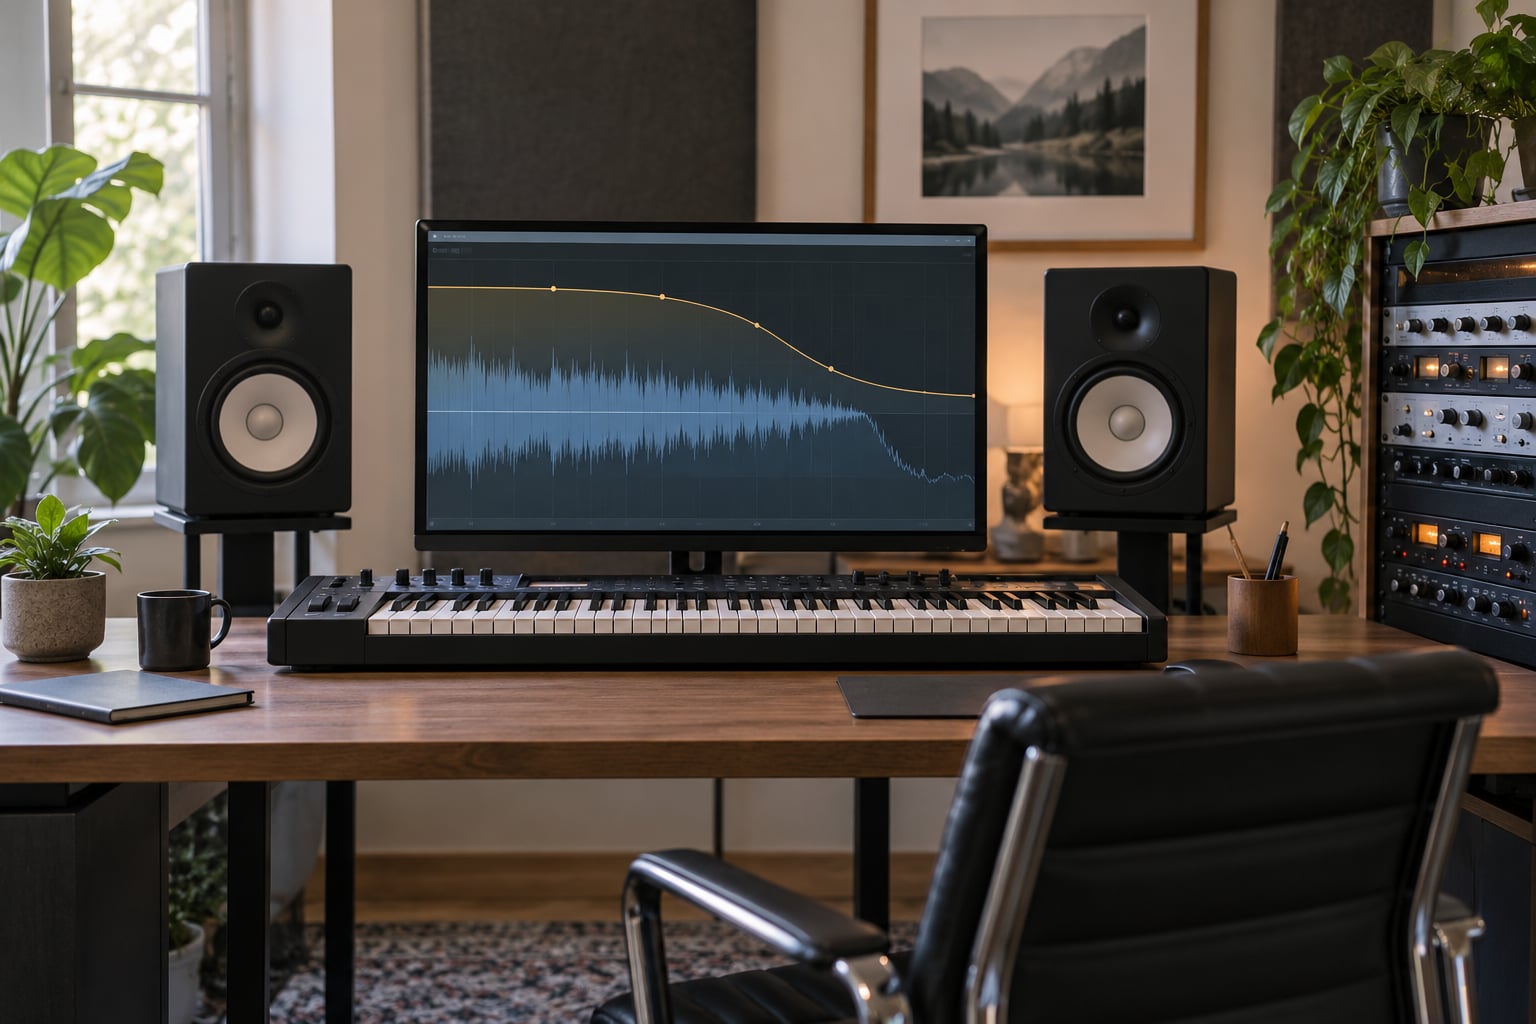
A downlifter is a transition sound that falls away in pitch, brightness or both right after an impact, so the tension a build-up created gets released instead of escalating. If you want to know how to make a downlifter effect in Ableton Live, the whole thing lives on one track: a short melodic or noise source into an Audio Effect Rack holding Auto Filter, Saturator, Utility, Compressor and EQ Eight, with the filter cutoff dragged downward over a bar or two. Roughly fifteen minutes of work, no third-party plugins.
Below is the chain I use, step by step, followed by the placement rules and the fixes for the four problems that come up most often: muddy low end, a filter sweep that sounds dull, feedback that smears the drop, and a downlifter that dominates the mix.
Table of Contents
- What You Need
- Step-by-Step: How to Make a Downlifter Effect in Ableton Live
- Choose a sound for the downlifter effect
- Build a frequency-focused Audio Effect Rack
- Set the Auto Filter to create downward movement
- Add controlled saturation and impact
- Add movement with delay and feedback
- Automate, EQ, and test the downlifter in context
- Common Mistakes
- Frequently Asked Questions
- Can I make a downlifter effect without Auto Filter in Ableton Live?
- How do I sync a downlifter effect to the tempo in Ableton Live?
- Should I use a send or return track for a downlifter effect?
- How much resonance should I use for a clean downlifter sound?
- Can I apply a downlifter effect to drums?
- Conclusion
What You Need
Everything required is already inside Ableton Live. The devices named here ship with Live 11 and Live 12 under the same names, and the same names carry over into Suite editions, so a guide written for either version still applies to modern versions of the software.
- A short melodic source — a synth loop, pluck, arpeggio or clean drum hit between one and four bars long.
- Audio Effect Rack — the container that holds the whole chain so you can bypass it in one click.
- Auto Filter — provides the downward sweep and the resonance.
- Saturator — adds bite and harmonic density after the filter.
- Utility — level matching so the processed copy sits level with the dry one.
- Compressor — optional, useful on long noise tails that wobble in volume.
- EQ Eight — cleans the low end and shapes the presence band.
You do not need a sample library, an oscillator plugin or anything else paid. A noise generator inside Live or a single sample you already own is enough source material.
Step-by-Step: How to Make a Downlifter Effect in Ableton Live
Six stages, and you should stop and listen after every one. Most bad downlifters come from building the whole chain blind and then trying to fix it at the end, which is slow and frustrating.
Choose a sound for the downlifter effect
Short synth loops, plucks, arpeggios and clean drum hits are the best material because they have a clear end point, and the downlifter needs to land somewhere.
Always duplicate your source or use a dedicated return track so the processing can be removed in a second. On a return track, route the original into a new track holding the rack and set that track as the destination of a send from the source. Mute the return track to hear the before state — if you cannot instantly hear the difference, the routing is wrong and every later step will be a waste.
Build a frequency-focused Audio Effect Rack
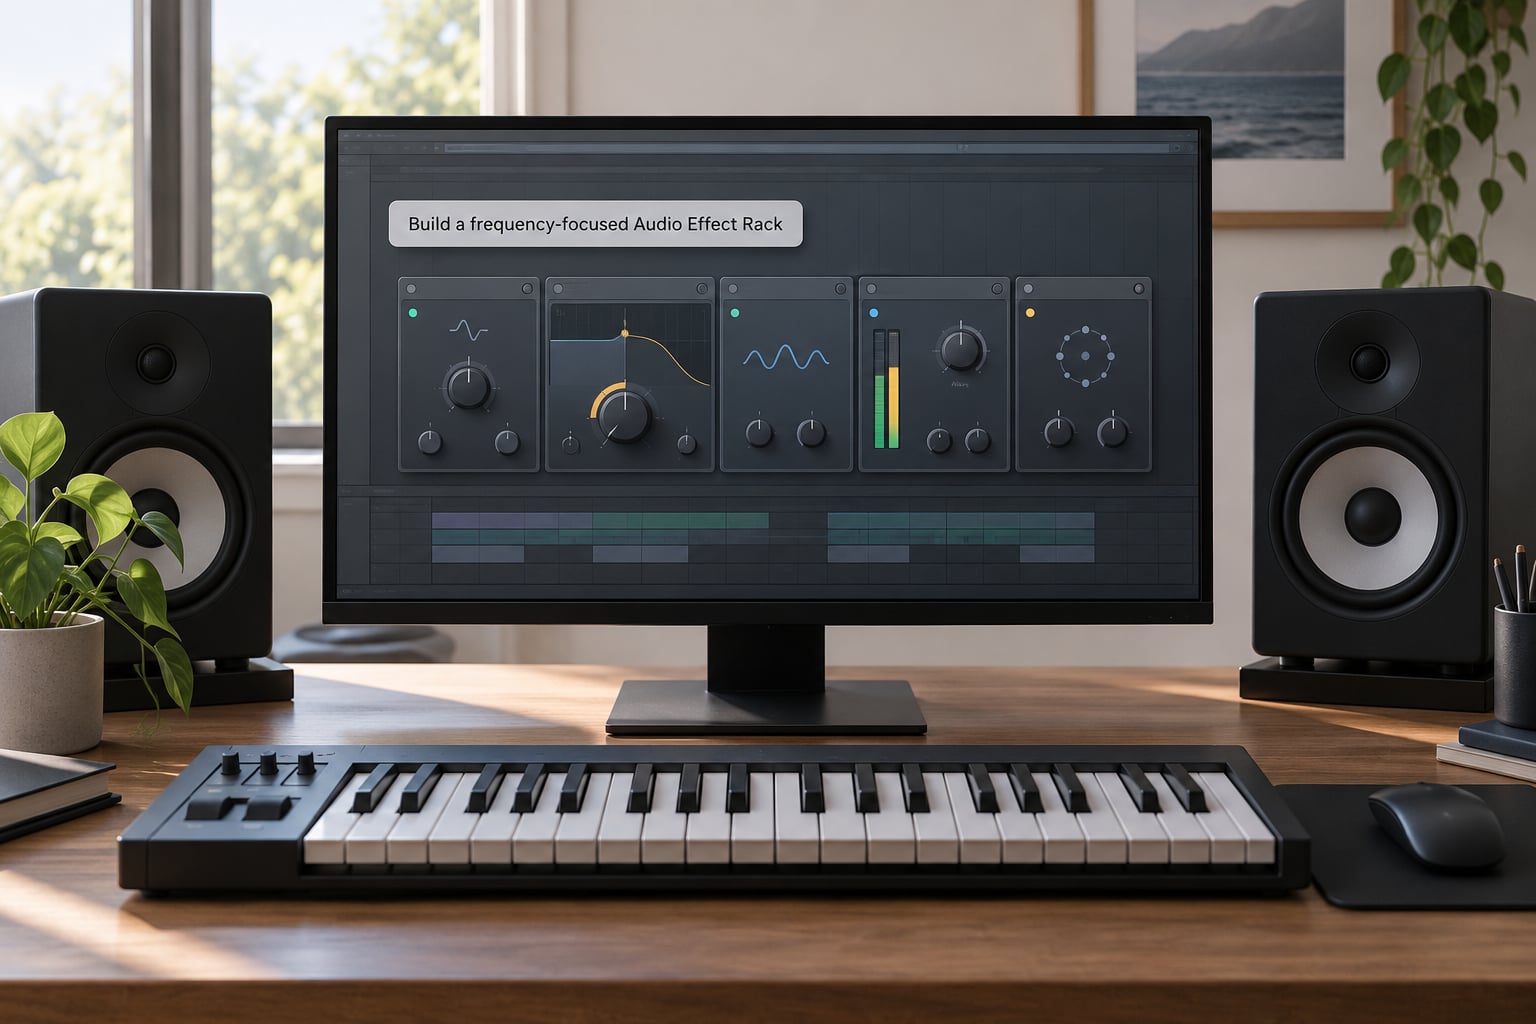
Drop an Audio Effect Rack and add Auto Filter, Saturator, Utility, Compressor and EQ Eight inside it. Then turn most of them off with the activate buttons so only Auto Filter is audible.
Building dark to light matters here. The filter defines the gesture, saturation gives it presence, EQ decides whether it fights the rest of the mix, and the compressor only matters on long tails. Leave the other four deactivated until the filter sweep already sounds right on its own.
Set the Auto Filter to create downward movement
Switch Auto Filter to low-pass mode and drag the Frequency control down to around 80 Hz as the starting point for your hearing.
For the sweep itself, raise Frequency to roughly 2 kHz, hold it there for a few beats, then draw the automation down to about 150 Hz over the length of the effect — two bars is the usual choice, one bar feels urgent, four bars suits a breakdown. Set Resonance between 15 and 30 percent. That sits just below self-oscillation, which is where the sound gets its vocal, straining character instead of sounding like a plain volume fade.
Small movements of the resonance line over the same span keep the sweep alive. If the source disappears as the cutoff closes, raise the resonance a little or add a gain compensation move of one or two decibels at the end of the automation.
Add controlled saturation and impact
Place Saturator after Auto Filter, choose a shaping mode such as Soft Clip or Analog, and introduce drive slowly while monitoring at a level your ears trust.
Saturation sits after the filter because it should colour what the filter already left, not re-brighten what the filter removed. Bypass the device and A/B the filtered source; keep the amount that adds bite and stops the tail sounding thin, and back it off the moment it turns harsh.
Add movement with delay and feedback
A short Delay with filtered feedback turns a single sweep into a trail of repeats that fall in pitch and brightness with the original.
Sync the delay to the project tempo — a dotted 1/16 or a 1/8 works for most electronic material. In the feedback path set a low-pass filter with a cutoff near 3 kHz so each repeat gets duller than the one before it, and keep Feedback between 20 and 35 percent. Higher values with the resonance moving can get extreme and interesting, but the repeats grow fast enough to fight the drop, so short feedback paths win here.
Automate, EQ, and test the downlifter in context
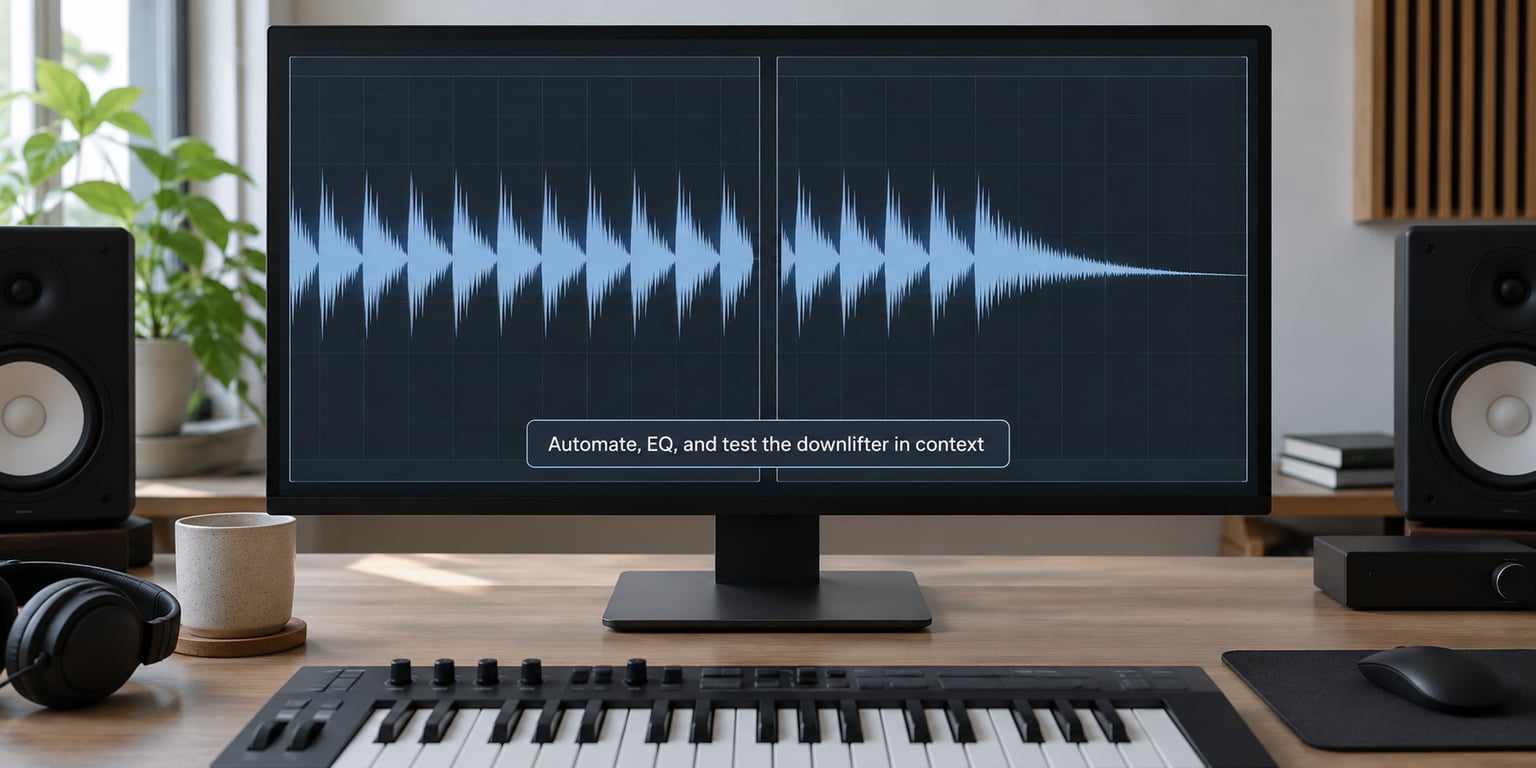
Map the rack to a macro control so you can trigger the entire effect from one knob, then draw filter and mix automation across the bar or phrase rather than setting static values.
Level-match with Utility before you judge anything, since adding resonance and saturation changes the perceived loudness and a quieter-looking reading can easily be louder. EQ Eight does the clean-up work: a high-pass filter around 80 to 120 Hz keeps the sub out of the way of your bass, and a gentle wide-band boost near 1 kHz gives the fall some bite against dense hats.
Then test properly. Bypass the whole rack to hear the dry source, solo the return to check nothing is doubling, and play the full mix to confirm the next section still lands harder than the transition did. For genres that need it, widen the tail with a short reverb while keeping the input low-cut; techno, house and DnB usually want a shorter reverb, trap and cinematic work often want a longer one.
Common Mistakes
The sweep sounds dull and lifeless. That usually means the cutoff range was too narrow. Open the top of the sweep to 3 kHz or higher and let the resonance line move a little rather than sitting still.
Resonance is too hot and squealing. It is doing the job of adding energy, and it will happily swallow the mix if you let it. Pull it back a few percent and listen to the whole frequency range again.
The low end turns to mud. High-pass the return around 80 to 120 Hz and use parallel processing if you want to keep a little weight: split the chain, process only the quieter branch, and blend it under the main signal instead of over it.
The repeats distract from the drop. Shorten the feedback path, lower the feedback amount, or lower the wet level of the delay so repeats stay under the section they lead into.
The macro mapping feels random. Keep it to two or three controls on the rack — filter cutoff, resonance and dry/wet — so the knob you reach for during a mixdown behaves predictably. Automate only those essentials and leave the rest static.
The effect is too prominent. It should sit behind the music and mark a transition rather than announce itself. Trim the level, shorten the tail, and put contrast on both sides so the listener hears something else before and after it.
Frequently Asked Questions
Can I make a downlifter effect without Auto Filter in Ableton Live?
Yes. Sweep the pitch instead and the gesture still reads, which is how most hardware-style downlifters are built. Automate the pitch of an oscillator or a loaded sample downward by two or three octaves across the effect, and use EQ Eight to low-pass the tail as the pitch drops. You can also reverse the source or use the stock Reducer in Utility to darken it. Auto Filter is simply the fastest route, not a requirement.
How do I sync a downlifter effect to the tempo in Ableton Live?
Set the project tempo first, then work in bars rather than seconds. Draw the filter automation in clip mode so it snaps to the beat grid, and use Delay with Sync set to Tempo plus a division such as 1/8 or dotted 1/16 so every repeat lands on the grid. Tempo-synced repeats keep falling with the filter, which is what makes the effect feel locked to the track instead of pasted on top.
Should I use a send or return track for a downlifter effect?
Use a return track whenever more than one source shares the effect, or when you want to adjust the transition without touching the original MIDI or audio. Put the rack on its own track, route the source into it through a send, and keep the send amount separate from the effect level. For a single one-off transition, inserting the rack directly on a duplicated track is faster and keeps the routing visible at a glance.
How much resonance should I use for a clean downlifter sound?
Start between 15 and 30 percent and treat that as the ceiling for a clean result. That range is high enough to give the sweep character but low enough to stay out of self-oscillation and out of the way of the rest of the mix. If the sound feels thin rather than rich, raise it a few percent instead of reaching for more saturation. Above roughly 40 percent the effect starts to fight the drop that follows it.
Can I apply a downlifter effect to drums?
Yes, and a clean snare or clap works well as the source. Print the hit, duplicate it, and automate the filter downward on the copy so the original transient stays crisp underneath the falling tail. For a bus or room sound, use a short noise or vinyl-style source instead and keep the low end high-passed. Always check the result against the full drum bus, because a downlifter that sounds good alone can hide a hi-hat in the arrangement.
Conclusion
Start with one filter, resonance around 20 percent and feedback under 30 percent, then raise the intensity only once the effect sits properly in the mix. From there, map two or three controls to a macro, automate the cutoff across the phrase, and adjust the tail length to fit the section it marks. Once that version works, a reverse-audio bounce or a pitch-drop synth layer on top of it adds the depth you hear on other tracks.