Reverse reverb is a reverb tail played backwards and layered just before the vocal enters, so the sound swells out of silence right before the first word lands. How to use reverse reverb on vocals in any DAW comes down to one short chain: duplicate the vocal, reverse the duplicate, run it through a reverb set to 100% wet, bounce that tail to audio, reverse it a second time, and align the peak to the vocal transient. The whole thing takes about ten minutes once you have done it twice.
The result is a rising, ghostly texture that makes a phrase feel anticipated rather than simply started. It shows up constantly in pop, house, techno, hip-hop and shoegaze, and it costs one bounced file and no paid plug-in.
Table of Contents
- What You Need
- Step-by-Step: How to Use Reverse Reverb on Vocals
- Choose the Vocal Part and Duplicate It
- Reverse the Vocal Effect Layer in Your DAW
- Apply Reverb Before or After Reversing
- Shape the Reverse Reverb Tail
- Automate the Transition Into the Vocal
- Blend the Effect Into the Mix
- Export and Compare the Dry and Processed Versions
- Common Mistakes and How to Fix Them
- Creative Variations for Reverse Reverb Vocals
- Frequently Asked Questions
- Can I use reverse reverb on vocals without a dedicated reverse plugin?
- Should I reverse the vocal before or after applying reverb?
- How do I stop reverse reverb from making my vocal sound muddy?
- Does reverse reverb need to be tempo-synced in my DAW?
- Where should I automate the reverse vocal effect in Ableton Live, FL Studio, or Logic Pro?
- Should reverse reverb be printed or kept as an insert effect?
- Conclusion
What You Need
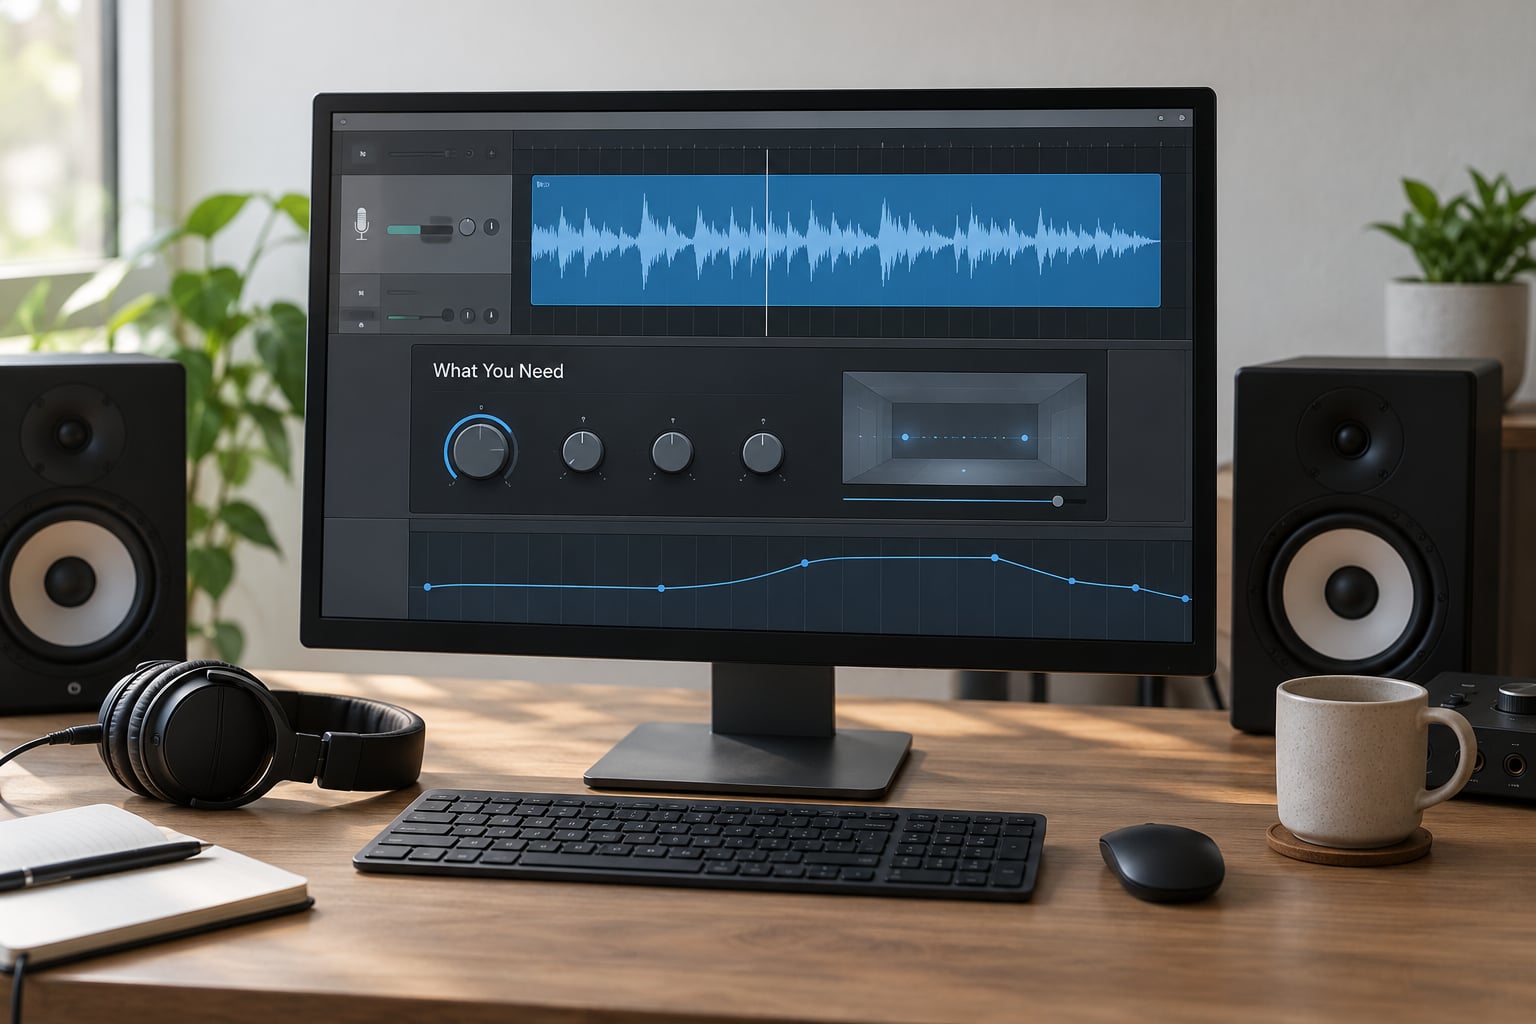
- A finished or near-finished vocal clip. Reverse reverb works best on a clean, comped take. Noises and edits get magnified once the tail is reversed.
- Any reverb plug-in, including the stock one. Every DAW ships with a usable plate, room or hall. Start there before you spend money.
- An offline bounce. Freeze, render in place, consolidate or bounce to disk, depending on your DAW. That is how you capture the tail without printing the effect permanently.
- Automation lanes. You will use them for the fade and for any movement you want after the tail lands.
- Headphones or monitors you trust. Mostly for judging low-end buildup, which is the usual reason a reverse swell turns to mud.
- Optional: a second vocal layer. Doubling the phrase before processing gives a wider, softer swell, which is usually more useful than one thin copy.
Step-by-Step: How to Use Reverse Reverb on Vocals
Choose the Vocal Part and Duplicate It
Pick one short phrase, ideally two to four seconds, with a clear start. Long phrases produce long tails, and a six-second swell in front of a four-second vocal feels like the song stopped.
Duplicate the clip onto a new track and mute that new track. If you are processing the duplicate as an insert effect, check its sends and disable them, otherwise the bounce captures reverb from the existing vocal send as well as the new plug-in and you get a doubled, unfocused tail. That single check is the most common source of confusion in this whole technique.
Reverse the Vocal Effect Layer in Your DAW
Reverse the duplicate first. It is faster to start from the reversed clip, send it through reverb at 100% wet, and bounce than to try to bake reverb in the other order.
| DAW | Reverse the clip | Bounce or freeze |
|---|---|---|
| Logic Pro | Select the clip in the Tracks area, then Functions > Reverse | File > Bounce > Audio Files, or select the region and use Bounce in Place |
| Ableton Live | Double-click the clip to open Clip View, then click the reverse arrow (older builds label this Clip Properties > Reverse). Cmd+D duplicates the track | Right-click the track header > Flatten, then re-enable the clip for the second reverse |
| Pro Tools | Edit window, AudioSuite > Reverse | File > Bounce To > Disk, or Freeze and flatten the track |
| FL Studio | Right-click the Playlist clip > Reverse (or use the mixer track preset button on a one-shot sample) | Select four to eight bars with the time selection, right-click > Consolidate |
| Cubase | Select the audio event, open the Time Warp tool and choose Reverse in the Tool Zone | Media > Export Audio Mixdown, or right-click the track > Freeze |
| Studio One | Right-click the clip > Reverse in Studio One 5 and later; on older versions bounce it out and reverse it in an audio editor | Audio > Export > Render, or use the Audio Events browser on a bounced file |
| Bitwig | No clip-level reverse in older builds, so bounce the region and reverse it in an audio editor, or run a reverse effect plug-in on a return | Export the audio segment from the project, or use the in-place recorder on the track |
| Maschine | Load the file into Sample Edit mode and use the reverse function there; on hardware a reverse effect plug-in on the group is the practical route | Bounce the group, or record the tail to a separate audio track |
| Reason | No clip reverse in the sequencer, so bounce the track and reverse it in an audio editor, or place a reverse reverb plug-in on a send | Bounce the track to disk from the mixer |
Tutorials usually stop at one DAW, which is odd because the same question turns up separately in Logic, Ableton, FL Studio, Reason, Pro Tools, Cubase, Studio One and Maschine communities. The menu names change; the order of operations never does.
If bouncing feels laborious, there is a real-time route. EnVerb in Logic has a reverse mode, Soundtoys Crystallizer reverses its tail live, ValhallaShimmer can run backwards through a reverb send, and FabFilter Pro-Reverser is built for the job. These sit on a send so they can run while you sing, which is the answer most producers want when they ask whether a plug-in can do this without exporting.
The trade-off is control. A plug-in gives you the same sound every pass but a fixed decay and no way to trim the tail to a specific word. A bounce costs thirty seconds and gives you an audio file you can cut, fade, filter and align precisely. For a first reverse reverb on a chorus vocal, bounce.
Apply Reverb Before or After Reversing
There are two valid orders and they are not the same sound. The community one-liner that shows up in most threads is cut the vowel, add reverb, bounce it, reverse it, place it. That method treats the reverb as a source and reverses the whole tail, which is the classic swell.
The alternative is reversing the vocal first and applying reverb to the reversed clip in real time. That produces a diffuse wash rather than a defined rising tail, because the reverb fills in the space the reversal created. Use the first order for a lead-in into a chorus or drop, and the second only when you want atmosphere behind something rather than a transition in front of it.
Shape the Reverse Reverb Tail
Numbers get replies because they are actionable, so here are the ranges I start from. Decay between 2 and 5 seconds, pre-delay between 0 and 20 milliseconds, wet/dry at 100% wet, and a high-pass filter on the return between 300 and 500 Hz.
| Reverb type | Typical decay | Pre-delay | Best for |
|---|---|---|---|
| Plate | 2-4 s | 10-20 ms | Pop and vocal-forward mixes; dense but controlled |
| Room | 1-3 s | 5-15 ms | Shorter transitions where a big tail would crowd the phrase |
| Hall | 4-8 s | 20-40 ms | Cinematic entrances, ambient, long intro swells |
| Shimmer | 4-10 s | 20-60 ms | Pads, trailer-style builds, less so straight vocal lead-ins |
Beyond those four, the controls that matter are damping and high-frequency roll-off, because a reversed tail stacks its brightest content at the very end, right under the vocal attack. Turn damping up slightly so the swell darkens as it peaks and your lead vocal stays readable. Diffusion controls how smeared the texture is; keep it moderate, because full diffusion sounds like wind rather than a room.
Gain staging matters more than usual here. Set the reversed clip at unity, keep the reverb return out of the red, and normalise only after the second reverse. If you are still working out how to use reverse reverb on vocals from scratch, this is the step worth ten minutes: normalising before the bounce bakes in whatever level the dry vocal happened to be sitting at, which is how a quiet take ends up louder than the performance.
Automate the Transition Into the Vocal
A fade is not optional. Without it the reversed tail starts on a hard edge and you get a click at the top of the swell. Draw a fade-in of one to two bars over the first half of the tail and a short fade-out on the last few samples so it meets the vocal cleanly.
Beyond the fades, automate the movement. Bring the clip up from silence across the swell, drop it back under the vocal when the phrase lands, and optionally ride a low-pass filter so the texture opens up as it rises. In Ableton the envelopes are on the clip itself; in Logic they are track and clip automation; in FL Studio you clip-enable the channel and draw the volume or filter knob; in Pro Tools you write volume automation in the Edit window.
Blend the Effect Into the Mix
Level first. The tail should sit underneath the dry vocal at maybe minus 6 to minus 10 dB relative to it, quiet enough that you notice it when it disappears. Then high-pass the reverb return between 300 and 500 Hz, which removes the sub-rumble that builds up as the tail peaks and is the most common reason reverse reverb sounds muddy.
Panning and width come next. A short stereo delay on the return widens it without adding more reverb density, and nudging the tail slightly off-centre or hard-panning it for a single word can pull focus toward that word. On timing, measure the swell in bars rather than seconds: two bars at 90 BPM and two bars at 140 BPM are very different, and a tail that drifts off the grid loses the tension the effect depends on. Quantize the tail onset to the bar and keep the peak on the downbeat.
Use it sparingly. One or two elements at a time is plenty; three overlapping reverse swells turn a mix into soup. That restraint is the difference between how to use reverse reverb on vocals as a transition and using it as a texture, and it is the part most tutorials skip.
Export and Compare the Dry and Processed Versions
Bounce or export the vocal bus and audition it against the dry version before you commit. If the reverse effect is louder than the dry vocal when muted against it, it is too loud, not the other way around. Keep the level automated so the tail is nearly inaudible when the dry vocal returns, which is where the impression of depth comes from.
Leave around 3 dB of headroom on the bus rather than pushing the processed vocal to 0 dBFS. Mastering needs somewhere to work, and a reverse swell that clips has already lost its shape.
Common Mistakes and How to Fix Them
- It sounds muddy and the low end disappears. High-pass the reverb return at 300-500 Hz and shorten the decay. Reversed tails stack energy low, so a 6-second decay that sounds fine in isolation will swallow the bass at the vocal entrance.
- The whole vocal sounds reversed or underwater. The dry vocal got processed by mistake. Mute it, check the sends on the duplicate were disabled, and confirm your second reverse was applied only to the bounced tail.
- Click at the start or end of the swell. Missing fades. Add a fade-in of one to two bars and shorten the fade-out so the tail ends before the transient rather than on it.
- The transition feels abrupt. Shorten the tail and stretch the fade. A long tail with a short fade reads as a cut, not a swell.
- It drifts out of time. Quantize the tail onset to the bar and re-align the peak to the vocal transient. A Fractal Audio forum thread also describes setting the reverse reverb mode to 100% wet with feedback at 0% and pairing it with a parallel delay block, which tightens the timing considerably.
- The effect is inaudible in the mix. Raise the tail level and lower the dry vocal by a decibel or two rather than boosting the tail hard. If it is still gone, your decay is probably under two seconds.
- Too much reverb on the vocal itself. The duplicate is picking up the existing vocal send. Disable sends on the effect layer so the bounce captures only the insert.
Creative Variations for Reverse Reverb Vocals
- Riser into a drop. A four-bar hall swell on the last phrase of a section, in trance, house and techno. Keep the level low until the last beat.
- Word-level accent. Cut a single vowel, process only that, and reverse it. It gives one word weight without re-recording anything, which is why mix engineers reach for it on hooks.
- Doubled verses. Process two takes together for a wider, softer swell. Works better than one clip in dense arrangements.
- Filtered reverse layer. Automate a high-pass sweep so the swell opens as it rises. Useful in hip-hop and R&B where a full-band tail would compete with the beat.
- Gated reverse tail. Chop the bounced tail with a gate or rhythmic gate plugin so it pulses into the downbeat. Common in electronic production for a mechanical feel.
- Transition swell. Same method on the last word of a verse and the first word of a chorus, giving you a bridge without a riser sample.
- Long reverse pad. Let the tail run for eight bars under an instrumental section. Ambient and cinematic work sit well here, and it is where Logic’s EnVerb or Soundtoys Crystallizer in reverse mode save the most time.
One note on history, since it comes up in searches. The technique comes from tape and DAT days, when a recording was played backwards onto tape and re-recorded, a step described on the Ableton Forum as the origin of the effect. It is now inseparable from the production of Kevin Shields and My Bloody Valentine, though nobody has confirmed a specific piece of gear for those recordings, so treat any specific claim with suspicion. A live guitar version exists too: the Eventide Space Echo and Strymon BigSky both have reverse modes, which is the usual answer for shoegaze pedalboards.
Frequently Asked Questions
Can I use reverse reverb on vocals without a dedicated reverse plugin?
Yes. Every major DAW can reverse a clip and bounce it to disk, which is the canonical method and needs no plug-in at all. Logic Pro’s EnVerb also has a reverse mode, Soundtoys Crystallizer reverses in real time, and Fractal Audio users report using the Megatap’s reverse reverb echo mode at 100% wet with feedback at 0%. The bounce method gives you the most control; the plug-in route is faster but fixed.
Should I reverse the vocal before or after applying reverb?
Reverse the reverb tail for the classic swell: duplicate the vocal, add reverb at 100% wet, bounce it, then reverse the bounce. Reversing the vocal first and applying reverb after gives you a diffuse wash instead of a rising swell, because the reverb fills the space the reversal created. Use that second order for background atmosphere, not for a transition in front of the vocal.
How do I stop reverse reverb from making my vocal sound muddy?
High-pass the reverb return between 300 and 500 Hz, then shorten the decay to two or three seconds. A reversed tail stacks its energy low and bright content at the end, right under the vocal attack, so long decays eat the bass and dense tails eat the consonants. Adding a little damping so the swell darkens as it peaks also keeps the lead vocal readable.
Does reverse reverb need to be tempo-synced in my DAW?
The clip length does not need to snap, but the swell length should relate to the grid. Measure it in bars rather than seconds: two bars at 90 BPM and two bars at 140 BPM feel completely different. Quantize the tail onset to the bar and make sure the peak of the swell lands on the downbeat the vocal enters on, otherwise the anticipation reads as a timing mistake.
Where should I automate the reverse vocal effect in Ableton Live, FL Studio, or Logic Pro?
In Ableton Live, draw clip envelopes on the track itself. In FL Studio, right-click the channel and enable clip automation for volume or the filter knob. In Logic Pro, use clip automation in the Tracks area or write track automation. What matters most is a fade-in across the swell and a level drop under the dry vocal once the phrase lands.
Should reverse reverb be printed or kept as an insert effect?
Print it. The effect depends on a bounced tail, since you need a rendered reverse of a reverb tail to align to the transient. Once aligned, flattened, faded and EQ’d, the bounce is just an audio file, so keeping it as a live insert only adds CPU cost and removes your ability to trim and fade precisely.
Conclusion
Start with the shortest phrase you have, duplicate it, set the reverb to 100% wet with a decay around three seconds and no pre-delay, bounce it, reverse the bounce, and align the peak to the first word. Once that sounds right, add the fade, high-pass the return at 400 Hz, and drop the level until the effect is nearly inaudible when the dry vocal returns. From there, automate the swell and try it on a single word before you use it on a whole section. Most of what makes how to use reverse reverb on vocals convincing is restraint: a short tail, a low level, and a clean fade.