A white noise sweep is a transition effect built from a noise source run through a band-pass or low-pass filter, with the cutoff frequency automated upward so the sound gets brighter, louder and tenser until the new section lands. Learning how to use white noise sweeps in transitions this way takes about 15 minutes once you have the method, and nothing in it needs a synth beyond a single oscillator.
This guide covers the numbers: which filter to open, where to start the cutoff, where to end it, how many bars to run, and how to keep the sweep from fighting the drop that follows it. Steps below work in Ableton Live, FL Studio, Logic Pro and Bitwig Studio, because the same idea lands in every one of them under a different menu name.
Table of Contents
- What You Need
- How to Use White Noise Sweeps in Transitions, Step by Step
- 1. Create the white noise sweep
- 2. How to use white noise sweeps with filters and resonance
- 3. Automate level, pan and effects
- 4. Place the sweep and check it in context
- 5. Common mistakes and quick fixes
- DAW Recipes for a White Noise Sweep
- Ableton Live
- FL Studio
- Logic Pro
- Bitwig Studio
- Hardware
- Tips for More Musical Transitions
- Frequently Asked Questions
- What is a white noise sweep?
- How long should a white noise riser be?
- What cutoff frequency should I sweep from and to?
- How do I stop a riser from sounding harsh?
- Should I add reverb to a white noise sweep?
- What is the difference between a riser and a sweep?
- How loud should a riser be before the drop?
- Conclusion
What You Need
Everything on this list is either free or already sitting in your DAW. If you have a laptop with a stock install, you are covered.
- A noise source. Any oscillator set to white noise, or a soft noise clip recorded from an empty line input. Two seconds of looped white noise covers almost every transition you will build.
- A filter with automatable cutoff. Every DAW ships one. You do not need a modelled analogue filter or a paid plugin to get a convincing sweep.
- A gain or volume control you can automate. This is how the sweep stops sounding like a wall of hiss and starts sounding like a build.
- An FX bus. One return that every transition in the project shares, with its own reverb, EQ and compression. This is the single habit that keeps a mix clean.
- Optional but useful: a gate or transient shaper for rhythmic gating, a sidechain compressor if you want the noise to pump against the kick, and a stereo widener for the last bar.
One note on noise colour before you start. White noise is flat across the frequency spectrum and reads as the brightest option. Pink noise is weighted toward the low mids and sits underneath a mix better. Brown noise is deep and rumbling and mostly earns its place in cinematic work. For most electronic transitions, stick with white and pull the low end out with a high-pass filter or an EQ.
A filter cutoff drawn from roughly 300 Hz up to 14 kHz across two bars is the whole trick. Everything else is balance.
How to Use White Noise Sweeps in Transitions, Step by Step
1. Create the white noise sweep
Load a synth, turn on a single oscillator and set its waveform to white noise. Turn every other voice off, set the amp envelope to full, and leave the filter at a neutral opening so you hear the raw noise first.
Set the clip length to the transition you are building. Two bars is the standard pre-drop riser. Four to eight bars works for a long intro or a breakdown that needs to feel like it is falling. Eight bars is a long build, and you should not reach for it until shorter lengths feel weak to you.
Loop the noise for the full clip so there is no gap when you duplicate or loop the section. A two-bar loop at 128 BPM is about 3.75 seconds, which is the right ballpark for the jump most people are trying to build.
If you prefer a sample pack to a synth, a two-bar noise riser at the right tempo works identically. Load it, then treat it exactly like the synth version: filter, automate, level, place. You lose control over the exact cutoff range, which is why the synth route teaches the technique faster.
2. How to use white noise sweeps with filters and resonance
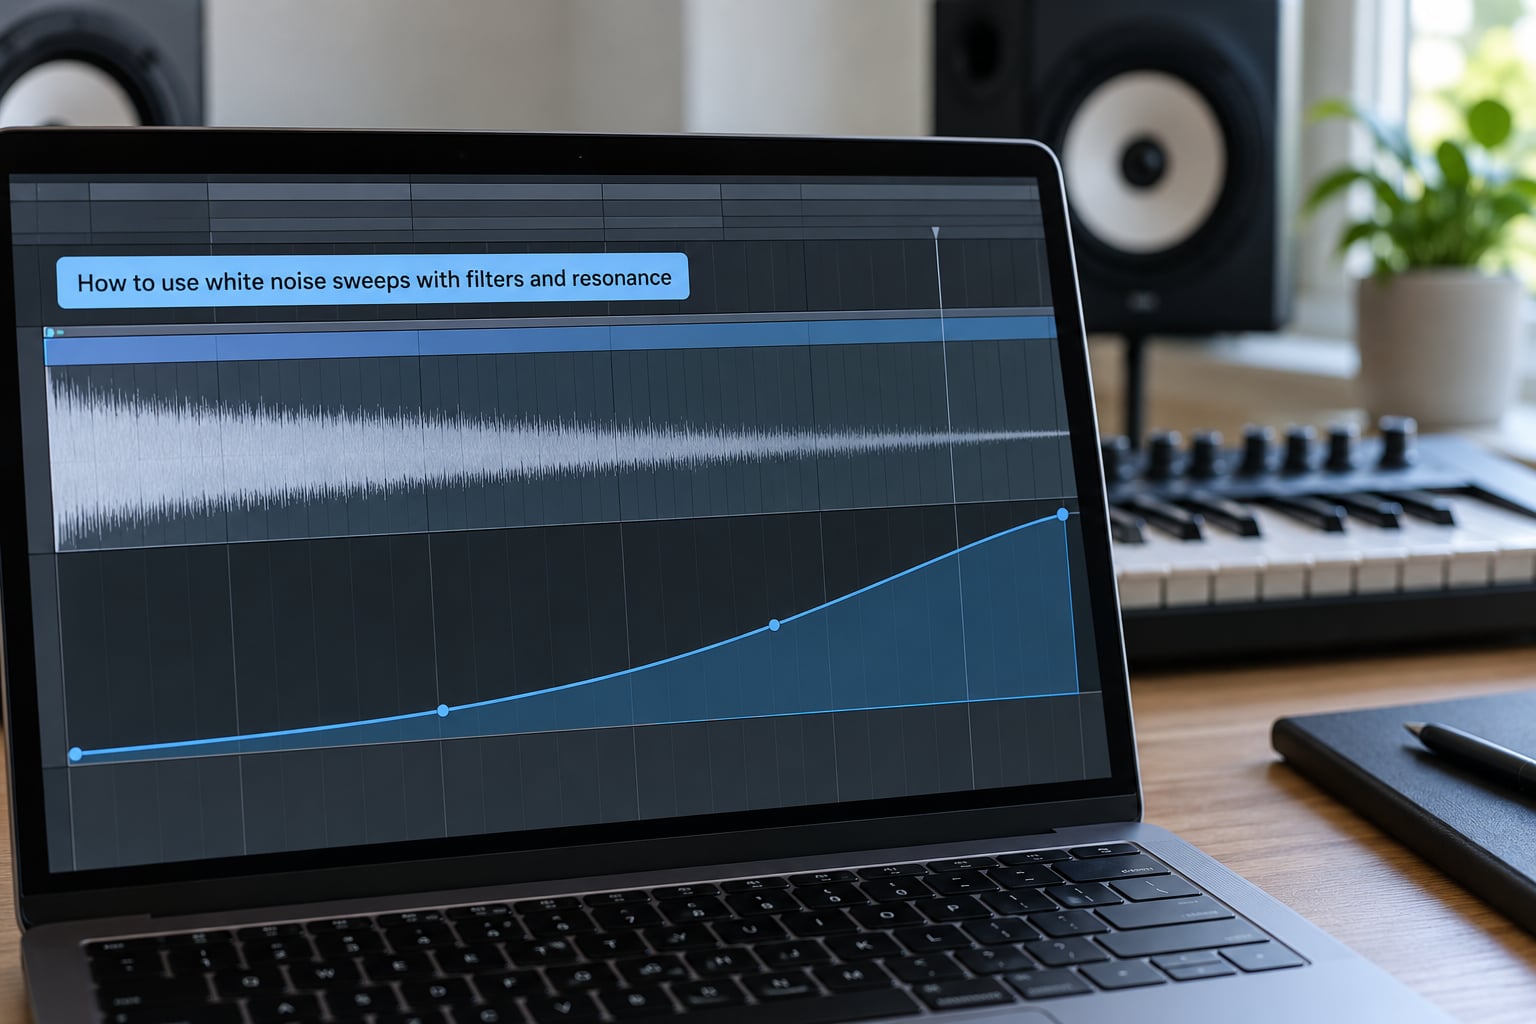
The filter type decides the character of the transition. A rising low-pass opens everything at once and gives a wide, smooth swell. A rising band-pass climbs through the spectrum and gives the focused, whistling version you hear in most club music. A falling high-pass starts bright and loses the top, which works as a downlifter after a drop.
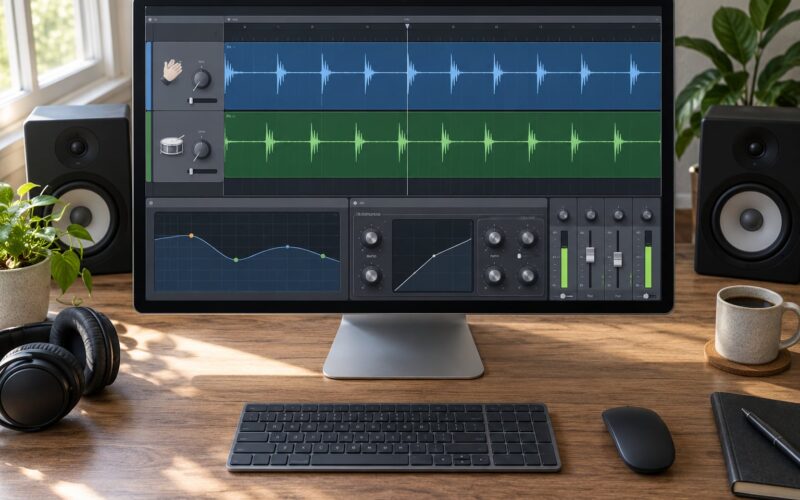
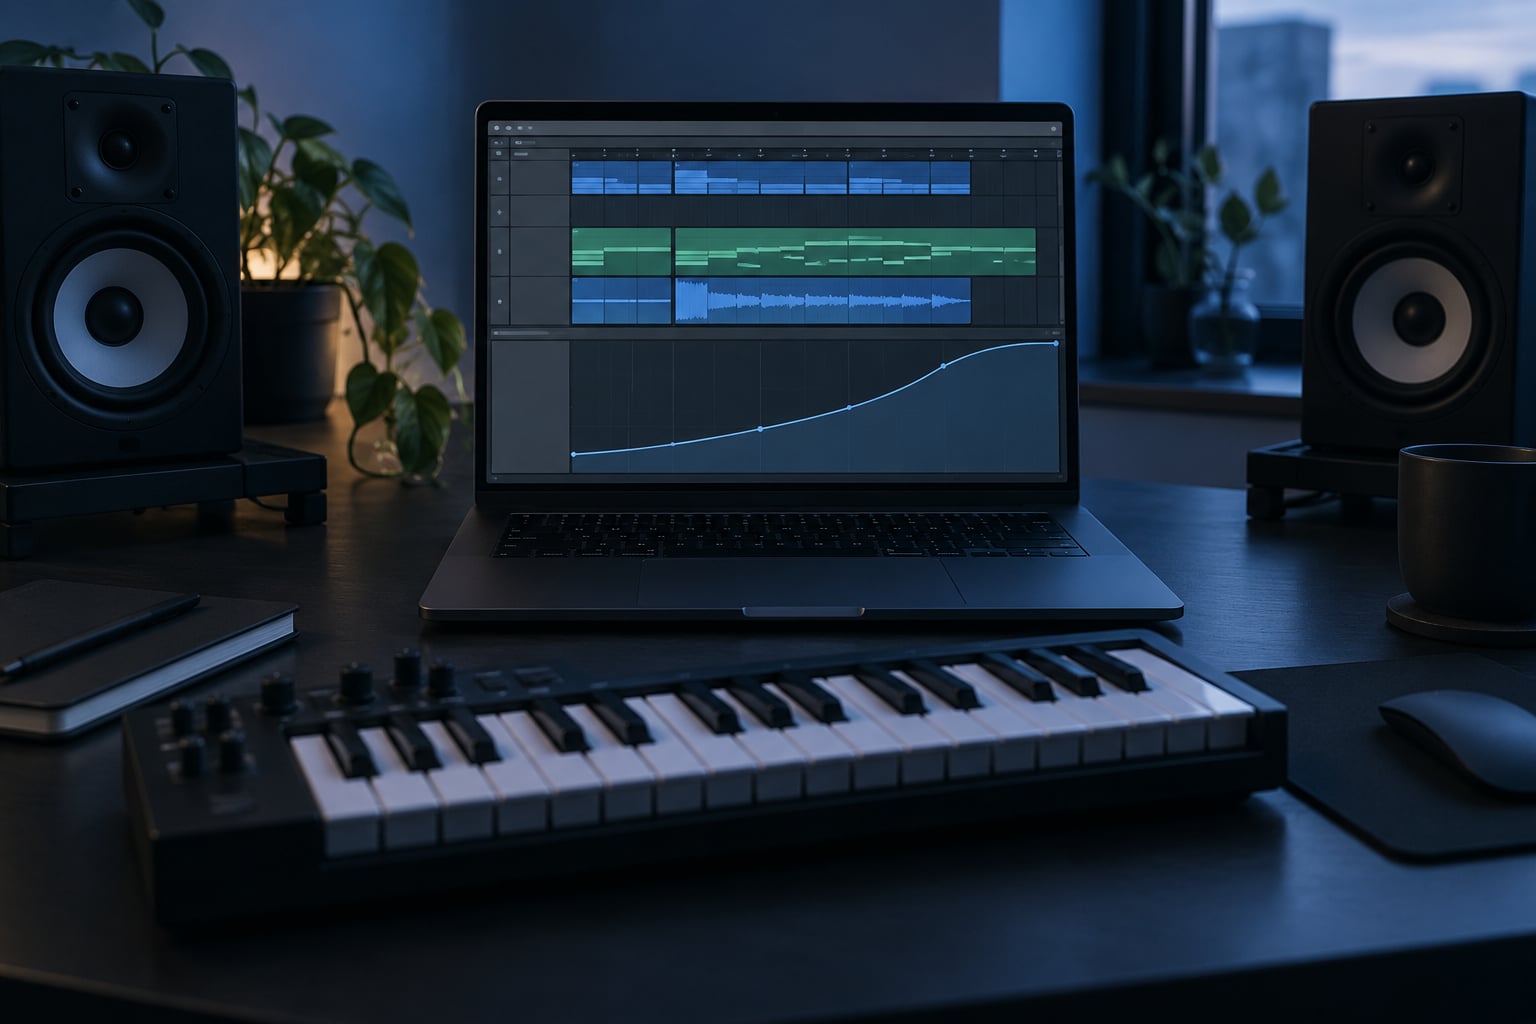
Draw the cutoff automation across the clip in the automation lane, low on the left and high on the right. For a rising low-pass, start around 200 to 400 Hz and end near 14 kHz. For a band-pass, start narrow and low, roughly 400 Hz with a moderate Q, and open both cutoff and bandwidth as you go so the sweep gains body rather than just volume.
Resonance is what turns hiss into an instrument. Push Q up from around 5 to about 12 near the end of the sweep and you get a pitched whistle riding on top of the noise. Keep resonance moderate early in the sweep, because it will fight the music underneath. Push it too far and the filter starts eating the low end, which is the number one cause of a muddy sweep.
On curve shape, linear automation sounds mechanical. An exponential curve holds low for longer and then rushes at the end, which reads as sharper tension. On the way down, a reverse exponential feels heavier. Most DAWs let you draw the curve directly on the automation lane.
Here are starting values you can copy and adjust:
| Transition | Filter | Cutoff range | Resonance | Length |
|---|---|---|---|---|
| Pre-drop riser | Band-pass, rising | 400 Hz to 14 kHz | 6 to 10 | 2 bars |
| Intro to first verse | Low-pass, rising | 250 Hz to 12 kHz | 3 to 5 | 2 to 4 bars |
| Long breakdown build | Band-pass, rising | 200 Hz to 16 kHz | 8 to 12 | 8 bars |
| Post-drop downlifter | High-pass, falling | 14 kHz to 300 Hz | 4 to 6 | 1 to 2 bars |
| Section punctuation | Low-pass, rising | 400 Hz to 10 kHz | 2 to 4 | 1 bar |
Keep the sweep from sitting on top of important elements by high-passing it around 150 to 200 Hz. Anything below that competes with a kick or a sub, and the drop will sound thinner after the transition than it did before.
3. Automate level, pan and effects
A sweep with no level automation is a noise swell. The build comes from having level and brightness move together, so draw a volume ramp that climbs across the clip and then cuts sharply on the downbeat. A sudden cut rather than a fade is what makes the drop hit.
In the last half bar, widen the stereo image. If your plugin has a width control, automate it upward. If it does not, send more to a reverb return during the final beat.
Route the sweep to your transition FX bus. On that bus, put a single reverb you will reuse for every transition in the project, a compressor to control the tail, and an EQ to carve out what fights the drop.
That EQ point is where most people go wrong. Reverb adds sparkle, so producers on the KVR Audio sound design forum commonly roll off highs between 1 and 5 kHz on the sweep bus. That keeps the transition present without smearing the top of the mix the moment the section changes.
Pick one reverb per project and audition it reversed, because reversed is how you will actually hear it as a transition. A wash that sounds fine forward often turns to mud backward.
For rhythmic energy, gate the sweep in a pattern that speeds up, or sidechain it to the kick so it ducks on every hit. Pumping noise against a kick is a small trick with a big payoff, and it makes a static two-bar sweep feel alive.
4. Place the sweep and check it in context
Position the clip so it ends exactly on the first beat of the new section. Producers on Reddit’s r/edmproduction recommend using a riser no more than once every 8 bars, because after that it stops being a moment and becomes part of the wallpaper.
Fade the last couple of milliseconds of the sweep so there is no click, and make sure the noise clip itself is long enough to cover the whole build without looping audibly.
Now solo the sweep and set its peak so it sits roughly level with your loudest element, then a touch below. A sweep that peaks louder than the drop will sound thin once the music returns, because your ear recalibrates to the louder section and the kick sounds recessed.
Play it in context, then listen again from a distance. If the transition disappears at low volume, it is too quiet and the buildup is not being felt. If it survives on a phone speaker, the frequency choice is doing the work and not just the level.
For export, render the sweep at the same sample rate and bit depth as the rest of the track. Nothing about noise needs special treatment there.
5. Common mistakes and quick fixes
- The sweep is too harsh. Roll off 1 to 5 kHz on the transition bus, pull resonance back, and lower the level of the sweep in the first half so the energy rise comes from brightness rather than volume.
- The sweep ends abruptly. Lengthen the clip by a bar and start the filter automation later so the cutoff is still climbing at the end, then let the level drop out sharply on the downbeat.
- The mix sounds muddy after the drop. High-pass the sweep at 150 to 200 Hz so it stays out of the way of the kick and sub.
- The level jumps at the transition. Match the sweep’s peak to the drop’s loudest element in your loudest section, then sit 1 to 2 dB below it.
- Every transition sounds identical. Change the length, the filter type, the length of the reverb tail, or the rhythm of the gate so each one has its own shape.
- Nothing is moving on the screen but it sounds flat. Automate stereo width or reverb send, not just cutoff and level. Two of the four moving together is what sells it.
- Too many variables at once. Build the sweep with cutoff and level only. Add resonance, width and effects one at a time, and only keep what you can hear working.
DAW Recipes for a White Noise Sweep
The technique is identical in every DAW. What changes is where the noise, the filter and the automation lane live.
Ableton Live
Drop an empty MIDI track, add a synth instrument, and set oscillator 1 to the noise waveform with every other voice off. Add an Auto Filter and set its type to Band Pass. Turn on the device’s show automation lane, click the cutoff knob, and draw from low to high across the clip. Ableton also makes it easy to send the sweep to a dedicated return track so the whole project shares one reverb.
FL Studio
Use 3x Oscillator or Fruity Parametric EQ 2 and route white noise through it, or load FL’s built-in noise source on a dedicated channel. Open the channel rack filter and click the little arrow next to a parameter to expose it to the automation panel. Draw the cutoff line low to high, then set the channel volume to ramp upward and cut on the downbeat. FL has no dedicated noise gate in the channel rack, but a Fruity Xquisite or the mixer insert volume handle does the job; many producers simply automate volume instead.
Logic Pro
ES1 set to its noise setting works well here. Open the cutoff to roughly 30 percent, fade the amp envelope fully open, and draw the cutoff in Logic’s automation lane across the clip. Send the region to a reverb on an aux and use the mixer for level matching.
Bitwig Studio
Add a polymer or wavetable synth, set the first oscillator to noise, and open a filter device on the track. Bitwig’s modulation matrix can drive filter cutoff with an envelope follower, which is a quick way to make the sweep react to the mix instead of sitting on a static curve.
Hardware
On an Elektron Analog Rytm, the Noise Gen machine with the low-pass filter turned down and a high-pass filter engaged gets close. Use the LFO set to a square wave, synced, with destination on the noise level, so the noise pumps against the kick. Raise the filter frequency for subtlety and resonance for character. On a Korg Monotron, set the noise source and sweep the filter knob with your hand while playing, which is crude and genuinely useful for roughing out an idea.
Tips for More Musical Transitions
Once the basic riser works, these variations keep a track from sounding like the same trick every eight bars.
- Reverse the sweep. Booting the finished riser so it plays backward gives you a downlifter without building a second sound. Fade the front edge carefully or the start will click.
- Reverse reverb tails. Some producers prefer a reverse delay over a reverse reverb because a delay keeps its rhythm and does not wash out. Try a short ping-pong delay reversed as a layer underneath the noise.
- Gate the noise into a rhythm. Automate a gate open in sixteenths, then eighths, then quarters across the build. The accelerating pattern does more work than the filter alone.
- Resample the finished sweep. Print it, drag it back in, lower the sample rate or crush it. Grit and aliasing add weight that a clean sweep never has.
- Change the noise colour. White for bright club risers, pink for something that has to sit under vocals, brown for trailer-style low builds.
- Layer two sweeps. One long, quiet, low-passed sweep underneath and one short, bright, resonant one on top gives depth. Keep the second one out of the same frequency range as the first or you will hear masking, which sounds like volume loss rather than width.
- Pair it with an impact. A sweep that lands on a silence, then a hit, gives the drop more weight than a sweep that lands on top of the drums.
- Automate modulation alongside it. Adding a pitch bend or tremolo to the noise, as some suggest on the KVR Audio thread, makes the crescendo feel like it is pulling in more than one direction.
- Sweep the mix, not just the noise. The progressive house moment where everything ducks out for a bar and slams back in is the same filter automation applied to your whole group. Automate a low-pass on the music bus, let it close to around 300 Hz for a bar, then release.
Frequently Asked Questions
What is a white noise sweep?
A white noise sweep is a transition effect made from a noise source run through a band-pass or low-pass filter, with the cutoff frequency automated upward over the length of the transition. Because the ear reads increasing brightness as rising tension, the noise seems to build even though it never changes pitch.
How long should a white noise riser be?
Two bars is the standard pre-drop riser and covers most cases. Use four bars for an intro into a first verse, eight bars for a long breakdown, and one bar for a simple section punctuation. Length should match the energy change between sections, so a bigger jump in energy gets a longer build.
What cutoff frequency should I sweep from and to?
For a rising low-pass, start around 250 Hz and end near 12 to 14 kHz. For a rising band-pass, start near 400 Hz with a moderate resonance and end around 14 kHz. Keep the low end above 150 to 200 Hz so the sweep does not fight the kick and sub once the drop returns.
How do I stop a riser from sounding harsh?
Roll off between 1 and 5 kHz on the transition bus, pull resonance back from its peak value, and let most of the energy rise come from brightness rather than level. Automating the volume gently in the first half of the sweep keeps the noise from masking the music underneath it.
Should I add reverb to a white noise sweep?
Yes, through a send to a dedicated transition bus rather than an insert, so you control the tail length. Use one reverb setting for every transition in the project, audition it reversed to check it does not turn to mud, and compress it so the tail can stay loud without disturbing the rest of the mix.
What is the difference between a riser and a sweep?
A riser is the musical idea, a build of tension leading into a section. A sweep is the technique that produces it, usually by automating a filter across a noise source. In practice most risers are white noise sweeps, but a riser can also be a pitched synth or an orchestral swell with no noise at all.
How loud should a riser be before the drop?
Match the sweep’s peak to the loudest element in your drop, then sit roughly 1 to 2 dB below it. A riser louder than the drop makes the kick sound recessed once the music returns, because the ear recalibrates to the louder section.
Conclusion
Start with one two-bar noise clip, one band-pass filter and one rising cutoff line from about 400 Hz to 14 kHz. Add a volume ramp that ends on the downbeat, high-pass it at 200 Hz, and set its peak just under the drop. Once that sits right, change one thing at a time, and the sweep stops being a trick and starts being part of how your track moves. Updated for 2026.