A jump happens when a section boundary does no work: the arrangement swaps clips, the ear registers a seam, and the energy you spent the verse building collapses. Knowing how to make a transition between sections in EDM mostly means covering the bar line with motion, then checking the result at more than one volume. The full workflow takes about 20 minutes per boundary once you have the sounds loaded, and it is beginner-friendly as long as you already have a rough arrangement.
What follows is a repeatable six-stage process with exact Ableton Live 11/12 and FL Studio 2024/2025 click paths, bar counts for each technique, and the level checks that catch problems you cannot hear at full volume.
Table of Contents
- What You Need
- Step-by-Step: How to Make a Transition Between Sections
- 1. Mark the Musical Change
- 2. Choose the Transition Mechanic
- 3. Build the Transition in Your DAW
- 4. Automate Volume, Filters, and Effects
- 5. Check the Change at Different Volumes
- 6. Export and Refine by Ear
- Common Mistakes
- Frequently Asked Questions
- How long should a transition between EDM sections be?
- Should I use a drum fill every time the arrangement changes?
- How do I prevent reverb and delay from muddying a section transition?
- Is a moment of silence effective when changing sections?
- Should trance and house transitions sound different?
- Conclusion
What You Need
You need five things before you touch the arrangement, and none of them are new plugins.
- Two contrasting section clips. The outgoing and incoming sections should differ in density or frequency, not just in name. If both are a four-on-the-floor kick and a pad, you have no transition to build.
- Arrangement markers. Locator markers in your DAW, so you can jump back to the boundary in two clicks instead of scrubbing.
- Transition effects loaded and ready. A riser or white noise sweep, a reverse cymbal, an impact hit, and one tonal downlifter. Keep them on dedicated channels with their faders down.
- Automation-ready gain control. In Ableton Live that is the clip gain envelope on the audio clip; in FL Studio it is clip volume on the channel or the playlist volume. Whatever you use, it must be automatable on a per-clip basis.
- A playback setup that reveals masking. Solo and mute are essential, and a decent pair of monitors matters less than the volume discipline in step 5. Phone speakers are actually useful here, since they expose midrange mud no nearfield monitor will.
One habit worth building before the workflow: leave the transition effects loaded and silent from the start of the session. Loading a riser during the creative moment makes you pick something that fits rather than something that works.
Step-by-Step: How to Make a Transition Between Sections
1. Mark the Musical Change
Find the arrangement boundary where the energy is supposed to change, and put a marker exactly on that bar line. Most abrupt-sounding changes are not a mix problem at all: they land one bar late or one bar early, so the downbeat arrives after the listener has already settled.
Audition the outgoing and incoming sections together before building anything. Solo the two clips, play eight bars before and eight bars after, and listen for the specific thing that jars: a missing kick pattern, a sudden bright synth, a vocal that appears with no room around it. A new idea entering a track too suddenly is the single most common complaint from producers, and it almost always traces back to the boundary rather than to the idea itself.
Set the marker, then write one sentence about what should happen: “the kick drops out for two beats and the reverb tail carries the change.” A written intention is what separates a transition from a sound effect.
2. Choose the Transition Mechanic
Match the mechanic to the size of the energy change. A hard cut works for a small lift; a full build works for a drop.
- Hard cut on the downbeat. One clip ends, the next starts, nothing else. Best for verse to pre-chorus when the difference is small. Zero risk of mud, and it works at any tempo.
- One-beat or one-bar mute. Drop everything for a beat or two, then bring the full section back in. Best for hip-hop and for making a chorus land. Length: 1 beat to 1 bar.
- Filtered breakdown. High-pass or low-pass the outgoing section across the last 2 bars, then release the filter on the downbeat. Length: 2 bars.
- Reverse cymbal. A cymbal reversed into the downbeat. Length: 1 to 2 bars. It reads as anticipation rather than as an effect.
- Reverse reverb. A reverb tail reversed so it swells into the new section. Best on vocals, pads and guitars. Length: 1 to 2 bars, with a tail of 2 to 4 seconds before reversing.
- Riser or white noise sweep. Volume and filter both climbing into the downbeat. Best for an 8 to 16 bar build into a drop.
- Impact hit. A low hit on the downbeat of the new section, not before it. Length: a single hit, no tail.
- Tonal downlifter. The opposite of a riser, used when energy needs to fall rather than rise. Length: 1 to 2 bars.
- Frequency swap. The outgoing clip hands its low end to the incoming clip and vice versa, so the bass never disappears. Length: 1 bar.
- Silence. A true gap of 1 beat to 1 bar. Powerful, easy to overdo, and the only technique that reliably makes the next section feel larger.
Pick one. Two mechanics in the same 2-bar window is where mud usually starts, and that is the failure most producers chase for weeks before they find it.
3. Build the Transition in Your DAW
Build the transition at the clip boundary itself, not on a separate track playing over the top.
Ableton Live 11 and 12. In Arrangement View, click the clip boundary handle to select the launch marker, then press the Stop Clip button in the bottom toolbar to create a new clip slot. This is a session launch inside the arrangement, which lets one clip play while the next is cued. Drag a riser or cymbal onto the Launch track and set its launch quantize to 1 bar or 4 bars. In Session View the same move is drag-and-drop between slots; the difference is that Session View has no timeline, so you lose the visual reference for where the bar line sits.
For a crossfade instead, hold Alt (Option on Mac) and drag the top-right corner of one MIDI or audio clip over its neighbour. Live creates an equal-power crossfade on audio and a MIDI fade curve on MIDI, both fully editable afterward.
FL Studio 2024 and 2025. In the Playlist, right-click the point where you want the change and choose Split, then right-click the split point and pick Fade In or Fade Out to draw the curve with the mouse. To launch a one-shot at the exact bar, select the pattern and click the small arrow at its top-left corner in the Playlist, which triggers it at that position. For a crossfade, split both overlapping clips and pull the faded corners across each other.
Reverse reverb, in either DAW. Duplicate the source clip, reverse the copy, run it through a reverb with a 2 to 4 second decay, bounce it to a new audio track, then reverse that bounced track back. Give it the last 1 to 2 bars of the outgoing section. Four steps, about two minutes, and it is the single most reusable transition sound in EDM.
4. Automate Volume, Filters, and Effects
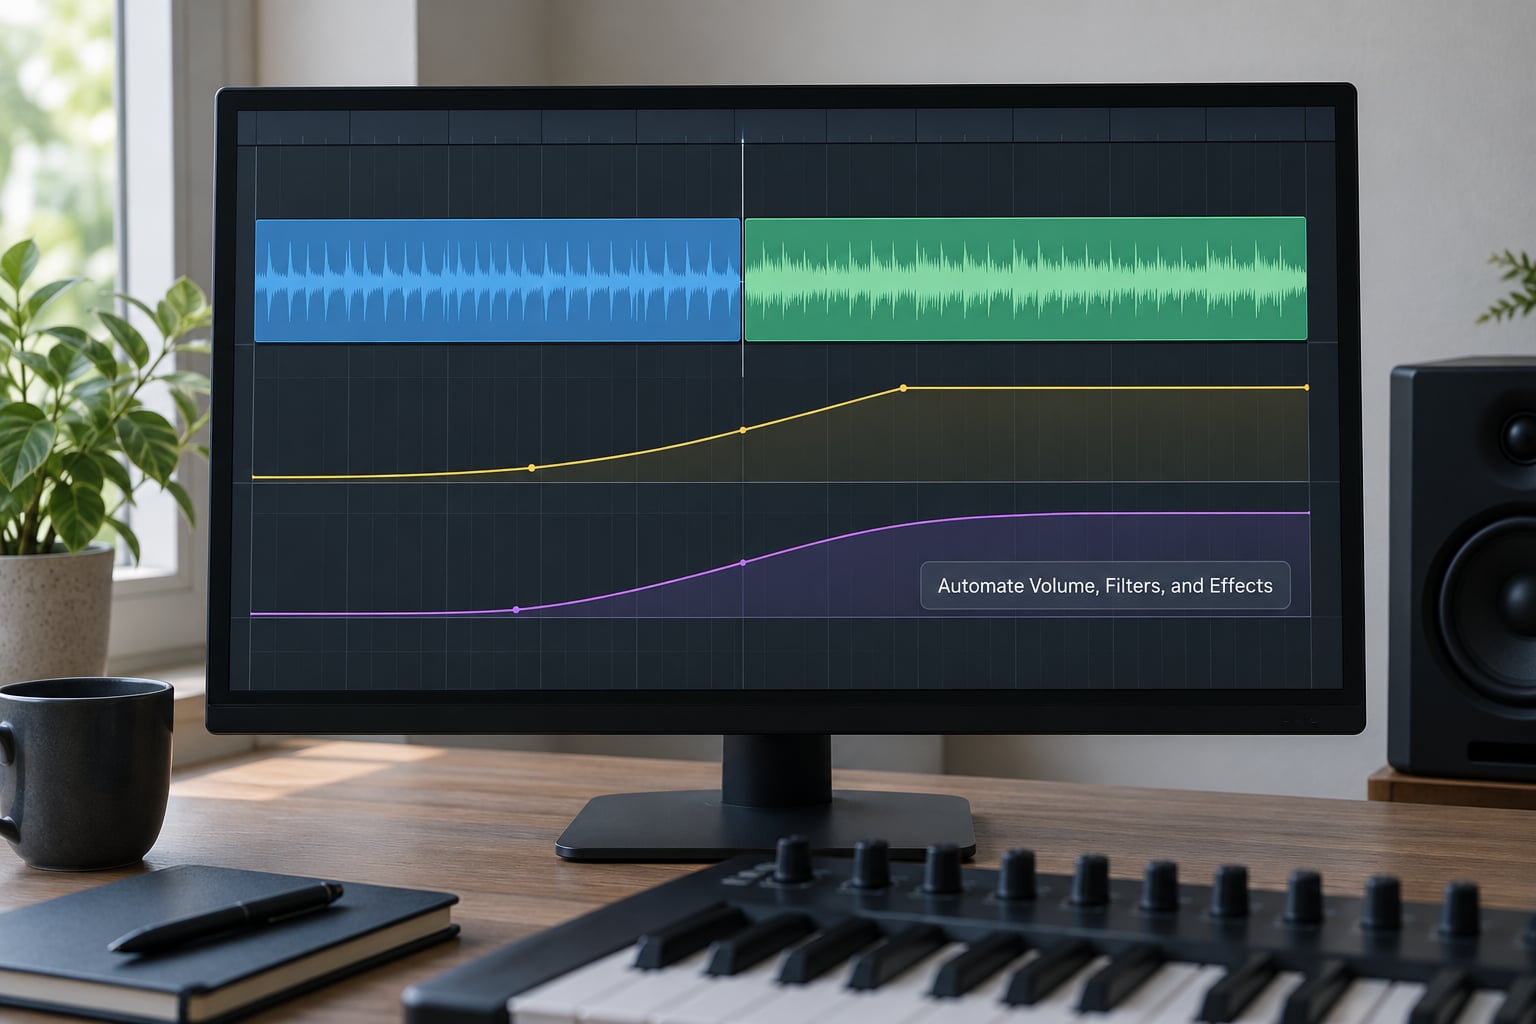
Volume fades alone will not fix a jump, and this is the mistake forum producers make most often. Fading level fixes loudness continuity but not spectral continuity: if the outgoing clip’s bright hats vanish and the incoming clip’s bright synth arrives in the same instant, the ear hears a swap no matter how smooth the fader move was. Move the frequency content as well, or let something continuous run across the boundary.
On an audio clip, draw clip gain over the final 2 bars: drop it to about -12 dB, hold it for a beat, then bring the incoming section up. If it still jumps, add a low-pass automation on a shared EQ or filter device, sweeping the cutoff from around 2 kHz down to 300 Hz over the last bar and releasing it on the downbeat. On a send, automate the reverb return level instead of the clip, so the tail survives the clip boundary.
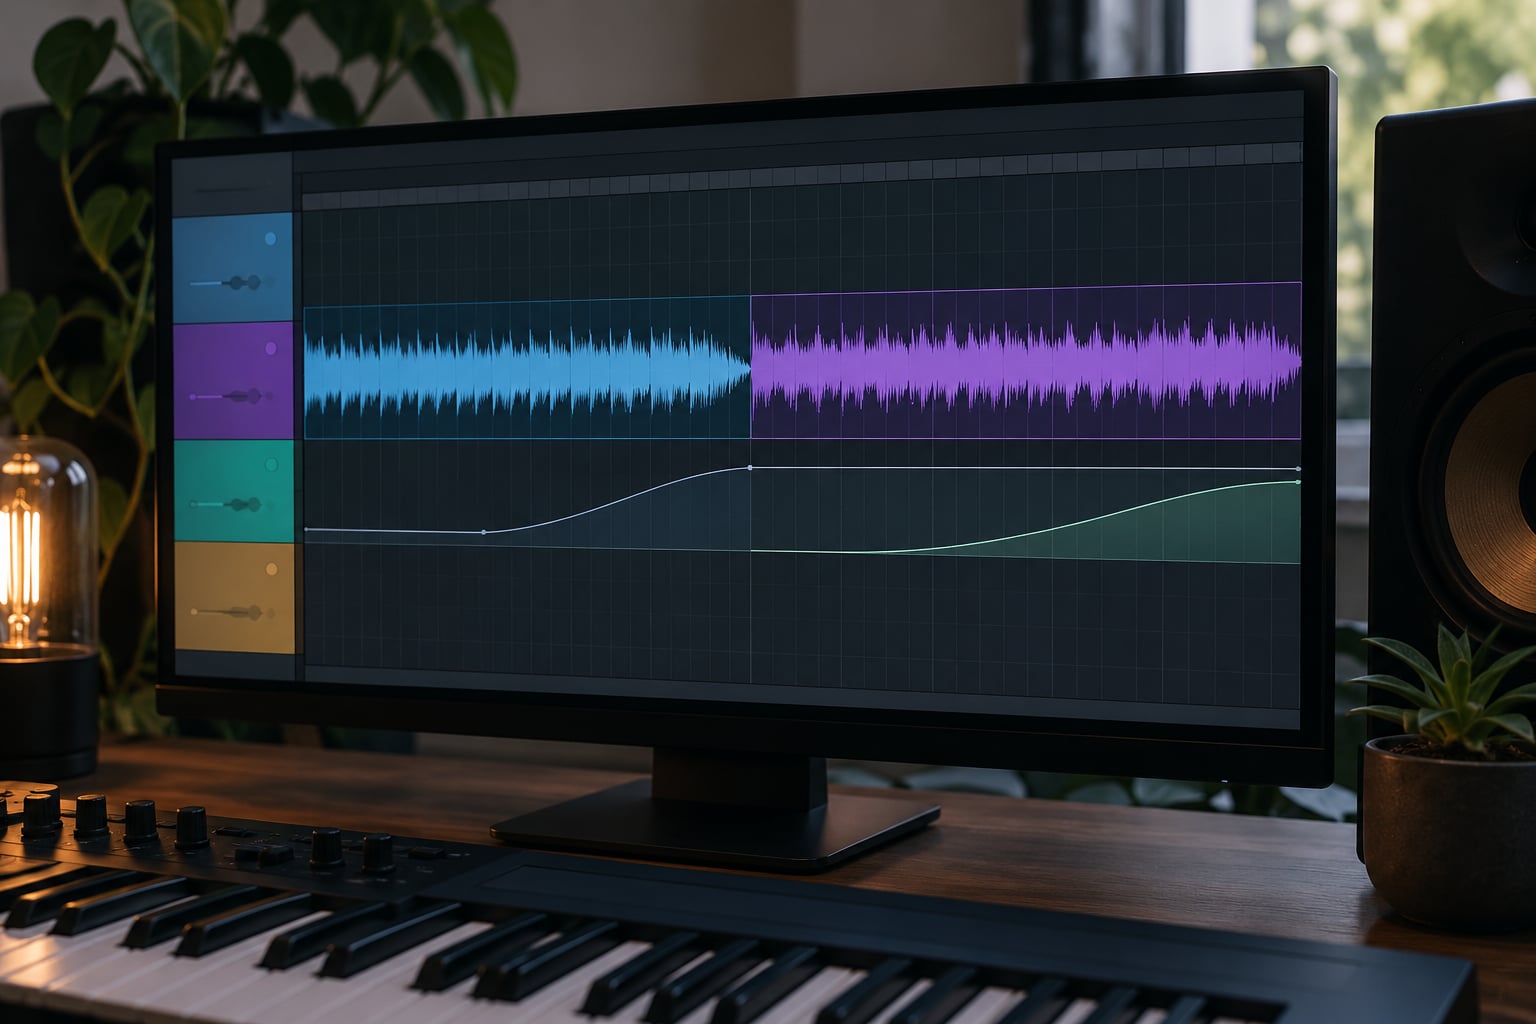
Think of the waveform: the outgoing clip’s tail should overlap the incoming clip’s first transient by a fraction of a second, not end exactly where the new one starts. That overlap is what makes the boundary feel continuous on small speakers.
5. Check the Change at Different Volumes
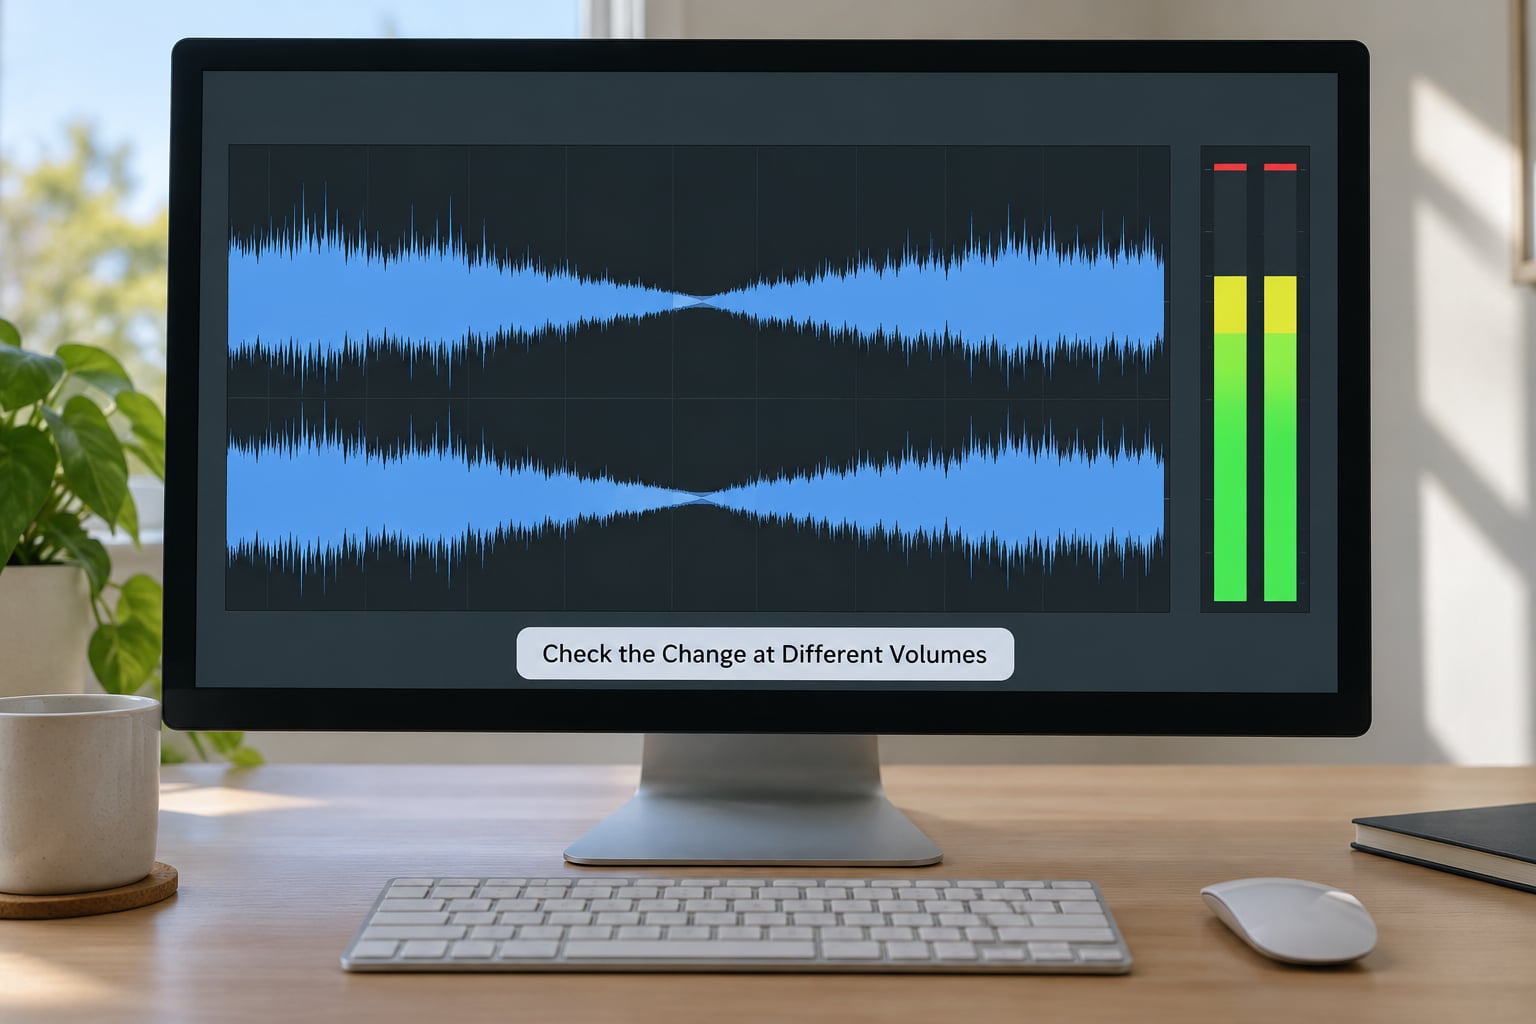
Play the transition at full volume, then at roughly a third, then near silence, and fix problems at each pass. Most transitions that fail do fail at one specific level, not at all levels.
Full volume. Loud playback hides mud, so use this pass to check the mechanic itself. Does the riser build across the whole window or does it stop halfway? Does the downbeat hit, or did the riser peak one beat early?
Low volume. This is where masking shows up. If the riser’s low end and the incoming bass occupy the same frequency band, they sum into a flabby, unclear hit. The fix is to high-pass the riser around 300 to 500 Hz, or to shorten its decay so it is gone before the downbeat.
Near silence. With the fader almost down, listen for clicks, a tail that lingers into the new section, or a reverb wash that never closes. Anything you hear here is a level automation problem, and it will not show up on a loud playback.
Solo the summed result and look at the waveform across the boundary. Two clips that butt against each other with no overlap will show a visible step. That step is the jump, and it is a shape problem, not a taste problem.
Watch for three specific failures: distortion from the transition hitting the master limiter, muddiness from stacked transition effects, and a riser you have now used in every section of the track and no longer hear.
6. Export and Refine by Ear
Render the transition with the rest of the arrangement and compare it against the mix you had in your head. Rendering exposes timing problems that a live playthrough hides, because the ear is forgiving while you are playing and unforgiving when you are listening.
Render 30 seconds either side of the boundary in Ableton Live, or use File, Export, Render Selection in FL Studio’s File menu. Then make small corrections: nudge the riser by a 1/16 of a bar if it peaks late, trim the impact’s tail if it smears the first beat of the new section, and pull a level down a decibel or two if the incoming section sounds suddenly louder.
Keep those edits small. The moment you start rebalancing the entire mix around one boundary, the fix usually costs more than the jump did. Move on and come back after the whole track is finished, when you can hear the arrangement as a shape rather than a moment.
Common Mistakes
Abrupt gain changes on the clip boundary. Two clips that end and start on the same sample produce a click and a level step. Add a 10 to 50 ms fade at the edge, or overlap the clips by a fraction of a second.
Stacking three transition effects in a 2-bar window. A riser, an impact and a reverse cymbal together will pile up in the low mids. Use one, and high-pass the riser so it lives above the bass.
Forcing a transition at an awkward bar line. If your riser finishes half a bar after the chorus starts, move the boundary instead of the effect. Song sections land on 4-bar or 8-bar phrases; transitions should not fight that.
Masking the downbeat. A transition that peaks exactly on the first beat competes with the kick and the snare for attention. Peak one beat before the downbeat so the new section arrives on top of the motion.
Over-automation. Every parameter moving at once reads as a mistake. Automate one thing across the boundary: gain, or cutoff, or reverb size. If two need to move, the second one should be a small offset of the first.
Changing too many elements at once. New drums, new synth and new vocal in the same bar is a swap, not a transition. Bring the main element in early, and let one or two supporting elements arrive on the downbeat.
A few habits that help more than any single trick. Enter one new instrument before the section change rather than exactly on it, so the ear has already adjusted. Keep something running continuously across the boundary, even at low level, because continuity beats novelty. And test the transition on a phone speaker once you are happy with it in the studio.
Frequently Asked Questions
How long should a transition between EDM sections be?
Match the length to the size of the energy change, not to a fixed number. A one-beat mute or a two-bar filtered breakdown suits a verse into a pre-chorus. An eight to sixteen bar riser with layered noise and filter sweeps suits a build into a drop. One bar is the minimum that reads as intentional. Two bars is the safest default when you are unsure.
Should I use a drum fill every time the arrangement changes?
No. Drum fills are strongest when they mark a real change in energy, and repetitive once they mark every one. Use them before the biggest moments, such as the first chorus or the final drop. For a small lift, a filtered breakdown or a reverse cymbal does the job without adding another rhythmic idea the listener has to parse.
How do I prevent reverb and delay from muddying a section transition?
Give the transition effect its own band. High-pass a riser around 300 to 500 Hz so it does not stack with the bass, and shorten its decay so it is finished before the new section starts. Automate the reverb return down a few decibels across the boundary, then open it after the downbeat. Check the result at low volume, where masking is easiest to hear.
Is a moment of silence effective when changing sections?
Yes, and it is the cheapest effective tool available. One beat to one bar of true silence makes the next section feel larger because the ear judges loudness against whatever came before. The risk is overuse: silence works best twice per track, at the most important change and once more. Beyond that it stops feeling deliberate.
Should trance and house transitions sound different?
They lean different ways. Trance builds usually run eight to sixteen bars with layered risers, reverse cymbals and a snare roll peaking just before the downbeat. House transitions tend to be shorter and subtler, relying on filtered breaks, vocal chops and effects sweeps across two or four bars. The principles are identical; only the scale and the density differ.
Conclusion
Start by marking the musical boundary, then make the two sections contrast enough that a change is worth hearing. Automate one controlled move across the bar line, check it at full, low and near-silent volume, and only then add a riser or an impact on top. Transitions stop being the weak part of an arrangement the moment they are treated as arrangement work rather than decoration.