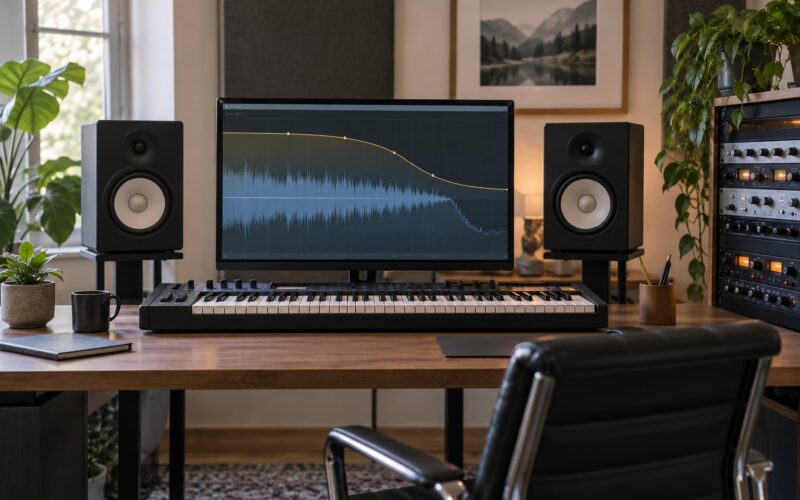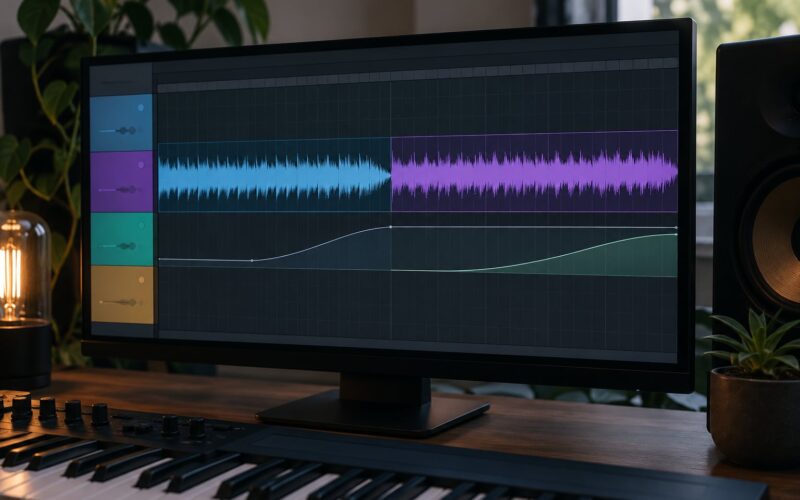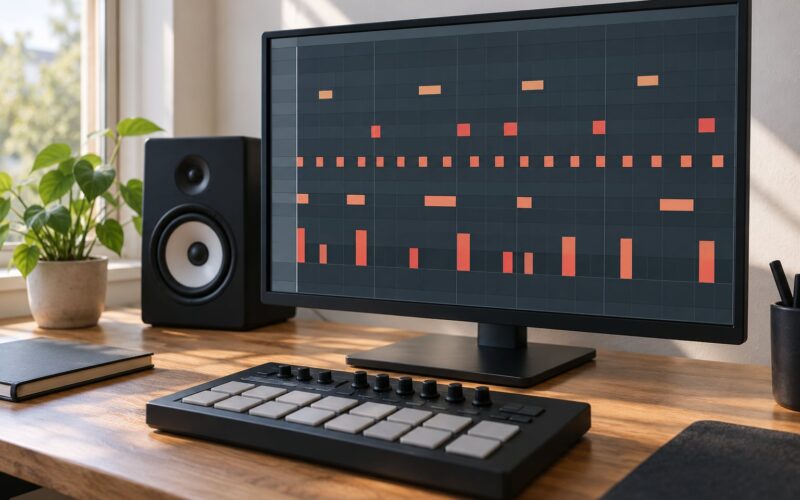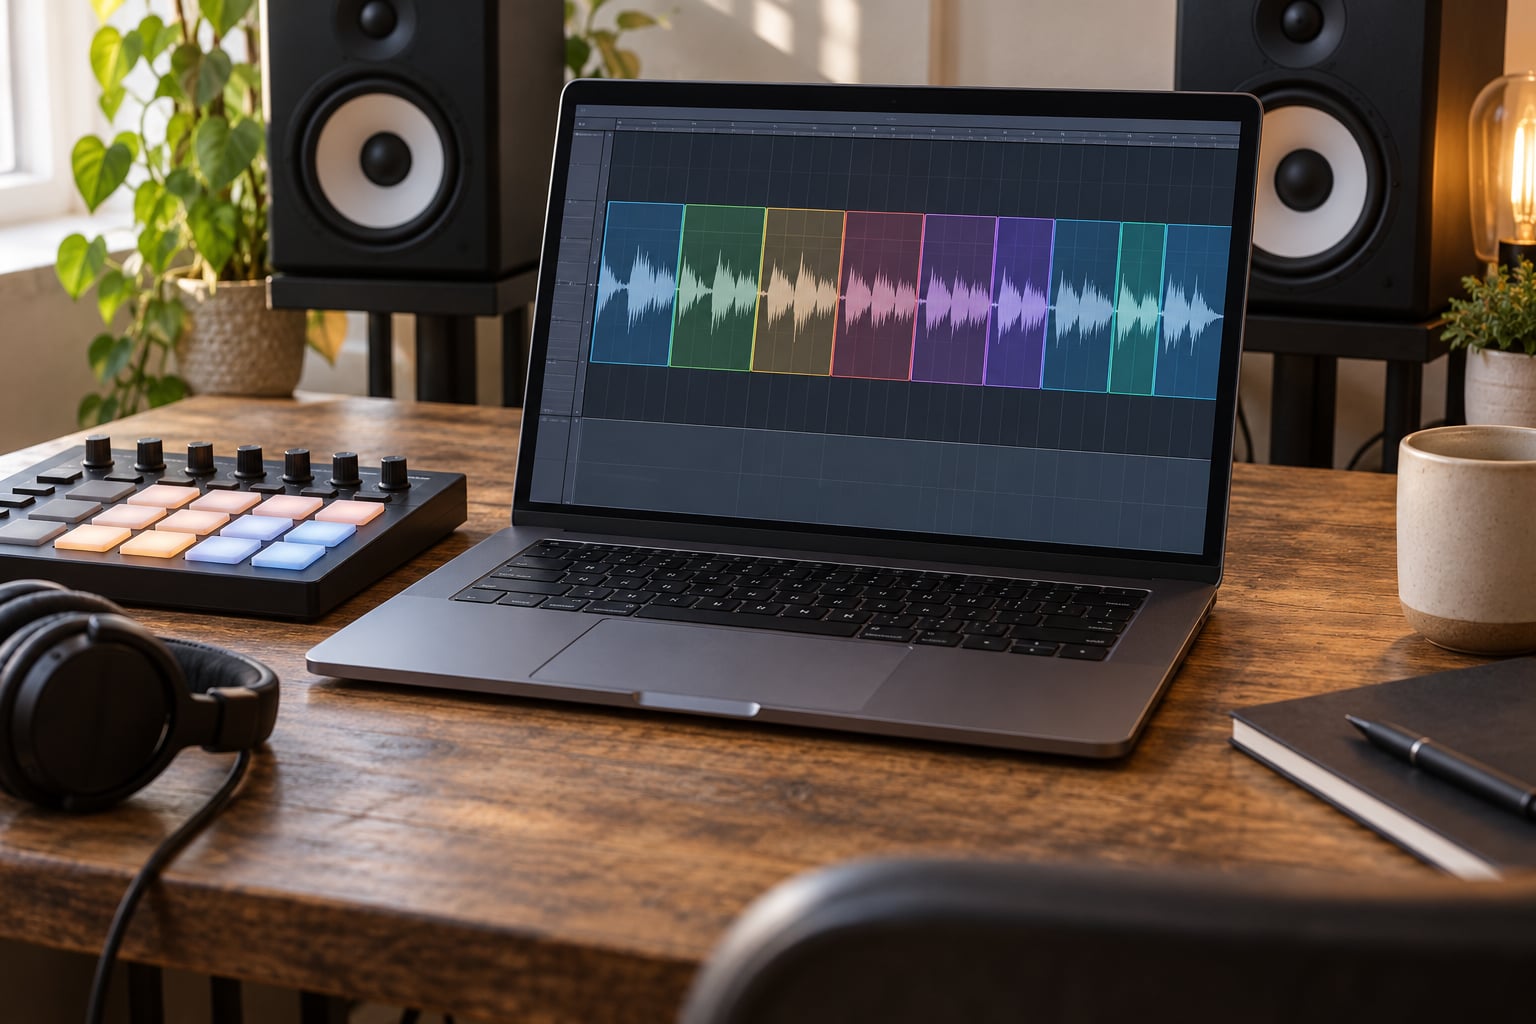
To chop a vocal into a hook, you cut a recording into small slices, retune each slice to your track’s key, and sequence those slices into a repeating pattern that plays like an instrument. Every DAW can do it with the tools already installed. Twenty minutes on a clean dry phrase gets you a usable four-bar chop hook.
The move came out of UK garage, where producers treated the voice as a percussion instrument, and it is now standard in trap, house, techno, progressive trance, drum and bass and afrobeats. It sounds cheap when the cuts are careless and genuinely good when they are not.
Table of Contents
- What You Need
- Step-by-Step: Build a Professional Vocal Hook
- How to Chop a Vocal Into a Hook in Your DAW
- Choose the Chop Pattern That Fits the Hook
- Arrange a Short Vocal Hook Loop
- Tune Timing and Fix Clicks
- Add Pitch, Filter, and FX Movement
- Export and Check the Hook in Context
- Common Mistakes
- Frequently Asked Questions
- How long should each vocal chop be?
- Do vocal chops need to follow the original melody?
- Can I chop vocals without a time-stretching feature?
- How do I stop vocal slices from sounding clicky?
- What is the best DAW setting for vocal chops?
- How do I make vocal chops work in trance or house?
- Conclusion
What You Need
A dry vocal recording does most of the work. Reverb on the source is a problem you cannot undo later, so record or find the cleanest take you can. Your own voice is fine, and honestly the safest.
Beyond that, you need a DAW, a clip or slice editor, headphones, and a limiter on the master. Most DAWs include a sampler that plays slices from pads, which is what turns chopped fragments into something you can perform.
A time-stretching tool matters if your vocal was recorded at a different tempo than your track. If you are not stretching audio, you can skip that requirement entirely and cut to a fixed grid instead.
The steps below work in Ableton Live, FL Studio, Logic Pro, Cubase, Studio One, Bitwig and Reason. Menu names and keyboard shortcuts differ between them, so I have named the tool rather than the shortcut in every case.
Step-by-Step: Build a Professional Vocal Hook
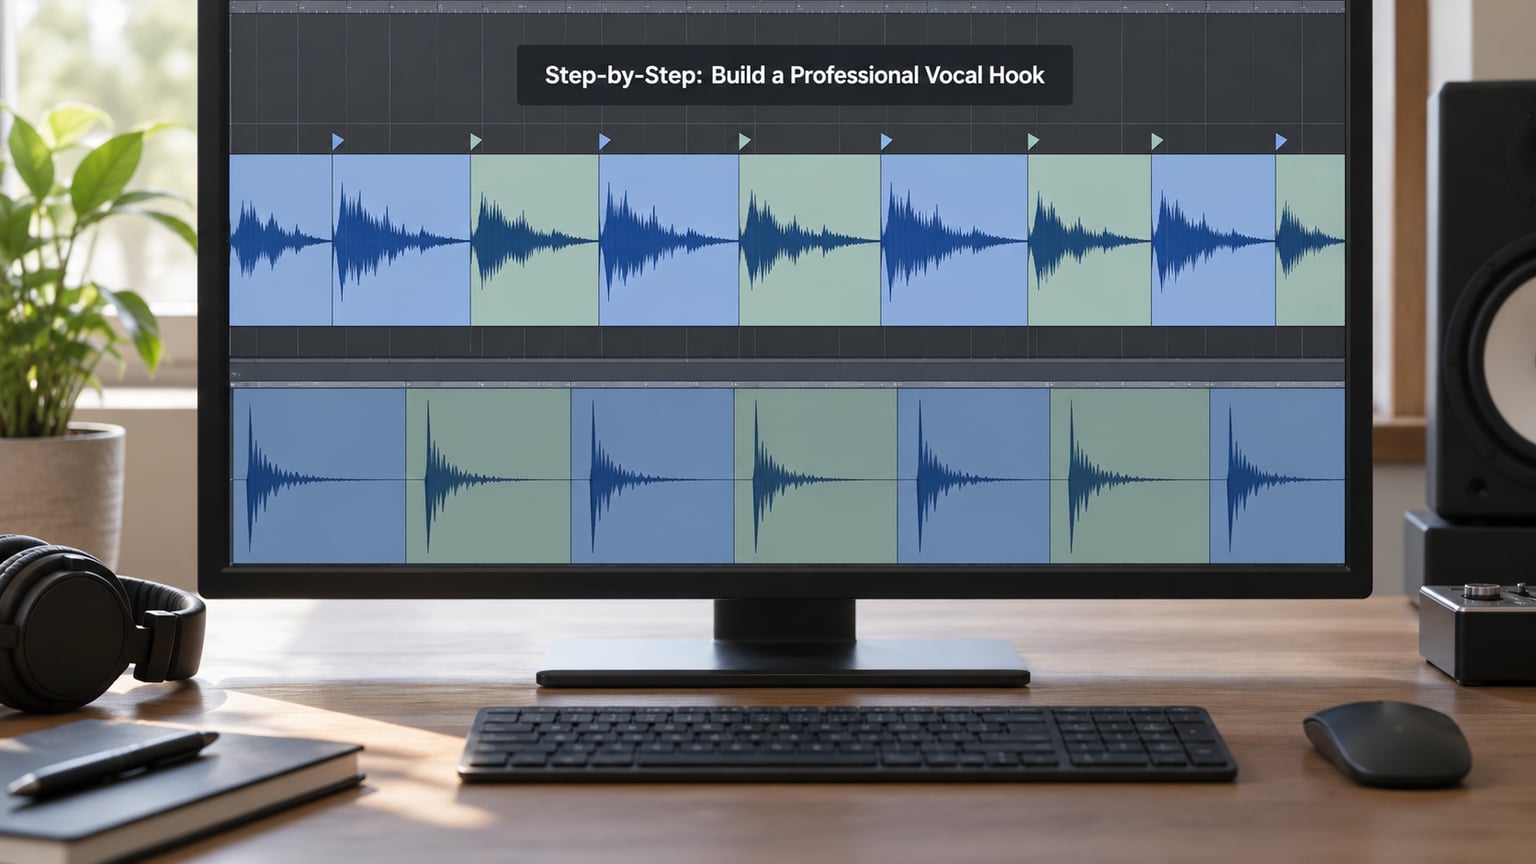
How to Chop a Vocal Into a Hook in Your DAW
Start by auditioning the take and marking two or three candidate phrases. Phrases with hard consonants like T, K, B and D carry through a chop better than open vowels, which turn to mush once they are shortened.
Clean the phrase before cutting it. Trim silence and breaths, then apply a gentle fade of a few milliseconds at each edge so nothing ends on a hard transient. On a DAW-native EQ, take everything below roughly 100 Hz, since chopped vocal slices carry almost no weight down there.
Duplicate the cleaned phrase onto a new track. This is your master source, and every slice comes from the duplicate, so the original stays intact when you decide you hate the first pattern.
Now cut. Turn on transient markers if your DAW offers them, or zoom in until you can see the peaks clearly, then place cut points just before each syllable attack. Leave a small slice of silence on either side of the consonant, roughly 5 to 20 ms, so the letter is not clipped.
Drag the slices apart with a small crossfade or fade at each cut. A 2 to 5 ms fade kills most clicks and costs you nothing audibly. If a slice still pops, widen the fade rather than lowering the level.
For each DAW, the slicing step looks like this:
| DAW | Where slicing lives |
|---|---|
| Ableton Live | Razor tool on the timeline, or Simpler in slice mode inside a Drum Rack |
| FL Studio | Slicex on a new channel, which slices on transients or on beat divisions automatically |
| Logic Pro | Make a selection, use the Loops area to turn it into Region Loops, then play the Loops in a Sampler |
| Cubase | Razor tool to split, then the slices on the track for manual placement |
| Studio One | Razor tool to split and pull slices down into a new track |
| Bitwig | Chop in the audio segment header, or a sampler in slice mode mapped across the keyboard |
| Reason | Edit and Cut commands to split, then play the pieces from NNXG slices or a Redrum |
To confirm the slices are clean, play them each one alone in a loop. A good slice has a clear start, no click and no truncated vowel. Anything that fails that test is either too short or cut in the wrong place.
Choose the Chop Pattern That Fits the Hook
Once the slices exist, pick a division that matches the hook’s tempo and grid. The tempo of the track decides which patterns feel musical, not your preference.
Straight eighth-note chops give an even, driving pulse. Sixteenth-note chops feel busy and suit faster vocal chops. Syncopated patterns land off the grid for energy in a build-up section. Phrase-based chops take two or three syllables at once and stay intelligible, which works best when you want a callback rather than a texture. Vocal riff chops reorder syllables into a new melodic line.
Use transient-based cuts when the phrase has a strong, uneven rhythm and you want the vocals to keep their own timing. Use fixed grid divisions when you want the chop to lock rigidly to the drums, which is the usual choice in house and techno.
A good compromise is cutting roughly on transients, then nudging each slice onto the grid with a small offset. That keeps the human feel while sitting tighter against the kick. The r/edmproduction consensus is exactly this: pitch up a few semitones, cut into syllables, drop them into a drum rack slot per word.
Audition at least three patterns before committing. If the first one bores you in thirty seconds, it will bore everyone else.
Arrange a Short Vocal Hook Loop
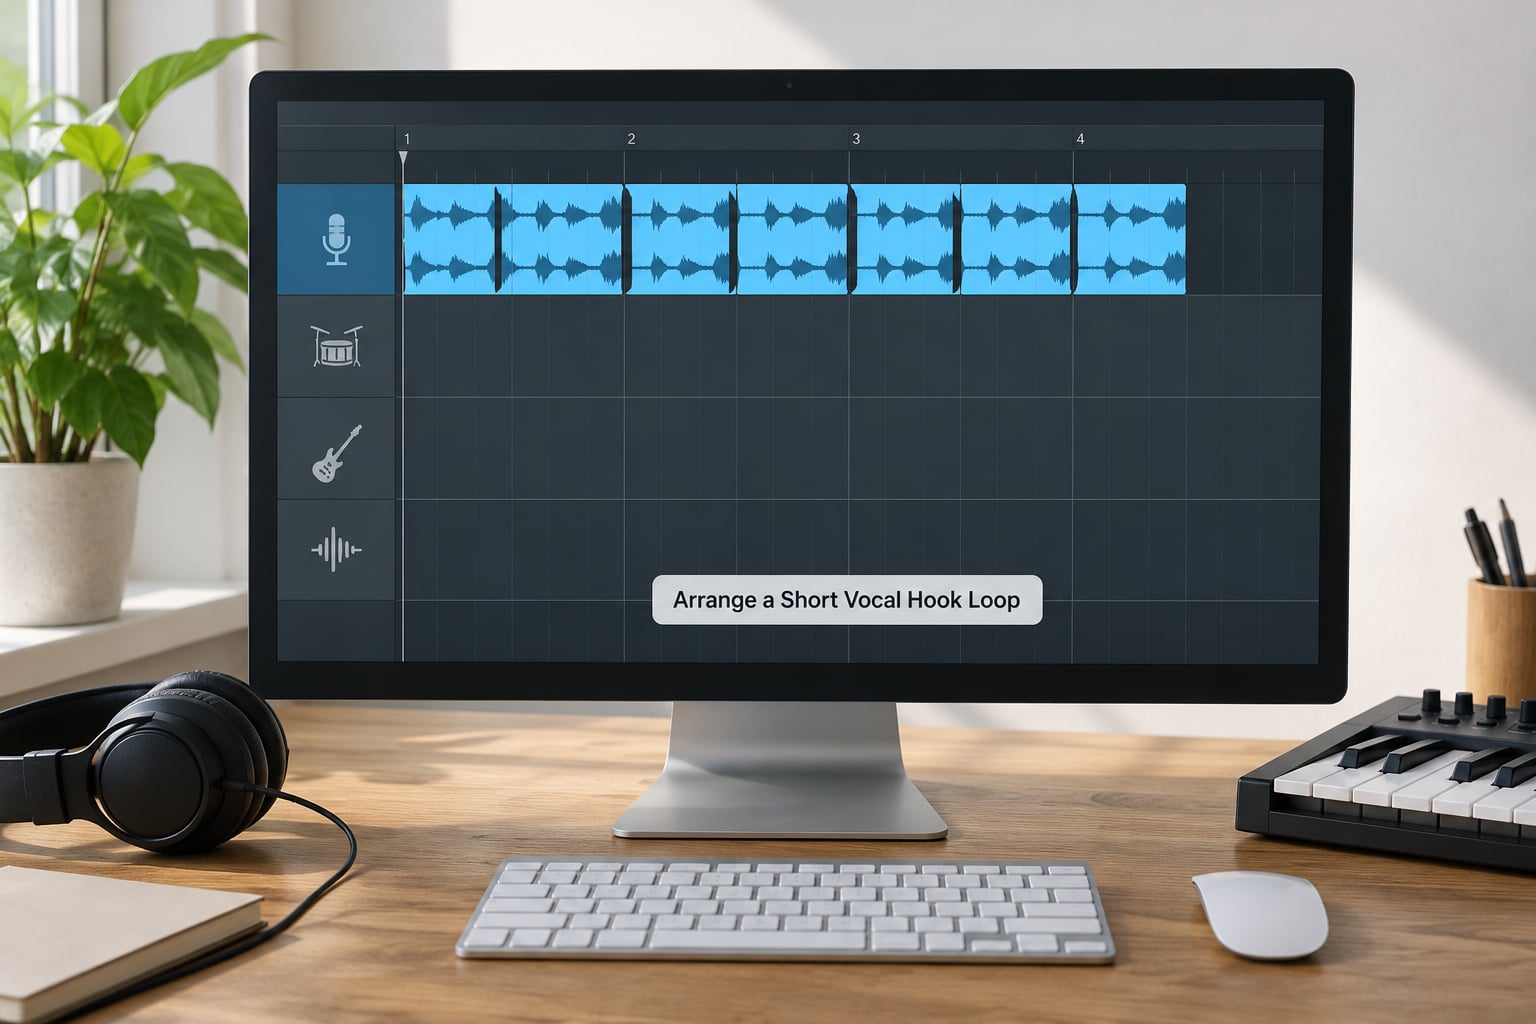
Take your six to sixteen strongest slices and lay them into a two-bar loop first. Two bars is fast to revise, and once the rhythm works, the same pattern stretches to four or eight without rework.
Keep one or two full phrases intact inside the loop. A hook built entirely from fragments has rhythm but no meaning, and listeners notice. Let a phrase land whole once every eight bars or so.
Vary the order across bars rather than repeating one identical sequence. A short repeat of the first slice at the end of bar four, or a slice you have not used until bar three, keeps the listener guessing.
Leave room around it. The hook needs a place to breathe before the drop and a lane in the mid-range for the drums and bass to occupy. Chopped vocals compete with kick and bass if they are stacked in the same frequency band with no room.
For structure, treat it as any other hook. Introduce a slice in the intro, build density through the pre-chorus, land the full loop at the drop, then thin it out or filter it during the break.
Tune Timing and Fix Clicks
Clicks come from one of two places: an edit point that does not land on a zero crossing, or a fade that is too short. Zero-crossing edits stop the first problem. The fade stops the second.
Where your DAW offers transient repair or transient cut alignment, run it over the whole phrase. It snaps each attack back to its peak, which corrects the drift you get when you cut against transients that were slightly off-grid.
Nudge individual slices in small increments, usually a few milliseconds, until they sit against the kick. Too far and the phrase loses its natural swing; the goal is a small consistent offset, not perfect quantisation.
Play the loop and listen for three specific faults. Gaps mean the slice before it is too short. A doubled consonant means two slices both start on the same letter, so shorten or remove one. A thin, chipmunk quality usually means one slice has been time-stretched well past its limit, and the fix is to re-cut it shorter.
For warp or stretch modes, use a variable or transient-preserving mode for anything that keeps its length, and reserve beat-based modes for slices you are deliberately changing rhythm on.
Add Pitch, Filter, and FX Movement
Pitch selectively, not globally. Transpose the source up three to five semitones and let it sit there, as most producers do on dance tracks. Beyond roughly seven semitones the formant shifts with the pitch and starts sounding obviously artificial, so record a higher take instead if you need more range.
Resampling turns a slice into a playable pitch for new notes. Load it into a sampler, pitch it around the key of your track, and you have a melodic vocal without a keyboard instrument underneath it.
High-pass the chop track and leave the low end to the bass. Add light saturation for density rather than dirt, and a short reverb or delay throw on one slice per eight bars to mark the downbeat rather than sitting in the entire loop.
Automate one thing so the hook moves. A filter sweep, a volume dip before the drop, or a pitch drop on the last slice all read clearly. In trance and progressive trance, a slow filter rise into the drop does more work than adding another layer.
House and techno want the opposite: keep the chop tight and static, and let the drums drive. Techno chops often work better filtered almost closed, with the movement coming from the arrangement rather than the effect chain.
Export and Check the Hook in Context
Bounce the vocal track or render the section solo first. Listen to it alone, then solo it over the full track, then check it in the full mix. It needs to survive all three.
Watch your peak levels on the master so you are not hiding a harsh hook behind a limiter doing damage. If the vocal sounds fine alone but disappears in the mix, it is a placement and frequency problem, not a volume problem.
Audition at low volume on headphones and on a phone speaker. Low volume exposes masking, because you hear the parts of the hook that survive the drums, and phone speakers expose everything below about 300 Hz being wasted.
Quick checklist before you call it done:
- Every slice starts clean with no click, gap or clipped consonant
- At least one full phrase stays intelligible per eight bars
- The hook sits forward of the drums without clipping
- One movement effect is automated, not static
- The low end below 100 Hz on the vocal track is cleared for bass
- The same pattern still works at low volume
If a slice keeps failing, replace it rather than patching it. Keep a duplicate of your arrangement, swap the slice, and move on. Rebuilding the whole hook to fix one weak slice is the slowest way to finish.
Common Mistakes
Mechanical slicing is the first one. Identical slice lengths at exact grid positions sound like a sequencer, not a voice. Fix it by nudging a few slices off the grid and varying lengths by 10 to 30 ms.
Choosing weak or unintelligible phrases wastes the whole session. Pick a phrase whose last syllable is strong, and leave the one with a trailing breath out of the loop.
Chopping every sound is the classic beginner move. Chop your lead phrase only, then add unchopped one-shot vocal stabs separately. They are different tools and they do different jobs.
Excessive time-stretching is the reason chops sound like a toy. Stretch less and re-cut shorter instead. A slice that needs more than about a 50 percent length change is better re-recorded.
Muddy low frequencies come from treating the chop like a lead vocal. High-pass it around 100 to 150 Hz and let the bass own everything below.
Harsh edits mean fades are too short or transients were not aligned. Widen fades to 5 ms and check edit points against zero crossings.
Excessive reverb pushes the hook behind the mix. Use a short throw on selected slices, not a wash on the whole loop.
A buried hook is usually a sidechain or arrangement issue. Duck the pad and arp around the hook rather than pushing the vocal louder, and revisit mix bus headroom if you are still losing it.
A few creative tips that cost nothing: reverse a slice to make a riser, drop the whole hook an octave for one bar of contrast, or slice the hook again into 32nd-note stutters for the last bar before the drop. Keep the original loop underneath.
Frequently Asked Questions
How long should each vocal chop be?
Most chopped vocal hooks use slices between one beat and half a beat, so an eighth note or a sixteenth note at house and trance tempos. That keeps consonants intact and the fragments long enough to recognise. Very short slices work as one-shot texture rather than as the main hook. Try two or three lengths and keep the shortest one for stutters and fills.
Do vocal chops need to follow the original melody?
No. The whole point of chopping is that the fragments stop being a melody and become a rhythmic instrument you play. If you want the original phrasing back later, keep an unchopped duplicate of the phrase on a muted track. Most hooks sound stronger as melody-free rhythm, with one full phrase per eight bars for meaning.
Can I chop vocals without a time-stretching feature?
Yes, and plenty of classic hooks were made that way. Cut only to the project grid and never change the length of a slice, so no stretching is required at all. If your source vocal was recorded at a different tempo, re-record it to your project tempo instead. That gives you cleaner slices than stretching ever would.
How do I stop vocal slices from sounding clicky?
Almost every click comes from an edit point that does not sit on a zero crossing, or a fade that is too short to cover the jump. Turn on zero-crossing edits where your DAW supports them, then widen every fade to around 5 ms. Run transient repair over the phrase afterwards. If a slice still pops, shorten it and re-cut rather than lowering its level.
What is the best DAW setting for vocal chops?
There is no single best setting, but the reliable combination is transient-aware slicing, a slice-mode sampler mapped across your pads, and warp set to a variable or transient-preserving mode. Turn on zero-crossing edits and nudge each slice a few milliseconds against the kick. Keep the vocal track high-passed around 100 Hz so the bass has room.
How do I make vocal chops work in trance or house?
In trance and progressive trance, pitch the source up three to five semitones, keep the slices short, and automate a filter sweep into the drop so the hook moves with the build. In house and techno, leave the chop tight and static and let the drums carry the energy, filtering the vocal almost closed when it competes with the kick. Test it at low volume before you add more layers.
Conclusion
Pick one strong vocal phrase with hard consonants, cut it into 8 to 16 slices on the transient before each syllable, and leave 5 to 20 ms of silence around every consonant. Build a two-bar loop, extend it to four, and pitch the source up three to five semitones.
Then automate one movement, a filter sweep or a volume dip, and audition the whole thing against your drums and bass at low volume. If it survives that, you have a chopped vocal hook worth keeping.