To make a remix when you only have a stem, treat that file as raw material instead of a finished track: import it, find its tempo and key, build a new drum pattern and bassline around it, then re-arrange the sections until it no longer sounds like the original. A stem is just one isolated layer of a song, exported as an audio file, and one file is plenty to start from. Expect a full session to take an evening or two, plus however long it takes to track down the tempo and key properly.
That last part is where most people get stuck. They drag the file in, guess the tempo, and end up with a remix that drifts out of time by the second chorus. Fix the tempo and key first and everything after that gets easier.
The same advice applies whether you have one drum stem, one isolated vocal, or a finished stereo mix you pulled off a streaming service. What changes is how much of the arrangement you have to rebuild yourself.
Table of Contents
- What You Need
- Step-by-Step: Turn One Stem Into a Remix
- 1. Import and Analyze the Stem
- 2. Decide the Remix Idea When You Only Have a Stem
- 3. Build a New Drum Pattern
- 4. Add Bass and Harmonic Movement
- 5. Reshape the Arrangement
- 6. Mix, Process, and Export the Remix
- Common Mistakes
- Before You Release It: The Rights Side
- Frequently Asked Questions
- Can I remix a song without stems?
- How do you get stems from a song?
- What is the best app to make remix songs?
- Is it illegal to make remixes of songs?
- Why does my separated vocal sound watery and phasey?
- Do I have to keep the original tempo when I remix from a stem?
- Conclusion
What You Need
Before touching anything, be honest about what you have. A single stem, a full stereo mix and a multitrack stem pack are three very different starting points, and they call for different tools and different amounts of work.
| What you have | What it actually is | Best route | Creative approach |
|---|---|---|---|
| One stem (drums, bass, a guitar part) | A single bounced audio layer with everything else already removed or never recorded | Import, match tempo and key, then build everything around it | Write new harmony and melody, chop the stem into fills, resample short pieces |
| One isolated vocal, no accompaniment | An acapella with bleed from the instruments it was recorded against | Clean the bleed, then build drums, bass and chords from scratch | Treat the vocal as the hook, mute it in the verse, double and pitch sections |
| A full stereo mix or master | Everything squashed into two channels, already limited | Run stem separation, or use a DAW-native splitter | Replace whole layers rather than nudging them, because you cannot unbake a master |
| A full multitrack stem pack | Grouped exports at the same length, often with tails included | Drop all of them onto matching tracks, align, re-arrange | Keep the arrangement idea, rebuild the groove and the low end |
Beyond the audio file, you need a DAW, a way to detect tempo and key, and something to build new material with. Almost every DAW ships with a beat and key detection tool built in.
- A DAW. Ableton Live, FL Studio, Logic Pro, Reaper and Studio One all handle this workflow without extra plugins. The exact menu names differ, but the functions do not.
- A tempo and key detector. Your DAW usually includes one. Traktor, rekordbox and Mixed In Key also work, and free browser tools are fine for a rough reading.
- Samples and instruments for the new parts. A drum rack of one-shots, plus a synth or sampler for bass and chords. A subscription drum library is convenient, but a folder of royalty-free one-shots does the same job.
- An EQ, a compressor and a limiter. Every DAW includes all three. Free third-party options exist if you want more character.
- A reference track. The original, playing on a phone or a second system, so you can hear how the remix should relate to it.
- Headphones and monitors. Headphones for editing and detail work, monitors or decent speakers for judging the low end later.
If your one file is a full mix, add a stem separation tool. These fall into a few families, and the honest answer is that no single one wins every category.
| Tool | Type | Cost model | Best for |
|---|---|---|---|
| Ultimate Vocal Remover 5 | Standalone desktop app, Windows | Free and open source | Free offline separation with a wide choice of models, batch processing |
| Demucs | Command line and Python, runs locally | Free and open source | Highest quality vocals and drums, if you can wait for it |
| Spleeter | Command line, Python or Max for Live | Free and open source | Fast, five-stem output, good enough for sketching |
| Logic Pro stem splitter | Built into the DAW | Included with Logic Pro | Quick, no extra install, works well on Apple Silicon |
| Ableton Live separation | Built into the DAW on Apple Silicon Macs | Included with Live | Four stems with per-stem quality settings, no round trip |
| iZotope RX | Standalone and plugin | Paid | Repair work: bleed removal, spectral repair, mouth de-click |
| MVSEP | Plugin that follows the audio | Paid, unlimited | Vocals, with plenty of options that overwhelm beginners |
| LALAL.AI | Browser service | Paid minutes | Drums and per-instrument splits without installing anything |
| Gaudio Studio, Moises, Fadr, StemRoller | Browser and desktop services | Freemium and paid | Quick jobs, karaoke instrumentals, stems for DJ software |
Quality claims here come with a caveat. In the r/edmproduction and talkbass discussions, Demucs v4 is widely reported as sounding noticeably better than Spleeter, which is faster but older. Benchmarks on a six-minute song put Demucs v4 through UVR5 at roughly six minutes of processing and Gaudio at about five, while some users report Demucs running up to twelve times slower than Spleeter. Plan around that before you queue a batch of twenty tracks.
Step-by-Step: Turn One Stem Into a Remix
The workflow runs from preparing the source audio through to a finished export. Six steps, in this order, keep the decisions small and stop you building a whole track around a tempo that was never right.
1. Import and Analyze the Stem
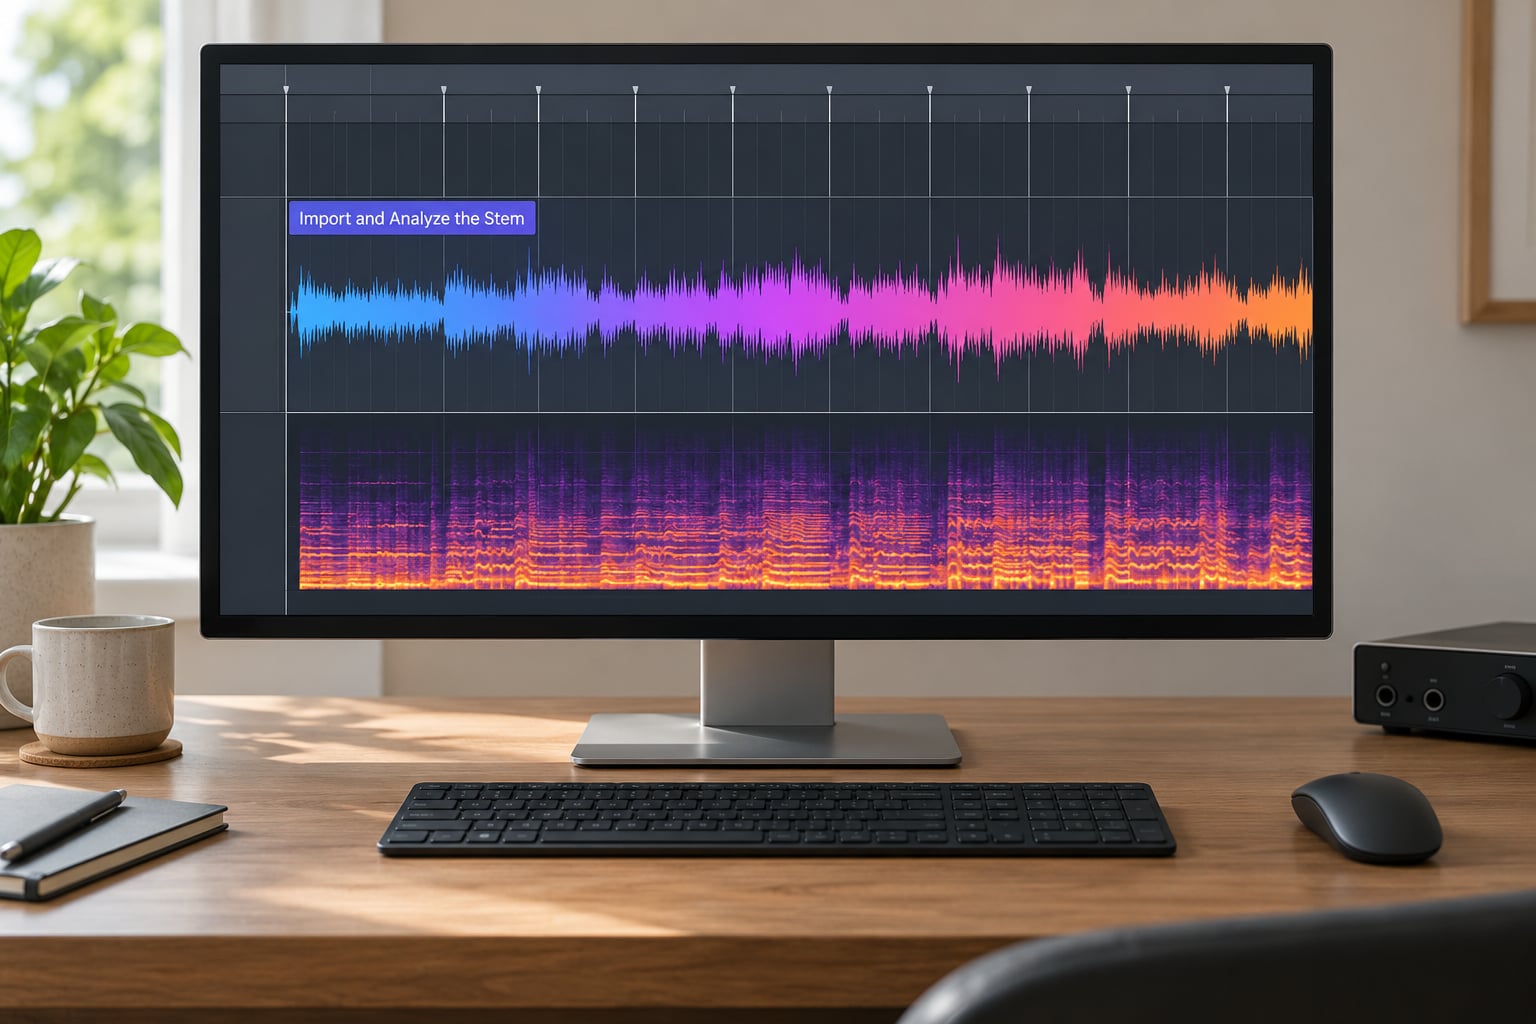
Drop the file onto a single audio track at the start of your timeline. Before anything else, work out what the file really is: a full stereo mix, a single instrument bounced clean, or an isolated vocal with a lot of bleed in it. Listen on headphones and check for instruments leaking under the main source, because that changes your whole plan.
Run tempo detection on the result. If the tool offers several readings, listen to a few against the waveform and pick the one where the kick and snare land on transients rather than between them. If detection is close to double or half the real tempo, the grid will still line up, but your drum programming will feel wrong, so correct it by hand where you can.
Next, find the key. Most DAWs report a key with a confidence percentage, and the confidence tells you how much to trust it. Play a major or minor third below what it reports and check whether the clashes resolve. A fifth down is the other option worth trying when the source is dark.
Mark the structure while it is fresh. Drop markers or a ruler at the intro, the first main section, any break, and the outro. These become your chopping points later. Listen for reverb tails at the end of each section, because a reversed or chopped stem that loses its tail will sound dry and thin against everything you have built around it.
Repair the source before you build. Gated or dynamic EQ on the bleed frequencies, a high-pass if there is rumble, and spectral repair for the worst glitches. Voices pulled out of a full mix often need de-essing and a touch of de-reverb, because the separation pulls some of the room into the vocal and that smear sits right in the vocal’s range.
2. Decide the Remix Idea When You Only Have a Stem
Decide what you are keeping before you decide what you are building. A single stem gives you one element, so the shape of your remix depends on how good that element is on its own.
Drums only means you own the entire low end, the harmony and the melody. A half-time version, a house reinterpretation or a stripped drum-and-bass split all work, because nothing is fighting you for space. Bass only opens up a whole different set of ideas, and a vocal only means the melody is already written and the groove has to serve it.
Write the idea down in one sentence before touching a plugin. “Half-time hip-hop at 75 BPM with the vocal chopped” beats “make it harder”. Vague intentions turn into an eight-layer mashup with no clear hook, which is the most common way these sessions die.
Also decide the relationship to the original. A bootleg-style flip keeps the melody recognisable and changes the rhythm underneath it. A club edit changes almost everything and borrows only a phrase or a texture. Both are legitimate, but they are different jobs and the arrangement follows from the choice.
3. Build a New Drum Pattern
Start with the kick and the backbeat, because those two define the tempo feel more than anything else. Program the pattern in MIDI or draw it in your DAW’s step sequencer, then audition one-shots until the weight feels right against the stem.
Keep the low end clean. If your stem already carries bass or sub content, let the kick own the region below roughly 100 Hz and high-pass everything else, or the two will fight for the same frequencies and the whole track turns to mud.
Add a snare or clap, then a hat pattern with a deliberate amount of variation. Straight sixteenths get boring by the second chorus, so open a hat, add a ride, or shift a ghost note in the last bar of a phrase. Percussion is what stops a loop sounding like a loop, and short percussive sounds placed off the grid do more for energy than another layer of melody.
Slice the stem’s drum hits into your drum rack and use them as one-shots. That is the standard move when a remix pack arrives, and it works just as well with a single stem: chop on transients, map the slices to pads, and you have a kit that already belongs to the track.
Sidechain the pads, bass and any sustained element to the kick. A gentle pump locks the new groove to the stem, and it is usually the difference between a remix that feels live and one that feels like two recordings stacked on top of each other.
4. Add Bass and Harmonic Movement
Write the bassline last of the rhythmic parts, against the drum pattern, so you can hear the two together from the start. Follow the root notes of your chord progression and stay in the register the key analysis suggested.
Do not copy the original producer’s bassline if you intend to release this. A different rhythm, a different octave and a different articulation on the same roots gives you harmonic compatibility without a derivative performance.
Add chords and a hook on top. Since your one stem is unlikely to contain a full arrangement, this is where you are effectively writing the song around it. Keep the chord voicings simple at first, then get busy in the section where the stem is absent.
When the stem has strong low-frequency content, keep your new bass sparse. If you are writing a bassline against an existing bass stem instead, match its level first, nudge it in small steps until it locks to the beat, and check polarity on the kick for anything that feels hollow.
5. Reshape the Arrangement
This is where a single stem becomes unmistakably a new track. Take the original arrangement and break it.
- Reverse a section. Reversed vocals or a reversed swell at the end of a build is a cheap, effective change.
- Warp and time-stretch. Slow a section down for a half-time version or pull a phrase tighter. Warp markers, not a global stretch, so you keep the transients intact.
- Change the tempo feel without changing the tempo. Add or remove swing, or place a copy of the pattern on a triplet grid.
- Resample. Drop a bar into a sampler, lower the pitch, and it becomes a new instrument rather than the same audio in a new place.
- Filter and gate. A low-pass sweep across a breakdown or a rhythmic gate on the vocal makes old material feel newly sequenced.
- Re-sequence. Move the hook into the first eight bars instead of the second verse. Structure changes are the most underrated tool in remixing.
Reverse and time-based effects need the reverb tails handled. A reversed section that suddenly has no tail sounds like a mistake, so either keep a copy of the original tail underneath or add a short reverb to fill the gap.
Watch the key when you transpose. Move audio up or down a few semitones and the relationship to your new chords shifts with it. If the stem is a vocal and you have moved it, check the formant so it does not turn into a chipmunk or a growling bass.
6. Mix, Process, and Export the Remix
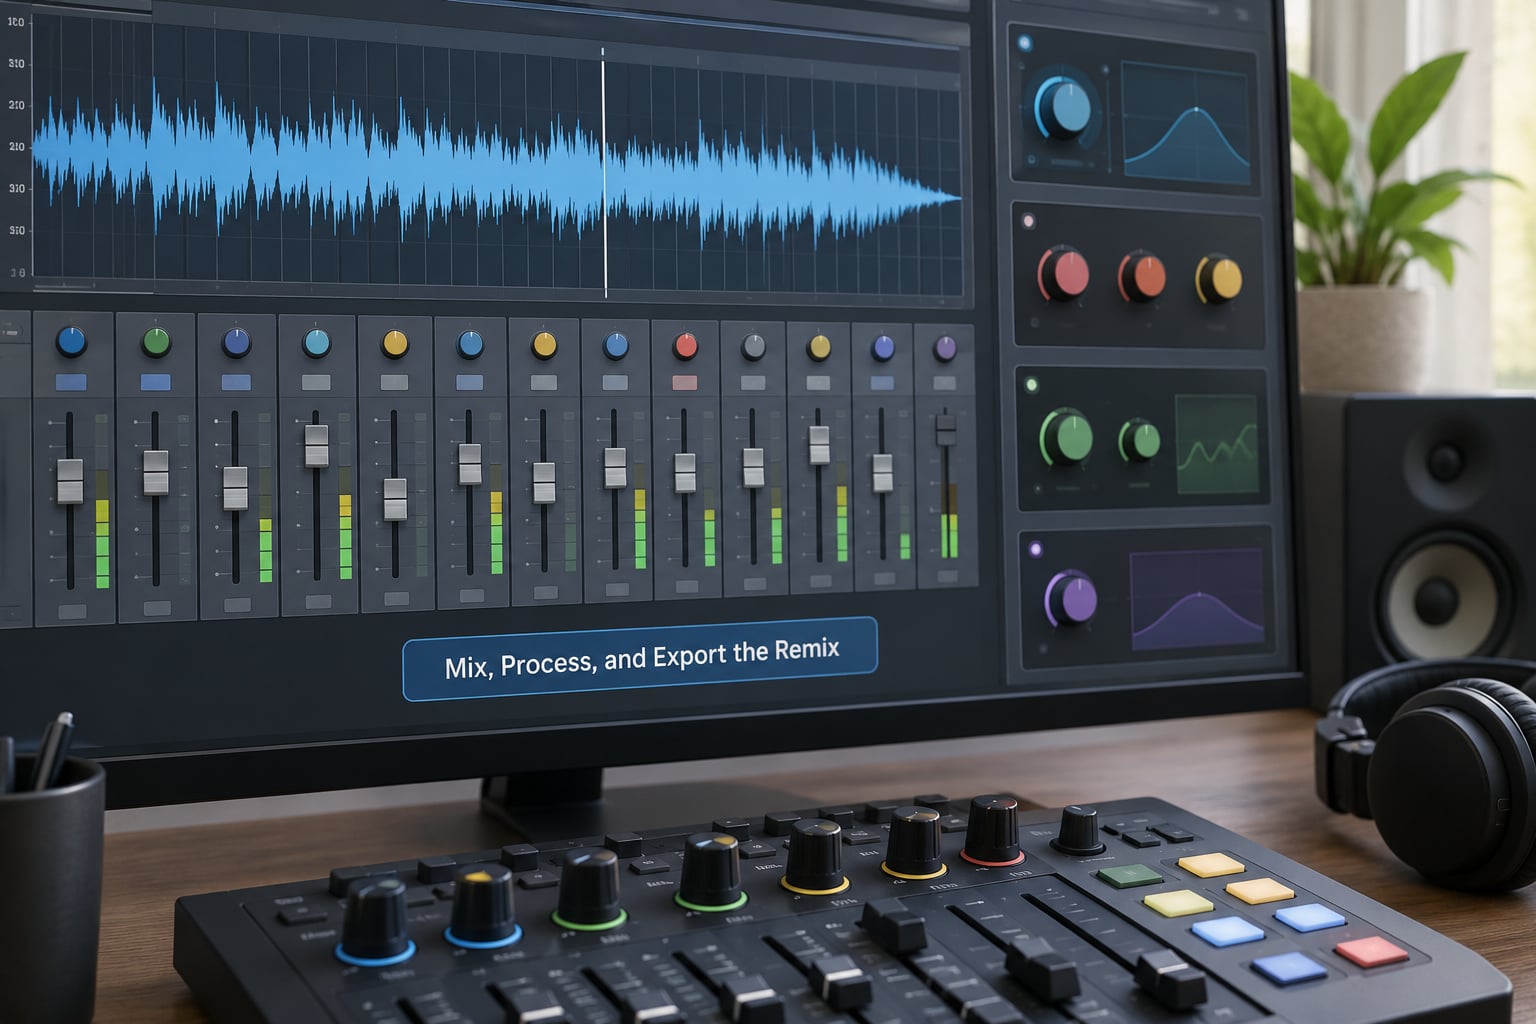
Gain stage before anything else. Every level reaching your plugins should sit around the middle of the meter with headroom, and none of the tracks should be clipping on the way in. Mix fixes made after that are guesses.
EQ each element for its job. Cut the frequencies where your stem and your new parts overlap, boost the ones you want to feature, and high-pass anything with no real weight below 30 to 40 Hz. On vocals, a high-pass around 80 to 100 Hz removes separation rumble and makes room for the kick and bass.
Compress for control, not for level. A slow, gentle setting on the new drum bus and a faster one on the vocal usually does more than stacking several compressors. Reach for saturation, short delays and reverb throws instead when you want energy.
Automate the arrangement. Filter sweeps, risers, a volume drop before the drop, and a delay throw on the last word of a phrase all make a session feel produced rather than assembled.
Limit on the master bus with a target in mind, and check the result at low volume as well as loud. Loudness and dynamics are different conversations, and a limiter set by ear at full volume is how you get a remix that disappears on a phone speaker.
Export as a 24-bit WAV at your project’s sample rate, and keep a version without the limiter on it. Mastering is a separate job, and exporting both versions takes ten seconds and saves an argument later.
For the release side, keep a written note of the source, the separation tool you used and the version. It takes a minute and it is the difference between clearing a remix and getting stuck in email about it.
Common Mistakes
Trusting automatic tempo detection without checking it. The grid looks fine in the arrangement view and drifts by the second chorus. Fix it against transients before you build anything.
Using too many ideas at once. A half-time flip, a house version and a drum-and-bass version in one track is three songs. Pick one direction and finish it before starting the next.
Leaving no space for the stem. If your new drums, bass, chords and melody are all fighting in the same register, the stem has nowhere to sit. Sidechain, high-pass and automate until the original element becomes the focus again.
Pitching audio before you know why. A pitch-shifted stem sounds like an effect until it has a job, such as filling a bar the arrangement is missing. Decide the purpose first, then choose the amount.
Over-processing a bad separation. If you are stacking three de-reverbs and a spectral repair, the source material is the problem. Re-run the separation with a different model, or find a creative use for the artefact instead of hiding it.
Losing reverb tails when you chop. Chopped audio that stops dead sounds synthetic. Keep tails underneath, or send a copy into a short reverb.
Messy file management. Name clips with the source, the tool and the version, and save the project before each new stage. A folder called final2-new is how an evening’s work disappears.
Exporting too early. Bouncing a rough version every time you like something is fine. Bouncing the version you plan to release, with no headroom and no unprocessed master, is not.
Before You Release It: The Rights Side
Remixing is legal. What is restricted is the recording, not the idea. Copyright in a song sits in two layers: the composition, which is the melody, lyrics and underlying music, and the master, which is the specific sound recording. A remix built from stems you separated yourself reproduces the composition, so you need permission or a licence for that part.
It is worth having a short checklist before you publish anything.
- Get permission in writing from the rights holder, or use a platform that provides remix clearance for licensed tracks.
- Check whether your distributor or streaming platform requires a sample clearance form for the source.
- Credit the original artist and label in the track title and description.
- Register a new ISRC for your remix rather than reusing the original code.
- Keep the stems, the permission and the licence in one folder. If a claim arrives months later, you will want all three.
For anything commercial, a music lawyer or your distributor’s clearance team is the right call. Rules vary by country, and this is general information rather than legal advice.
Frequently Asked Questions
Can I remix a song without stems?
Yes, and most remixes start that way. Import the file you have, confirm its tempo and key, then build a new drum pattern, bassline and harmony around it. If your only source is a full stereo mix, run it through a stem separation tool first to get vocals, drums, bass and other as separate files. The result is less editable than a real stem pack, but it is more than enough to build an original track from.
How do you get stems from a song?
Run the finished mix through a stem separator and export each layer as its own audio file. Free options include Ultimate Vocal Remover 5, Demucs and Spleeter, while Logic Pro and recent Ableton Live versions have separation built in. Browser services such as LALAL.AI and Moises work without an install. A track with a clean, well-mixed source separates far better than a loud, busy master.
What is the best app to make remix songs?
It depends on where you start. For separating a stereo mix, UVR5 and Demucs give the best free quality, and Logic Pro or Ableton Live are fastest if you already own them. For arranging the remix itself, any DAW you know well will do. A producer who knows Ableton Live inside out will finish faster in Live than in a tool with better separation, because the workflow matters more than the model.
Is it illegal to make remixes of songs?
No. Remixing is a normal part of music culture and is legal in most places. What you need permission for is the specific recording, not the idea of the song. If you separated the stems yourself, you are reproducing the composition, so get a licence or permission from the rights holder before you release commercially. Free and non-commercial remixes for practice, mashups and private use are a different situation again.
Why does my separated vocal sound watery and phasey?
A separator has to guess which sounds came from the voice, so it pulls fragments of instruments and room reverb into the vocal. That is the watery quality people notice, and it is worse on loud, compressed masters. Try a different model, use ensemble mode where it is available, then clean the result with gated EQ on the bleed frequencies, a de-esser and a gentle de-reverb. Always separate from the best source you can get.
Do I have to keep the original tempo when I remix from a stem?
No, but changing it is harder than people expect. Time-stretching pitch-shifts a vocal, and the formant goes with it, so a big tempo change usually means the vocal has to be resampled, re-tuned or replaced. Half-time versions work well because they halve the tempo, which is a simple relationship. Full-speed stem material is easiest to work with at its original tempo.
Conclusion
Start with the audio, not the plugins. Import the one file you have, check it against the transients until the tempo is right, confirm the key by ear, and mark the sections worth keeping. Then write down one sentence describing the remix you are making, and build the new groove around the part of the stem that is most useful to you.
Everything else, the drums, the bass, the re-sequencing and the processing, is easier once those three decisions are made.