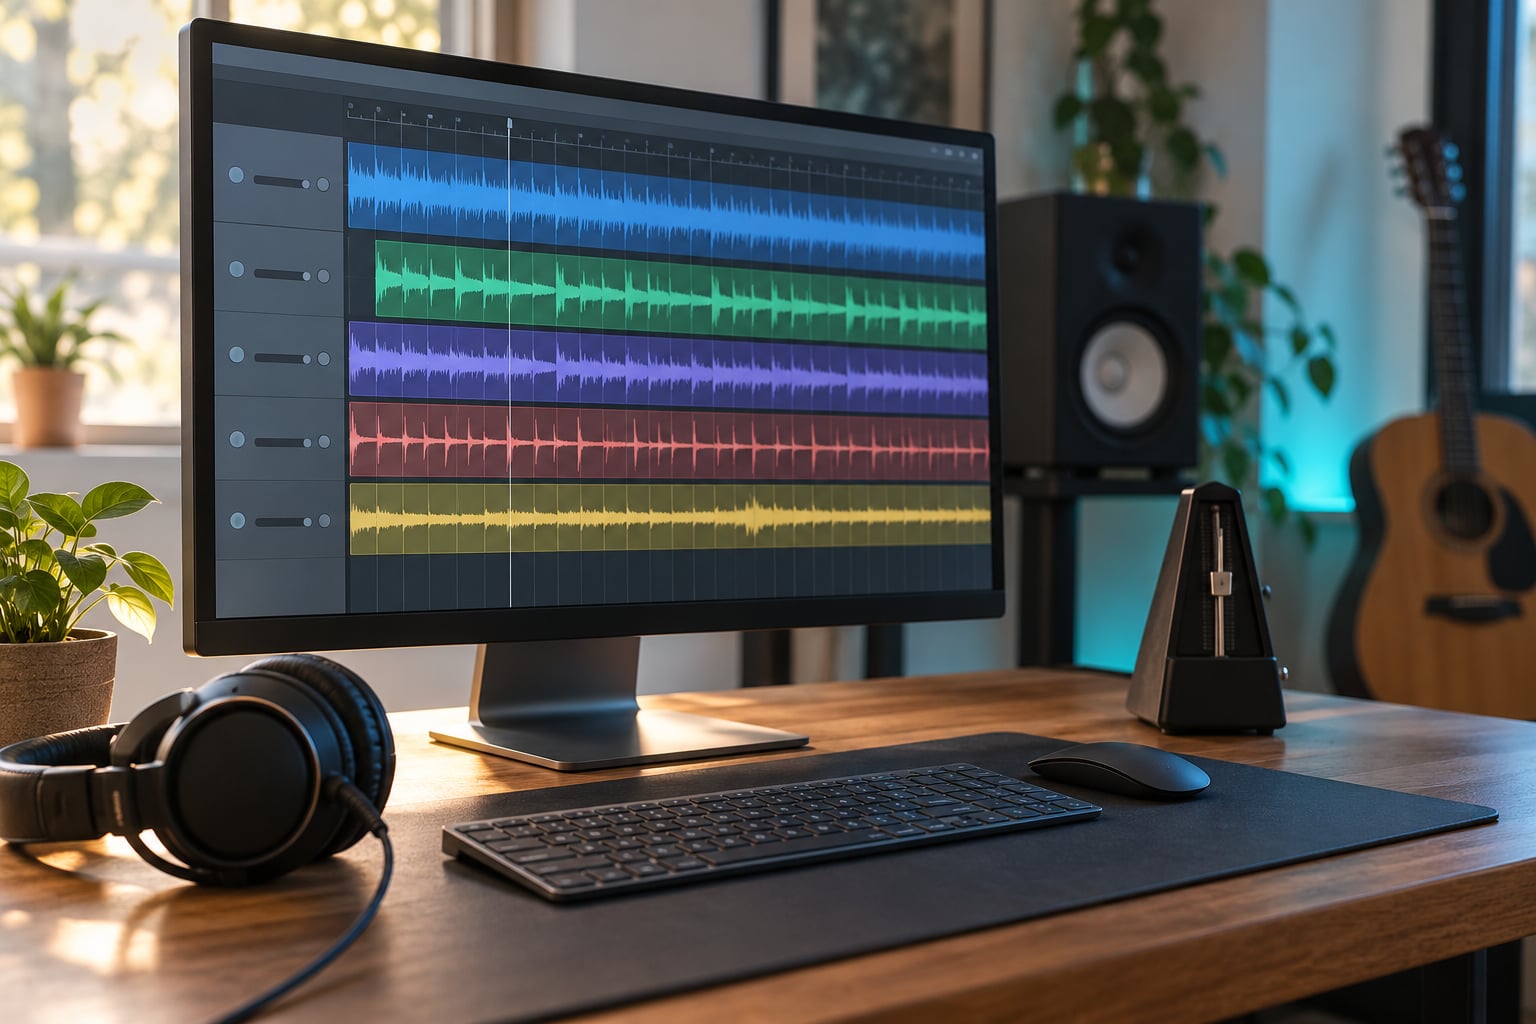
Quantizing audio to the grid means moving a recorded clip so its transients — the sudden level spikes where a drum hit or a note begins — land on your project’s beat divisions. Your DAW detects those transients, places markers on them, then time-stretches the audio between markers to pull each one onto the nearest grid line. Nothing gets chopped or cut, so a take stays one continuous performance. On a single clip this takes about ten minutes once you know where the command lives.
Audio is not MIDI, and plenty of beginners assume quantization only works on note data. It works on audio in every major DAW, the feature just has a different name in each one: warping in Ableton Live, Flex Time in Logic Pro, Elastic Audio and Beat Detective in Pro Tools, Time Warp in Cubase, Dynamic Split in Reaper, and time-stretching in the channel settings in FL Studio. Same job, different menu.
One thing worth settling early: quantizing is not the same as snapping. Snapping moves a whole clip or object to the grid. Quantizing moves the individual hits inside a clip. Getting those two apart saves hours of confused clicking later.
Table of Contents
- What You Need
- Step-by-Step
- 1. Set the Project Tempo and Grid
- 2. Select the Right Audio and Make a Safety Copy
- 3. Check the Timing and Choose a Grid Value
- 4. Apply a Small Amount of Quantization to the Grid
- 5. Nudge, Stretch, and Correct Problem Areas
- 6. Check the Result in Context and Bounce
- Common Mistakes
- Frequently Asked Questions
- Is quantize the same as sync?
- Can you quantize audio in Ableton Live?
- How do I quickly quantize in FL Studio?
- How do I quantize on Virtual DJ?
- Why does quantizing make my audio sound bad?
- Conclusion
What You Need
You need a locked tempo, a grid division chosen before you touch the audio, and a transient-aware stretch algorithm switched on. Miss any one of those and quantize either does nothing at all or smears the attack off every hit.
- A correct project tempo and time signature. Quantize aims clips at whatever tempo the session thinks it is. A wrong tempo means a confidently wrong result.
- A grid division. Deciding between 1/16 and 1/32 before you quantize is faster than auditioning both afterwards.
- Audio imported at the session sample rate. Resampling first leaves you quantizing a stretched file.
- A safety copy. Duplicate the original clip onto a muted track before any destructive edit, and keep it that way until the session is finished.
- The right stretch algorithm enabled for that clip. Warp on in Ableton, Flex on in both the region and the track inspector in Logic, Elastic Audio on in Pro Tools, elastic audio or warp grid anchors in Cubase.
- Metronome and a reference track. You need something to check the corrected take against.
A transient-preserving tool is genuinely useful rather than optional here. A plain time-stretch algorithm treats audio as a smooth signal and smears sharp peaks into noise; the algorithms built for warping, flexing and elastic audio detect attacks first and stretch around them.
The other distinction worth keeping straight is quantization versus stretching. Time-stretching changes the length of audio to hit a target tempo or bar length. Quantization is a specific application of that stretching, one that has already decided where the hits should sit.
Step-by-Step
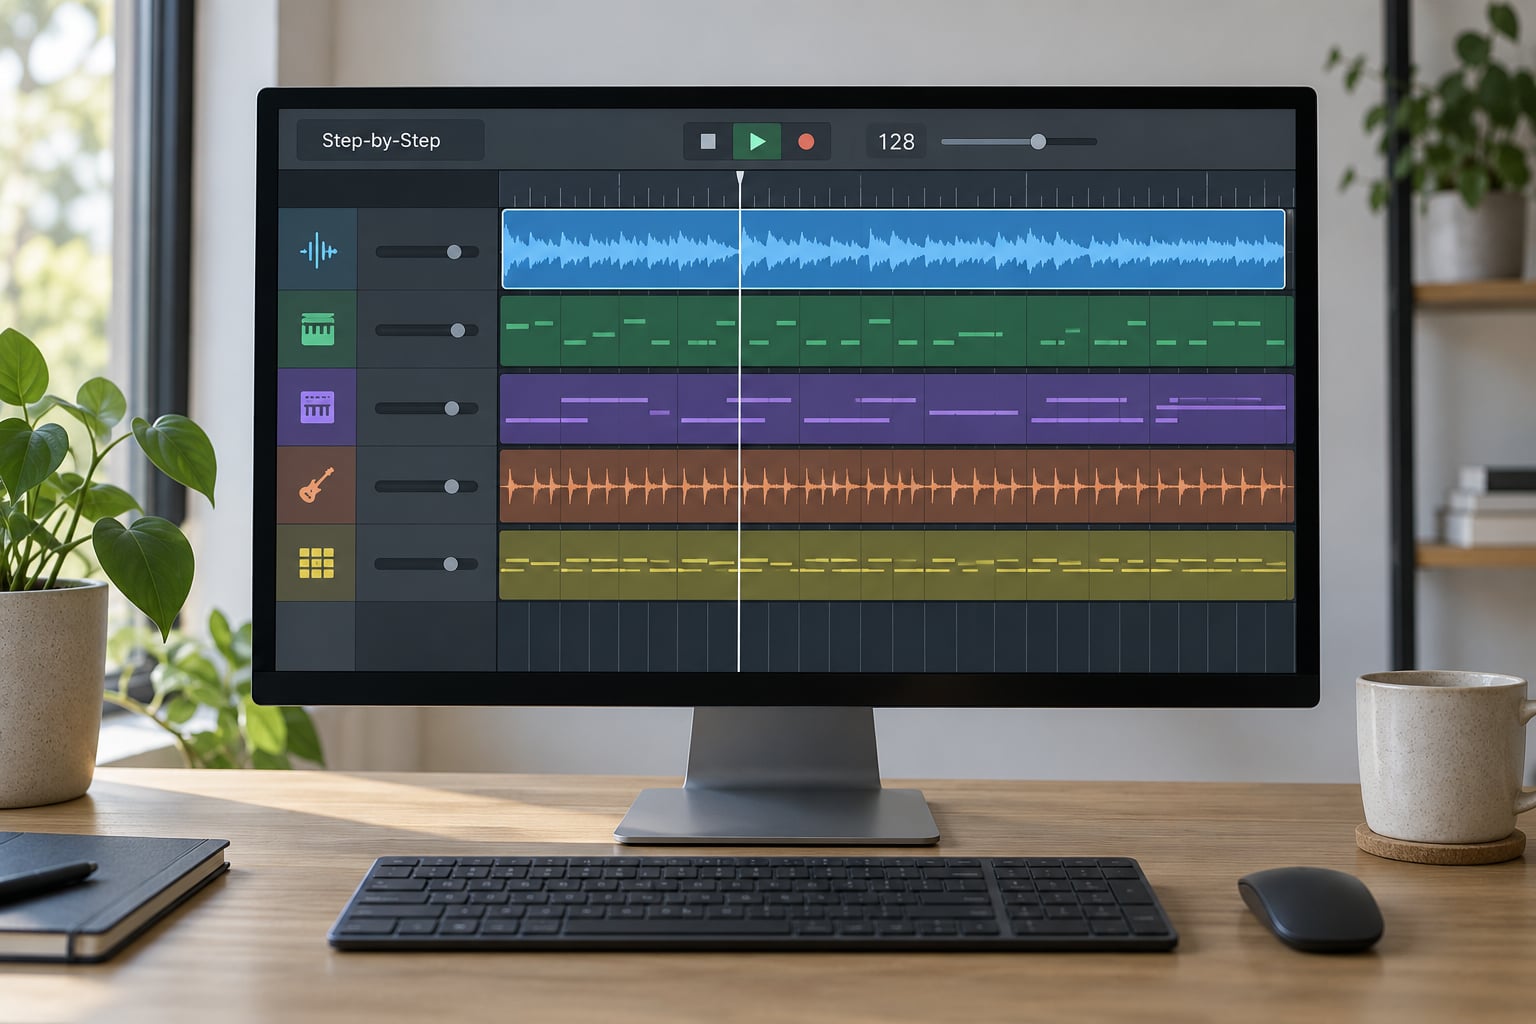
The whole method is the same everywhere, with different button names. Keep these eight steps in mind: set the tempo, set the grid, copy the audio, inspect the transients, turn on the stretch algorithm, choose the grid division, quantize at partial strength, then audition and correct by hand.
- Set the project tempo and time signature to the real values.
- Set the grid division you intend to use.
- Duplicate the original clip as a safety copy.
- Open the clip editor and check where the transients actually sit.
- Enable warping, flex, elastic audio, or time-stretching for the clip.
- Pick the grid division that matches the source material.
- Quantize at roughly 40 to 60 percent strength.
- Audition against the original and fix individual transients by hand.
1. Set the Project Tempo and Grid
Set the tempo to the value you intend to release at, and confirm the time signature before anything else. Every grid line downstream depends on this one number.
Watch out for a tempo that was detected rather than typed. Auto-detected tempo from an imported file often reads double or half the real speed, and the clip then quantizes confidently to a pulse that isn’t yours. Ableton Live shows a clip-detected tempo next to the transport; Logic Pro runs Smart Tempo analysis and shows the result in the region inspector; Cubase and Pro Tools populate the tempo from the clip start marker.
Where the grid value lives differs per DAW: Ableton’s grid selector sits in the top corner of the arrangement view and in the sample editor, Logic’s is the grid menu above the tracks window, Pro Tools’ is the Grid Value menu in the toolbar, and Cubase’s is on the toolbar ruler. Once the metronome on the grid lines matches how the track actually feels, move on.
2. Select the Right Audio and Make a Safety Copy
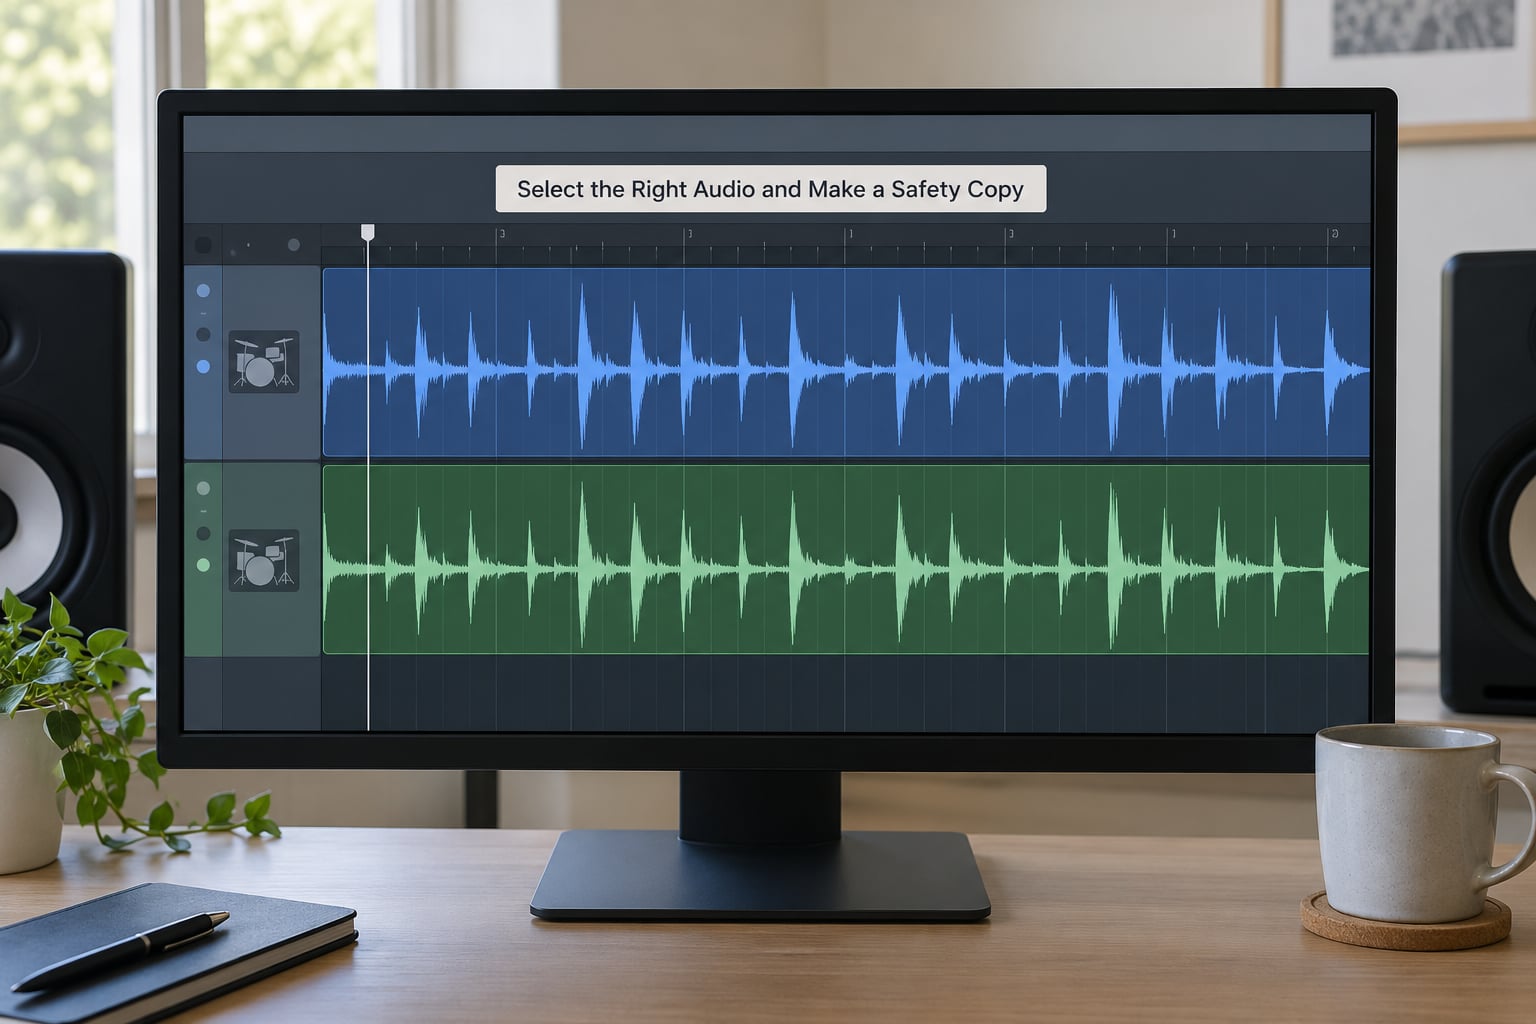
Recordings that usually benefit are rhythmic, single-hit things that read as loose: a drum take, a bass or guitar part, a chopped loop that was manually assembled, and a band multitrack where the drums drifted against the click.
Recordings that usually stay untouched are deliberate looseness. Live percussion with a rolling feel, a lead vocal full of push and pull, a pad recorded with movement, and any non-rhythmic sound effect have timing that is part of the sound, not a mistake in it.
Duplicate first. A new track with a copy of the clip on it costs one undo, and every quantize experiment happens on the copy while the original stays muted and untouched for comparison. Some people route the copy through a dedicated quantize channel with its own warp or flex settings, which keeps the experiment separate from the mix.
3. Check the Timing and Choose a Grid Value
Look at the clip in an editor with grid lines switched on, then mark which hits sit early and which sit late. Consistent lateness is a click issue; random timing is a performance issue; a whole bar shifted is a downbeat problem, and those three need different fixes.
Choosing a grid division comes down to how dense the hits are. A finer grid is not automatically more musical — it just means more correction.
| Grid division | Best for |
|---|---|
| 1/4 | Whole loops and full phrases; correcting a section that drifted as a whole |
| 1/8 | Snare backbeat, basic percussion patterns, sparse guitar |
| 1/8 triplet | Shuffled or triplet-feeling grooves |
| 1/16 | The default for a drum loop or a full kit |
| 1/16 triplet | Swing and 6/8-flavoured hats |
| 1/32 | Fast hi-hat rolls, dense guitar, sixteenth-note bass figures |
| 1/8 or off entirely | Vocal phrases and deliberately loose parts |
If the transients are correct already but sit against the wrong downbeat, changing the grid division will not help. That needs a manual start-point shift, covered in step 5.
4. Apply a Small Amount of Quantization to the Grid
Start light. A strength of 40 to 60 percent fixes the timing errors while leaving the performance’s micro-timing intact, and you can always go higher. At 100 percent a take typically sounds mechanical, and no amount of mixing fixes that.
Here is what the command is called, and what has to be on first, in each DAW. Versions move these controls occasionally, so check the menu if the path does not match.
| DAW | Prerequisite | Where the command lives | Shortcut |
|---|---|---|---|
| Ableton Live | Warp on in Clip View, warp mode chosen | Edit > Quantize | Ctrl/Cmd+U for the current grid, Ctrl/Cmd+Shift+U to pick a specific division |
| Logic Pro | Flex on in the region inspector and in the track inspector | Inspector > Quantize disclosure, then the Quantize pop-up menu | No default shortcut; Q-Strength, Q-Swing and Q-Range sit under the disclosure |
| Pro Tools | Elastic Audio enabled in the clip Properties window | Window > Beat Detective, then Capture the Selection, set Source to Main Grid, Apply | No default shortcut |
| FL Studio | Time-stretching switched on in the Channel settings, Stretch mode set to Time Stretch | Playlist Time Stretch tool on the clip edges, no global quantize button exists | None |
| Cubase | Elastic audio enabled on the event | Project > Time Warp panel, then the Quantize panel in View | Quantize panel often mapped to F9 |
| Studio One | Flex and Stretch options set in the clip Inspector | Timing quantize command in the Edit menu with the clip selected | Varies by version |
| Reaper | Item snap set to a grid value in Item Properties | Item > Item processing > Dynamic split items, then quantize each slice | None |
In Ableton, Ctrl/Cmd+U quantizes to whatever grid is currently showing, which is rarely what you want. Ctrl/Cmd+Shift+U opens the quantize settings so you can choose the rhythmic value directly, and that second shortcut is the one that solves most people’s problems.
Logic is stricter than it looks: if flex is off in either the region inspector or the track inspector, the Quantize controls stay greyed out. Pro Tools’ Beat Detective needs the source set to Main Grid and a fresh Capture of the selection each time you change settings. Reaper has no single quantize command, so Dynamic Split at a grid resolution followed by quantizing each slice is the usual route.
How to quantize audio to the grid in FL Studio takes a different shape, because FL stretches rather than quantizes. Enable time-stretching in the Channel settings, then drag the clip’s start edge with the Playlist Time Stretch tool until the first hit sits on the bar line, checking the result against the FL snap value.
5. Nudge, Stretch, and Correct Problem Areas
Global quantize is a blunt tool, so fix the rest by hand. In Ableton, double-click with Ctrl/Cmd held to drop warp markers either side of a single event, then drag the marker to the nearest grid line. Elsewhere, nudge the clip or region by small amounts with the arrow keys, or draw a separate warp or anchor point at the offending transient.
Three things to protect. Kick and snare attack, because stretching past a sharp transient flattens it into a click and a thud. Vocal consonants, because a stretched sibilant smears across the downbeat. Bass note endings, because a sustained note dragged to a new position usually ends in an abrupt cut that needs a short fade to hide.
If a fully corrected take sounds too perfect, a common fix is to quantize it first and then re-inflate it with a transient or drum plugin. The processing restores the bite quantization removed. Listen closely afterwards, since the two passes can double up on the same hits.
Quantizing several tracks at once only works when the clips are the same length. Make them equal first, select them together, and let the strongest clip’s markers set the reference for the rest.
6. Check the Result in Context and Bounce
Solo the corrected clip and play it from the top with the metronome on, then unmute the original underneath for a rough A/B. Timing problems hide when you only hear one version in isolation.
Look for three specific artefacts: clicks at edit boundaries, doubled or flattened transients where one hit got corrected twice, and pitch drift across a long clip if the stretch range was wide. Listen in mono too, since phase problems from stretched material often only appear there, and watch the output meter for clipping on transients pushed forward in time.
Save the session, then bounce or export the corrected clip with headroom so the next step in the chain has room. Keep the safety copy muted until the mix is finished.
Common Mistakes
Quantizing at 100 percent. The most common fault. Drop strength to 40 to 60 percent and listen; the take will usually already sit tight enough.
Using whatever grid was showing. Quantizing to the current grid at 1/8 when the hats are sixteenths moves the wrong things. Use the specific-division shortcut or menu every time.
Letting every sound become its own transient. Dense material produces doubled hits. Use transient loop mode or detection settings so only clear attacks get a marker, and quantize denser passages on a coarser division.
Quantizing before deciding the groove. Decide the feel first. Listen to the raw take against the click a few times, then pick a strength that supports it rather than one that erases it.
Stretching audio that is already heavily compressed or limited. Short transients give the algorithm almost nothing to anchor on, and the result is squashed and pumping. Keep a dry parallel or record the part again.
Changing tempo without checking the source. A doubled or halved tempo reading throws the entire quantize out. Check the detected tempo against the click, correct it, then re-check the downbeat before quantizing again.
Wrong downbeat after quantizing. If the downbeat lands on beat 3, the clip start needs shifting by a bar rather than more quantizing.
Multi-selecting clips of different lengths. The results go inconsistent because each clip anchors itself. Equalize lengths first.
Frequently Asked Questions
Is quantize the same as sync?
No. Sync is a snap mode, found in tools like Pro Tools, that moves objects or notes to a grid while keeping their spacing relative to each other. Quantize works inside a single audio clip: it detects each transient and moves that hit to the nearest grid position on its own. Snapping moves whole objects, quantizing moves individual events inside them.
Can you quantize audio in Ableton Live?
Yes, and it is one of the main reasons Live handles audio well. Turn Warp on in Clip View, choose a warp mode that suits the source, open the sample editor, then press Ctrl/Cmd+U to quantize to the current grid or Ctrl/Cmd+Shift+U to choose a specific rhythmic value. The Amount slider sets how much of the correction is applied.
How do I quickly quantize in FL Studio?
FL Studio has no global audio quantize command, so you stretch clips instead. Enable time-stretching in the Channel settings for the sample and set Stretch mode to Time Stretch, then use the Playlist Time Stretch tool to drag the clip’s start edge onto the bar line. Set the FL snap value first so the edge lands exactly on the grid rather than near it.
How do I quantize on Virtual DJ?
Virtual DJ does not quantize audio tracks the way a DAW does. Its quantize and beat sync controls govern samplers, loops and deck playback against the analyzed beatgrid, not the timing inside a playing track. If you want true per-hit timing correction, record the audio into a DAW and quantize it there, then play the corrected file back in Virtual DJ.
Why does quantizing make my audio sound bad?
Usually one of four causes: full strength was used, the wrong stretch algorithm was active, the grid division was too fine for the material, or the clip’s tempo was detected at double or half speed. Lower the strength to 40 to 60 percent, switch to a transient-aware mode, choose a coarser grid, and confirm the detected tempo before trusting the result.
Conclusion
Start with three things: confirm the tempo and the downbeat are right, duplicate the clip, then quantize the copy lightly at 40 to 60 percent strength on the grid division that matches the source. Everything after that is manual correction, and that is where the judgement lives.
Timing correction should support the groove, not replace it. If the take already sat well against the click, the answer was a nudge or nothing at all.