To time stretch a loop without artifacts, duplicate the file, confirm its original BPM, match the stretch algorithm to the material (transient modes for drums, smooth modes for pads and vocals), and check the result in context before you commit to it. The whole job takes a couple of minutes once you know which mode to pick.
The reason most stretched loops sound bad has almost nothing to do with the software and almost everything to do with the default settings. A 128 BPM break dragged onto a 124 BPM project gets squeezed by roughly 3 percent, which a transient-aware algorithm handles cleanly. The same loop dragged onto a 96 BPM project has to lose a quarter of its length, and no single stretch setting survives that gracefully.
What follows is the workflow I use: detect the source tempo, choose the algorithm family by material, make small adjustments instead of dramatic ones, and audition at the project tempo before the loop goes anywhere near an arrangement. Menu names differ between Ableton Live, Logic Pro, FL Studio, Reaper, Cubase, Studio One, Bitwig Studio and Reason, but the logic behind the settings is identical everywhere.
Table of Contents
- What You Need
- Step-by-Step: How to Time Stretch a Loop Without Artifacts
- Duplicate the Loop Before Stretching
- Confirm the Original and Target Tempo
- Choose the Right Time-Stretch Mode
- Adjust Transient and Formant Controls
- Trim, Crossfade, and Check the Loop
- Common Mistakes That Cause Artifacts
- Stretching by an extreme ratio
- Using a spectral mode on drums
- Stretching a compressed or mastered full mix
- Cutting at waveform peaks
- Leaving clicks at the loop boundary
- Stretching the same loop several times in a row
- Forgetting that pitch moved with the loop
- Quick Checklist for Clean Results
- Frequently Asked Questions
- How do I time stretch audio without changing pitch?
- What is the best audio time stretching software?
- Which warp mode should I use for a drum loop?
- How much can I time stretch before quality loss?
- What is formant preservation and when do I need it?
- Can I fix audio that has already been stretched badly?
- Conclusion
What You Need
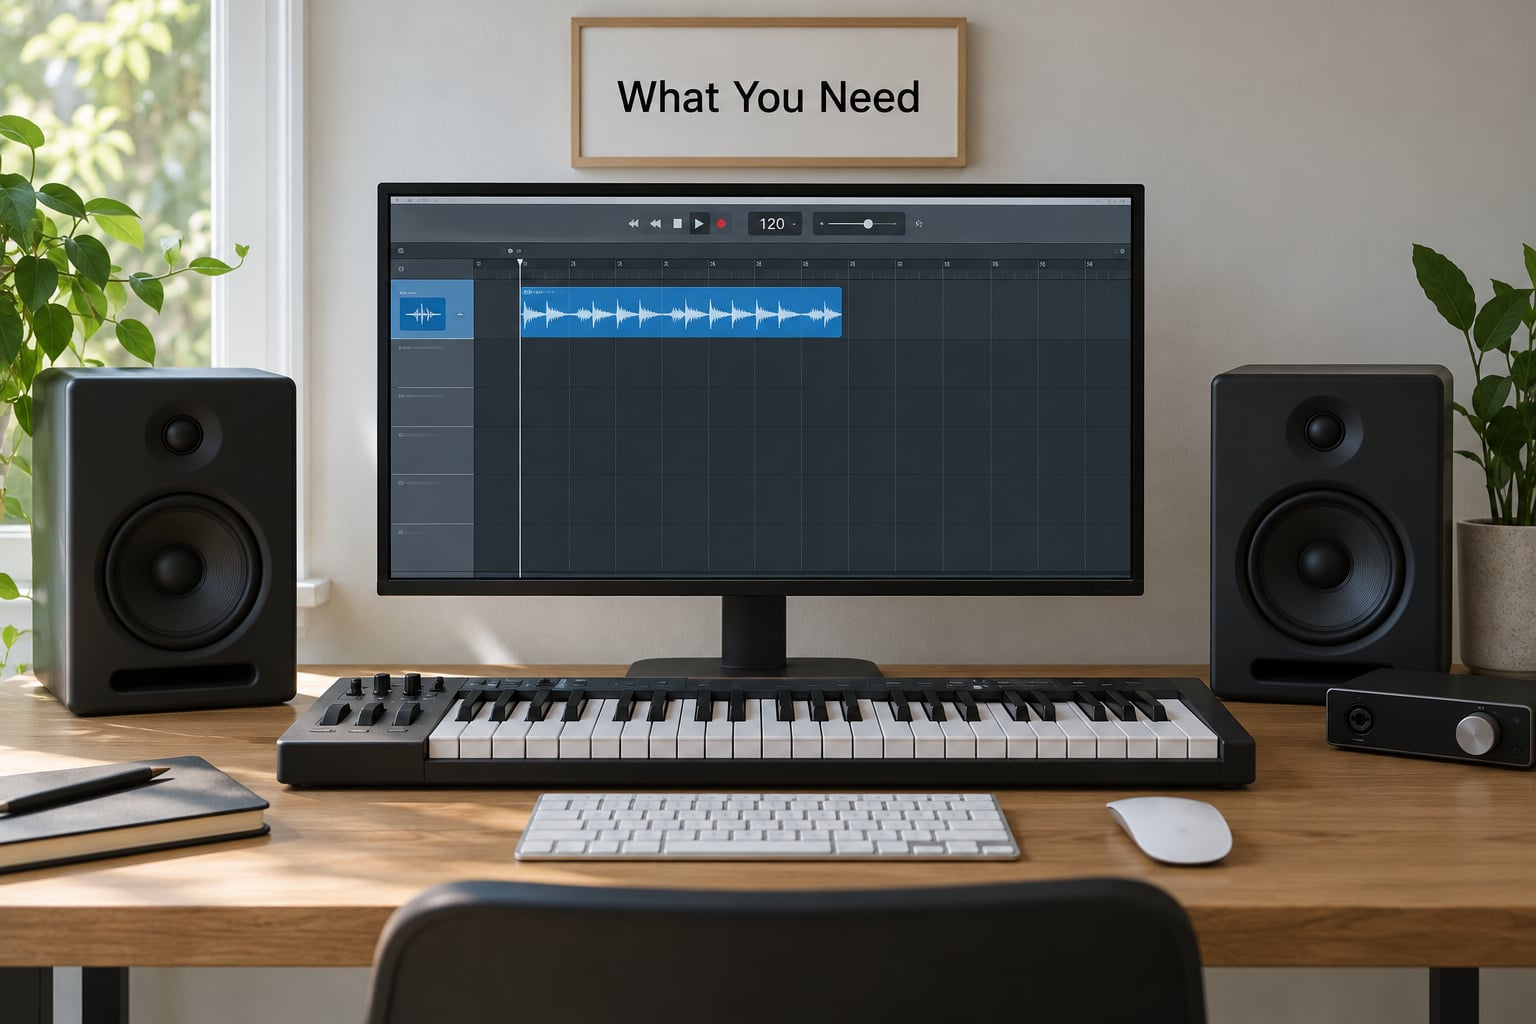
Four things, and three of them you already own.
- The audio loop itself, ideally as a lossless WAV or AIFF rather than a 320 kbps MP3. Compressed source material is the single biggest cause of grainy, broken results, because the stretch algorithm is trying to repair artifacts that are already baked in.
- A DAW with time-stretching. Every major DAW ships one: Ableton’s Warp, Logic’s Flex Time and Flex Pitch, FL Studio’s Time Stretching, Reaper’s Playback and Media Item Pitch with an algorithmic stretch toggle, Cubase’s Time Stretch panel, Studio One’s Stretch and Shift, Bitwig Sampler and Reason’s Stretch. If you want to render outside your DAW, Serato Pitch ‘n Time Pro, iZotope RX Time & Pitch and Melodyne all handle the job as standalone editors.
- A known target tempo, either the project tempo or the tempo you want the loop to become. Stretching without knowing where you are going is how people end up 12 percent off and blaming the plugin.
- Headphones or monitors you trust, plus an accurate pair is genuinely useful. Time-stretched material has a habit of sounding fine on the laptop speaker and horrible on headphones.
- Optional: a transient-shaping tool (Ableton’s Transient Shaper, Logic’s Drum Replacer, or any transient designer), an EQ for locating and taming smear bands, and an AI stem splitter if the source is a full mix.
One more piece of prep that saves grief later: work at the sample rate you intend to export at. Stretching 44.1 kHz material and then running a sample rate conversion to 48 kHz on top means the artifact repair happened at one rate and the resample happened at another.
Step-by-Step: How to Time Stretch a Loop Without Artifacts
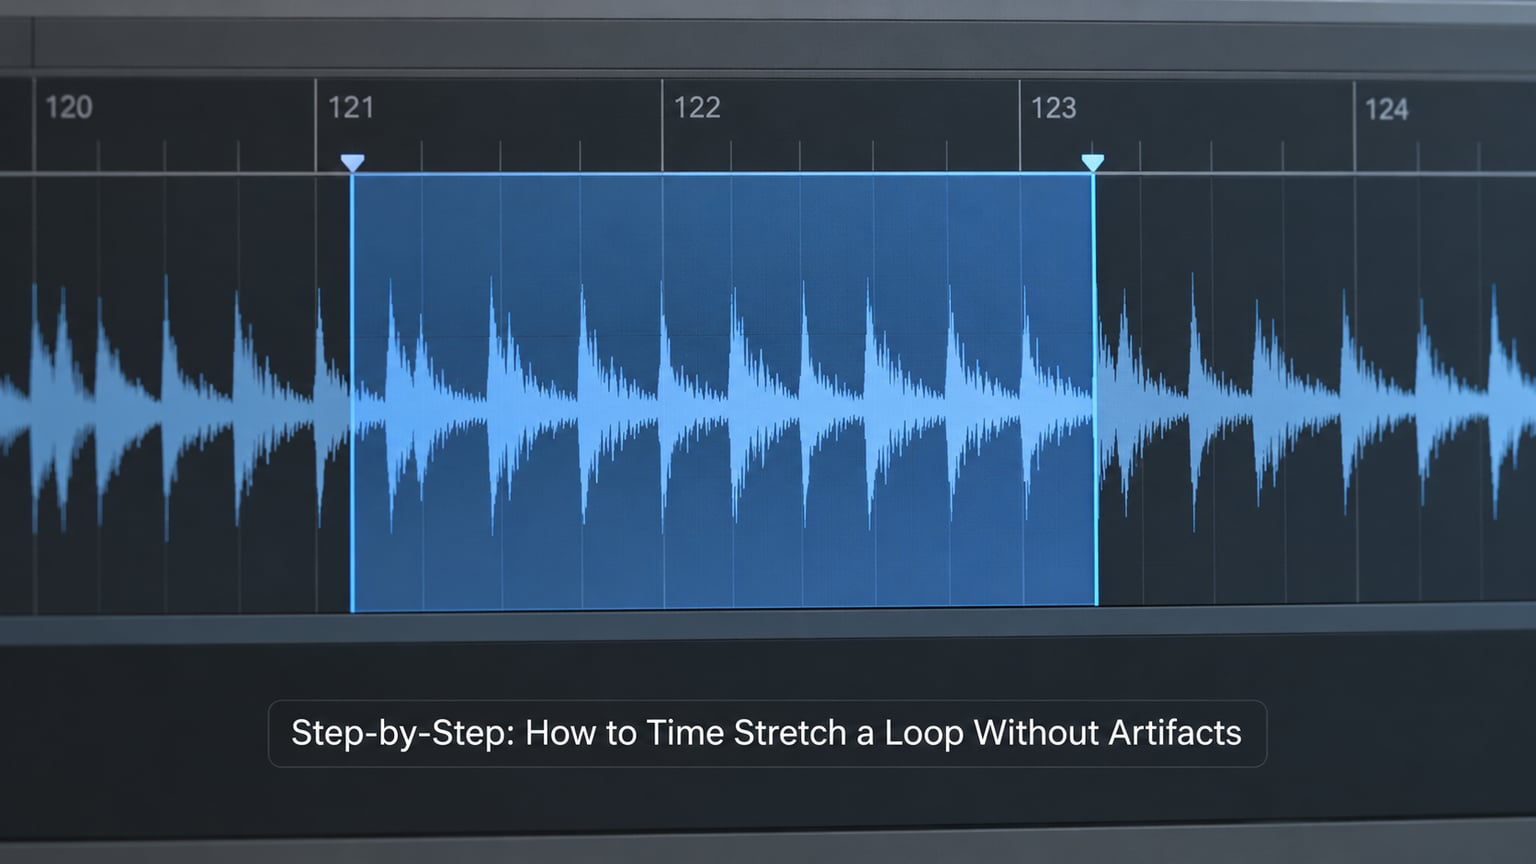
Here is the order of operations. Each step exists to give the next one a decent chance of succeeding.
Duplicate the Loop Before Stretching
Keep the original file untouched and work on a copy. This sounds obvious and nearly everybody skips it the first time they are excited.
Why it matters: a stretch render is destructive in most DAWs, so undo history is your only safety net. More importantly, you need the unstretched version next to the stretched one to judge the result. Comparing a 4 percent-stretched loop against the pristine original is the fastest way to hear what the algorithm did.
In practice, that means duplicating the audio clip in the arrangement or bouncing a copy to disk. If your DAW supports non-destructive stretching, keep the source file read-only so nothing can accidentally write to it.
Confirm the Original and Target Tempo
Find the source BPM first, then set the project tempo, then calculate the direction and size of the move.
Almost every DAW has a tempo detector built in. Ableton Live users drag a clip onto the browser and the file name updates with the detected BPM; Logic Pro users can highlight a time selection and read the tempo in the transport bar or the Audio Track Editor; FL Studio shows detected tempo in the channel rack when you drop a sample with the right setting enabled; Reaper has a tempo detection tool that runs over a selection. If auto-detection misses, tap it out by hand: play the loop, tap the kick or snare on the downbeat, and the DAW averages your taps into a number.
Now the arithmetic. A loop at 128 BPM stretched to 124 BPM becomes shorter by 128 divided by 124, which is about 3.2 percent. The same loop stretched to 140 BPM becomes longer by about 9.4 percent. The same loop pushed to 96 BPM loses roughly 25 percent of its duration, which is the range where most stock algorithms start to fall apart.
Two rules of thumb worth memorising. Under about 3 percent, almost any algorithm sounds fine. Between 3 and 8 percent you need to pick the mode deliberately. Above 8 percent and stretching alone is rarely the right answer — you want slicing, re-pitching, or stem separation instead.
Choose the Right Time-Stretch Mode
Every stretch algorithm falls into one of three families, and each DAW exposes them under different names.
Transient-preserving or time-domain algorithms find the attacks in the waveform and anchor them, then rebuild the space in between. This is what keeps a kick from turning into a soft thud. Ableton calls them Beats, Tones, Texture, Re-Pitch and Complex; Logic’s Flex Time has Slicing, Rhythmic, Monophonic and Polyphonic; Reaper exposes élastique with transient detection; Cubase has Time Stretch, Preserve Transients and a Range setting.
Spectral and phase-vocoder algorithms work in the frequency domain, decomposing the signal into partials over time. Excellent for sustained material, pads, strings, long vocal phrases, where there are no sharp attacks to preserve anyway. The downside is the classic metallic, underwater quality on percussive sources, and the tendency to blur a stereo image.
Granular or overlap-add algorithms cut the audio into grains and re-trigger them at positions that reconstruct the intended length. Bitwig Sampler’s granular engine and the Texture type in several DAWs sit here. Granular is the most forgiving family for extreme ratios, and the most creatively useful when you lean into it.
Match the family to the material. A drum loop, breakbeat or anything with a strong kick wants a transient mode. A pad, drone, guitar chord or held vocal note wants a spectral or granular mode. A full mix is the hardest case, and slicing or stem separation beats stretching every time.
The mode named for the DAW caveat matters more than it sounds. In Ableton Live, the Warp Modes menu offers Tones and Complex for pitched material, Beats for percussive material, Texture for a granular character, Composite for layered sources and Re-Pitch for varispeed resampling. In Logic Pro, Flex Time’s Slicing mode fixes note lengths on a grid while preserving formants, Rhythmic mode preserves transients with movement between them, and Polyphonic mode is the one you want on chords. In FL Studio, the E3 Generic, E3 Mono and E2 Transient algorithms behave very differently on the same file, and E3 Mono produces a narrower but far more phase-stable result on stereo material. Studio One’s Stretch and Shift buttons are persistent, so an accidentally Shifted clip is a common and annoying discovery.
Adjust Transient and Formant Controls
Once the mode is right, the detail controls decide whether the result sounds professional or merely passable.
Transient preservation is usually a single dial or a slider labelled something like Transient, Attack, Protect or Transient Amount. It tells the algorithm how firmly to lock attacks in place. Push it too far and you hear little chirps or doubled hits because adjacent transient frames have been forced to overlap. Pull it back too far and the drum loses its punch. The working range for a break is roughly two thirds to three quarters of maximum, and for a soft loop you can go further toward maximum because there is less to protect.
Formant controls matter the moment a voice is involved. Formants are the resonant frequencies that make a vowel sound like that particular vowel; shifting pitch without moving formants is what keeps a stretched vocal from turning into chipmunks or a hollow robot. Leaving formant preservation on is the correct default for every vocal stretch. Turn it off only when you deliberately want the vocal to change character with pitch, or when working with a purely instrumental source where the setting does nothing useful.
Attack shaping and envelope parameters are the finer controls. Ableton’s Beats mode adds a small envelope display with dials that let you nudge the detection curve for individual hits; adjusting that shape on a loop with an unusually soft hat or a layered snare is often the difference between good and finished. Logic exposes transient-related controls on the Slicing and Rhythmic flex modes. Keep every adjustment small. If you find yourself pushing a dial to its extreme, the mode is wrong, not the setting.
Trim, Crossfade, and Check the Loop
A stretched clip is often longer or shorter than the loop length you need, so the last job is editing.
Cut on musical boundaries, never on a waveform peak. Placing a cut at the exact top of a transient is what produces a click, because the waveform is at its highest amplitude when you sever it. Cutting at the downbeat or at the tail of a note gives the algorithm a natural place to fade. A loop of eight bars should start and end at the downbeat of bar one, not two milliseconds after it.
Where you do need a splice inside the clip, use a short crossfade rather than a hard cut. Somewhere in the 5 to 15 millisecond range works well for percussion and longer material alike: long enough to cover the discontinuity, short enough to avoid a perceptible doubling of the attack. Fade the loop start and end over a few milliseconds too, even when they butt up against the next repetition, because an exact-zero crossing assumption rarely survives a stretch render.
Then audition it properly. Loop the stretched clip for a full minute at the project tempo rather than scrubbing through it. Listen on headphones for clicks, for reversed-sounding fragments, for a change in loudness, and for anything that drifts out of grid on a later repetition. Export a test bounce and check the loop on the phone speaker, in the car, and next to another drum loop, because mono compatibility and low-end wobble hide themselves in solo playback.
Common Mistakes That Cause Artifacts
Nearly every stretched loop I have been handed to fix had at least one of these problems.
Stretching by an extreme ratio
The move was 18 percent and the producer expected the stock algorithm to hide it. It will not. Above about 8 percent, switch approach entirely: slice the loop and reposition individual hits, use a re-pitch or varispeed approach, or split the loop into stems and stretch each one with its own matched algorithm.
Using a spectral mode on drums
A phase-vocoder setting on a breakbeat produces the metallic, underwater sound most people describe as “artifacts”. Switch to a transient mode. The setting that sounds terrible on drums is often exactly right on the pad sitting two tracks over.
Stretching a compressed or mastered full mix
Every loudness compressor baked into a master is already squeezing transients together. Stretching that file asks the algorithm to undo an effect nobody can undo cleanly. If you have the stems, stretch them individually and mix them back. If you only have the master, run it through an AI stem splitter first, or accept that the result will be soft around the kick.
Cutting at waveform peaks
Each cut lands exactly on the loudest sample of a hit, and you get a click every bar. Move the edit to a bar line, or place it in the decay of a note where the amplitude has already fallen away.
Leaving clicks at the loop boundary
The stretch ends where the file ends, and that end is usually not at a zero crossing. Apply a short fade of a few milliseconds at both ends, especially when the loop repeats in an arrangement.
Stretching the same loop several times in a row
Each pass bakes in more damage, because the algorithm has no idea the previous render was already processed. Render one version at your final tempo and work from that file. If you need to go further, go back to the untouched original.
Forgetting that pitch moved with the loop
If the mode you chose also shifts pitch, the whole loop has changed key and you are about to fight your arrangement for the rest of the session. Confirm the algorithm is set to preserve pitch before you render.
Quick Checklist for Clean Results
Run through this before the loop goes into an arrangement.
- Clicks at the seam: loop it for at least a minute and listen at the start and end points specifically.
- Reversed or metallic fragments: a sign the algorithm is reconstructing weak parts of the signal rather than the material itself. Try a different mode.
- Pitch shift: a shifted note tells you pitch preservation is off, or that you are hearing the mode’s character rather than a processing error.
- Chipmunk or hollow vocal quality: formant preservation is disabled, or the move is too large for a voice to survive.
- Lost attack: the kick should hit at the same instant it did before. Softened punches mean transient protection needs raising or a sharper mode.
- Loudness change: stretched material often sits slightly differently in level. Match it roughly against the original before judging anything else, or you will mistake volume for damage.
- Mono compatibility: play the loop through a mono sum or check it on a phone speaker. Wobbling low end and a collapsing stereo image both show up here and nowhere else.
- Low-end stability: listen to the bottom octave specifically. If the sustain wavers, the algorithm is having trouble with the sub content and needs a different mode or a parallel sine layer underneath.
Once those pass, compare the stretched loop against the original in the actual mix, at the actual level, in the actual arrangement. A loop that sounds obviously wrong in isolation often disappears completely in context, and one that seems fine alone can be fighting everything around it.
Frequently Asked Questions
How do I time stretch audio without changing pitch?
Time stretching changes the duration of audio while holding pitch steady. In your DAW, enable the stretch tool, switch off pitch shift, then match the algorithm to the material. Transient modes such as Ableton’s Beats or Logic’s Slicing suit drums, while spectral modes suit pads and sustained sounds. Keep the move under about 3 percent where possible, and leave formant preservation on for any vocal.
What is the best audio time stretching software?
There is no single winner, because the right tool depends on the material and how far you are moving it. Stock DAW stretchers handle moves under about 8 percent well enough. For larger tempo moves on a full mix or acapella, Serato Pitch ‘n Time Pro handles large ratios best, and iZotope RX Time and Pitch is slower but lets you inspect and repair artifacts visually. Melodyne is the option when you need to edit notes after stretching.
Which warp mode should I use for a drum loop?
Use a transient-preserving mode. In Ableton Live that means Beats, Tones or Complex rather than Texture. In Logic Pro, Flex Time Slicing or Rhythmic mode keeps attacks anchored, while Monophonic and Polyphonic are built for pitched material. In Reaper, use the elastique algorithm with transient detection enabled. Avoid granular and phase-vocoder modes on percussion, which is where the metallic, underwater sound comes from.
How much can I time stretch before quality loss?
Under 3 percent almost any algorithm sounds clean, so that range needs no special care. Between 3 and 8 percent, pick the mode deliberately and raise transient protection. Between 8 and 15 percent, expect softening around transients and consider slicing or re-pitching instead. Beyond 15 percent, stretching alone rarely works on drums or full mixes, so separate the stems and treat each one with a matched algorithm.
What is formant preservation and when do I need it?
Formants are the resonant frequencies that give a vowel its character. When you change a voice’s pitch without moving the formants, it stops sounding like that person and starts sounding like a cartoon character or a hollow synth. Formant preservation keeps them in place so the vocal sounds natural after a stretch. Leave it on for every vocal you process, and switch it off only when you want the vocal’s character to shift with the pitch.
Can I fix audio that has already been stretched badly?
Partly. Layer an unstretched transient back over the stretched version to restore punch, notch out the frequency band where smear is worst, add parallel saturation to glue the repaired layers, and reinforce the low end with a clean sine sub. You will not recover detail the algorithm destroyed, but those four moves usually make the result usable in a mix. If it still sounds wrong, go back to the original file and change the approach.
Conclusion
Knowing how to time stretch a loop without artifacts comes down to five habits: duplicate the file before you touch it, confirm the source BPM instead of guessing, pick the algorithm family that matches the material, make small adjustments and audition the result in context before you commit.
The percentage rule is the one to remember when you are short on time. Under 3 percent is safe with any mode, 3 to 8 percent needs a deliberate choice, and anything past that wants a different tool or a different method.
Start with the next loop on your list: test a conservative stretch of a few percent on one short section, loop it at the project tempo, and compare it against the untouched original. That single comparison teaches more about your DAW’s stretch settings than an hour of reading about them.