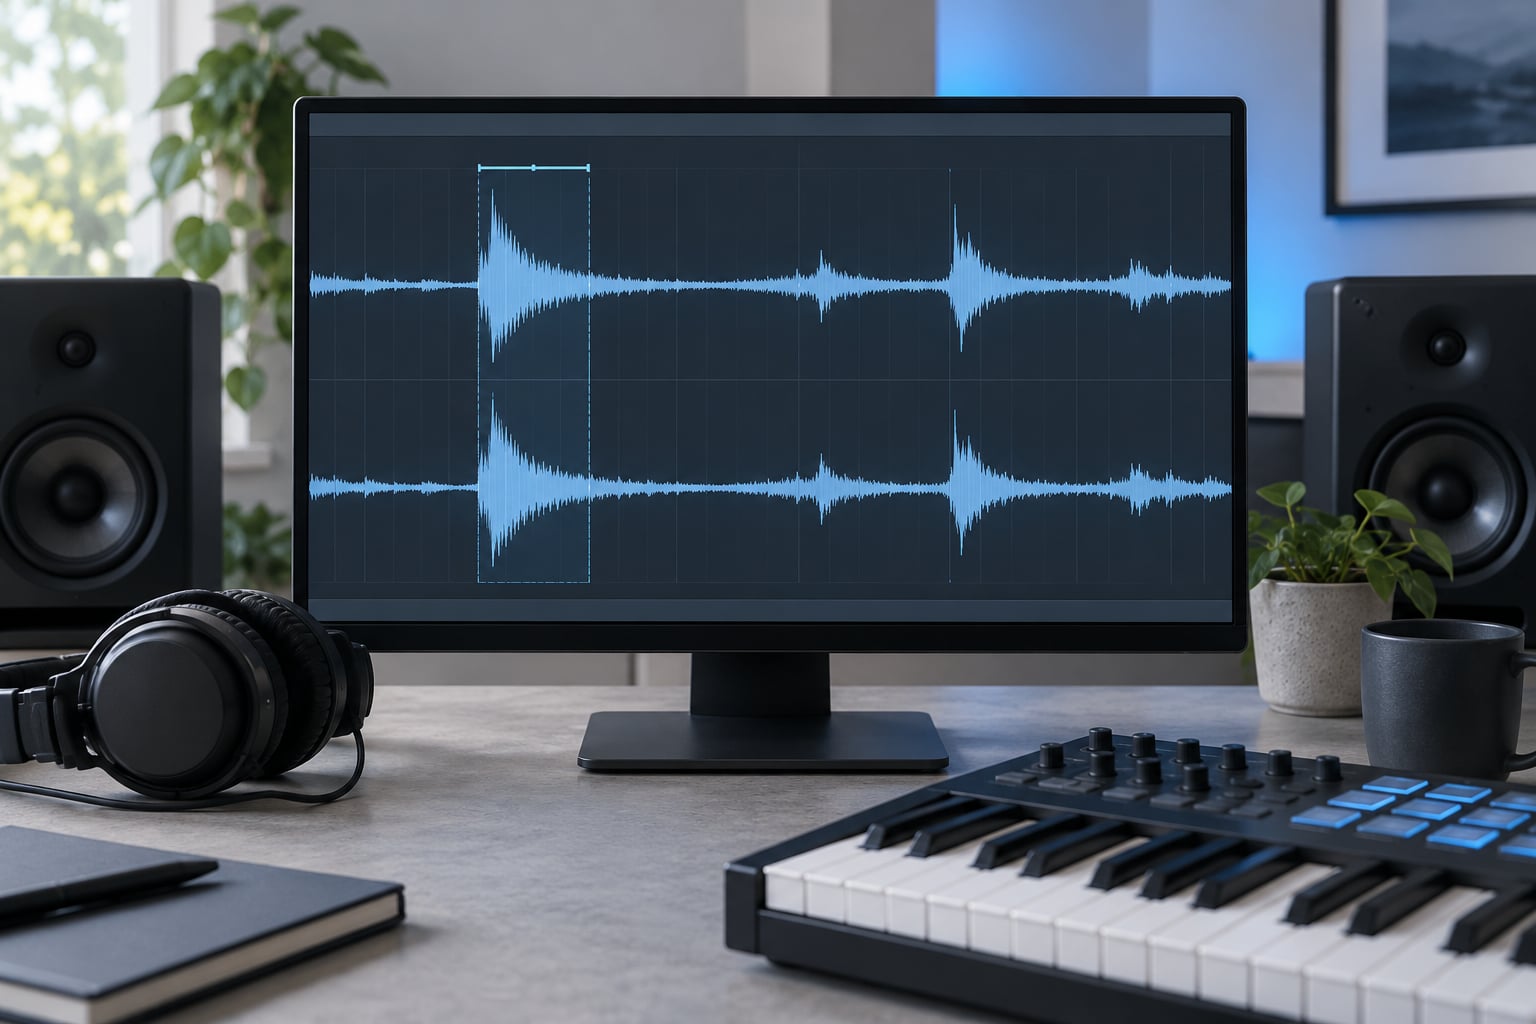
A click is an amplitude discontinuity: the last sample of your loop sits at one level, the first sample of the next repeat sits at another, and that instant jump is broadband enough to sound like a tick. The whole trick to how to loop a one shot without clicks is to make the loop join happen where the waveform passes through zero, then smooth both boundaries with a very short fade. In Ableton Live, that is a loop region drawn over the full transient plus a millisecond or two of fade on each edge.
This walkthrough covers Live 12 in both Session and Arrangement view. The same reasoning applies in FL Studio, Logic Pro, Cubase, Bitwig and Studio One, and the FAQ at the end points to where the equivalent control sits.
Table of Contents
- What You Need
- Step-by-Step: How to Loop a One Shot Without Clicks
- Set Up the One-Shot Sample
- Create a Loop Long Enough to Avoid a Click
- Align the First and Last Samples
- Turn Off Warp and Smooth the Boundaries
- Check Timing, Gain, and Repetition
- Save and Reuse the Seamless Loop
- Common Mistakes
- Frequently Asked Questions
- Why does my Ableton one-shot loop click?
- How long should a one-shot loop be in Ableton Live?
- Should I turn Warp off when looping a one-shot?
- What should I do if a one-shot is too short to loop?
- How do I loop a one shot without clicks in another DAW?
- Conclusion
What You Need
You need Ableton Live 12, a dry one-shot recorded as a single hit or note, and somewhere to hear the result. That is genuinely it.
Use a WAV or AIFF file rather than MP3 or AAC. Compressed formats often carry a few hundred samples of encoder padding at the start, and that offset shifts every zero crossing out of the position you picked.
Headphones or studio monitors, plus a MIDI controller if you want to trigger the loop live. If your setup is a hardware sampler rather than a DAW, the workflow is the same: find the loop points by eye, then latch the sample so it repeats until you stop it.
Step-by-Step: How to Loop a One Shot Without Clicks
Set Up the One-Shot Sample
Drag the sample from the browser onto an audio track in Arrangement view. Watch the start of the clip: if the waveform begins with a block of flat signal rather than a rise, you have an offset problem, and it will not fix itself later.
Zoom in with the scroll wheel until you can see individual samples at the very start of the clip. Confirm the first sample is at zero amplitude, and confirm the full attack and decay are present before you loop anything.
That last point matters more than people expect. A one-shot cut from a longer recording often arrives with its tail already chopped off, and no boundary technique can restore decay that is not in the file.
Create a Loop Long Enough to Avoid a Click
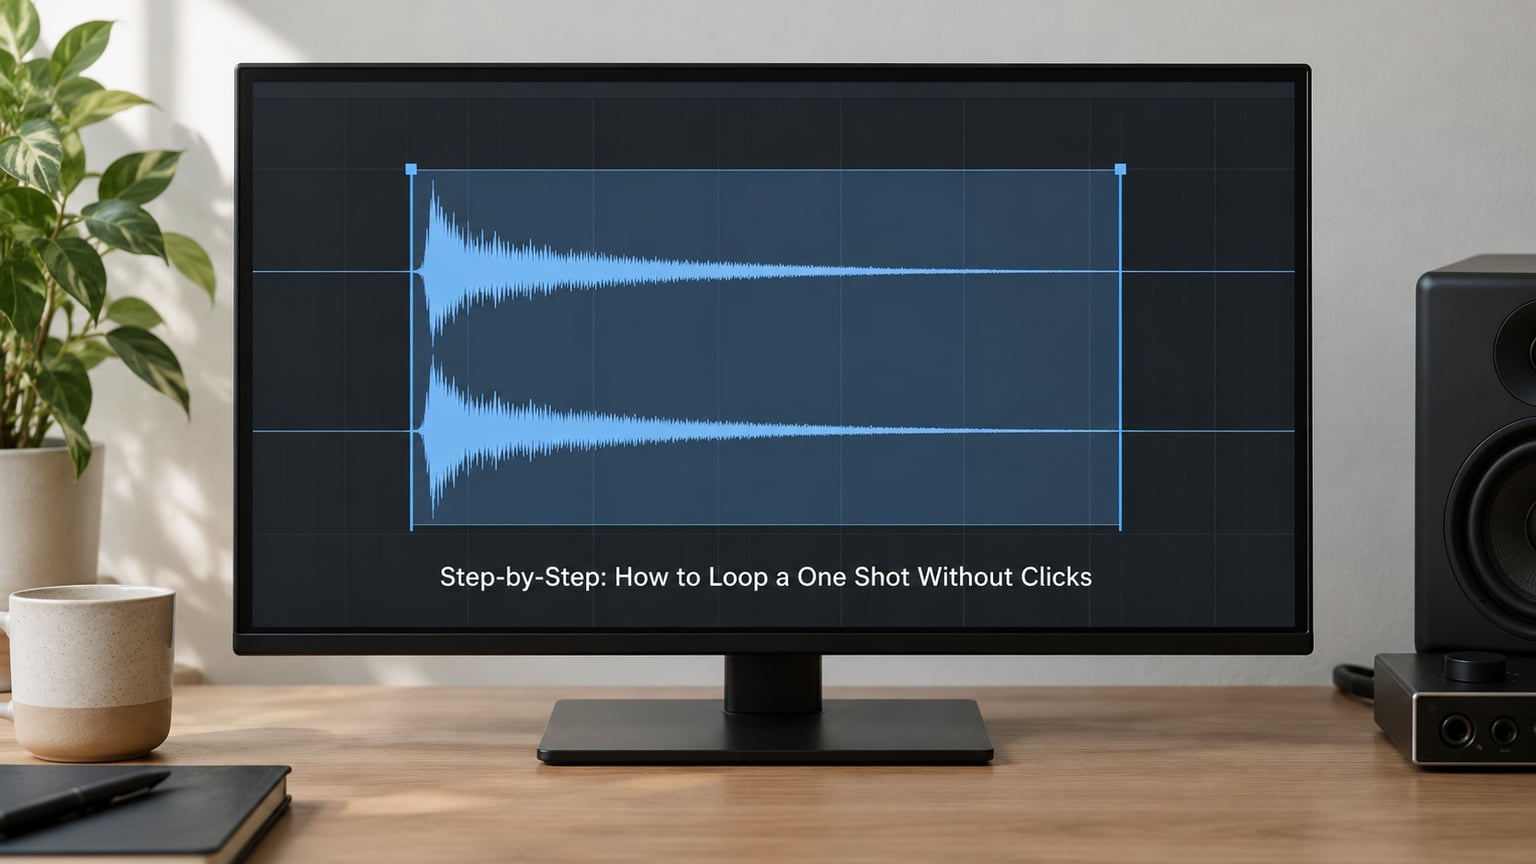
Select the Loop tool in the top toolbar, or hold Cmd/Ctrl and use the tool selector, then drag across the clip. Live draws a loop region with draggable handles at its top-right corner, and the loop brace in the top toolbar mirrors the position and length you have set.
Draw the brace across a complete musical phrase, not across a single transient. A one-shot that lasts 300 milliseconds becomes a very fast, very strange loop at a bar length, and the ear reads that stutter as a fault even when there is no actual click.
Work out how long the sound needs to ring before it decays into silence, and make the loop at least that long. If the raw sample is shorter than the musical duration you want, duplicate the clip on the same track, extend it with Repeat, and loop the expanded version instead.
Align the First and Last Samples
Now the fiddly part. Zoom in hard on the loop start and read the amplitude at that point, then do the same at the loop end. You want both readings to be zero, or as close to zero as the display will let you judge.
If the end of the loop sits at 0.5 amplitude and the start sits at 0.2, that 0.3 step is the click. Slide the loop end forward to the next zero crossing and listen again. Low-frequency material has zero crossings every half cycle, so the nearest one is usually only a few milliseconds away.
Zero crossings fix the step, but they do not fix everything. A short fade and a zero-crossing cut solve different problems, and using only one of them is why some loops still tick.
Turn Off Warp and Smooth the Boundaries
Warp changes the sample data, and it introduces small discontinuities of its own. For a one-shot you are looping at its own length, turn Warp off unless the timing genuinely requires stretching.
With the clip selected, drag the two fade handles at the top corners of the clip inward to shorten them. Open the clip’s info view in the detail area and you can type an exact fade length instead of judging it by eye.
Use these as starting points:
| Source material | Boundary fade | Why |
|---|---|---|
| Kick, snare, hi-hat, any sharp transient | 0.1 to 1 ms | Any longer fade smears the attack that defines the sound |
| Plucked, struck, tonal one-shots | 1 to 5 ms | Covers the residue a zero-crossing cut leaves behind |
| Pads, strings, sustained notes with decay | 5 to 15 ms | Hides the slow level change across the tail |
| Ambience, drones, noise textures | 20 to 40 ms | These barely have a transient to hide, so blend longer |
Fades longer than that start to sound faded rather than click-free, because you are cutting audible amplitude, not just smoothing a seam.
Check Timing, Gain, and Repetition
Set the project tempo so the loop length lands on a whole number of beats, otherwise every repeat drifts against the grid and the timing smears over several cycles. Quantize or nudge the clip until the brace measures a clean division of the bar.
Audition at least four or five consecutive repeats, not one. Clicks hide well in a single cycle and reveal themselves when the pattern locks in. Watch the track meter while it loops, because a loop that sits a decibel or two above the original one-shot reads as a jump even when the waveform join is clean.
Pull down clip gain or the track fader if the meter peaks, and compare the loop against the unlooped original at matched level. If the looped version feels quieter, that is usually the fades eating a few milliseconds of level rather than a playback problem.
Save and Reuse the Seamless Loop
Right-click the clip and consolidate, or select the track and use File and Bounce to render. Give the bounced file a descriptive name and keep the dry one-shot in a separate folder.
Bouncing matters more than it looks. Every time you nudge a loop point or drag a fade, you alter the source, and after a handful of edits those stacked changes compound into a loop that no longer lines up with your original. A bounced copy freezes the good version, and if you later chop it into another project you are not re-applying fades to already-faded audio.
Common Mistakes
Cutting straight through a transient. The loop point lands in the middle of the attack, so every repeat restarts halfway into the hit. Move the boundary to the sample before the transient begins, and extend the loop to include the entire attack and decay rather than cutting through the waveform peak.
DC offset left in the file. Some recorded one-shots sit on a baseline that is not zero. That baseline alone can create a step at the loop join. Use a high-pass filter or a DC removal plugin on a duplicate, and check the waveform is centred before you start trimming.
Fades that are far too long. A 200 ms fade on a hi-hat changes the character of the sound on every repeat. Shorten it until the seam is gone but the transient is intact.
Leaving Warp engaged. Warp stretches the audio to match tempo, and the resampling it does can reintroduce small steps at the boundary. Turn it off for a loop that plays at its natural length.
Gain jumps between repeats. If one cycle is louder than the next, check that clip gain is not being modulated by an envelope or automation lane. Match the levels and compare against the original.
Loops that are too short to be musical. A 200 ms one-shot at bar length repeats fifteen times a bar and sounds like a stutter. Extend the source with Repeat or use the tail-capture trick below before looping.
Looping a compressed file. MP3 and AAC padding throws the sample count off, so your carefully chosen loop points land in the wrong place. Loop WAV or AIFF and convert only at the export stage.
For sounds with a long reverb or decay tail, zero crossings will get you click-free but not convincing. Render three repeats of the sample, then loop only the middle one. The middle repeat already contains the decay bleeding in from before and the outgoing tail from after, so the join disappears into material that was always there.
A few habits worth keeping: check the loop in mono, since a phase difference between channels that is invisible in stereo can click in a mono mix; leave the original key alone unless the loop needs transposing, because time-stretching ruins loop alignment; audition with the rest of the track muted so any residual tick is obvious; and never edit over your dry one-shot, because you will want it again the moment the loop does not work.
Frequently Asked Questions
Why does my Ableton one-shot loop click?
A click means the last sample of your loop and the first sample of the next repeat are at different amplitudes. The instant jump between them is a broadband transient. Three things usually cause it: the loop point sits somewhere other than a zero crossing, the source file has DC offset or encoder padding, or Warp is reshaping the audio. Start by zooming in and reading the amplitude at both boundaries.
How long should a one-shot loop be in Ableton Live?
Long enough to hold the full attack and decay of the sound, and a clean division of your bar. A 300 ms one-shot at a one-bar loop repeats far too fast to feel like a loop. If the natural length does not divide evenly, quantize the clip or duplicate and extend it with Repeat so the brace measures whole beats.
Should I turn Warp off when looping a one-shot?
Yes, in most cases. Warp resamples the audio to fit the tempo, and that resampling can reintroduce small discontinuities at the loop boundary. Leave Warp off when the loop plays at the sample’s natural length. Turn it on only when the timing genuinely requires stretching, and re-check both boundaries afterwards because the stretch has moved them.
What should I do if a one-shot is too short to loop?
Duplicate the clip on the same track and use Repeat to extend it to the musical length you need, then loop the expanded version. If the sound has a tail such as reverb, render three repeats and loop only the middle one, so the decay from the previous hit bleeds in naturally. Looping a very short file at bar length just produces a stutter.
How do I loop a one shot without clicks in another DAW?
The technique is identical everywhere: find a point where the waveform crosses zero, loop between two such points, and add a sub-millisecond fade on each edge. FL Studio exposes loop points on the Channel Settings toolbar with a crossfade handle on the clip. Cubase keeps them in the Audio Event loop section, and Bitwig puts them on the clip segment itself.
Conclusion
Find the transient, extend the loop so the whole attack and decay sits inside it, then read the amplitude at both boundaries and nudge each one onto a zero crossing. Smooth with a fade matched to the material, keep Warp off, and check the level across several consecutive repeats. Once it sounds right, bounce it and keep your dry one-shot untouched. That is the whole process, and even in 2026 it takes about five minutes per sound.