Warp in Ableton Live time-stretches an audio clip so its timing locks to your project tempo without moving its pitch. Learning how to warp audio in Ableton Live comes down to four moves: drag the file onto an audio track, switch Warp on in Clip View, choose a warp mode, then nudge yellow warp markers until the transients sit on the grid. Once you have done it twice it takes about a minute.
If you only remember five things, remember these:
- Drag the audio file onto an audio track in Arrangement View.
- Open Clip View (Ctrl+E on Windows) and click the Warp button.
- Pick a warp mode from the Warp Mode selector next to it.
- Zoom into the waveform and drag yellow warp markers onto the grid lines.
- Play the clip back with the metronome and fix the first drift you hear.
The rest of this guide goes deeper on each of those, plus the parts that only ever get explained in video: which mode suits which source, why a long recording can never warp perfectly evenly, and what to do when the result drifts or beeps.
Table of Contents
- What You Need
- How to Warp Audio in Ableton Live: Step by Step
- Enable Warp Mode on an Audio Clip
- Choose the Right Warp Mode in Ableton Live
- Set the Project Tempo and Warp a Full Clip
- Adjust Timing with Warp Markers
- Change Duration and Preserve Pitch
- Use Grid Markers for Repeated Loops
- Check the Warped Audio in Context
- Common Mistakes
- Frequently Asked Questions
- How can I stretch audio in Ableton Live?
- Which warp mode should I use for drums and for full mixes?
- Why does my warped audio sound chipmunky or pitched up?
- How do I warp a full song to my project’s BPM?
- What does Ctrl+L do in Ableton Live?
- How do I make a warped clip behave like a normal audio file?
- Conclusion
What You Need
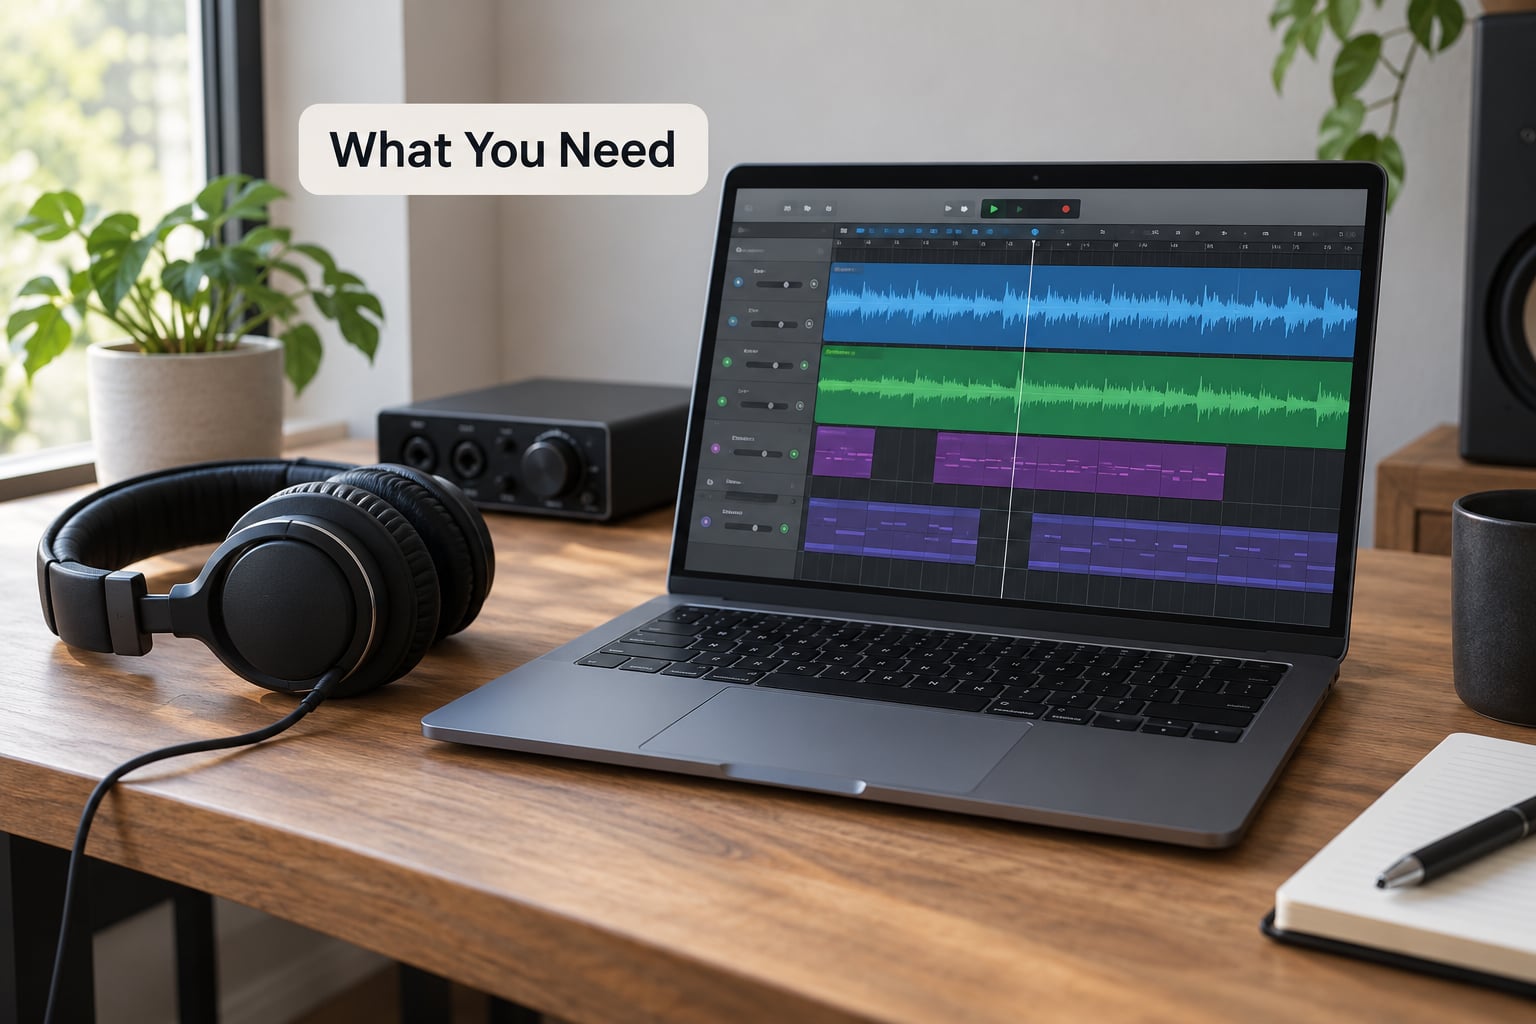
Ableton Live 10, 11 or 12. The Warp button, Clip View layout and warp mode list have not changed between those versions, so the steps below work whether you run Suite, Standard or Lite. Where something differs I will say so.
Then the audio itself. A loop, a sample, a single vocal take, or a whole mixed track dragged in from your desktop or your library. Warping works on any audio clip that sits on an audio track.
One piece of advice saves a lot of frustration later: record or bounce your source at the same sample rate as the project, typically 44100 Hz or 48000 Hz. Warping audio that was converted from another sample rate can introduce a constant beep on some systems, and the fix is easier to avoid than to chase.
Lastly, know your project tempo before you touch Warp. Tap Tempo in Live reads the tempo off your playing, which is useful for a quick check, but it can sit a percent or two off. If the tempo is wrong, every warp marker you place inherits that error.
How to Warp Audio in Ableton Live: Step by Step
Enable Warp Mode on an Audio Clip
Drop the audio onto an audio track in Arrangement View. Look for a small button in the top-left corner of the clip titled Warp. When it is off, the clip plays at its recorded speed and ignores the project tempo entirely.
Click it once and the button lights up. That is the entire switch. You will see the clip’s waveform redraw, and any yellow warp markers Live has placed appear along the top of the clip.
If the Warp button is hard to find, open Clip View instead. Double-click the clip, or select it and press Ctrl+E on Windows (Cmd+E on macOS), and the full Clip View appears with the Warp button, the Warp Mode selector, and the gain controls on the left. Detach Clip View with the small button at its top right if you want it floating while you work in Arrangement View.
Two quick checks confirm Warp is actually doing something. Play the clip and watch the launch or position readout: it should follow the transport. Then change the project tempo a little and hear the clip stretch with it. If neither happens, Warp is off.
Choose the Right Warp Mode in Ableton Live
Warp mode is not a speed setting. It tells Live which time-stretching algorithm to use, and the algorithm matters far more than most people expect. Live 10 and 11 ship six modes; Live 12 added a seventh, Phases Plus.
| Mode | Best for | Watch out for |
|---|---|---|
| Beats | Drum loops, percussion, breakbeats, anything with a firm pulse | Melodic parts smear; sustained chords wobble audibly |
| Tones | Monophonic lines: bass, lead synth, plucked or single-note guitar | Polyphonic chords and pads turn to mush |
| Complex | Full mixes and loops with several parts and harmony | Heavy CPU use; attacks can lose definition on short clips |
| Complex Pro | Dense full mixes and difficult recordings that need the most accurate stretch | The slowest and most CPU-hungry mode |
| Texture | Sustained material: pads, strings, ambient washes, long reverbs | Poor at holding sharp transients tight; bloats on percussion |
| Re-Pitch | Turntable-style speed changes, resampling tricks, deliberate pitch bends | Pitch moves with speed by design; quality drops on large changes |
| Phases Plus (Live 12) | Phasey, flanged or heavily modulated material such as pads and vocal textures | Not in Live 10 or 11; a specialist mode, not a default choice |
That table is the whole decision. Drum loop, Beats. Full mix, Complex or Complex Pro. Single melodic line, Tones. Pad, Texture. Scratch effect or half-speed drop, Re-Pitch.
Beats mode is the community default for percussion because it preserves attacks, which is the part of a drum loop your ears track most closely. If you are not sure, start there and only change if it sounds wrong, not just different.
One more factor: CPU. Complex and Complex Pro cost noticeably more than Beats or Texture, because they analyse more of the signal. On a busy project with ten warped loops, dropping a few to a cheaper mode can be the difference between a smooth session and dropouts.
Set the Project Tempo and Warp a Full Clip
To warp a whole recording, set the tempo first. Look at the tempo field in Live’s transport bar on the left and type the value in, then press Enter to commit it.
With Warp on, use Warp From Start to make the clip start exactly on bar 1, beat 1. Put the cursor on the downbeat you want treated as the start, then right-click the clip and choose Warp, then Warp From Start. Everything after that point is stretched relative to that anchor.
This matters more than it sounds. The algorithm applies a constant stretch ratio between each pair of warp markers, so wherever you anchor, that spot stays fixed and the stretching happens between anchors. Choose your anchor well.
For a long or live recording, warping sequentially from the top gets painful fast. Producers on the Ableton forums call the workable order divide-and-conquer: anchor widely spaced points first, then refine. Pick the first downbeat and the last downbeat, roughly eight to sixteen bars apart, and place markers on both. Get those two sitting on the grid, then work inward in smaller sections.
Most of the frustration people report with long tracks comes from fixing one four-bar section at a time and never checking the whole picture. Wide anchors first, detail last.
Adjust Timing with Warp Markers
Warp markers are the yellow circles Live places along a clip. Between two markers, Live stretches or compresses the audio by a fixed ratio, so the spacing you choose determines what the audio has to absorb.
Add one by double-clicking the top edge of the clip, or select a point and press Ctrl+M on Windows. Drag a marker horizontally to nudge the timing around it. If you drag too far, the audio in that region compresses hard and the transients thin out; if you drag it back toward its neighbour, that region stretches and pitch stays put but the phrasing gets loose.
A late hi-hat is the easy case. Put a marker on the hi-hat, drag it a few pixels left until it sits on the grid line behind it, and listen. Because the marker splits the clip into two regions, the change stays local instead of shifting the whole clip.
Vocal entrances take more care, because phrasing is what carries meaning. Mark the first syllable, align it, then check whether the rest of the phrase still sounds natural. If a line starts slightly behind the beat but the whole phrase leans into it, leave it. Warping is not a licence to flatten every performance.
Transient markers are the grey circles Live detects automatically, and they are what actually keep a clip tight. Many producers on Reddit’s r/ableton assume the yellow markers do all the work, then wonder why the timing still feels loose. The grey transients are the real anchor points; align those and the clip usually sits before you touch anything else.
Here are the controls worth having in your fingers:
| Action | Windows shortcut | Note |
|---|---|---|
| Open Clip View | Ctrl+E | Key Map Mode shows your layout’s equivalents on other platforms |
| Insert a warp marker | Ctrl+M | Works on the selected point in the waveform |
| Slide audio without moving the clip | Shift and drag in the waveform | Prevents accidental clip movement |
| Warp From Start / Warp From Here | Right-click the clip, then Warp | Usually left unassigned by default |
| Capture MIDI | Ctrl+L | Nothing to do with warping, but it is the most searched shortcut on this topic |
| Consolidate a warped clip | Clip menu, then Consolidate | Often mapped to Cmd/Ctrl+J on some key maps |
If you open Key Map Mode, the button near the top right of the menu bar, you can check what your own layout maps each of these to instead of guessing.
Change Duration and Preserve Pitch
Three different tools look similar and behave very differently. It helps to keep them apart in your head.
Clip duration, changed by dragging a clip edge in Arrangement View, scales the audio with the timeline and does affect pitch. That is a varispeed control, not a warp tool.
Warp markers stretch the audio without moving pitch. The algorithm rearranges the waveform internally so a longer region gets spread out and a shorter one gets tightened, and the pitch stays where it was. That is the answer to the question people ask most often about how to warp audio in Ableton Live without the chipmunk effect.
The transient-based stretching Live does inside a marker pair is the third layer. It is what makes tight percussive material stay sharp, and it is why the right mode matters as much as the markers.
So if a warped vocal comes out chipmunky, something is off with the mode or the material rather than with pitch preservation itself. Tones mode on a polyphonic vocal, or a huge stretch ratio inside one marker pair, will produce that. Split the stretch across more markers and switch to Complex or Complex Pro.
Re-Pitch is the deliberate exception. There, speed and pitch move together like a turntable, which is exactly the sound most people reach for when they want that effect.
Use Grid Markers for Repeated Loops
A warp marker is a yellow circle that moves freely. A grid marker is a yellow square locked to the grid, and you create one by holding Shift while dragging a marker onto a grid line.
Grid markers matter most for loops. If you have a four-bar drum loop playing in a 4/4 project, lock the loop start and the loop end to the grid, and every repeat lines up automatically no matter how the project tempo moves. For any clip that plays more than once, grid markers remove the guesswork.
They are less suitable when the source is a performance rather than a loop. A live take whose phrasing wanders will not behave under fixed grid markers, because the markers force the wandering into rigid positions. For those, free warp markers placed by ear work better.
Beats mode is the pairing most people use with grid markers, since the grid lines and the beat division line up.
Check the Warped Audio in Context
Warping by eye in the waveform is how you end up with something technically aligned and musically dead. Give it a quality-control pass before you move on.
Play the clip solo, on headphones, at a volume where you would actually work. Solo matters because a stray kick buried in the arrangement can hide a badly warped hi-hat.
Turn on the metronome and listen for the parts that move against it. Most drift is invisible on the waveform and obvious on the click. Watch the clip play twice: warping errors tend to creep in after the first repeat, not on the first pass.
Check the clip gain at the same time. Warping can change perceived level slightly, and a loop that jumps after the first repeat is usually a gain or a marker problem rather than a stretch problem.
Finally, compare against the unwarp version. Mute the clip, play the original, unmute and play the warped one. If the warped version makes you wince, you stretched too far somewhere. Turning Warp off is the fastest way to tell whether you are hearing a stretch artifact or just a timing choice you do not like.
Common Mistakes
Wrong warp mode for the source. The most common error by a distance. Pads in Tones mode and full mixes in Beats mode both sound wrong for structural reasons, not bad luck. Check the mode table above before touching any markers.
Moving the clip when you meant to move the audio. Shift-drag inside the waveform slides the audio within the clip and leaves the clip itself where it is. Precision edits get frustrating fast without it.
Over-editing markers. Ten small corrections in one region sound worse than two. Each marker split changes the stretch ratio for everything inside it, so narrow your stretch into more regions rather than dragging one marker across the whole clip.
Switching modes after manual edits. Changing warp mode can undo marker work and send the clip back off the grid. Pick the mode, place your markers, and only change the mode once you know the material needs it.
A constant beep on warped clips. If the beep appears only when Warp is on and disappears when it is off, the source was recorded or converted at a different sample rate than the project. Convert it to the project rate first.
Audio drifting off grid halfway through. That is the constant-ratio behaviour between markers, and it means the anchors are too close together or too far apart for the material. Spread your anchors out, align those, then refine.
Expecting an even warp across a whole clip. No algorithm does this for a live or inconsistent recording. The practical fix that gets the best results is markers on the first and last hard transients, dragged into place, with the middle left alone until the ends are solid.
Treating Warp as tempo automation. Warp stretches audio against the grid. It does not change the project tempo, and it is not a way to automate tempo drift. For that, look at the track’s tempo control or playback pitch controls instead.
Frequently Asked Questions
How can I stretch audio in Ableton Live?
Drag the audio onto an audio track, open Clip View with Ctrl+E, click Warp, and choose a warp mode from the selector. Beats suits drum loops, Tones suits monophonic lines, Complex or Complex Pro suits full mixes, and Texture suits pads. Then drag yellow warp markers so transients land on the grid. Shift-drag inside the waveform to slide audio without moving the clip.
Which warp mode should I use for drums and for full mixes?
Use Beats for drums, percussion and breakbeats, because it preserves transients and keeps attacks tight. For a full mix or any loop with several parts and harmony, start on Complex Pro, anchor the first downbeat, align the first eight to sixteen bars, then work outward. Tones is for single-note melodic lines, Texture for sustained pads and ambience, and Re-Pitch when you want speed and pitch to move together.
Why does my warped audio sound chipmunky or pitched up?
That usually means the stretch is too aggressive for the mode, not that pitch preservation failed. Extreme ratios inside a single marker pair thin out transients and push harmonics up. Add more markers to split the stretch into smaller regions, move to Complex or Complex Pro for polyphonic or full-mix material, and check that Tones is not being used on chords. Re-Pitch raises pitch on purpose.
How do I warp a full song to my project’s BPM?
Set the project tempo in the transport bar first, then select the clip and use Warp, then Warp From Start to anchor bar 1, beat 1. For long or live recordings, place widely spaced markers on the first and last downbeats, get those two on the grid, then refine section by section. No algorithm warps an uneven performance perfectly, so expect the middle to need the most attention.
What does Ctrl+L do in Ableton Live?
Ctrl+L is Capture MIDI in Ableton Live. It grabs incoming MIDI data and drops it onto a new MIDI track, which is useful for playing a controller in time with audio. It has nothing to do with warping, although it is one of the most searched Ableton shortcuts. Ctrl+M inserts a warp marker, and Ctrl+E opens Clip View. Check Key Map Mode for the equivalents on your own key map.
How do I make a warped clip behave like a normal audio file?
A warped clip cannot be dragged into the browser the way an ordinary audio file can, because its length and timing are tied to the project grid. Use Consolidate from the Clip menu in Arrangement View to print the warped result to new audio on disk. The consolidated file is a normal file you can drag anywhere, though it is no longer linked to the original and the warp settings no longer apply.
Conclusion
The quickest reliable result comes from four moves: turn Warp on in Clip View, pick the mode that matches your source material, anchor the first and last strong transients, and then refine inwards with small marker nudges. That order works for a four-bar loop and for a full mix alike.
If a warped clip ends up timing-correct but unnatural, check two things first. Look at the stretch ratio inside each marker pair, because one wide gap is almost always the culprit. Then switch to Complex Pro or add more markers, since the algorithm keeps pitch but it cannot invent phrasing that was never there. Updated for 2026.