Gain riding is writing moving level automation on a track so its volume changes over time instead of sitting at one fixed number, and that is how to use gain riding for a lively mix in Ableton Live 12: through clip gain, the Utility device, the volume automation lane, or the fader itself. The goal is a mix that keeps a consistent foreground level while the phrasing and section-to-section push and pull survive.
Most of the work is judgement, not technique. The whole process below takes maybe two hours on a finished static mix, and none of it replaces the harder part: deciding what the balance should be before you start moving anything.
This guide is written for Ableton Live 12 on desktop. The menu names are the same in Live 11, so the steps transfer if you are on the older version. The control names may shift in future versions, so check your own release notes if something sits somewhere different.
Table of Contents
- What You Need
- How to use gain riding for a lively mix: Step-by-Step
- Choose the material and establish a reference
- Set a balanced static starting point
- Choose a compressor as a safety and shaping tool
- The core move: how to use gain riding for a lively mix
- Shape movement with volume automation
- Check transitions, loudness, and tonal balance
- Should you ride before or after compression?
- Common Mistakes
- Frequently Asked Questions
- Does gain riding replace compression?
- Should I use clip gain or volume automation?
- Which buses should I gain ride in an EDM mix?
- How much gain riding is too much?
- How do I automate volume smoothly in Ableton Live 12?
- Why does my mix still sound flat after I added automation?
- Final Check: Keep the Energy Musical
What You Need
Before you touch a fader, you need four things lined up.
- Ableton Live 12 or a comparable DAW with an automation lane per track.
- A compressor on the tracks you plan to ride, so peaks are controlled before they reach the automation.
- A reference track, level matched to your own mix, that you trust sonically.
- Level meters and a monitoring setup you are not tempted to turn up.
Gain riding earns its keep on drum buses, bass, synth layers, effect returns, and full-mix transitions. It also works well on a lead vocal comp when the phrases wander, and on backing vocal stacks where the doubles sit at different heights in the arrangement.
What it will not do is rescue a mix with no balance. If two elements are fighting for the same 1 to 4 kHz space, riding one of them just decides which one you keep hearing first. Fix the balance first, always.
How to use gain riding for a lively mix: Step-by-Step
Here is the complete workflow. It runs in order, and skipping ahead to the fader moves is the single most common way beginners end up with a mix that feels worse than the static one they started from.
Choose the material and establish a reference
Pick a reference track that sits in the same genre and roughly the same tempo, then match your mix to it at matched perceived loudness. In Live, a Utility device on the reference channel with Gain dialled up or down is usually enough. Some people put the Utility on their own mix instead and let the reference sit where it sits, which tells you more about your loudness bias than about your mix.
Once the loudness roughly matches, judge balance and tonal balance, not volume. What sounds slightly bright in your bedroom at half past one can vanish on a phone speaker, which is where a lot of mixes get judged first.
Now mark the sections that need more or less energy. A typical EDM arrangement has an intro, a build, a drop, a breakdown, and a second drop with more layers. Write those onto the arrangement or a paper score before you automate anything.
Set a balanced static starting point
Set fader and Utility levels so drums, bass, melodic elements, and effects sit at musically useful relative positions. The test is simple: mute and unmute each track and it should sound like something left the mix, not like someone turned a channel off.
Session View suits loop-based producers who want to see eight bars and move. Arrangement View suits anyone who thinks in sections and long automation moves. Same DAW, different muscle memory, and both are valid.
Write down the baseline: dump the mix, or note the fader positions for the drum bus, bass, and main synth. That recording becomes your control group. You cannot hear a 1.5 dB move against nothing, so the before version matters more than people expect.
Choose a compressor as a safety and shaping tool
Compression and gain riding solve different problems, and the order matters. Compression evens out peaks within a track. Riding moves the whole track, or parts of it, against the rest of the mix. Use compression first, then ride on top of a signal that is already controlled.
In Live 12, add Audio Effects > Dynamics > Compressor. The controls are Ratio, Threshold, Attack, Hold, Release, Gain (makeup), Dry/Wet, and Sidechain. The same names apply in Live 11.
For riding purposes, you want gentle settings: a ratio between 2:1 and 4:1, an Attack slow enough that the transient still punches through at roughly 10 to 30 ms, and a Release that lets the track rebound between drum hits rather than holding it down. Keep the Dry/Wet blend partly in check if you want the meter to keep moving under your automation.
If a track needs more than about 6 dB of reduction to feel controlled, the problem is usually the performance, the mic placement, or the gain staging before the compressor. That is what gain staging means: managing the level at each point in the signal chain so every device in it receives a sensible input. Riding a broken chain just automates the breakage.
The core move: how to use gain riding for a lively mix
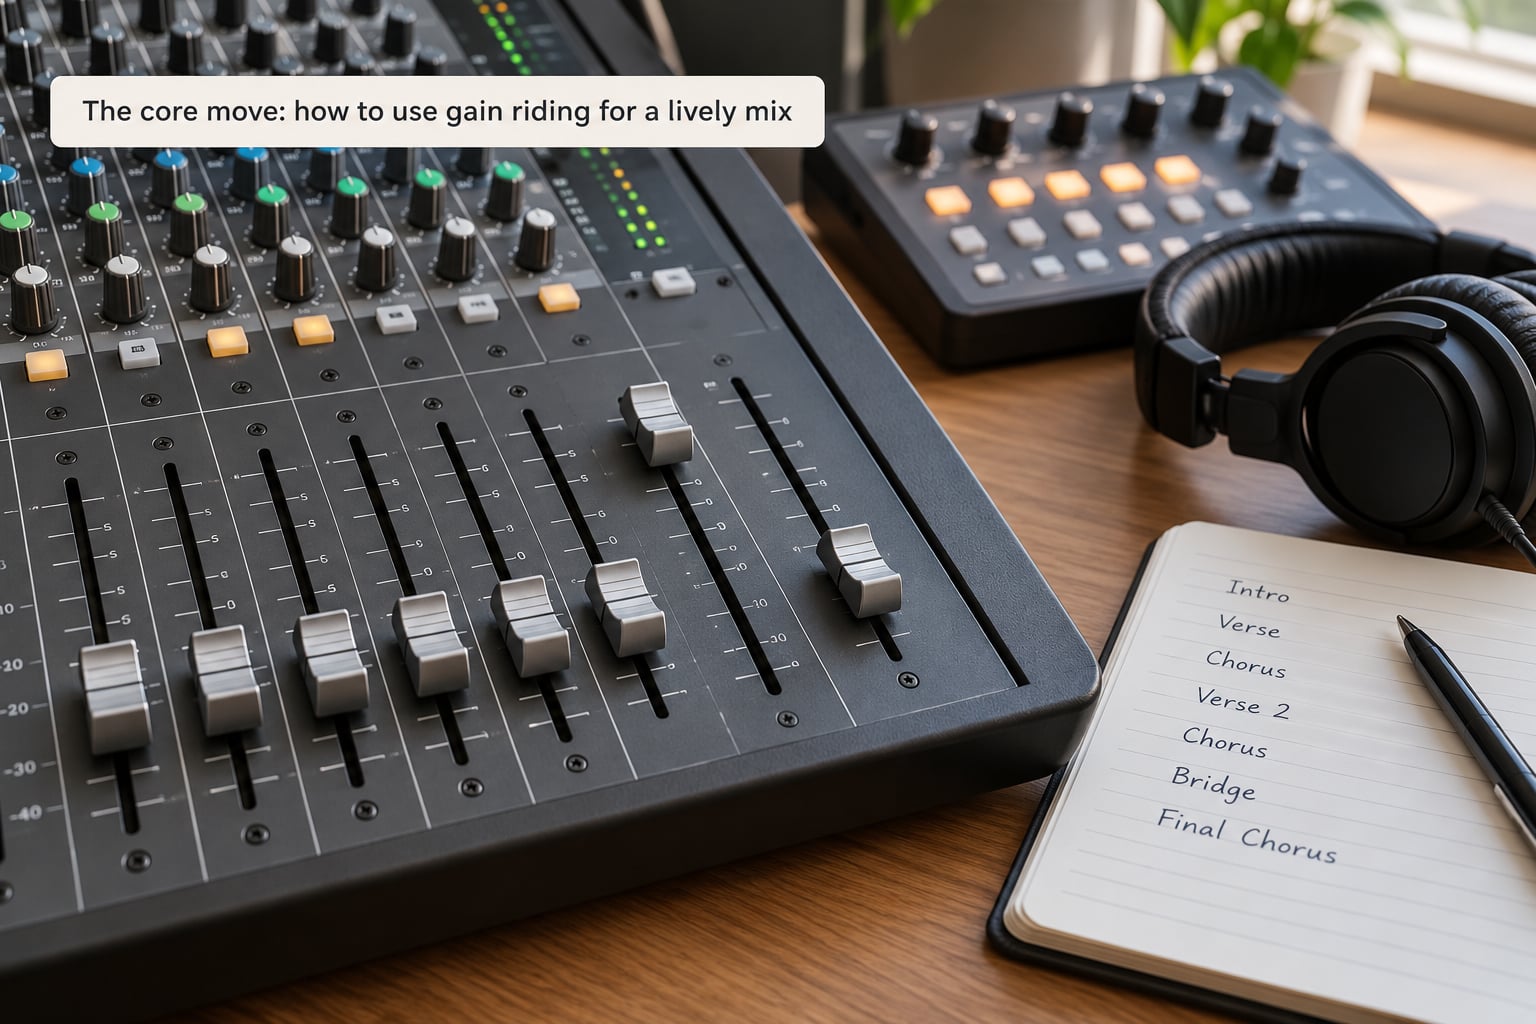
There are four distinct controls that people lump together under the name gain riding, and they are not interchangeable.
Clip gain moves one audio region and edits the audio itself, so it travels with the file. The limitation is obvious: it is a one-off correction, not a moving level.
Utility gain moves everything after it in the track chain, which makes it the right tool for lifting a whole layer or padding a noise floor. It is static only, until you automate the parameter itself.
Volume automation moves the post-fader output of the track or group. Because it sits after compression, it changes the finished sound rather than what the compressor reacts to.
Fader moves do the same job as volume automation, performed by hand while you mix. Easy to lose your place in the balance doing it this way, so keep it as final-note territory.
Now the actual performance, which is where the practical side of learning how to use gain riding for a lively mix shows up. Pull up the reference again and work section by section.
During the intro, drop the drum bus 2 to 3 dB below the static balance so the pad or the main synth reads as the focus. As the build starts, bring it back to its resting level and lift the main synth by 1 to 2 dB over the last four or eight bars so it swells into the drop.
At the drop, hold the static level. The drop should not be louder than the build in average terms; it should simply have more happening. Many people lift here and end up with a tired track by the second drop.
Through the breakdown, ride the drums down 4 to 6 dB and let the vocal or the atmospheric layer come forward. As the breakdown rebuilds, use a slow ramp over 8 to 16 bars rather than a jump, because the gradual one is what the listener feels as anticipation.
Two rules keep this musical. Never chase individual kick hits; ride the bus or the layer, not every transient, or you will get pumping rather than movement. And make each move boring in isolation, because the listener hears the change over thirty seconds, not the fader position.
Shape movement with volume automation
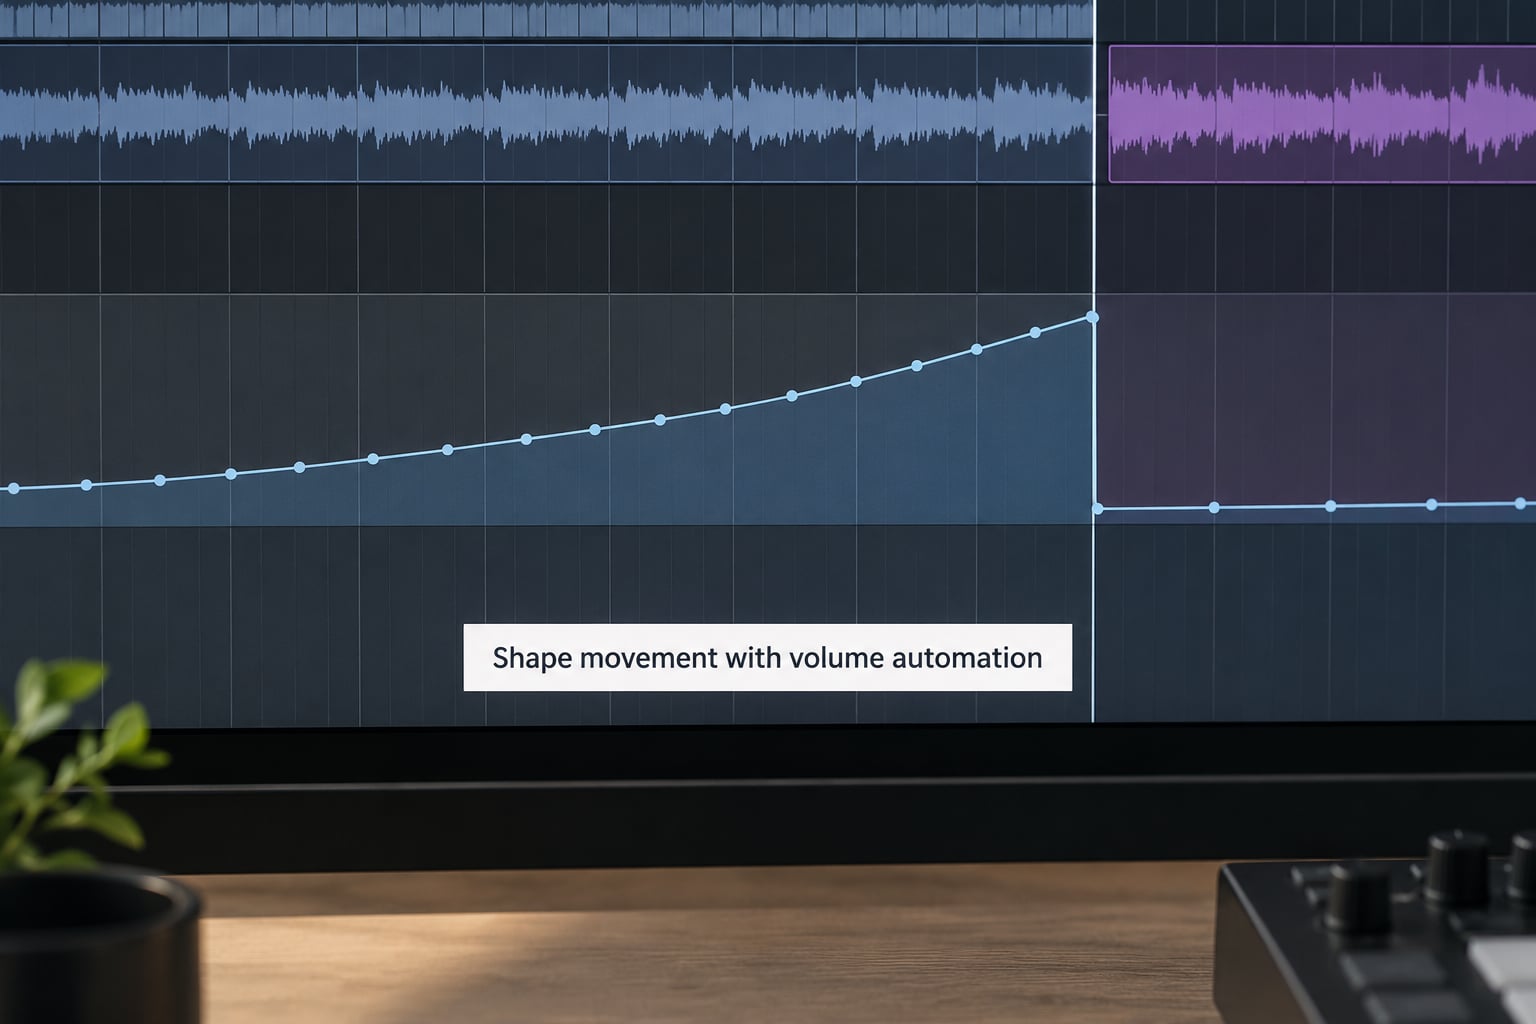
In Live, open the automation lane with the Automation Draw button at the bottom of the Session View, or press A on a track to reveal its parameter lanes in Arrangement View. Add a Volume lane with the Add Automation Lane menu on the lane tab, or use the envelope tool from Live’s MIDI control bar to draw a volume curve straight onto a clip.
Pick the right mode before you draw. Draw means you place breakpoints manually and the curve stays where you put it, which is what most riding needs. Latch lets the fader write a pass then return to its position. Touch writes only while you hold the fader. If you are unsure, Draw is the safe default.
Curve shape changes what the move feels like. A straight ramp over a few bars reads as growth. A fast ramp that then holds flat reads as an accent, and it works well right before a drop where you want a sudden push. A dip and recovery with two breakpoints on either side of a vocal phrase keeps the phrase centred without touching the clip.
Ride returns too. A delay or reverb send that gets quieter in a breakdown and opens back up at the drop reads as depth, and it costs you nothing but one extra lane. Keep the moves on a group or bus rather than on eight individual tracks, and the same job takes a fraction of the breakpoints.
One warning about automation and clipping: if your regions are normalised to 0 dBFS, adding positive gain on top can push the channel into clipping on peaks, and the meters will show it as red even though nothing looks wrong on the waveform. Pull the ceiling down to about minus 1 dB in Live’s Session View mixer, or keep a few dB of static headroom under the fader, and the problem disappears.
Check transitions, loudness, and tonal balance
Play the transition itself, not the whole track. A mix can be correct everywhere except in the two bars where the breakdown meets the second drop, which is exactly where a listener notices.
Watch the master meters through the loudest section and confirm nothing is pinned at 0 dBFS. Then A/B against your static version at matched loudness, with a bypass on the riding. That bypass is the honest test of whether your gain riding for a lively mix is doing real work, because if the ridden version only sounds different because it is louder, the riding is not doing anything.
Listen for masking as the mix moves. When the bass comes up 2 dB, the kick often disappears beneath it, and you will need a small EQ adjustment rather than a level change. Watch the low end across a full cycle too: riding several sources up in a breakdown can stack sub energy that only shows up on a club system.
Should you ride before or after compression?
Ride after compression when you want the compressor’s behaviour to stay constant, and ride before it when you want the compressor to react to the uneven performance. For a lead vocal comp, riding first means quiet phrases get pulled up before the compressor decides how hard to work on them, which evens out the dynamics of the comp itself. For a drum bus, riding after compression keeps the glue intact and simply changes where the bus sits.
The practical default for most mixes is compress first, ride second. It is easier to hear, easier to undo, and it leaves the compression settings where you already like them.
Common Mistakes
Riding every track. If you automate 30 channels you will never hear the mix as a whole. Fix: pick two or three rides that match the arrangement, then stop.
Using the fader as the only source of dynamics. Faders are for balance. When you need movement across a section, put it on a Utility or volume lane and leave the fader free for final notes.
Moving too fast. Automation that changes level every bar becomes a distraction. Fix: most rides want a change every 8 to 32 bars, and lead vocals want changes per phrase, not per word.
Riding before the static mix is finished. Automation hides the balance and makes it impossible to hear what the track is actually doing. Fix: bounce a static version first, then ride on top of it.
Using compression to do the riding’s job. Heavy compression flattens the very dynamics that make riding worth doing. Fix: 4 to 6 dB of reduction, then ride.
Ignoring low-frequency buildup. Lifting several sources in a breakdown stacks sub energy across the transition. Fix: check the low end with the meters up and ride the bass bus down instead.
Judging at maximum volume. Everything sounds balanced when it is loud. Fix: check the mix at a low level, then at a moderate one, and only then loud.
Riding note by note on percussion. Per-hit riding on a whole kit turns into pumping. Fix: ride the drum bus or individual layers by section, and use clip gain only for genuinely stray hits.
Frequently Asked Questions
Does gain riding replace compression?
No. Compression controls peaks within a track and changes how that track behaves. Gain riding moves the whole track, or parts of it, against the rest of the mix. In Ableton Live 12 the usual order is compress first, ride second, so the compressor keeps its character and you are only changing where the track sits.
Should I use clip gain or volume automation?
Use clip gain when one region is wrong, such as a vocal phrase or a single drum fill that sits above everything else. It edits the audio and travels with the file. Use volume automation when you want level to move over time, because a clip cannot follow the arrangement. Many engineers ride on a Utility or volume lane and reserve clip gain for one-off fixes.
Which buses should I gain ride in an EDM mix?
Drum bus, bass bus, main synth layer, and effect returns give the most obvious results in electronic music. Ride them during intro, build, drop and breakdown rather than continuously. The main synth works well for a slow lift into a drop, and the send levels can open up in a breakdown to add depth without touching the dry balance.
How much gain riding is too much?
Most sources tolerate between 2 and 6 dB of movement before the balance starts to feel unstable. Above that, listeners notice the automation instead of the music. If you need more than that, the usual cause is a track that is too quiet to begin with, so fix the static level rather than riding it further.
How do I automate volume smoothly in Ableton Live 12?
Reveal the Volume lane with the Add Automation Lane menu on the lane tab, then use the Automation Draw mode and the envelope or pencil tool to place breakpoints. Spread breakpoints across several bars for a ramp, and place them close together for an accent. Listen to the transition in isolation before you judge the curve.
Why does my mix still sound flat after I added automation?
Usually the rides are too small to hear over the arrangement, or they move the same elements in the same direction everywhere. Check the difference against a static bounce at matched loudness first. Then ride for contrast: bring one element down in the breakdown instead of bringing everything else up.
Final Check: Keep the Energy Musical
Start with a balanced static mix that you would be happy to export as-is. Level-match it against a reference, bounce the version, and only then move a fader. Make one purposeful change at a time, ride buses rather than channels, and audition each transition on its own before you judge the whole track.
The point of gain riding is that nobody hears your fader. They hear a build that swells, a breakdown that opens up, a drop that lands properly. If you can hear the automation, the automation is too loud. Most producers who search for how to use gain riding for a lively mix want bigger volume swings, and the answer is usually smaller, better-placed moves.