Yes, you can learn production without a teacher, and most working producers never had one. The part a teacher actually supplies is not secret knowledge, it is order, correction and accountability. How to learn production without a teacher comes down to building those three things yourself: a fixed sequence to study, a reliable way to hear what is wrong with your mix, and a schedule that survives a bad week. This guide lays out a seven-stage system you can run for an evening a week.
I have watched beginners stall for years in the same spot. They download a new DAW, binge twenty hours of tutorials, finish nothing, and conclude that they are not cut out for it. Almost always the problem is that nobody ever told them what to do next, so every free hour gets spent choosing what to do next instead of doing it.
The system below removes that choice. Each stage produces something you can point at, which is what keeps you honest when nobody is grading you.
Table of Contents
- What You Need to Learn Production Without a Teacher
- Step-by-Step: The Seven-Stage Weekly System
- 1. Define One Production Skill to Improve
- 2. Learn Your DAW as a Production Tool
- 3. Train Your Ears by Rebuilding Short References
- 4. Build Tracks Using a Repeatable Arrangement Process
- 5. Mix With a Fixed Gain-Staging and Processing Order
- 6. Finish With a Beginner-Friendly Mastering Process
- 7. Create a Feedback Loop and Review Your Progress
- Common Mistakes
- Frequently Asked Questions
- Can I learn music production completely on my own?
- Is it better to learn synthesis or music theory first?
- How long does it take to become a competent music producer?
- How do I know when my track is finished?
- Should I make beats from scratch or use templates and presets?
- What should I study when I have no feedback from a teacher?
- Conclusion
What You Need to Learn Production Without a Teacher
The gear list for this is shorter than most people assume. You need a DAW you have chosen deliberately, a way to hear what you are doing, and a place to keep your work. Everything else can wait until you know what your actual gaps are.
- One DAW, chosen on purpose. Pick based on the genre you want to make and the tutorials you enjoy watching. Everyone in those tutorials should be using the same one.
- Sound sources. The virtual instruments and sample libraries bundled with your DAW will carry you further than most beginners expect.
- The bundled processors. Every DAW ships with EQ, compression, delay, reverb and saturation. Learn those five before looking at anything else.
- Headphones, plus whatever speakers you already own. You do not need monitors to start. You need somewhere you can hear detail without the room noise.
- A project folder with a naming habit. Artist_Song_BPM_Key_Date, saved from day one. Future you will be grateful.
- A version log. A plain text note per session: what you changed, what improved, what you still hear as wrong.
Paid plugins, courses and calibrated monitors are not prerequisites. A MIDI keyboard is optional too, since notes can be typed in on the piano roll, though playing one speeds up melody writing considerably. If you do buy one, get a 49-key controller with velocity and aftertouch, nothing more.
Menu names shift between DAWs and between versions of the same DAW, so treat any specific label I give as a landmark rather than an exact path. The functions are what matter.
Step-by-Step: The Seven-Stage Weekly System
Run the stages in order and resist the urge to jump ahead. Most self-taught producers fail by starting at stage six because mastering is the part that looks most impressive on screen. It is also the last thing you need for at least six months.
| Stage | What you produce | Weekly time |
|---|---|---|
| 1. Focus | One written improvement goal and a before track | 1 hour |
| 2. DAW fluency | A 60-second project using six core functions | 2 hours |
| 3. Ear training | One rebuilt reference section | 2 hours, plus 10 minutes daily |
| 4. Arrangement | A full track with a written energy map | 3 hours |
| 5. Mixing | A mix that passes the self-check list | 2 hours |
| 6. Mastering | Two exported versions, one loud one restrained | 1 hour |
| 7. Feedback | Written notes from at least one other person | 1 hour |
1. Define One Production Skill to Improve
Turn the vague ambition into a single weekly objective you can hear. “Cleaner low-end control” works. “Stronger transitions” works. “Better melodic arrangement” works. “Get better at production” does not, because there is no version of it you could fail or pass in a week.
Record a short before and after. Two minutes is enough. Export the rough version at the end of the week before you touch anything, then compare it against the same track from the previous week with the volume matched. The gap between your week-one mix and your week-ten mix is the only honest measure of progress you have, and it is invisible while you are inside the work.
2. Learn Your DAW as a Production Tool
Learn six functions and you can make a complete track: importing audio, editing in the timeline, writing notes in the piano roll or MIDI editor, applying effects, automating parameters and exporting. Everything else is a variation on those. Depth comes later, from using the same functions on harder material.
Take the shortcut of learning in the order you need them for a track, not in menu order. Import a loop, chop it, tune it, resample it, then export the result. In FL Studio that reads as the channel rack, playlist and mixer; in Logic Pro, Cubase, Studio One, Bitwig and Reason the same six jobs sit under different names, so look for the function rather than the label.
Set your project tempo and key before anything else and note them in the filename. Half of the confusion beginners report is tracks that were built at mismatched tempos and never checked.
3. Train Your Ears by Rebuilding Short References
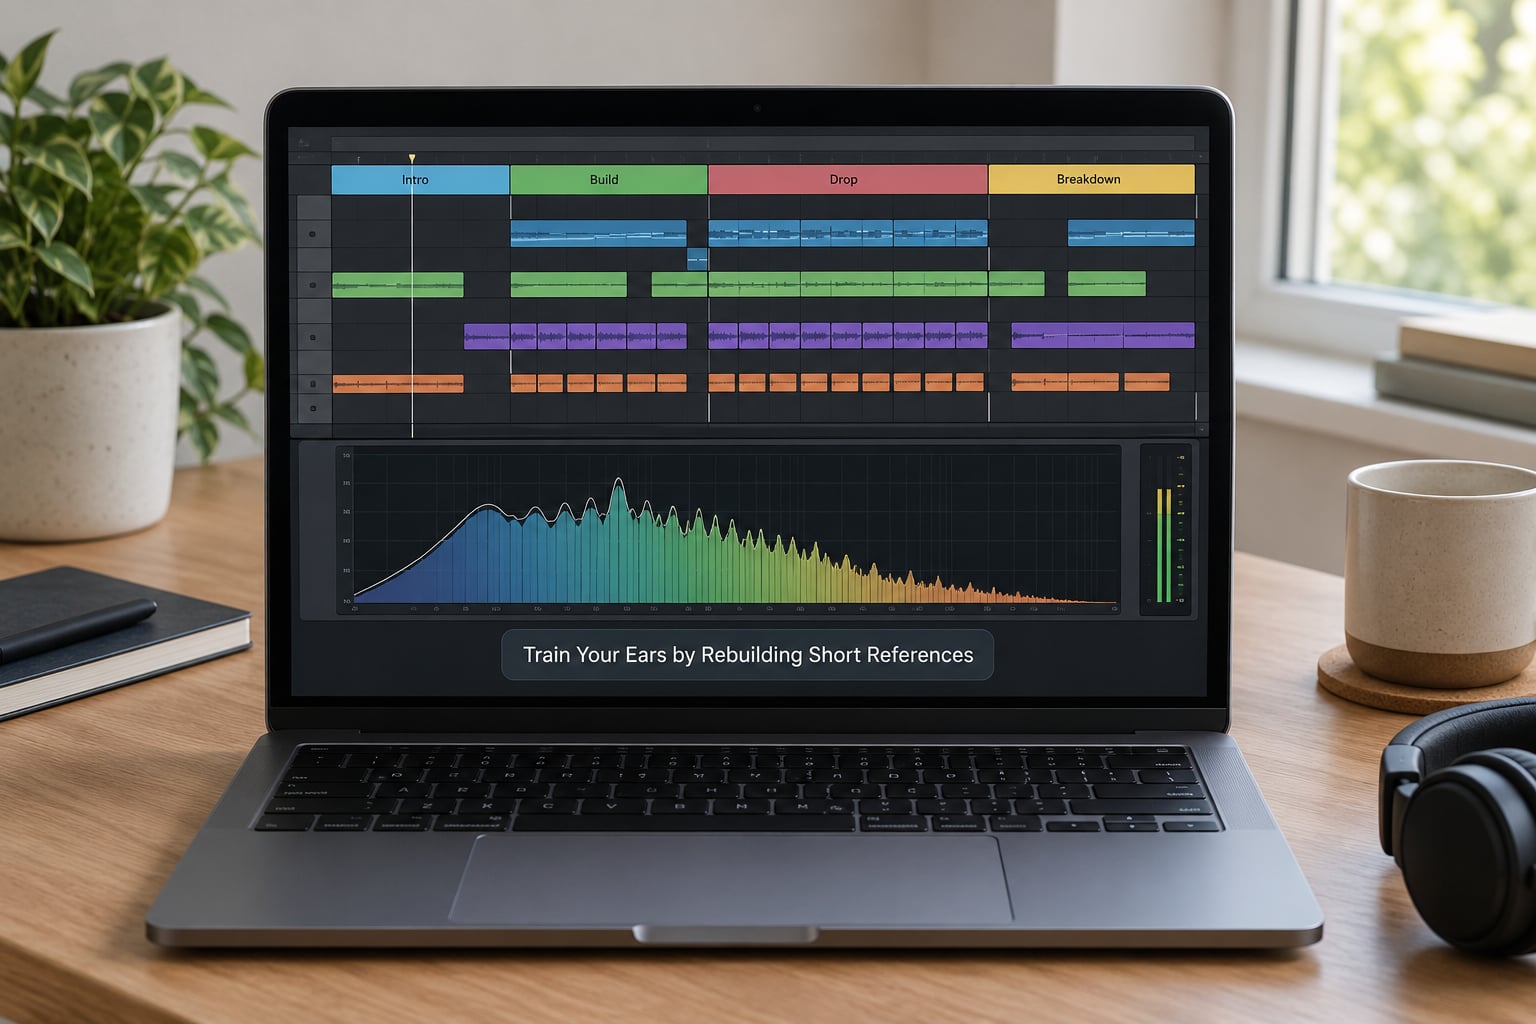
This is the highest-value practice in the whole system, and it is the one beginners skip. Take a track you admire, choose a section of about 16 bars, and rebuild it from scratch without the original audio in your session.
Work through it in order: mark where the section starts and ends, count the bars, note the tempo and key, list what plays in the first bar and the last, identify what carries the rhythm, then name the sound design in each layer. Ask where the energy sits, what is removed at the drop, and how the transition is built, whether by a filter sweep, a riser, a silence or a chord change.
Then build your version. Compare it side by side at matched volume and write down the two or three biggest differences. Usually they are simple things: the bass sits further forward, the high end is busier, the arrangement holds back information for longer. Fix those two differences and move to the next reference.
Ten minutes of focused listening a day beats an hour of casual playback. Pick one track, one section, and play it eight times, writing something each time.
4. Build Tracks Using a Repeatable Arrangement Process
Arrangement is where beginners lose most of their time, so give it a sequence instead of improvisation. Draw the energy curve first as a simple line: what is loudest, where does tension peak, where does it release. In a trance track that might be a slow intro, a long build, a hard drop, a breakdown with almost nothing in it, then the drop again. House is shorter and usually repeats its hook more often.
Plan sections before you make sounds. Decide how many elements enter at each stage, and hold something back. Repetition is what makes a track feel long rather than short, and variation is what stops it feeling like a loop, so repeat a section with exactly one change: a new layer, a new rhythm, or a filter opening.
Transitions get more attention than they deserve. A transition is usually just a planned moment where one element stops and another enters, written into the arrangement while you are building it rather than patched in afterwards. Density is the lever: when a mix feels empty, the fix is almost never a plugin, it is one more rhythmic element or a doubled layer an octave up.
5. Mix With a Fixed Gain-Staging and Processing Order
Mixing goes wrong when the order changes from session to session. Use this sequence and keep it: edit, then gain stage, then static balance, then EQ, then compression, then reverb and delay, then automation, then bus processing.
Gain staging first means setting faders so the loudest peak on each track sits around the same place and nothing clips. Balance next: ride faders with the EQ bypassed until the mix reads correctly. EQ solves frequency conflicts, compression solves level control, and reverb and delay send you a space rather than a sound.
Decide what to listen for. If a vocal is dull, check the high-mid range around 2 to 4 kHz before reaching for anything else. If the kick and bass fight, decide which one owns the low end and high-pass the other.
Fix problems at the source wherever you can. A badly placed mic, a doubled vocal an octave too low or an unbalanced arrangement cannot be rescued downstream, and this is where self-taught mixers get stuck, because the instinct is to add a processor when the real fix is to move or remove something.
6. Finish With a Beginner-Friendly Mastering Process
Mastering starts once the mix is done, not before. If the mix balance is still moving, mastering only makes the problem louder and harder to undo.
Put a limiter on the master, bring it up until the loudest peaks stop moving, and stay below the point where the limiter is squashing everything. Keep a few dB of headroom and check the loudest moment of the track, not the quiet intro. The bundled mastering tools in your DAW, or a stock multiband compressor and limiter, are genuinely enough for a first dozen releases.
Compare your master against a reference at matched volume, then listen on a phone speaker, a cheap earbud and a car system. Those three checks catch problems your desk setup hides. Export at least two versions: a restrained master for streaming and a louder one for anyone who needs it. Being conservative with loudness costs you nothing and keeps the track listenable.
7. Create a Feedback Loop and Review Your Progress
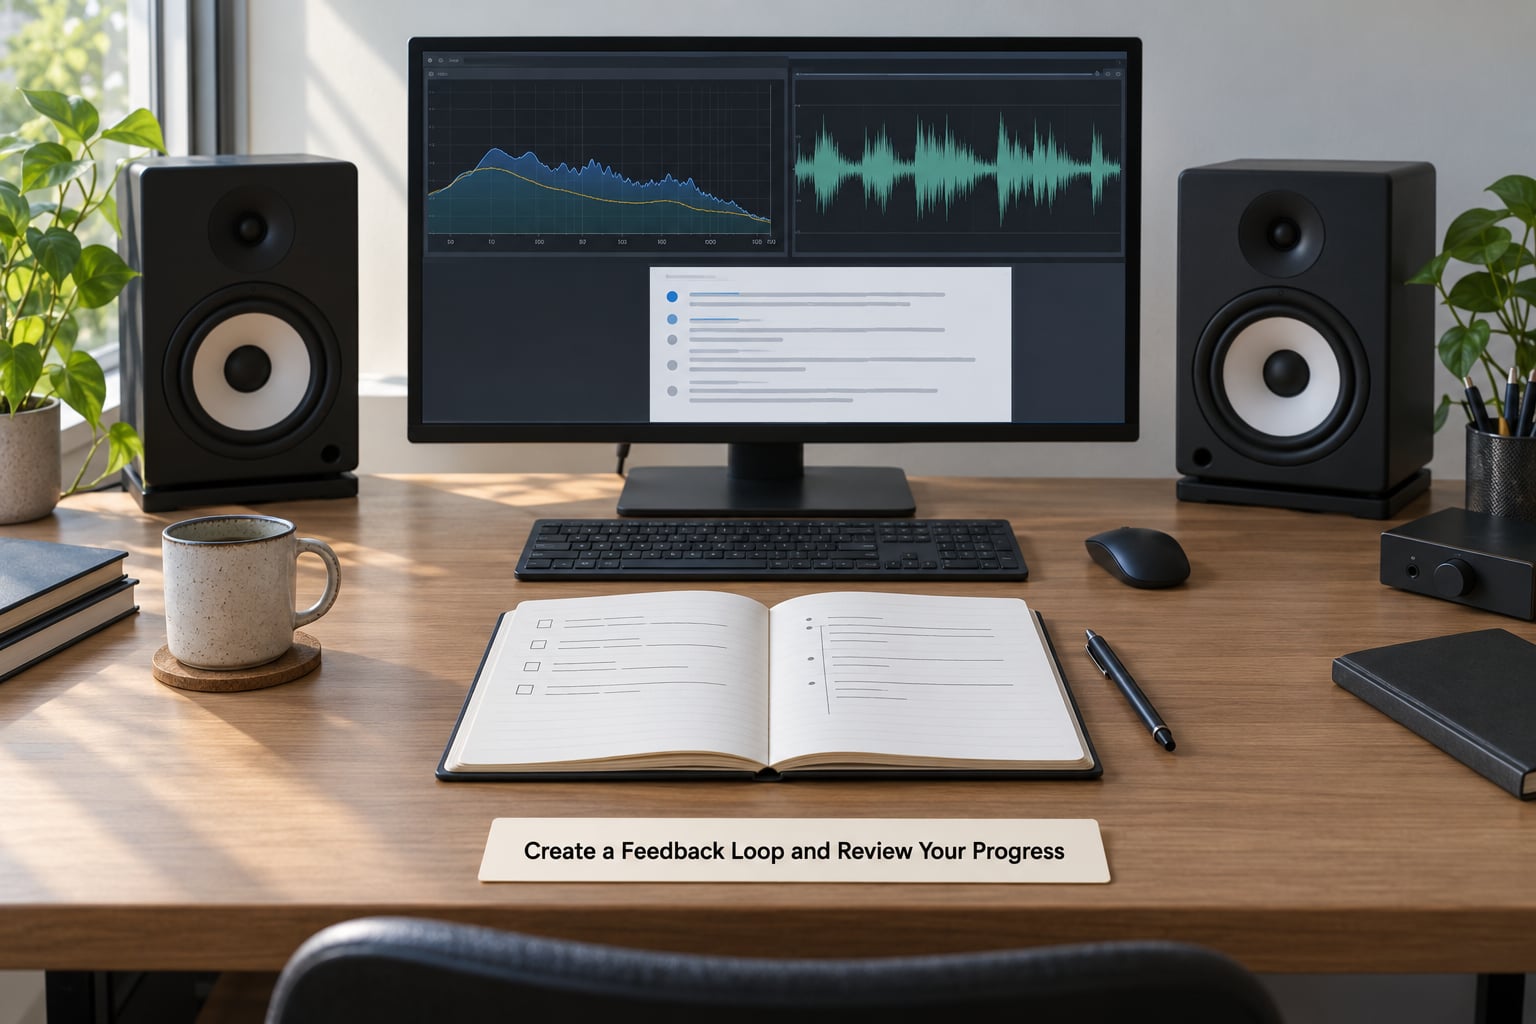
The version log is the part people skip and then wish they had kept. One entry per session: what you changed, what improved, what you still hear as wrong. Six months later that log is a map of your own development, and it also tells you which of your instincts have actually improved.
Getting feedback from people who do not know your intentions is the closest substitute for a teacher. Ask narrowly specific questions, because “what do you think” gets you nothing useful. Try “at what point did the energy drop” or “which element would you remove first”. Post to production communities, but state clearly what feedback you want and accept that strangers are not teachers.
Schedule playback on fixed days rather than whenever you feel like it. Fresh ears on a specific day catches more than a late session does. Then identify one repeatable problem from the notes and make it next week’s single objective, which closes the loop and returns you to stage one.
Common Mistakes
Every one of these is common because it feels like progress while it is not.
Watching tutorials instead of making tracks. Endless tutorial watching is the loudest complaint in producer communities and the biggest time sink. The fix is a ratio: for every hour watched, produce one hour. Close the video and do the thing badly before you replay it.
Switching DAWs. Consumers treat this as research and it is really avoidance. Each switch resets your muscle memory and sends you back to beginner tutorials. Commit to one DAW for a full year, or until a specific limit blocks you, then move with a reason rather than a mood.
Buying plugins before you know the problem. A new compressor teaches you nothing unless you already know what it fixed. Learn the bundled processors first, and only consider buying when you can name the specific limitation you hit.
Copying whole tracks without listening to them. Rebuilding a 16-bar section teaches. Recreating an entire song by dragging audio teaches almost nothing and produces something you cannot release.
Arranging before choosing a reference. Pick something to model first, even loosely. Without a target, arrangement decisions become arbitrary and you end up with movement rather than shape.
Skipping gain staging, or reaching for the same processor every time. Reverb and compression are tools for specific problems, not general glue. Do gain staging, then balance, and add processing only where you have named the fault.
Over-processing. Chain depth is not quality. If you cannot say what a processor is doing, it is probably doing too much.
Exporting early and never finishing. A finished rough track teaches ten times more than an abandoned polished one. Set a deadline, export, and start the next one. Producers who report the biggest jumps usually point to a count of completed tracks rather than hours logged.
Changing too many things at once. Adjust the kick level, listen, write down what happened, then move on. Change one variable per pass or you will not know which move helped.
Two habits fix most of this. Keep a 30-minute daily session rather than occasional long ones, since short consistent sessions compound. And focus on one genre for a few months, because breadth early on mostly produces shallow work.
Frequently Asked Questions
Can I learn music production completely on my own?
Yes, with one caveat. Arranging, sound selection, mixing decisions, mastering basics and finishing and releasing tracks are all learnable alone, and most working producers learned that way. What is harder to substitute is correction: nobody tells you that your kick is fighting your bass until someone points at it. Close that gap with reference tracks, a written version log and regular critique from other producers, and the self-taught path holds up in real work.
Is it better to learn synthesis or music theory first?
Learn neither first. Learn your DAW well enough to open a session, then use that ability to study theory in context. Theory for production is a short list: tempo, time signature, note values, pitch, intervals, major and minor keys, and the circle of fifths. Synthesis matters once you want sounds nobody else has, which is later. Mixing theory and sound design together works better than a long block of either on its own.
How long does it take to become a competent music producer?
Roughly 200 to 300 hours of focused work puts you where you can finish and release a track you are not embarrassed by. Most people spread that over a year of consistent short sessions rather than a few intense months. After that, competence depends on the genre: writing and arrangement take longer than learning the software. A daily 30-minute habit beats one long weekend session every few weeks, by a wide margin.
How do I know when my track is finished?
You will not feel it, so use a checklist instead. The arrangement has an energy curve with somewhere to build and somewhere to release. The mix balance holds up with the faders untouched and the reference comparison shows no obvious gap. The master is not clipping, and you have listened on a phone speaker and a cheap earbud. If you have met all of that and still hesitate, ship it and listen to it a week later.
Should I make beats from scratch or use templates and presets?
Use templates and presets while you learn, then gradually replace them piece by piece. Starting fully from scratch teaches sound design far more slowly than borrowing a starting point and swapping one layer at a time. Presets also teach you how a finished sound is assembled, which is hard to see from an empty project. Keep your template as a starting point rather than a place to hide, and finish tracks built from it.
What should I study when I have no feedback from a teacher?
Study your own past work, then other people’s. Rebuild a 16-bar section of a reference track and list the two or three differences you hear between theirs and yours. Do this monthly and the differences become a checklist of your actual gaps. Combine it with a written version log and one structured critique per month from another producer or community forum, and you have a feedback loop that catches most of what a teacher would.
Conclusion
Do one thing in your next session: choose a single skill to improve, pick a reference track and rebuild sixteen bars of it, save a rough mix, then compare your version against the original and write down the three biggest differences. That loop, repeated weekly with a written log, is the whole method. Everything else, the plugins and the courses and the gear, is optional.