If you want to know how to split out stems for a mastering engineer, the short version is this: group your tracks into a small number of submixes, route each group to its own bus, and export every group from the same starting bar as 24-bit WAV files with peaks around -6 dBFS and nothing on the master bus. Export from your DAW, not from an AI splitter. The whole job takes about 30 minutes once your mix is finished.
Why bother when a stereo bounce would do the trick? A stereo file gives the mastering engineer exactly one lever: the finished mix itself. Stems give them several. They can pull the vocal forward for a dense electronic track, tame a bass that is fighting the kick in a hip-hop mix, or rebuild the balance of an orchestral arrangement where the strings need to sit under the brass. The split is cheap insurance, and the export takes minutes.
Last reviewed: October 2026
Stems are not a magic trick, though. They do not fix a mix that is out of balance, and they will not rescue a kick that is fighting the bass. What they do is hand over control: instead of one finished decision, the engineer gets several inputs they can reshape. If your mix is already right and you just want it loud and competitive, send the stereo. If something in the balance needs to move once it gets mastered, send stems.
Table of Contents
- What You Need to Split Out Stems for a Mastering Engineer
- Step-by-Step
- 1. Check the final mix before exporting
- 2. Decide which tracks to group into stems for a mastering engineer
- 3. Create separate stem buses and route the audio
- 4. Export lossless audio files
- 5. Name, organize, and package the stems
- 6. Test the delivered stems before sending them
- Common Mistakes
- Frequently Asked Questions
- How many stems should I send to a mastering engineer?
- Should I send dry stems or stems with effects?
- What bit depth and sample rate should I use for stem exports?
- How much headroom should I leave before mastering?
- Should I export the master bus as one of the stems?
- What should I include with the stems when I send them?
- Conclusion
What You Need to Split Out Stems for a Mastering Engineer
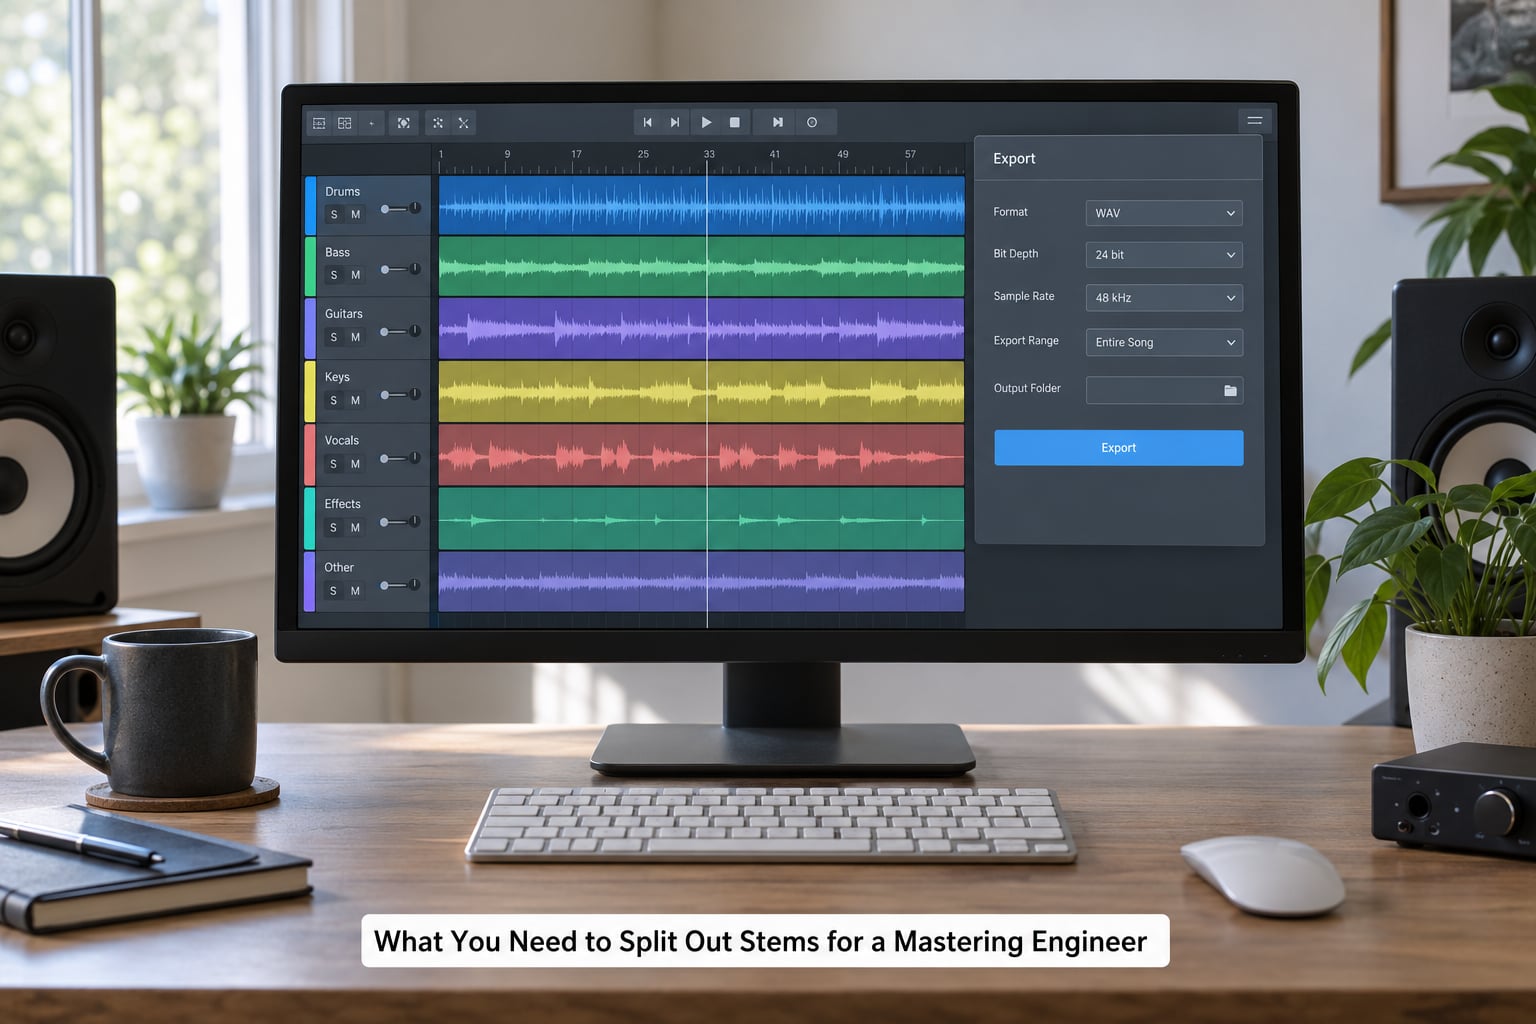
Before you touch a routing menu, gather five things. Everything else is detail.
- A finished, approved mix. You are exporting the arrangement you already signed off on, not a rough pass you plan to keep changing. Stems that get re-edited after delivery cost the engineer time and money.
- A DAW that can print audio. Ableton Live, Logic Pro, FL Studio, Pro Tools, Reaper, Cubase, Studio One, Bitwig and Reason all export audio. You do not need a second program.
- Headphones or monitors plus a reference track. You need to A/B the new submixes against your finished mix to confirm they sound identical in balance.
- A naming convention and folder structure decided in advance. Ten minutes here saves a round of emails later.
- The engineer’s delivery requirements. Some want a folder, some want a zip archive, and many have a minimum bit depth or a specific peak target on their intake form.
One more thing worth checking: hard drive space. A five-minute electronic track exported as six 24-bit stereo stems can run a couple of gigabytes, and 24 stems will run considerably more.
It also helps to have a rough idea of what you are trying to fix before you start. If the mix already sounds finished and you only want it louder for streaming, a stereo bounce is usually enough and costs less. Stems pay for themselves when something specific is off: a vocal buried under a dense instrumental, a low end that tightens up when it gets louder, an arrangement where two instruments compete in the same range. Write that problem down in your notes file. Engineers work faster when they know whether you want the vocal forward or the bass tamed, and guessing wrong costs a revision round.
Step-by-Step
1. Check the final mix before exporting
Play the mix top to bottom without touching anything. The arrangement should be complete: no missing intro, no placeholder track left muted, no rough automation you meant to redo later.
Look at your master bus meters during the loudest sections. Levels should be stable and roughly where you intend them to sit, not slamming into 0 dBFS because a limiter caught every transient.
Decide what stays and what goes. EQ, glue compression and modest level control on the master bus should usually come off before printing stems, because the mastering engineer applies their own. Time-based effects and creative processing stay in the mix.
Confirm automation is written and visible. Volume rides on vocals, filter sweeps and delay throws all need to be recorded into the printed file, not still floating in the session where the export will miss them.
Finally, make sure your session is set to print from bar one rather than from wherever you last stopped working. Starting the export from a marker partway through is a quick way to produce six files that all miss the intro.
2. Decide which tracks to group into stems for a mastering engineer
Most engineers ask for between four and eight files. Send twelve and you have increased the cost and made their job harder; send one and you have handed them a stereo file with extra steps. Four to six is the working range.
The most widely cited setup is Bob Katz’s “Gang of Four” configuration, and it has held up for years:
- Full mix — your finished stereo mix, master bus processing removed.
- Instrumental — everything except vocals. Useful for sync licensing and karaoke versions.
- Lead vocals — main vocal takes, dry, with edits and comps already in place.
- Backing vocals and effects — doubles, harmonies, ad-libs, and any reverb or delay returns feeding them.
Most mastering engineers report adjusting the lead vocal more than any other element on a typical submission, which is exactly why it deserves its own file.
When you want more control than four files give you, move to discrete stems. For an electronic track that often means kick, snare and other drums, bass, music, lead vocal, and effects. For hip-hop it is usually the same shape, with the vocal riding on top. Keep drums split only when you have a specific reason, such as a kick that needs to be tightened, because every extra file adds another alignment to check.
Send the full mix in every case. Even when you send stems, the engineer will reference the stereo version for the balance you approved.
Genre nudges the choice more than people expect. A sparse piano and vocal piece gains little from eight files, because there is not much to rebalance. A dense electronic track with twenty stems benefits from splitting kick, snare, hats, bass and music, since those five elements carry most of the balance decisions. Rock and metal arrangements often do well with guitars, bass, drums and vocals, while orchestral work tends to need strings, brass, percussion and keys separated if the ensemble is fighting for space.
There is a cost to splitting further. Every additional stem is another file to name, check and rebalance, and many engineers charge by the number of stems because each one is a separate fader they have to set. If you are unsure, split by what you already suspect is wrong rather than by what could theoretically be adjusted.
3. Create separate stem buses and route the audio
The goal is one bus per group, with the audible mix unchanged. If the mix shifts the moment you add a bus, you have introduced gain staging somewhere.
Ableton Live: select the tracks in a group, press Ctrl+Shift+Return to group them, and Live creates a Return track that prints as one stem. Rename it to match the group name. Set the Return’s monitor mode to In so the sources stay audible, and before exporting, switch every Return track’s monitor off so it prints in place without doubling the signal.
Logic Pro: create a new Audio track, choose its Output as an input source from the tracks in that group, and set the channel strip format to Stereo. In the Environment or output menu, use File > Bounce > Multiple. Under Options, select “Selected Tracks via Master” or the individual tracks, and set the Destination to individual files. Master bus effects on the main output do not print into a bounced channel strip, so the stems come out clean by default.
FL Studio: create a Mixer track per group, then right-click the tracks in a group and choose “Select all channels” and assign them to that Mixer track. Make sure the Mixer routing is set to send or receive the tracks rather than replacing the Master output. Export with File > Export > Render, choose Selected tracks or one Mixer track per render, and uncheck “Include master effects in render” for the stem passes.
Pro Tools and Reaper: in Pro Tools, create aux inputs for each group, assign the tracks to them, and use File > Bounce > Other > Bounces to Files with the Aux Inputs, not the Main. In Reaper, add folder buses with New folder to selected tracks, set each folder track to receive, and render with Source: Master mix disabled so you print the folders individually.
Cubase, Studio One and Bitwig follow the same shape: make group tracks, assign the sources to them, keep the sources audible so your master output still plays, and print the groups rather than the master. In Reason, the outputs are hardware-based, so create a mixer with enough output channels and route each group to its own output before exporting.
Check the solo buttons after routing. Solo each bus and confirm the right tracks come up, then unsolo everything.
If your DAW offers a shortcut, use it. Ableton Live has stem export built into the export dialog, Reaper and Cubase both render groups cleanly, and Studio One lets you print any bus through its console without extra steps. The manual method described above still works everywhere, so fall back on it when your DAW offers no shortcut or when you want to decide exactly what lands in each group.
A useful trick when a group contains both music and effects: render the group twice, once dry and once with the return tracks included, and compare them at matched level. If the difference is dramatic, the effects are doing a lot of the work and you may want them on their own file rather than folded in. If the difference is subtle, keeping them together saves the engineer an extra fader.
4. Export lossless audio files
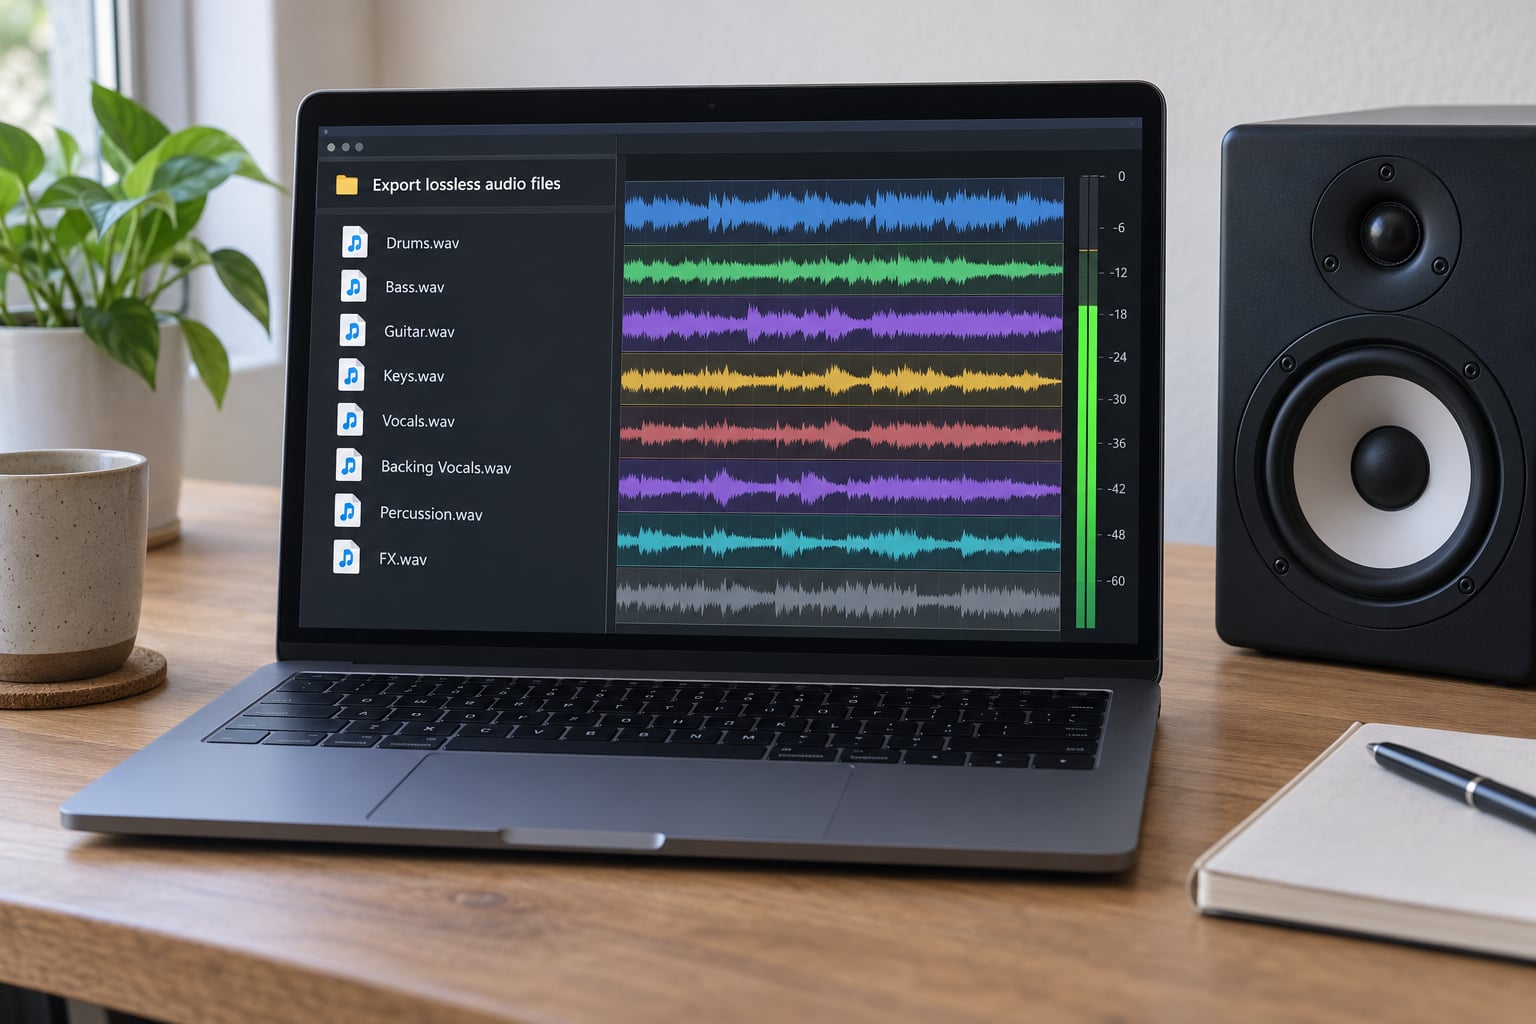
Use 24-bit WAV files. That is the accepted standard across the industry and gives you enough room to set your peak level wherever you want it without quantisation noise becoming an issue.
Match your sample rate to the session: 44.1 kHz if the project is 44.1 kHz, 48 kHz if it is 48 kHz. Do not convert. If the engineer asks for a specific rate, export a second copy at that rate rather than changing your project.
Turn dither off for 24-bit exports. Dither is for reducing 16-bit to 8-bit; at 24 bits it only adds noise. Leave your normalisation setting alone too — export at the level your mix is actually sitting at.
Aim for peaks near -6 dBFS on each stem. That is headroom: about six decibels of space below full scale, so the mastering engineer’s limiting and EQ work has somewhere to go. Roughly -3 dBFS also works if your mix is already conservative, and quieter than -10 dB is fine too, since it can be turned up without consequence.
Render the full arrangement from the same start point on every file, and include the tail. The reverb at the end of a track needs a few extra seconds. Files that begin at different points will not line up, and that is one of the most common reasons a stem delivery gets rejected.
Export each group as its own render rather than trying to split one large file afterwards. Some DAWs let you queue several render targets in one pass, which saves real time on a twelve-stem delivery. If yours does not, a duplicated session with a different group soloed each time works just as well, and is easier to get right under time pressure.
Keep the exported files unnormalised. If your export dialog offers a normalise option, turn it off and set the level with a gain or fader ahead of the print instead, so you are still looking at the mix you approved rather than a version the software rebuilt for you.
5. Name, organize, and package the stems
Pick a scheme before you export and apply it to every file. Something simple and sortable works better than something clever. Consistency matters more than elegance here, because the engineer is reading filenames while juggling five other projects, and a name that means something to you at 2am may mean nothing to them at noon.
- Artist_SongName_01_Kick.wav — song name, then a number, then the group.
- Keep the numbering consistent with the order on your screen so the engineer does not have to guess.
- Use the same name for the mix file: Artist_SongName_Mix.wav.
- Avoid spaces, odd symbols and anything that changes when a file is zipped or uploaded.
Build a folder structure like this:
- SongName/ (containing) Stems, Mix, Reference, and Notes.
- Reference holds one or two commercial tracks with the balance and loudness you are aiming at. This saves a message thread.
- Notes.txt covers tempo in BPM, song key, any edits or creative decisions the engineer should know about, whether the vocals are final, and who to contact about revisions.
Name the groups the way an engineer would describe them rather than the way your session labels them. Kick, Snare, Hats, Bass, Music, Lead Vocal, BGV and FX read instantly across a folder. Names like Track 12 or Group 3 force a lookup that should not exist.
One more file worth including: the printed mix at the same settings, even when the engineer only asked for stems. It saves them a render if they want a listening copy, and it confirms your peak level matches what you told them it was.
Zip the folder for transfer, keeping individual files inside readable subfolders rather than dumping everything into one archive root. Leave the files uncompressed inside the archive so the engineer can drag them straight into a session.
Upload through whatever channel the engineer specifies, and check the size limit before you send. A large stem package over email usually bounces, and a broken upload discovered on their side costs you a day. Many studios use a web upload portal, which handles large archives more reliably than a mail attachment. Whatever the method, keep your own copy of the exact folder you sent, because revisions are usually sent as one or two replacement files rather than a fresh delivery.
6. Test the delivered stems before sending them
Open a brand new empty session and drag the exported files in on separate tracks. This step catches more problems than any other part of the process.
- Missing audio. A silent file means a track was not routed to its group. Find it and re-export.
- Alignment. Mute the tracks one at a time and listen for anything that jumps. Everything should start on the same downbeat with no offset.
- Clipping. Check each file’s peak level. Anything touching 0 dBFS was exported too hot.
- Polarity. A stem played in mono should not change level or sound obviously thin compared with the file on its own.
- Length. All files should run the same duration, including the tail.
- Sum-back test. Mute all stems, play the mix file, then mute that and unmute the stems. A/B them at matched level. If the balance shifts when you swap, a track ended up in two groups or none.
Watch the meters during the sum-back test rather than only your ears. If the summed stems peak higher than the mix file did, something was doubled during routing, usually a return track assigned to two groups at once. Solo each stem in turn and note its peak; the sum of them should land close to the mix file’s peak.
Two useful sanity checks: play the stems solo and listen for any track you forgot to assign, and check that the mix file inside the folder matches the version you approved, in case an older bounce was sitting in there.
Give the exported package one more listen the following day, on a different pair of speakers if you have them. Fresh ears catch things you stopped hearing halfway through the session. If you notice something you want changed, change it in the session and re-export the whole set rather than patching individual files, since a partial re-export is how mismatched revisions start.
Finally, read your notes file as if you were the engineer opening it cold. If a line would make you stop and ask a question, rewrite it. “Vocal comps are final, but the bridge double has a deliberate timing push in bar 48” is useful. “Vocal stuff is done” sends the engineer hunting through the session for context they do not have.
Common Mistakes
These come up again and again, and every one of them has a quick fix. The first few are technical, the rest are organisational, and the organisational ones cause more wasted time than most people expect.
1. Leaving a limiter on the master bus. Engineers on r/audioengineering describe this as one of the most frequent problems they receive. Bypassing it costs nothing, and if your mix only worked because of that limiter, it did not need one in the first place. Bypass it or pull it well down, then listen again at matched level.
2. Exporting at 16-bit. Anything under 24-bit is an unnecessary compromise. Change the bit depth in the export dialog and render again.
3. Leaving dither on. With 24-bit files, dither only adds a layer of noise across the whole delivery. Switch it off in the export settings.
4. Forgetting reverb and delay returns. Audio tracks on effects returns are easy to miss because they carry no source instrument. Assign every return track to the group that needs it, usually the music or vocal effects group.
5. Sending a mix that has drifted. If you tweak levels while setting up buses, the engineer receives a different mix from the one you approved. Do the routing with monitoring off where possible, then compare.
6. Mislabelling files. Sending the same group twice under two names, or numbering stem 04 in a folder where everything else is stem 04b, adds a guess to the engineer’s day. Read the filenames out loud before zipping.
7. Different start points. Some DAWs start rendering from the playhead rather than the arrangement start. Set the range explicitly to the whole timeline, and check the range markers on every group.
8. Sending untrimmed files. Long silence at the head of a stem shifts its alignment. Trim leading silence consistently across all files, keeping the same offset on each one.
Two more worth a mention. Do not send stems and a mix from different revisions, which happens when you export twice and forget which folder is current. And do not use an AI stem splitter on a finished mix as a shortcut. Splitting a rendered stereo file back into parts introduces phase problems, frequency bleed and metallic artifacts that are already baked in and cannot be undone downstream. It is not the same thing as exporting submixes from your session, and engineers can hear the difference.
A note for anyone working with AI-generated music. If your track came out of a text-to-music tool and you never had the stems, splitting it in a DAW after the fact is a legitimate last resort, provided you send the original file alongside the split parts and explain what happened. The engineer can then treat the reconstruction artifacts as part of the source rather than something they introduced, and decide how much cleanup is worth attempting before mastering.
One habit worth building: keep your stem folder next to the session, dated the day you exported it. The cost of a clean archive is close to zero, and it means a revision two weeks later is a matter of opening the right folder instead of rebuilding the whole delivery from scratch.
Frequently Asked Questions
How many stems should I send to a mastering engineer?
Four to six is the usual range, and the Gang of Four configuration of full mix, instrumental, lead vocals and background vocals with effects covers most tracks. Move to discrete stems such as kick, other drums, bass, music and vocals when you have a specific balance problem the engineer should be able to fix. Always include the full mix alongside the stems.
Should I send dry stems or stems with effects?
Dry vocals, dry drums and dry bass are the default expectation because the engineer wants to place them. Include reverb and delay returns as their own file rather than baking them in, and keep creative processing such as distortion or heavily filtered layers intact. If a sound is the track, it stays.
What bit depth and sample rate should I use for stem exports?
Export 24-bit WAV at the same sample rate as your project, which is normally 44.1 kHz or 48 kHz. Do not convert rates or dither the file, since both degrade the source for no benefit. If the engineer requests a different rate, export an extra copy at that rate instead of changing the session.
How much headroom should I leave before mastering?
Aim for peaks around -6 dBFS on each stem, which leaves about six decibels of space below full scale for the mastering engineer’s limiting and equalisation. Roughly -3 dBFS is fine if your mix is already conservative, and anything under -10 dBFS is safe because it can simply be turned up. What matters is that no file is clipping.
Should I export the master bus as one of the stems?
Yes, and it is the Gang of Four’s first member. The mastering engineer uses the full mix as the reference for the balance you approved. Export it with master bus processing bypassed so it is a clean, unmastered version of your mix rather than a half-mastered one.
What should I include with the stems when I send them?
Include a notes file with tempo in BPM, song key, whether the vocal comps are final, any creative decisions worth protecting, and a contact for revisions. Add one or two reference tracks in a separate folder, and name every file with the same artist and song naming pattern. Keep the folder structure simple rather than nesting several levels deep.
Conclusion
Freeze the mix you have already approved, pick four to six stem groups that match the problem you want solved, route them to their own buses, and export 24-bit WAV files from the same start bar with peaks near -6 dBFS and no master bus processing. Then open a blank session, drag everything in, and confirm the stems start together and sum back to your mix. That thirty-minute check is what turns a folder of files into a delivery an engineer can actually work with.