To make an extended mix that a DJ can actually play, you extend the intro and outro with clean drums-and-bass material, keep the main section of the song identical to your finished version, then export a tagged file the DJ software can read. That whole job takes 45 minutes on a single track if you work from stems, or closer to two hours if you are building the extra material from a finished stereo file. The hard part is not the editing; it is deciding how long the extra material should be, in bars, and what the energy is doing across the whole runtime.
An extended mix is a longer version of a track built for DJs, usually adding 16 to 64 bars of drums and bass at the front and the back so there is room to mix in and out of it. It exists so a DJ gets a predictable, clean entry and exit point instead of blending a full arrangement down to near-silence mid-transition. People also ask about a full continuous mix set rather than one track, so both routes are covered below: extending a single song, and stitching a whole set together.
Table of Contents
- What You Need
- How to Make an Extended Mix Step by Step
- 1. Define the Runtime, BPM, and Destination
- 2. Analyze Every Track Before Arranging
- 3. Build a Continuous Master Timeline
- 4. Map the Energy and Story of the Mix
- 5. Place and Beatmatch Each New Track
- 6. Layer Intros, Breakdowns, and Transitions
- 7. Automate the Mix Instead of Riding Every Transition
- 8. Check the Full Mix and Export the Final File
- Common Mistakes
- Frequently Asked Questions
- How long should an extended DJ mix be?
- Do all tracks need the same BPM and key to make an extended mix?
- How do you blend two full tracks in a DAW?
- Are stems required to make an extended mix?
- How do I make the end of an extended mix sound professional?
- Conclusion
What You Need
Four things, roughly. First, a DAW where you can change project tempo and draw volume and effect automation. Every major DAW does this, and the menu names differ between Ableton Live 12, Logic Pro, FL Studio and Reaper, but the workflow underneath is identical.
Second, at least two complete tracks, not just loops. An extended mix built from an intro and an outro alone gives a DJ nothing to mix into. Third, a finished version of the song to use as your reference, so you can check that the main section has not shifted once you add the new material. Fourth, a waveform editor if you do not have stems, because a finished stereo file needs slicing before you can work with it in bars.
Budget roughly 10 minutes of preparation for a track you know well, and closer to 25 for the first time through an unfamiliar one. The stems route takes about 45 minutes end to end per track. The stemless route, where you rebuild intro material from a separated or static file, takes closer to two hours and rarely sounds quite as clean.
DJ-oriented effects are optional. A filter, an EQ, a reverb send and a limiter cover everything in this guide. Beat-synced delay throws and other transition toys add risk without adding much for a first extended mix.
How to Make an Extended Mix Step by Step
There are two jobs hiding under the phrase extended mix, and they need different methods. The first is a single extended version of one track: a longer intro and outro, everything in the middle untouched. The second is a continuous mix set, where you edit a whole sequence of tracks against one another.
For the single-track version, duplicate the finished file, build new intro and outro material from stems, and leave the main section alone. For a continuous set, edit one master timeline. The rule of 32 comes up constantly in DJ circles because 32 bars of usable drum-and-bass material gives most DJs the room they want without dragging.
Both routes end the same way: the file is mastered or checked after the layout is finished, the project tempo stays untouched at export, and you deliver more than one version if the track is going out publicly.
1. Define the Runtime, BPM, and Destination
Pick the runtime before you touch a single clip, because it decides how many tracks you need and what each one has to do. Common targets are a 60 to 75 minute podcast-style mix, a 90 minute streaming version, or a short radio edit trimmed from the same timeline.
Then set the tempo. Pick one master tempo for a continuous set and commit to it, or document every source BPM at the top of the session if the tracks come from different places. Changing project tempo to chase a stubborn file warps every other clip on the timeline, which is why the more common approach is to time-stretch the odd track and nudge the master instead.
Confirm your sample rate and bit depth before you start. Staying at 44.1 kHz and 24 bit for the whole session means nothing gets converted on export, and it is the delivery format most DJs and pools expect.
Finally, be honest about whether you want continuous mixing or edited transitions. Continuous means tracks stay blended for long stretches and the energy is carried by automation. Edited means deliberate, counted transitions that land on phrase boundaries.
Bar counts beat seconds every time, because tempo changes the length of a second but never the length of a bar:
| Genre | Extended intro | Extended outro | Why |
|---|---|---|---|
| House | 16 or 32 bars | 16 or 32 bars | Four-on-the-floor makes even 16 bars easy to count |
| Techno | 32 or 64 bars | 32 or 64 bars | Sparse arrangement needs longer to feel intentional |
| Trance | 32 or 64 bars | 32 or 64 bars | Long builds already exist, so extend rather than rebuild |
| Drum and bass | 32 or 64 bars | 32 or 64 bars | Fast tempo means bars go by quickly in seconds |
| Pop | 8 or 16 bars | 8 or 16 bars | Short structure, and vocal arrives early |
| Hip-hop | 8 or 16 bars | 8 or 16 bars | Half-time feel needs bars counted, not seconds |
2. Analyze Every Track Before Arranging
Measure before you arrange. For each source track, note the BPM, the key, the first and last beat that is usable for a mix-in or mix-out, the existing intro and outro length, the strongest breakdown, where the vocal or feature sits, and where the maximum energy lands.
Write it in the session as a comment or a marker. That one habit prevents most weak transitions, because a transition only works when you know what the outgoing track is giving up at that exact bar and what the incoming track needs in order to sound complete.
Flag any clip that needs tempo adaptation. A track that drifts by more than a beat over a minute, or one recorded live with no grid, gets time-stretched and checked for artefacts before it goes anywhere near the master timeline.
3. Build a Continuous Master Timeline
Start a new project at your chosen master tempo and drop the first track so its downbeat lands on bar one. If you are working on a single extended version of one track rather than a set, this step shrinks to a single alignment check: the intro you build has to start on a bar, not on whatever waveform pixel happened to be at zero.
Do not trust the grid on its own. Quantized placement is a starting point, not proof that a transition sounds musical. Phase alignment, kick position and the tonal centre of the outgoing track all matter, and only your ears settle the argument.
The same four actions have different names in each DAW, but the result is identical:
| Action | Ableton Live 12 | Logic Pro | FL Studio | Reaper |
|---|---|---|---|---|
| Set project tempo | Tempo field in the transport bar | Project Tempo menu under the project header | Tempo in the transport toolbar or typing panel | Tempo in the transport or project settings |
| Snap to grid | Grid value in the top bar, or right-click for adaptive | Snap menu, smart or fixed | Magnet in the toolbar | Snap value in the toolbar, grid mode |
| See the grid | Draw mode, then click the arrangement grid | Cycle and division bars at the top of the track area | Channel ruler shows the step divisions | Timeline shows grid lines, divisions set in project settings |
| Time-stretch one clip | Clip Warp, Beats mode | Region Inspector, Time Stretch and Warp | Channel pitch and stretch with clip detect | Item properties, preserve pitch option |
4. Map the Energy and Story of the Mix
Divide the runtime into five phases before assigning any track: opening, development, peak, release, closing. Then place tracks into those phases deliberately. The failure mode is starting at full intensity and never going anywhere, which is exactly the mix a DJ cannot build a set around.
Reserve the most recognisable tracks for the peak phase. If you drop the best material in the first ten minutes, the rest of the runtime has to climb past a high point it cannot beat.
Vary repetition and contrast as well as tempo. Two tracks built on the same drum pattern at the same BPM sound like a mistake, even when they are technically different songs.
| Phase | Share of runtime | Arrangement goal | Mix behaviour |
|---|---|---|---|
| Opening | First 10 percent | Introduce the sound with room to breathe | Long blends, filters wide open, minimal effects |
| Development | Next 25 percent | Establish tempo and groove, raise density slowly | Short blend transitions, gentle filter sweeps |
| Peak | Next 30 percent | Highest energy, most recognisable material | Hard cuts on phrase, vocals fully present |
| Release | Next 20 percent | Step back down without an obvious seam | Long blends, low-pass treatment on the outgoing track |
| Closing | Final 15 percent | Clear ending the DJ can ride out of | Filter sweeps, reverb tails, deliberate volume ramp |
5. Place and Beatmatch Each New Track
Beatmatching in a DAW means three separate things, and beginners usually only do the first. Match the tempo so both grids run at the same rate. Align the phase so the kick transients stack rather than smear. Then start on the downbeat so the first bar of the incoming track lands as a bar.
Read the transient at the start of each waveform rather than guessing from the shape. Waveform zoom matters more than most people expect, because a 30-pixel-wide transient hides a hundred milliseconds of error.
Set a deliberate first overlap. Zero overlap sounds like a track swap; four bars of overlap is a blend; sixteen or thirty-two bars is a full mix-in. Decide which one you want before you place the clip, then compensate the incoming track’s volume and EQ so the overlap stays clean rather than muddy.
Test every transition from the outgoing track’s final 16 or 32 bars. Not from the top of the mix, and not in isolation. The context matters, because a transition that sounds perfect on its own can be the wrong choice for the track before it.
6. Layer Intros, Breakdowns, and Transitions
How to make an extended mix land well comes down to picking the right transition type for the material. A short blend suits two tracks with compatible keys and no vocal conflict. A long bass swap works when the bass lines differ but the drums sit in the same place. A vocal-led transition hands focus to one vocal while the other drops out. A breakdown bridge covers a genuine clash in key or tempo. A hard cut is the honest answer when the two tracks share a groove and a phrasing.
While the tracks overlap, the mix controls doing the real work are EQ, filters, volume, reverb sends and clip gain:
- EQ: sweep the outgoing track’s mids down as the incoming one comes up, and take a low-pass cut on the outgoing low end once its kick has done its job
- Filters: a slow filter sweep on the outgoing track gives the transition a direction instead of a fade
- Volume: this is the mix itself, and it is more effective than any effect
- Reverb sends: pull the outgoing track’s send down during the overlap so the tail does not muddy the incoming material
- Clip gain: nudge it by small amounts to fix a level mismatch without touching the fader automation you already drew
The one thing to avoid is a busy intro. If a DJ cannot find a clean point to mix into, the extra bars defeat the purpose of building them.
7. Automate the Mix Instead of Riding Every Transition
Automation is what makes a long mix repeatable. Draw volume and effect moves for the rises, the drops, the pauses and the releases, and you will not drift on the third listen the way you do when you ride every transition by hand.
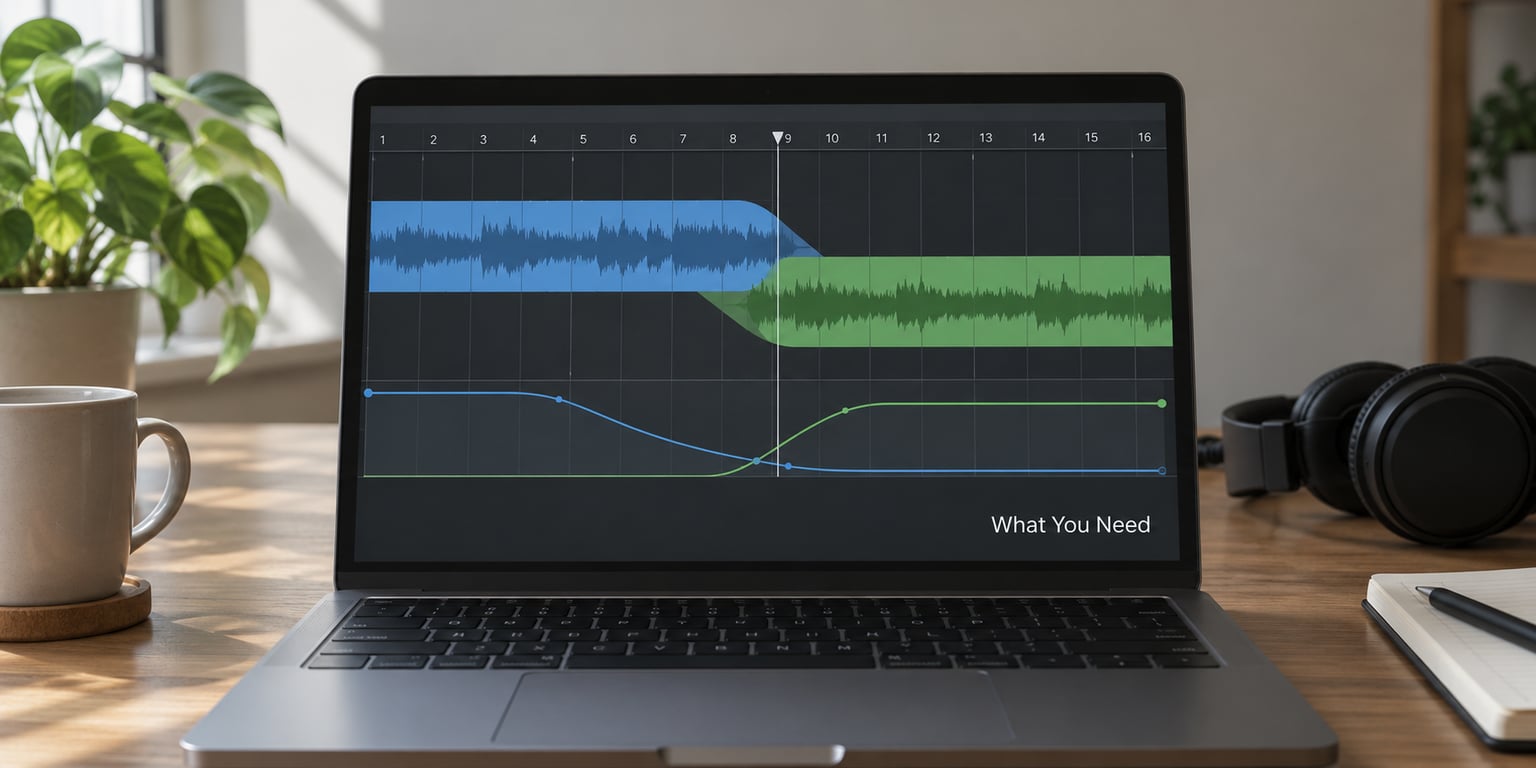
Four automation types cover almost everything. A linear fade is a straight volume ramp for a clean swap. A DJ-style volume ramp curves, rising faster near the end of the blend so the incoming track lands at full level. A filter sweep opens or closes the cutoff across 16 or 32 bars. A temporary low-pass or high-pass treatment ducks a frequency band for a stretch without touching the rest of the sound.
Watch for three failure modes. Competing bass frequencies are the most common, since two kick drums at the same level turn to mud, so duck one of them. Midrange buildup happens when every layer stays wide open, which is why a slow filter close during long blends matters. Accidental clipping comes from stacked automation that pushes past zero, so watch the output meter rather than assuming the master will catch it.
In trance and house specifically, the usual pattern is a filter close on the outgoing track through a 32-bar blend, a hard cut on the phrase after the drop, then a low-pass treatment on anything you want to duck before the next breakdown.
8. Check the Full Mix and Export the Final File
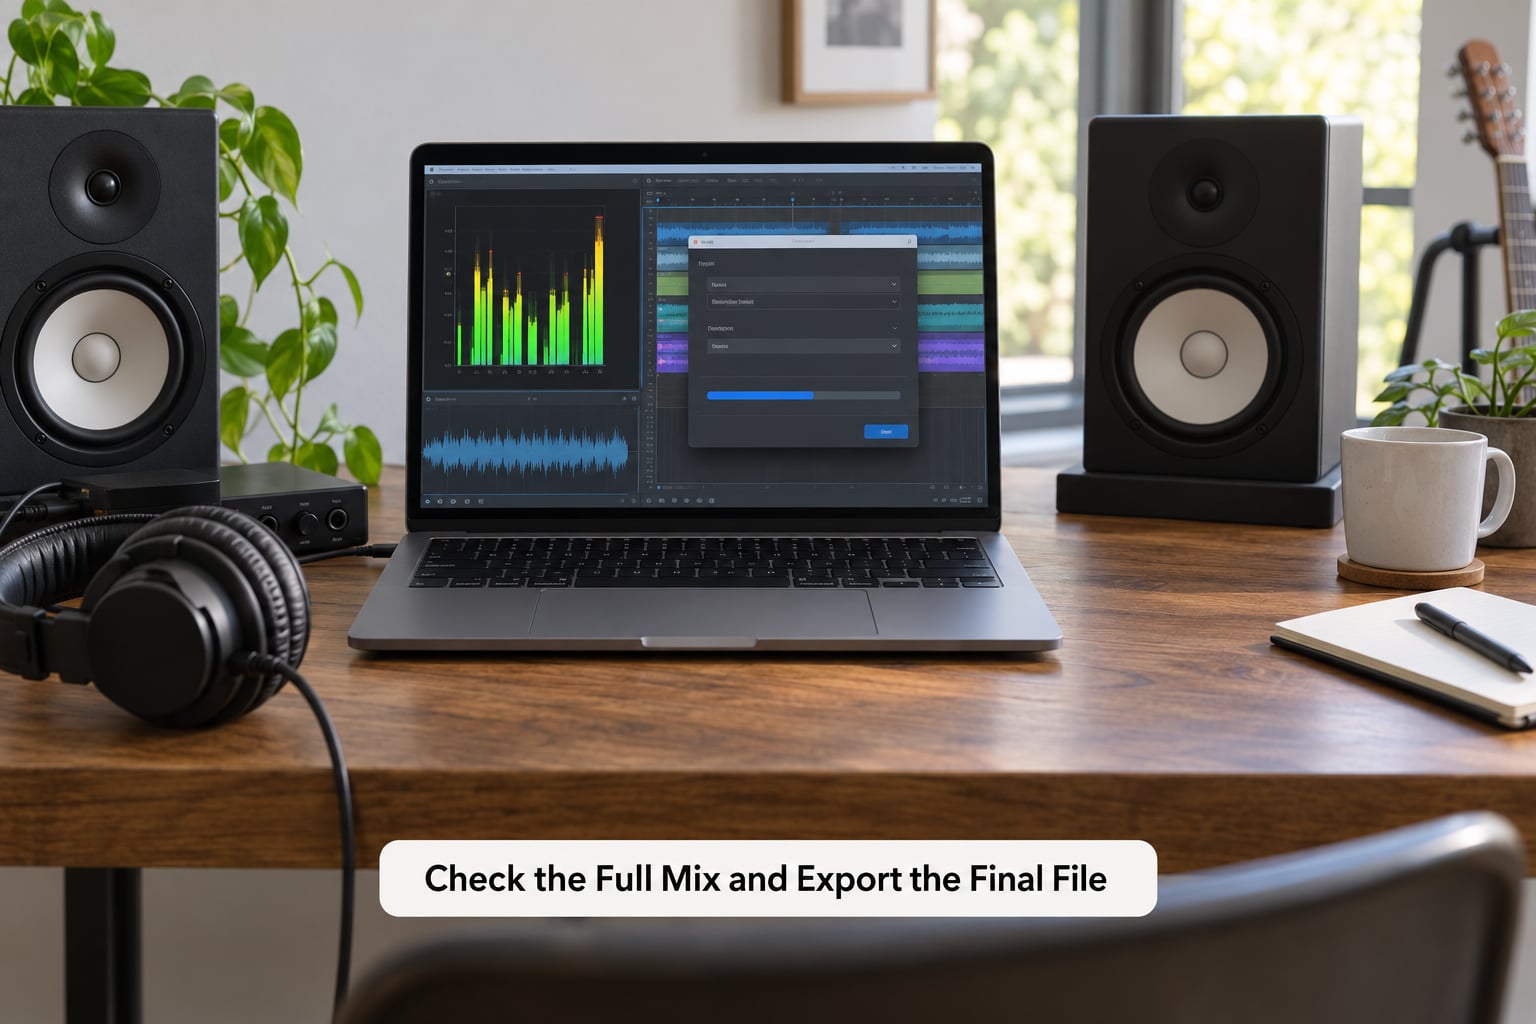
Proof the entire mix from the first bar to the last, without skipping ahead. Check timing, tonal balance, each transition, any silence, any clipping, the metadata and the ending. A mix that only works in the first five minutes is the classic way to ship something that falls apart in a real set.
Do mastering decisions after the layout is finished, not before. Normalizing or limiting to hit a number early means every later edit pushes you past it again.
Here is the loudness trap worth understanding, because it is the most common problem with extended mixes. Sparse kick-and-bass bars at the start and end of an already-loud track raise the integrated loudness of the whole file above the level of your main version. The obvious fix, pulling the limiter until the extended mix hits the same LUFS figure as the radio edit, flattens the internal dynamics of the song itself.
Do not pull the limiter. Match the perceived loudness and internal dynamics of the main section between the two versions instead, treat any LUFS figure as a streaming normalisation reference rather than a mastering target, and let the delivery platform do what it does with the level. Mastering moderators on GearSpace have argued this exact point for years, and the consensus has not moved.
Keep headroom so nothing clips after export, and export from the finished project without altering project tempo. Export separate versions when the track goes out publicly: one for DJ play, one for radio if it needs to be shorter, one for streaming, and an archive copy of the project itself.
| Specification | Value | Reason |
|---|---|---|
| Format | 24-bit WAV | What DJ software and record pools expect |
| Sample rate | 44.1 kHz, matching the session | Avoids resampling artefacts |
| Metadata | Key and BPM tags filled in correctly | Software relies on these for library sorting and sync |
| Cue points | One cue at the first full bar of the main section | Gives the DJ a reliable hot start |
| Naming | Artist – Title (Extended Mix) | Matches what pools expect for delivery |
If the track is not yours, a private DJ-use edit is a different situation from uploading someone else’s extended version for sale. Release rights belong to the rights holder, so check before anything public.
Common Mistakes
Mismatched key or tempo dragged in by force. Mild tempo drift is normal; a track warped beyond recognition is not. Fix: nudge the master tempo a few BPM at a time and let the tracks follow, rather than stretching one clip hard.
Transitions that are technically aligned but sound awkward. Beatmatched does not mean musical. Fix: judge each transition inside the 32 bars that precede it, not in isolation.
Every track entering at the same energy level. A mix with no dynamic shape gets turned off. Fix: map phases first, then place tracks into them.
Too many effects in the transition. Fix: use volume and a filter sweep to start with, and add processing only when the blend still lacks direction.
Bass collisions. Two kicks at once produce mud, not power. Fix: duck or filter the outgoing low end as the incoming one arrives.
Clipping in the output. Fix: watch the master meter while the automation plays, not just while a section is static.
An abrupt ending. The last eight bars are what a DJ rides out of. Fix: write a proper closing phase with a filter sweep and a volume ramp.
Never reviewing the full runtime. Fix: export a rough bounce and listen to it start to finish in the DJ software you actually use, ideally on headphones and on monitors.
A few habits keep this repeatable: label your sections so you can find them in six months, save your filter and EQ moves as presets per genre, back up the project before every major edit, and test the result in the software the DJ will open.
Frequently Asked Questions
How long should an extended DJ mix be?
For a single track, most extended versions add 16 to 64 bars at the front and the back. House usually takes 16 or 32 bars, while techno, trance and drum and bass take 32 or 64. A full continuous mix set is a separate thing entirely: 60 to 75 minutes suits a podcast-style release, and 90 minutes suits streaming. Count bars rather than seconds, since tempo changes the length of a second but never the length of a bar.
Do all tracks need the same BPM and key to make an extended mix?
No, but differences cost you more. Tempo drifts of a few BPM are handled by nudging the master tempo or time-stretching the odd clip. Key clashes cannot be time-stretched away, so bridge them with a breakdown, a filter sweep or a low-pass treatment during the blend. For a single extended version of one track this rarely matters at all, because the main section stays untouched.
How do you blend two full tracks in a DAW?
Match tempo first, then align the kick transients so they stack instead of smearing, then start on the downbeat. Set a deliberate overlap, usually four bars for a short blend and sixteen to thirty-two for a full mix-in. While the tracks overlap, pull the outgoing mids down, filter its low end after its kick has done its job, and drop its reverb send. Then judge the blend inside the 32 bars before it, not in isolation.
Are stems required to make an extended mix?
Stems make it far easier, but they are not required. With stems you can build intro and outro material from drums and bass alone and keep the arrangement clean. From a finished stereo file you can extend by repeating existing intro and outro sections, filter them, or use stem separation tools such as LALAL.AI, iZotope Music AI, RipX or Demucs. Separated stems carry reverb tails and cymbal bleed, so official stems sound better when you can get them.
How do I make the end of an extended mix sound professional?
Treat the outro as a real arrangement section rather than a fade. Build in eight or sixteen bars of drums and bass with no vocal, close the filter slowly across the last 32 bars, and ramp the volume down over the final sixteen so a DJ can ride out of it. Check for clipping in the last seconds, since fades frequently reveal peaks the loud part of the mix never hit. Export the tail in 24-bit WAV with a cue point at the last full bar.
Conclusion
Start by measuring your source tracks and mapping the energy across the intended runtime. Those two steps decide everything downstream, and doing them first is the difference between an extended mix that works in a set and one that just runs long.
To make an extended mix, the sequence is short enough to repeat until it is boring: analyze each track, arrange into phases, align to the master timeline, blend with the right transition type, automate the rises and drops, review the full runtime start to finish, then export a tagged 24-bit WAV without touching the project tempo.
Keep the main section identical to your finished version and leave the limiter alone. The extended mix is an arrangement and delivery problem, and treating it like a mixing problem is where most of these versions go wrong.