A MIDI chord pack sounds generic because almost everyone uses the file exactly as it shipped: the demo patch, the original rhythm, the default key and the original top-line. Break any two of those four fingerprints and the track stops sounding borrowed.
The whole trick is treating a .mid file as raw material instead of a finished part. It holds note data only, meaning pitch, timing, velocity and note length, with no audio inside. Every sound you hear came from a decision someone else made before you ever dragged it in.
The workflow below takes about 45 minutes per progression once you are comfortable in the piano roll. Order matters: rhythm first, then key, then layers, then melody, then sound.
Table of Contents
- What You Need
- Step-by-Step
- How to Use MIDI Chord Packs Without Sounding Generic
- Choose a Progression That Fits the Track
- Reshape the Voicing and Register
- Edit the Rhythm and Humanize the Performance
- Add Expression With Sound Design
- Use Repetition Without Copying the Pack
- Export, Compare, and Refine
- Common Mistakes
- Frequently Asked Questions
- Can I use MIDI chord packs if I am not an experienced music producer?
- Should I use the chord progression exactly as supplied in the pack?
- What DAW is best for editing MIDI chord packs, and can I do this in Ableton Live?
- How do I keep trance or house chord progressions from sounding too familiar?
- Do MIDI chord packs work with any synth, sampler, or audio plugin?
- How much should I change a MIDI chord pack before it sounds original?
- Conclusion
What You Need
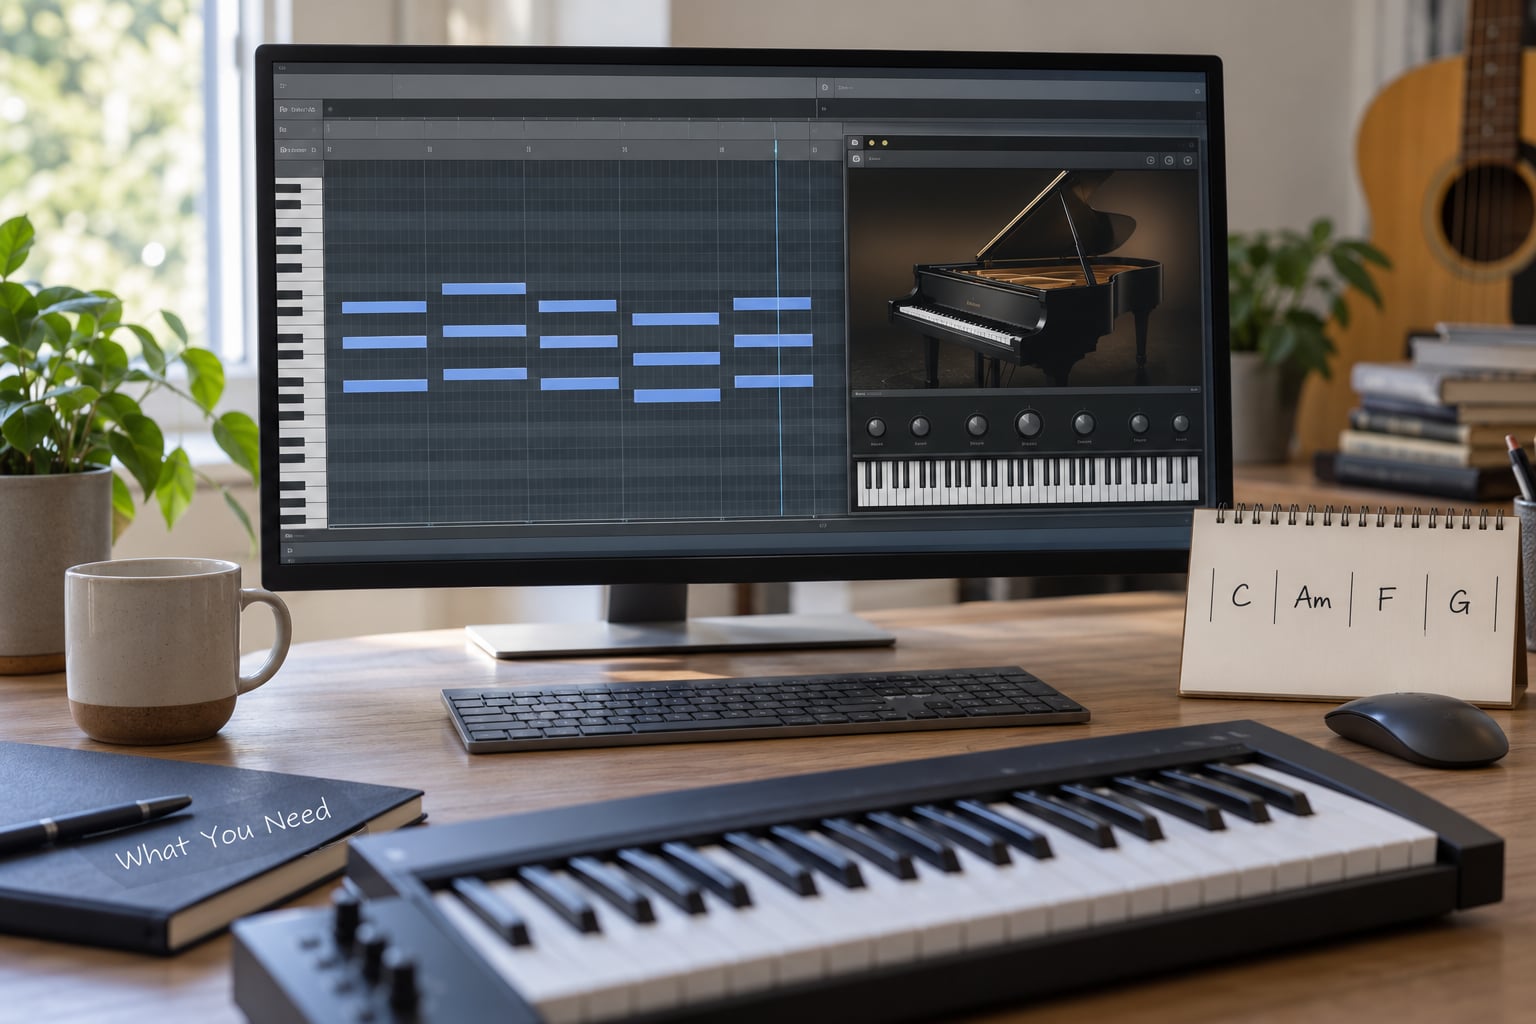
Six things, and you probably own five of them already.
- A DAW. Ableton Live, FL Studio, Logic Pro and Cubase all open .mid files and all give you a piano roll where you can move, resize and re-voice notes. The menu paths differ slightly between them, but every edit described below exists in all four.
- The chord pack MIDI files. Keep them in one folder rather than dragging files from a zip on your desktop. You will be pulling from the same pack for several tracks.
- One instrument or sampler. Ideally three you can audition fast, in the same family. One pad, one electric piano and one pluck is plenty to start. Plugins from a single vendor tend to sound like each other, which hides your edits.
- A scale or key reference. A physical keyboard, an on-screen controller app, or a scale-detection plugin in Ableton or Logic. Knowing the key and mode of the pack is what lets you re-harmonise instead of guessing.
- Two or three reference tracks. Not to copy, just to know what the part is supposed to sound like in a finished mix. If your chord sits forward in the reference, it sits forward in yours.
- One drum pattern you already trust. Your edits land against the grid, and the grid is the drum pattern. Setting that up first means you hear timing decisions immediately.
Producers on r/musicproduction are not wrong to be suspicious of packs. The criticism you hear most often, that they are prebuilt clips you drag and drop, is fair for anyone who never opens the piano roll. It stops being fair the moment you edit.
Step-by-Step
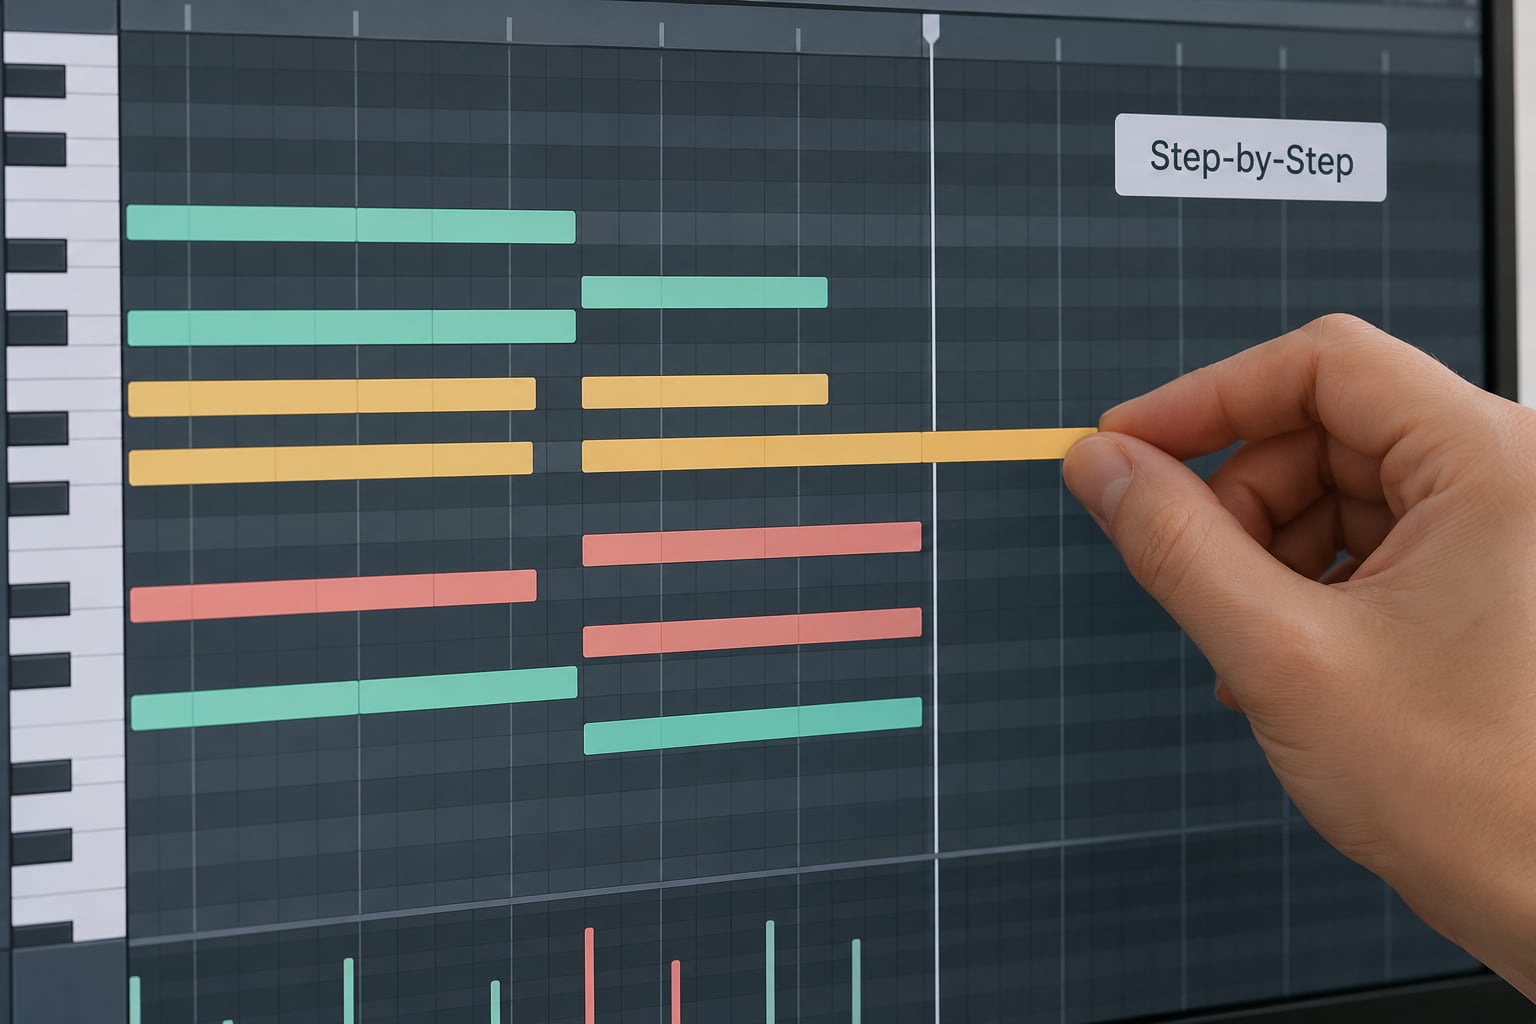
How to Use MIDI Chord Packs Without Sounding Generic
The central move is to keep the pack for inspiration and rebuild the part around it. Same chords are fine. Same voicing, same rhythm, same key and same melody at once is what makes a track identifiable as the pack demo.
Every generic-sounding MIDI track I have diagnosed shared four fingerprints. Here is how to spot them.
- The chords are instantly recognisable. Cause: the demo patch, playing the demo notes. Fix: load a different instrument and change the voicing shape.
- It loops and nothing moves. Cause: the original rhythm untouched. Fix: move attacks, vary note lengths, stagger inner voices.
- It sits in the same key as everything else. Cause: the pack’s default key. Fix: transpose, then re-voice in the new key.
- Listeners hum the melody back at you. Cause: the original top-line is intact. Fix: keep the chords, write a new melody over them.
Load the file, hit play, and time yourself on which of the four is already giving itself away. Fix the two cheapest ones first, usually rhythm and sound, and stop there if the track already feels like yours.
Choose a Progression That Fits the Track
The pack’s progression is usually fine musically and boring contextually. It was written to sit alone in a loop, not to carry a verse over a vocal or a drop over a rolling bassline.
Three ways to fix that. Re-harmonise one chord in the middle, replace the whole loop with a progression in a different mode, or keep the chords and move them to a different bar position in your arrangement.
The re-harmonising option is the fastest. Change bar three from whatever the pack gives you to a chord with a borrowed note: a major IV in a minor loop, a minor iv in a major loop, or the sixth degree pulled up a semitone, which turns A minor into something that leans unresolved.
Moving from natural minor to harmonic minor on the dominant chord is the cheapest tension fix in electronic music. One note changes and the whole loop stops sounding like a stock four-chord study.
Forum producers on r/edmproduction make a related point about pack size: many files are authored in a single key and then transposed twelve times, so you already have a chord vocabulary far bigger than the file count suggests. Use that. Pull the same progression into a key your vocal actually sits in, then re-voice it there.
Reshape the Voicing and Register
A chord inversion is the same chord with a different note in the bass. Voice leading is the habit of moving the notes one step at a time instead of jumping every voice to a new position. Both are quick edits in the piano roll and both are invisible to a listener who does not analyse.
Four levers, roughly in order of impact. Change the inversion, so the third or seventh sits in the bass. Change the register, dropping the bottom octave or lifting the whole voicing an octave for the chorus. Change the note count, taking a five-note voicing down to three for the verse and restoring it for the drop. Change the density, spreading wide voicings over two octaves for trance and house, and stacking them tighter for techno and R&B.
The single most common mistake here is oversized chords. A wide voicing in the low mids fights your bassline and your kick, and the fix is a high-pass filter rather than a bigger problem.
Moving one voice at a time does more for smoothness than any amount of velocity work. If the top line jumps a major seventh, the ear hears a mistake even when the chord is correct.
Edit the Rhythm and Humanize the Performance
Edit the rhythm before you touch the pitches. Rhythm is where most listeners feel the difference and almost nobody looks, which is exactly why it works.
Start by moving one or two chord attacks off the beat. At 480 PPQ, five to ten ticks is roughly a light sixteenth at common project resolutions, and that small shove is enough to read as played. Push any further and you are just out of time.
Then vary note lengths. Let the chord ring past the next hit on the first hit of a bar, and shorten the one on beat four. Stagger the inner voices so the top note lands a hair after the one below it.
Velocity is where the mechanical feeling comes from. Identical velocity across every chord hit makes any patch sound like a sequencer. Pull the downbeats down to around 90-110 and push the ghost notes and off-beat stabs down to 40-60.
Quantise strength is genre-dependent. House and techno sit at full quantise with maybe 3 percent humanisation. Lo-fi and boom bap want around 50-70 percent quantise plus deliberate pushes. Trap and R&B sit near the grid with heavy velocity and note-length variation instead of timing looseness.
If your DAW has a MIDI FX chain, arpeggiators and note-mappers are worth a detour here. Ableton users lean on them heavily, and the same idea applies everywhere: let a tool vary note lengths or velocities, then thin out what it generates so you keep about a third.
Add Expression With Sound Design
Never use the patch from the pack demo. The demo patch is chosen to make the file sound impressive in thirty seconds, and it is the single loudest fingerprint in the room.
Audition at least three sounds in the same family before judging the idea. One of them will expose voicing choices the others hid, and that is usually the one worth keeping.
Then connect the sound to what you did in the piano roll. Octave-layer a pluck below the chord and give it a plucky envelope so the low notes are short and the high ones ring. Put a filter on the chord and automate it across two bars so the section opens up.
Give the chords their own bus. High-pass around 300-400 Hz so they stay out of the bass and kick, sidechain that bus to the kick with roughly 150-250 ms release so they pump with the drum, and send about 25 percent to a reverb with a pre-delay.
Use an arpeggiator as a rhythm generator rather than a decoration. Run the chord through it, change the rate division once every two bars, and take the output to a separate track where you can chop it.
Use Repetition Without Copying the Pack
Repeated chord patterns are not the problem. Unchanged chord patterns are.
Build three variations from one motif: the original, the same motif with the inner voice an octave up, and the motif with the top note replaced by a scale tone from the next chord. Alternate them bar by bar and the section develops without new material.
Change the ending, not the loop. Most loops resolve to root at the end, so end on the fifth instead and let the next section supply the resolution. That one change is what makes a loop sound arranged.
Use call and response. Play the chord motif for two bars, then answer it with a single note or a stab, and let the motif return louder. Drop the chords out entirely for two bars before a break, so the return reads as an event.
Export, Compare, and Refine
Put the original pack clip and your edited version on two tracks, alternate between them with the same sound, and listen for anything that jumps. If your version is busier, mute a competing layer before you add more notes rather than reaching for the EQ.
Check the MIDI in context, not in isolation. Solo the chords at low volume and confirm the register does not fight the bass. Then listen at normal level on headphones and on a phone speaker, since phones cut everything below about 200 Hz and will hide register mistakes that show up on monitors.
Finish the note and velocity decisions last, with the whole arrangement playing. Play it back-to-back with the pack demo, then listen a week later. If you still recognise it as the pack, keep going.
Common Mistakes
Six mistakes come up again and again, and each one has a quick fix.
Leaving the original progression intact. If you changed nothing but the sound, it is still the pack’s track. Re-harmonise at least one chord and change the position of the loop in your arrangement.
Using oversized chords. Wide voicings in the low mids fight the bass. Drop the octave, cut the note count, or high-pass the chord bus around 300-400 Hz.
Over-humanising the timing. Humanising is a nudge, not an excuse. Five to ten ticks at 480 PPQ reads as feel, and anything more reads as sloppy unless the genre asks for it.
Making every chord identical. Identical voicing, register and velocity on all four chords is the signature of untouched MIDI. Vary all three per chord.
Choosing sounds that obscure the harmony. Distorted or heavily filtered pads hide inversions and borrowed notes. Judge the voicing with something plain before you commit to the saturated version.
Treating MIDI as a finished preset. A .mid file is a starting point with note data in it. If you cannot name the four edits you made, you have not made any.
Frequently Asked Questions
Can I use MIDI chord packs if I am not an experienced music producer?
Yes, and the edits that matter are simple piano roll operations: move notes, change note lengths, drag one note up or down an octave, and draw velocity values in the velocity lane. None of them need music theory. Picking the right progression and inversions is easier once you have the habit, but you can get a long way with timing and sound selection alone.
Should I use the chord progression exactly as supplied in the pack?
No. The progression is the least important thing in the file and the easiest to change. Keep the chord qualities you like, re-harmonise one chord with a borrowed note, then move the loop to a different bar position in your arrangement. If the pack’s progression is genuinely better than what you would write, use it, but change at least one chord and rewrite the melody over it.
What DAW is best for editing MIDI chord packs, and can I do this in Ableton Live?
All four major DAWs cover this workflow. In Ableton Live, drag the .mid file into a MIDI track, open it in the piano roll, and use the velocity lane at the bottom for humanisation. Ableton’s MIDI FX chain adds arpeggiator, note length and velocity tools on top. Logic Pro has similar MIDI modifiers, FL Studio works in the piano roll and channel rack, and Cubase uses the Key Editor with the velocity line tool.
How do I keep trance or house chord progressions from sounding too familiar?
Change four things in order. Move the attacks so chords land on off-beats rather than every beat, drop the octave so the chords sit above your bassline instead of on top of it, cut a five-note voicing down to three, and swap the natural minor dominant for a harmonic minor one. Sidechain the chord bus to the kick and send a quarter of it to reverb with a pre-delay, and the loop stops reading as a template.
Do MIDI chord packs work with any synth, sampler, or audio plugin?
Yes. A .mid file contains note data only, so it plays on any instrument that responds to MIDI. The same chord file works on a hardware synth, a software synth, a sampler library or an audio plugin that accepts MIDI input. You will need to check the General MIDI mapping if the pack relies on program changes for its intended sound, and adjust the key range if the instrument is limited.
How much should I change a MIDI chord pack before it sounds original?
Break two of the four fingerprints and you are most of the way there. Rhythm and sound are the cheapest changes, so start there, then move the key or rewrite the melody if the track still feels borrowed. There is no percentage that makes a part original, because the ear responds to recognisable patterns rather than to a count of edits. Your own test is whether you still recognise it as the pack a week later.
Conclusion
Start with one file from one pack and make four edits before you judge anything: move two chord attacks, drop the octave, cut a note from each voicing, and put your own melody on top. That is about fifteen minutes of work and it covers three of the four fingerprints.
Leave the demo patch alone. The best use of a MIDI chord pack is as a source of harmonic vocabulary you already know how to reshape, and the whole answer to how to use midi chord packs without sounding generic is that you never let the file arrive finished. Play your track back-to-back with the pack demo, then listen again next week.