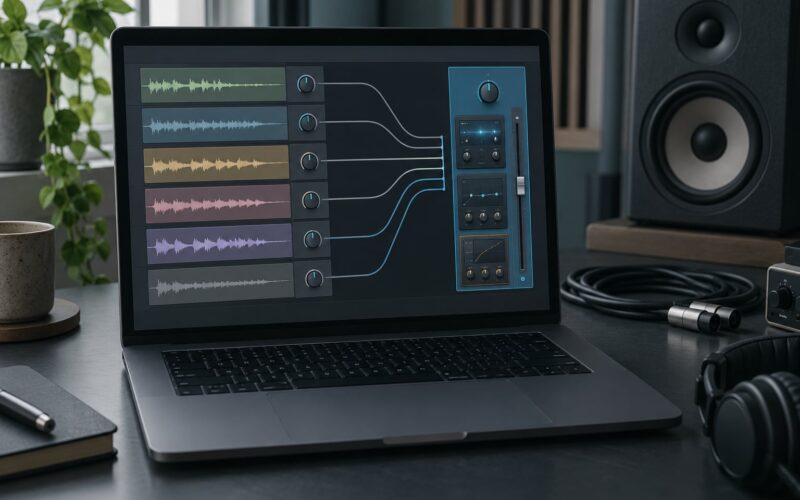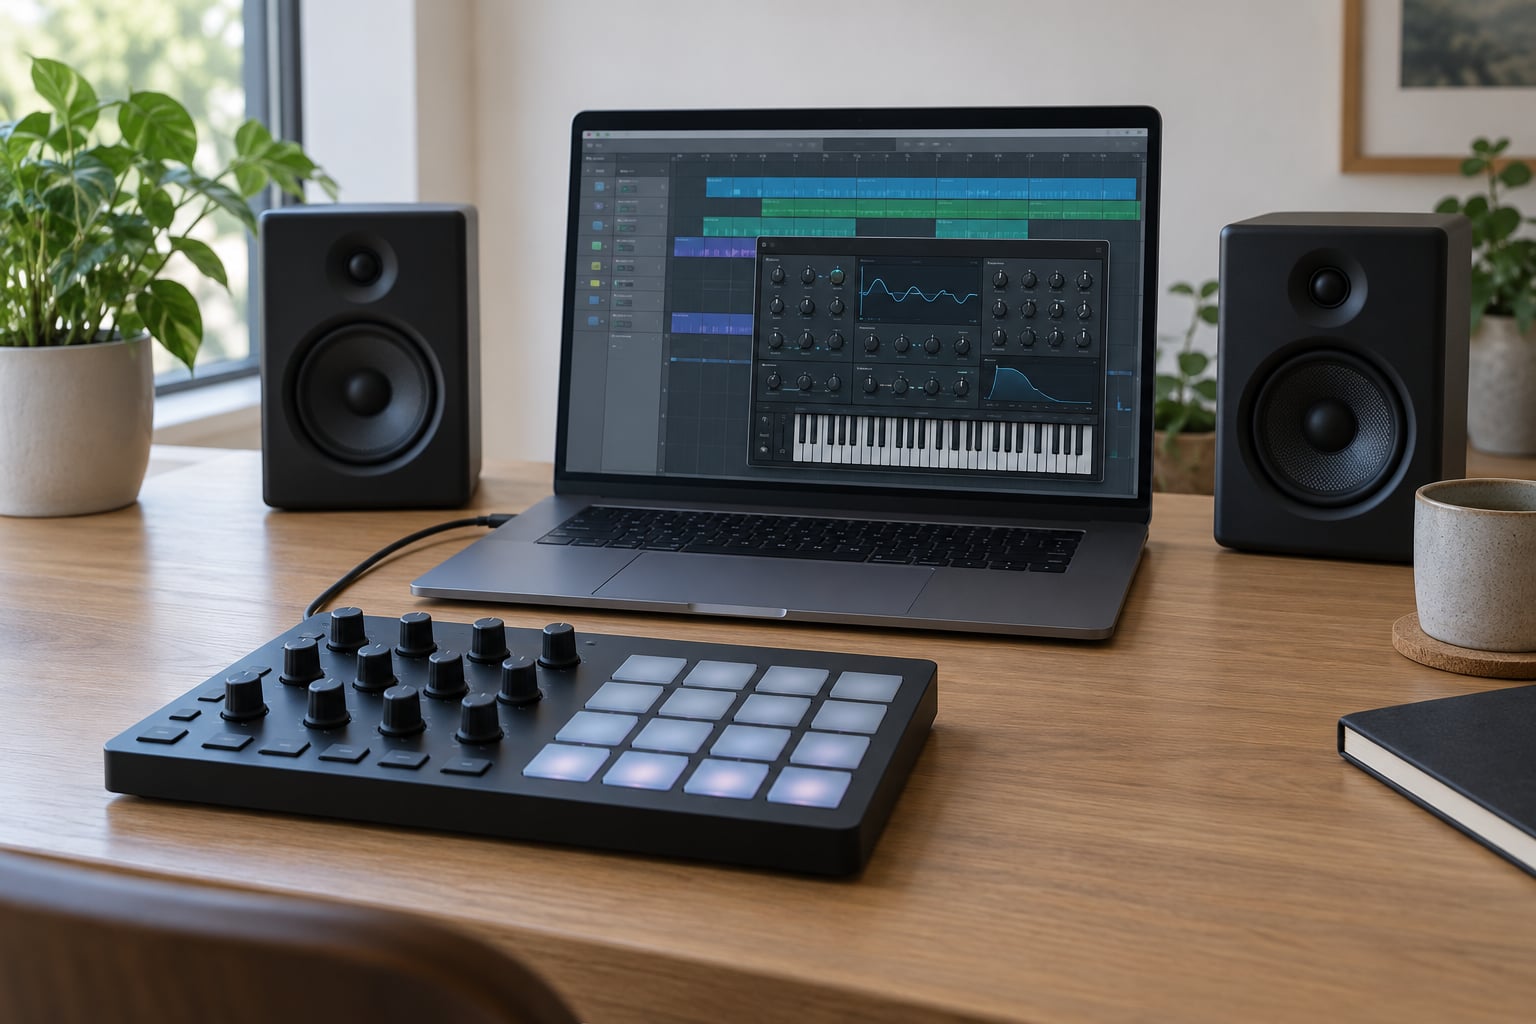
To map a MIDI controller to plugin parameters, you put the plugin parameter into learn mode, touch it on screen, then move the matching knob, fader or button on your controller. Repeat that for every parameter you want hands-on control of, and the mapping travels inside your project file.
It takes about two minutes per parameter, no specialist knowledge needed. The only part that trips people up is that every DAW names the button differently, so the same five steps are called MIDI Map in Ableton Live, Link to Controller in FL Studio and MIDI learn in Logic Pro.
Since 2026 I have spent more time in control-surface settings than I care to admit, mostly fixing mappings that were pointing at the wrong plug-in instance. What follows is the whole workflow, the exact menu paths in seven DAWs, and the failure modes that show up on forums every single week.
Table of Contents
- What You Need Before You Start Mapping
- Step-by-Step: Mapping a MIDI Controller to Plugin Parameters
- 1. Connect and enable the MIDI controller
- 2. Open the plugin and choose a parameter
- 3. Assign the controller to the plugin parameter
- 4. Set the range, mode, and resolution
- 5. Test and save the mapping
- Common Mistakes and How to Fix Them
- Frequently Asked Questions
- Can I map a MIDI controller to any plugin parameter?
- Why does my MIDI controller move the wrong plugin parameter?
- Do MIDI controller mappings work when I export or record a track?
- How do I map an endless encoder or a relative controller?
- Can one MIDI controller control parameters in several plugins?
- How do I clear a MIDI mapping or reset it in my DAW?
- Conclusion: Start With One Parameter
What You Need Before You Start Mapping
Five things, and three of them you probably already have open.
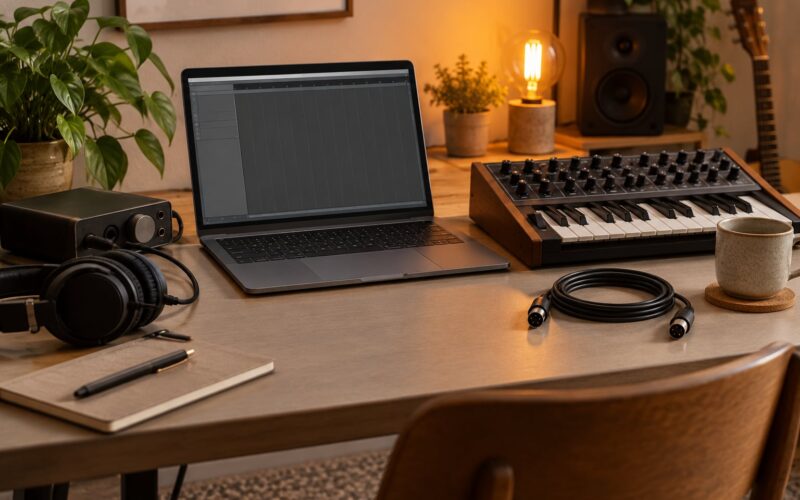
- Your MIDI controller — a keyboard, pad controller, fader surface or a small box of eight endless encoders. Any of them will do.
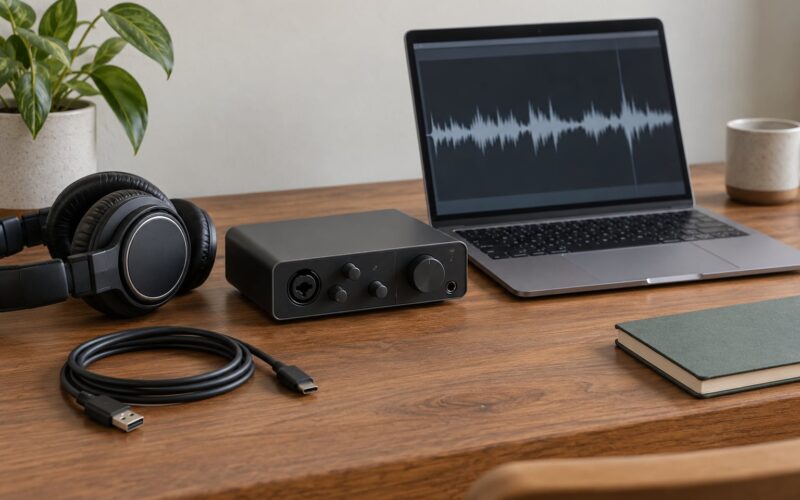
- A connection — usually a USB cable, or a MIDI interface with DIN connectors if the controller is older.
- Your DAW running, with a project open.
- A plug-in with an open editor window — a synth, EQ, compressor or reverb. If the plug-in isn’t open you cannot point at the parameter.
- The controller’s manual, optional but useful. It lists the MIDI channel and CC number of every knob, which is what you need for manual entry later.
The one check worth doing first is confirming the DAW actually sees your controller sending data. Every DAW ships a MIDI activity monitor, and they all work the same way.
- Ableton Live: the small icon in the top-right corner of the Session View toolbar, just left of the CPU meter. Click it to watch incoming and outgoing MIDI flash.
- FL Studio: the typing keyboard panel — click the piano icon in the toolbar to open MIDI Monitor.
- Logic Pro: Window > Show > MIDI Environment, or simply the MIDI activity lamp in the main toolbar.
- Cubase: Device > MIDI > MIDI Monitor, or the MIDI In/Out activity indicators in the toolbar.
- Studio One: the monitor icon in the lower-right transport strip. It shows both note and CC data with port names.
- REAPER: View > MIDI Control, then use the MIDI monitor there.
- Bitwig: the small activity dot in the document header, next to the frame rate.
Twist a knob while watching. If the value bar jumps and a CC number appears, the signal path is working and mapping will follow. If nothing lights up, stop there and fix the connection first, because learn mode will fail for the same reason.
Step-by-Step: Mapping a MIDI Controller to Plugin Parameters
1. Connect and enable the MIDI controller
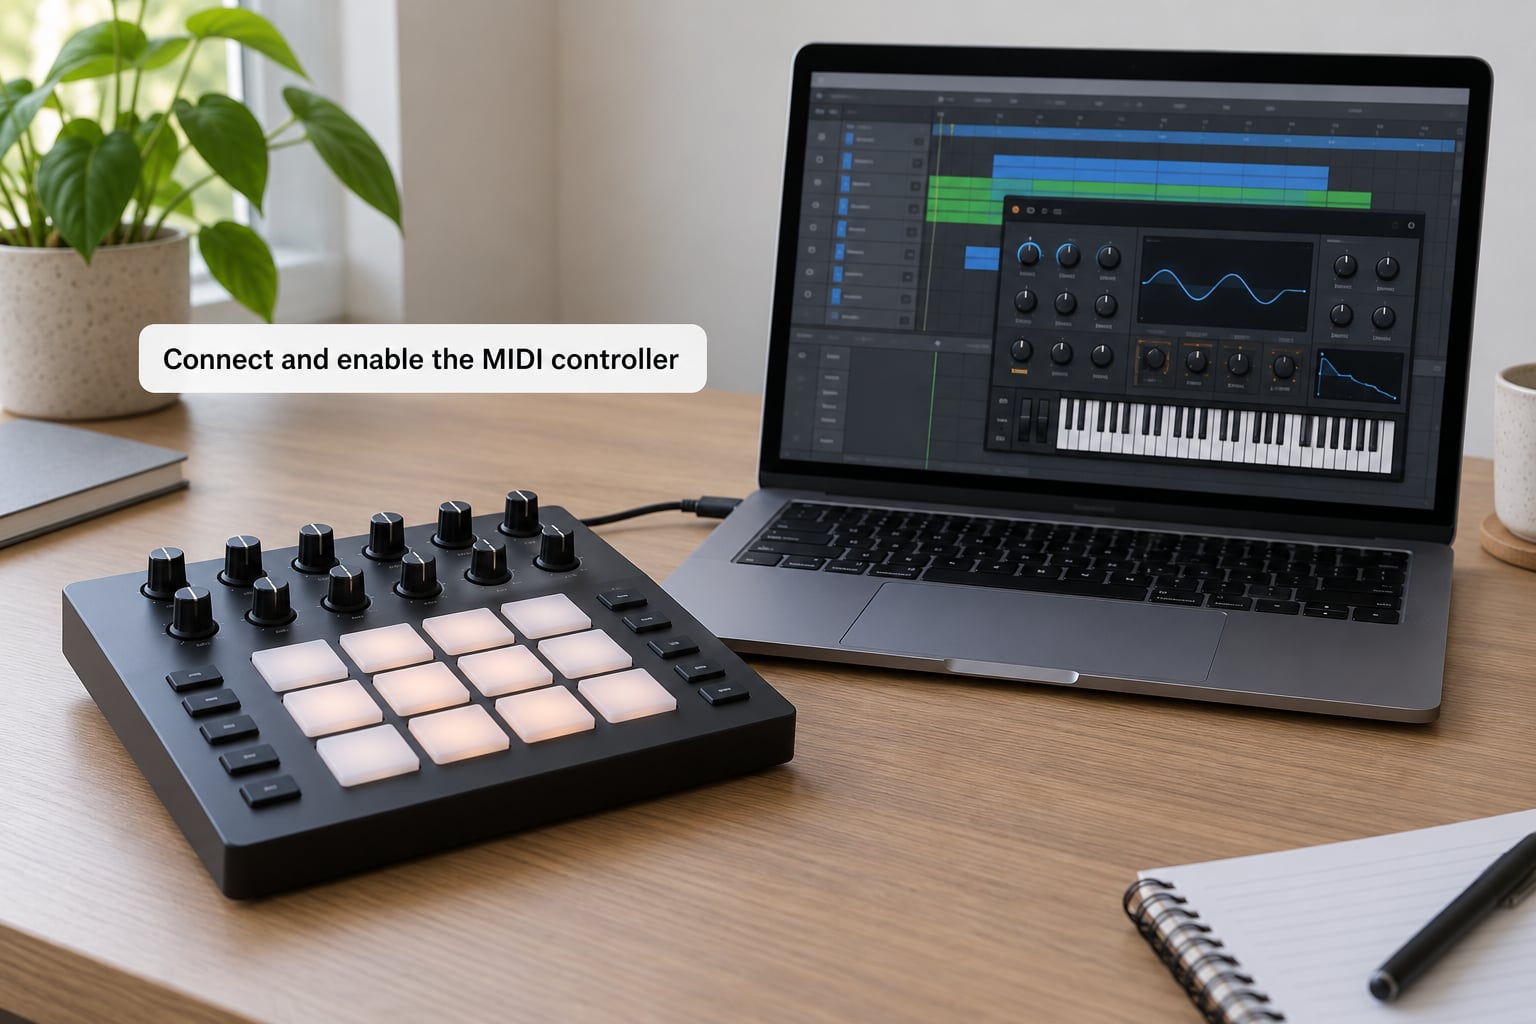
Plug the controller into the computer with USB, power it on before you launch the DAW, and give it a few seconds. Many class-compliant controllers enumerate only at startup, and a DAW opened beforehand sometimes shows the port greyed out until you reconnect the cable.
Then set the controller’s MIDI mode. Some units offer a switch for MIDI versus USB audio or a toggle between banks; get that right first or your knobs will send nothing useful. The manual tells you which combination does what.
Select the controller’s input in the DAW. In Ableton Live it is a drop-down on the track’s MIDI From section. In FL Studio, Options > Settings > MIDI Devices, and the input must be ticked for the channel you are recording on. In Cubase it is Studio > MIDI Port Setup, or the routing menu on the MIDI track itself.
Set the controller’s output channel to match too. Most controllers send on channel 1 by default, and if the DAW is listening on channel 2 you will get silence.
One warning about feedback loops: if your controller also sends program changes or note messages back to itself, a mapped parameter can jump while you are reaching for the knob. Disable any LED-feedback or MTP mode on hardware that offers it.
2. Open the plugin and choose a parameter
Open the plug-in’s editor window by double-clicking it, or with the single-click show-window arrow most DAWs put in the top corner of the plug-in header. You cannot map a parameter you cannot see.
Pick one parameter to start with, and choose a good one. Filter cutoff on a synth, or the threshold and ratio on a compressor, gives you immediate audible feedback. Avoid tiny trims and anything marked read-only, because those are not automatable.
A useful test: hover the mouse over the parameter and look for the automation readout. Most plug-ins show a parameter ID or automation number in a tooltip or in a status bar, and that number is often what you can type in by hand instead of wiggling a knob to learn it.
Modulation destinations behave differently from plain parameters. A plug-in’s LFO amount, a modulation matrix destination and a macro are often automatable, but some are only settable through the plug-in’s own modulation menu. If learn does nothing on one control, move to the next and come back later.
3. Assign the controller to the plugin parameter
The workflow is the same everywhere: arm the assignment mode, touch the parameter, move the control. What differs is the button.
Ableton Live — click the small MIDI Map button in the top-right corner of the plug-in’s title bar (the crosshair icon), then click the parameter on screen, then move the hardware control. Live stores this in the MIDI Map and shows each mapped control in yellow. Press the button again to exit.
FL Studio — right-click the parameter knob and choose Link to Controller. The mouse pointer turns into a target icon; click the control on your controller to capture it. Right-click again and choose Remove link to undo.
Logic Pro — click the parameter while holding Cmd, or use the dedicated path: Window > Show > Controller Assignments, or the environment’s Controller Assignments window (Control > Assign Plug-in Parameter > to a chosen Control Surface). Cmd-clicking gives you the quick Control Surface slot rather than a full assignment page.
Cubase — the deep route is MIDI Remote (Devices > MIDI Remote, then the MIDI Remote Editor) where you build mapping pages and connect them to the Quick Controls. For a one-off, hover the parameter and click the small MIDI Remote learn icon that appears, then move the control. Both routes feed the same MIDI Remote mapping.
Studio One — hover the parameter and click the small MIDI icon, or press Cmd+M to arm mapping mode, click the parameter, then move the controller. Studio One shows the assignment in the Control Link inspector at the bottom of the window, where you can also type a CC number directly.
REAPER — open the MIDI map via Options > MIDI mapping (or the keyboard shortcut for the mapping window), hover the parameter until the mouse cursor shows a MIDI icon, click it, then move the control. REAPER stores maps in the project file.
Bitwig Studio — hover the parameter and click the small MIDI note icon in the parameter header, or use the Map button in the document header to capture the next incoming message. Bitwig also lets you click into the mapping list and type a MIDI CC number directly.
Reason — Remote devices are the native path: Device > Edit Remote Device, choose Remote, then assign the hardware control to a parameter on the device chain. Reason’s own devices are controlled directly, and third-party plug-ins can be routed through the Remote mapping.
Here is the same action in one place, so you can find your DAW without scrolling.
| DAW | Start mapping | Type a CC number by hand | Clear one mapping |
|---|---|---|---|
| Ableton Live | MIDI Map button on the device title bar, then click the parameter | Open the MIDI Map chooser and edit the entry | Open MIDI Map, click the highlighted control, press M |
| FL Studio | Right-click parameter > Link to Controller | Not available; capture the control instead | Right-click parameter > Remove link |
| Logic Pro | Window > Show > Controller Assignments, or Cmd-click the parameter | Set Type to Control Change and enter the number | Select the mapping and click the remove button |
| Cubase | Devices > MIDI Remote, or click the parameter’s MIDI Remote learn icon | Enter the CC number in the MIDI Remote editor | Right-click the mapping in MIDI Remote Editor > Remove |
| Studio One | Cmd+M, click the parameter, move the control | Control Link inspector > MIDI CC field | Click the mapping in Control Link and delete |
| REAPER | Options > MIDI mapping, click the parameter’s MIDI icon | Add a new MIDI map line and set CC number | Select the mapping in the list and press Delete |
| Bitwig Studio | Click the MIDI icon on the parameter header, or use Map | Type the CC number in the mapping list | Right-click the mapping and choose Remove |
| Reason | Device > Edit Remote Device, then assign | Not available; use the Remote device assignment | Right-click the control assignment > Disconnect |
One caution from the Ableton community: Live’s top-window MIDI Map button also captures device parameters, not just transport controls, and those global mappings then apply across every device in the set. Multiple plug-ins claiming the same CC number is why a knob seems to change something else entirely. Map to a specific device where you can.
4. Set the range, mode, and resolution
By default most DAWs send the full range of the parameter to the full range of your control. A knob that sweeps from 0 to 127 gives you a filter cutoff from 20 Hz to 20 kHz, which is musically useless. Narrow the range.
In Logic Pro’s Controller Assignments window you get Min and Max fields, and entering a narrower span such as 200 to 8000 Hz turns the same knob into a usable sweep. Ableton Live’s MIDI Map mode and Cubase’s MIDI Remote editor both give you similar low and high limits, and Bitwig and Studio One expose the same two values on the mapping.
Then consider the mode. Absolute means the control’s physical position sets the value directly — a real knob or fader behaves this way. Relative means an endless encoder sends small increments, and the parameter only moves while you turn, which is how a rotary encoder behaves. Mapping a relative encoder as if it were absolute is the usual reason a value jumps to full scale the moment you touch it.
Resolution is the quieter issue. Classic MIDI control change is 7-bit, so it arrives in 128 steps. If a plug-in parameter is continuous, those 128 steps can sound steppy on a slow filter sweep. Higher-resolution encoders that report as endless or 14-bit avoid that, as does mapping the parameter in 14-bit NRPN mode where the DAW supports it.
Buttons and pads send note messages rather than CC. Map one to a plug-in switch like the filter’s on/off or a reverb’s freeze and it toggles with each press. Hold behaviour depends on whether the DAW maps note-on, note-off or both, so check that setting if a button turns the effect off too early.
5. Test and save the mapping
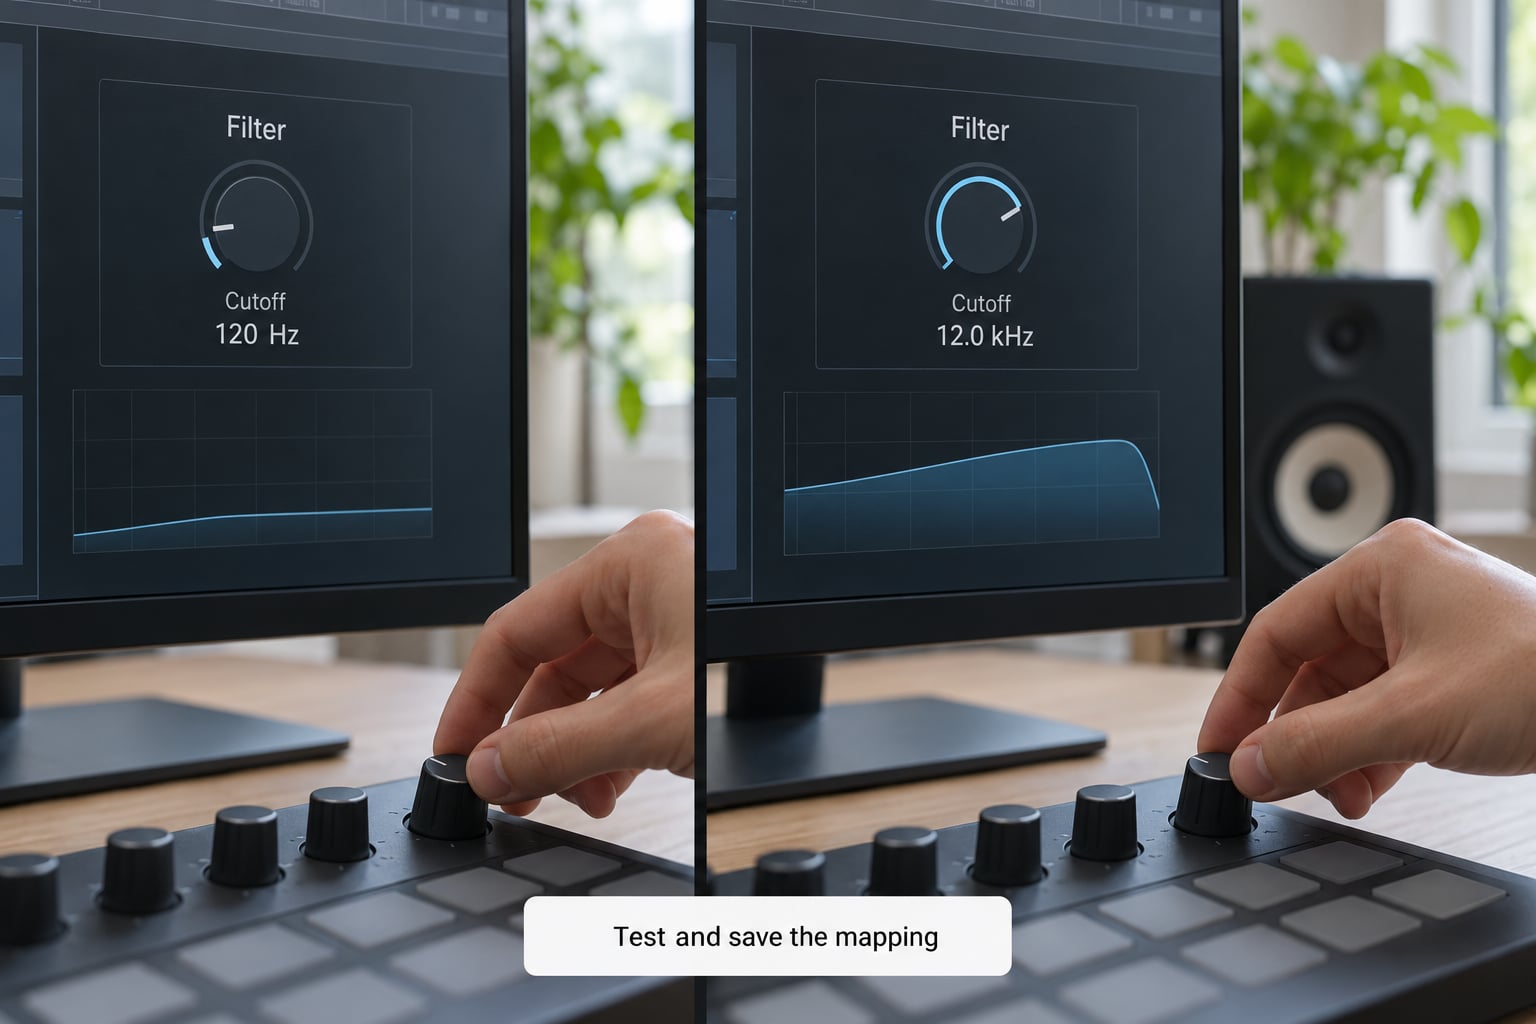
Move the control slowly through its whole travel while watching the plug-in. Check three things: the direction is right, the endpoints land where you expect, and there is no lag or jitter at either end.
If the value moves backwards when you turn the knob up, invert the mode rather than swapping the hardware. Most DAWs have a setting for this, and Logic Pro has a velocity-sensitive inversion option in Controller Assignments.
Then test with audio playing. Sweep the filter across a break, ride the filter cutoff across a full bar, and watch for clicks. A click usually means the range is too wide or the parameter is stepped rather than continuous.
If you want knob moves written into the track as automation, arm the write mode before you play. Logic Pro, Cubase and Studio One use Touch or Latch mode on the automation lane; Ableton Live has automation arm on the track; REAPER and Bitwig have their own equivalent. Touch mode writes the value as you move it and stops writing when you let go. Latch mode keeps writing until you stop it, which suits hands-off performance.
Saving depends on the DAW, and this is where people lose work. Live’s MIDI Map, Logic’s Controller Assignments, Cubase’s MIDI Remote and REAPER’s MIDI map all live in the project or template, so they survive a close and reopen. Where a mapping is global rather than per-project, write it down as a list of CC numbers so you can rebuild it in a minute.
Finally, check what happens on export. A bounced audio or rendered file contains no controller data at all, just the audio as played. Mapping affects playback in the session, not the exported file.
Common Mistakes and How to Fix Them
Nearly every mapping problem on the forums falls into the table below. Work down it from the cheapest fix.
| Symptom | Likely cause | Fix |
|---|---|---|
| Pressing learn and moving a knob does nothing | Wrong MIDI input port, or the controller sends on a different channel | Re-select the input, match the output channel, and confirm data in the activity monitor first |
| Learn captures the wrong control | You nudged another knob during the capture window | Keep your hands off everything until the on-screen value lights up |
| Knob moves a different plug-in’s parameter | A global mapping from the top-window map claims the same CC | Map to the specific device or track, and delete the global duplicate |
| Learn only half works on a plug-in | The parameter is a modulation destination, not an automatable parameter | Use the plug-in’s own modulation routing instead of a controller assignment |
| Learn fails on a plug-in on a track that is not selected | The DAW will not arm mapping for a hidden or unselected instance | Select the track and open the plug-in window before entering learn mode |
| Value jumps to full scale when touched | An endless encoder mapped as absolute | Switch the mode to relative, or pick a control that has a fixed position |
| Values jump when you switch banks or pages | Bank offset: each page sends the same CC numbers with a different offset | Use endless encoders, or re-map each bank page separately in the DAW |
| Mapping works live but is gone after reopening the project | The mapping was global rather than saved with the project | Store it in a template or control surface file, and keep a written CC list as backup |
| Filter sweep sounds steppy | 7-bit control change resolution against a continuous parameter | Use 14-bit or NRPN mapping where the DAW and controller allow it |
| Plug-in button toggles too early or stays on | Note-on only, note-off only, or both was mapped | Set the note event type explicitly in the assignment |
A few setup habits prevent most of this. Assign one knob at a time and test before moving to the next. Keep notes of CC numbers as you go, because rebuilding by hand later is faster than re-learning everything.
For performance, map only what you actually reach for. Twelve mapped knobs beat sixty, because every extra mapping is another thing that can fire at the wrong moment. Mark your controller physically with tape or stickers once the layout settles, and check the mapping after each firmware update, since a new bank table can shift every CC number.
If you are working with a large controller and want the plug-in’s parameters to follow your current track selection, look at each DAW’s remote abstraction layer: Smart Controls in Logic, Quick Controls in Cubase, Remote Control pages in REAPER’s container pages, or hardware presets with LED rings. These re-target themselves to whichever track is active, which removes a lot of manual re-mapping.
Frequently Asked Questions
Can I map a MIDI controller to any plugin parameter?
You can map any parameter the plugin marks as automatable, which in practice covers most knobs, switches and sliders. Parameters marked read-only, display-only values, and some modulation matrix destinations cannot be assigned through the DAW. Check for the automation readout on the parameter, or the small MIDI icon appearing on hover, to confirm it is assignable before you start.
Why does my MIDI controller move the wrong plugin parameter?
Two mappings are fighting over the same CC number, usually because one was made globally and one per-device. In Ableton Live the top-window MIDI Map also captures device parameters, which is a common cause. Open your mapping list, look for duplicate CC numbers, and delete the global entry so only the device-specific mapping remains.
Do MIDI controller mappings work when I export or record a track?
Mapping controls what happens during playback in your session, so it works while you record live and the moves are captured as automation. An exported audio or rendered file contains no MIDI data, only the audio that was played. If you need the controller data inside the finished file, render MIDI or automation lanes instead of bouncing audio.
How do I map an endless encoder or a relative controller?
Endless encoders have no fixed position, so they must be mapped as relative controls that send small increments. In the assignment window set the mode to relative rather than absolute, and set sensible min and max values so the parameter lands where you want. Mapping one as absolute makes the value jump to full scale as soon as you touch it.
Can one MIDI controller control parameters in several plugins?
Yes. Each mapping points at a specific plug-in instance, so one knob can drive a filter in one synth and a cutoff in another at the same time. Because they share a CC number, expect both to move whenever you touch the control. Decide whether you want them linked or independent, and unmap the duplicates if they fight each other.
How do I clear a MIDI mapping or reset it in my DAW?
Open the mapping list for the device, select the entry you want to remove and delete it. Ableton Live uses the MIDI Map button with a control selected, FL Studio uses right-click and Remove link, Studio One uses the Control Link inspector, and Cubase uses the MIDI Remote editor. Clearing all mappings on one device at once is usually a menu option in the same window.
Conclusion: Start With One Parameter
To map a MIDI controller to plugin parameters, do this in order. Confirm the controller shows up in your DAW’s MIDI activity monitor, open one plug-in window, enter its learn or mapping mode, click the parameter, move the control, then narrow the range so the sweep is musical. Test it with audio running and save the project.
That loop takes a couple of minutes and it is the same in every DAW, whatever the button is called. Once you have it working on one parameter, the rest follow quickly, and your controller setup becomes part of the project rather than something you rebuild every session.