You can treat a bedroom studio on a budget by fixing speaker placement first, then adding thick soft material you already own, then building a few broadband absorbers if problems remain. Most of the audible improvement costs nothing, and the money you save stays in your pocket instead of going into foam that does almost nothing below 500Hz.
That is worth stating plainly at the start, because a bedroom is the hardest room most producers will ever mix in and almost nobody treats it as the specific problem it is. A hard bed, a bare window, a wardrobe and a low ceiling are already eating the reflections and the bass you are trying to judge.
Here is the order I would work in, with what each step buys you and, just as importantly, what it does not fix.
Table of Contents
- What You Need for How to Treat a Bedroom Studio on a Budget
- Step-by-Step
- Set the Listening Position First
- Reduce Noise Without Making the Room Sound Dead
- Map the Main Reflection Points
- Why This Matters for How to Treat a Bedroom Studio on a Budget
- Build Absorption from Affordable Materials
- Improve Bass and Low-Mid Control
- Set Up Monitors Without Overspending
- Test the Finished Room with Material You Already Own
- Common Mistakes
- Frequently Asked Questions
- Can I treat a bedroom studio without acoustic panels?
- Are foam panels useful for a bedroom music studio?
- Where should I put bass traps in a small bedroom?
- Should I buy better monitors before treating my room?
- How can I stop outside noise from reaching my microphones?
- What is the most worthwhile upgrade for a budget bedroom studio?
- Conclusion: Make the First Upgrade Count
What You Need for How to Treat a Bedroom Studio on a Budget
Four things, and only one of them is optional.
A description of the room. Measure the length, width and ceiling height. Write down where the speakers, desk, bed, window, wardrobe and door sit, and whether the floor is carpet or bare board. You cannot choose absorption positions without knowing the geometry, and small bedrooms are almost always roughly square, which is the worst shape for bass.
A fixed listening position. Somewhere you can return to every session, with the speakers at ear height and your head in one spot. Gaffer tape on the floor and a strip of masking tape on the wall behind your head are enough to mark it.
Soft material you already own. Moving blankets, the thickest curtains you have, a duvet, rugs, a full bookshelf. This is the workhorse of bedroom treatment and it costs nothing.
Something to test with. Your ears and a familiar track are the minimum. Room EQ Wizard, which is free, is the nice-to-have and lets you see what actually changed.
Expensive broadband panels are not on that list, and neither is measurement hardware. You can get a usable room without either. You just have to know what treating a room means before you spend anything on it.
Treatment is not soundproofing. Treatment controls what happens to sound inside the room, so you can judge it accurately. Soundproofing, or isolation, controls how much sound reaches the room and how much escapes it. The top-voted answer in the biggest r/audioengineering thread on bedroom treatment makes the point well: moving blankets and curtains mainly tame reflections and high frequencies, and do very little for isolation or low-end control. If your problem is hearing traffic, panels will not fix it. If your problem is a mix that sounds boxy and smeared, they might.
Step-by-Step
Set the Listening Position First
Every minute you spend on placement pays back over every session you will ever have in the room, and it costs nothing.
Start by putting the speakers and your head at the points of an equilateral triangle, roughly one room width apart. Distance back from the front wall matters more than most people expect: pull the speakers about 30% of the room depth into the room. That is often called the 38% rule, and the reason it works is boundary interference. When a speaker sits hard against a wall, that wall folds low frequencies back into the driver and changes how it behaves near the listening position. Moving it into the room is the cheapest bass fix available to anyone.
Then angle the speakers toward your ears and mark everything with tape. Set your monitor level so a familiar mix plays at about 80dB at your seat, roughly where it would sit at a small concert, and keep the number there. Most bedroom problems get blamed on monitors that are simply too loud or too far back in the mix.
You will also want the desk out of the middle of the room if it can move. A desk against the front wall keeps reflection off your face and out of your stereo image. If the bed is against the rear wall, so be it, but note that you now have a low reflective surface right behind your listening position, and the rear wall is the first surface worth treating after the side walls.
Reduce Noise Without Making the Room Sound Dead
A bedroom never sounds dead, and if you push it there you will mix with no sense of depth at all.
Decide first which problem you have. Noise bleeding in from outside, from a hallway, from a shared wall, or from a fridge hum in the corner is isolation work. Reflections and muddiness from your own monitors is treatment work. They need different fixes and they are frequently confused.
Cheap isolation steps, roughly in priority order: seal the gap under the door with a door sweep or an old towel rolled along the bottom, run weatherstripping or removable seal tape around the window, and hang the heaviest curtain you own over it. Mass on the window is what does the work there, not the fabric thickness alone.
For traffic and neighbours, nothing at bedroom scale will fix it. Add mass-loaded curtain on the window, keep the door shut, and use noise-cancelling headphones while you work. That is the honest answer for renters.
Alongside that, keep enough low-frequency absorption in the room to keep it from getting boomy. A room with one flat wall and three dead surfaces will sound worse than the untreated version you started with.
Map the Main Reflection Points
You can find your problem surfaces with your hands and your voice in about five minutes.
Sit in your listening position and have someone clap once, hard, from just outside each speaker, then from the centre of the wall behind each speaker. Tap along the walls and the ceiling while they do it. Wherever you hear a sharp, obvious slap back at yourself, that is a first reflection. Two surfaces in parallel across from each other that give you a rapid repeating flutter are giving you flutter echo, and that is the loudness variation that smears a mix.
Do the same with a spoken vowel, an “oo” sound. The audible echo on a vowel is a first reflection. A reflection that arrives late enough to blur the transient, maybe 30ms or more after the direct sound, is a late reflection and it is doing most of the damage to your stereo image.
In a normal room the first reflections off the side walls and the ceiling arrive within a few milliseconds of the direct sound, and the ear mostly fuses them into the source. That is why a bare bedroom can still sound okay on a vocal. What kills clarity is not those first slaps, it is the early reflections on the rear wall and side walls that arrive late enough to change what you hear about level and tone.
Give your ears one job in this step: learn which reflections are the loud ones and which ones you can live with. That is a judgement call, not a measurement, and it is fine to make it by ear.
Why This Matters for How to Treat a Bedroom Studio on a Budget
Because the order you buy things in decides whether you end up with a better room or a pile of gear that hid the real problem.
Room behaviour beats hardware. A pair of monitors costing several hundred dollars, driven in an untreated 10-by-12-foot bedroom, will reproduce the room, low end boom and all, with more fidelity than you can use. The room is the filter. Fix the filter first and cheaper monitors sound better than they did yesterday.
Repeatable tests make spending selective. Once you can clap, listen, and hear a change, you know where the next unit of budget should go. Without that, every purchase is a guess and cheap foam is exactly the kind of thing you buy on a guess.
There is a financial point too. If the first week of fixes takes the worst edges off the room, you may find you never want the panels. A producer who spends on treatment after measuring hears it, and a producer who buys first keeps second-guessing the purchase.
Build Absorption from Affordable Materials
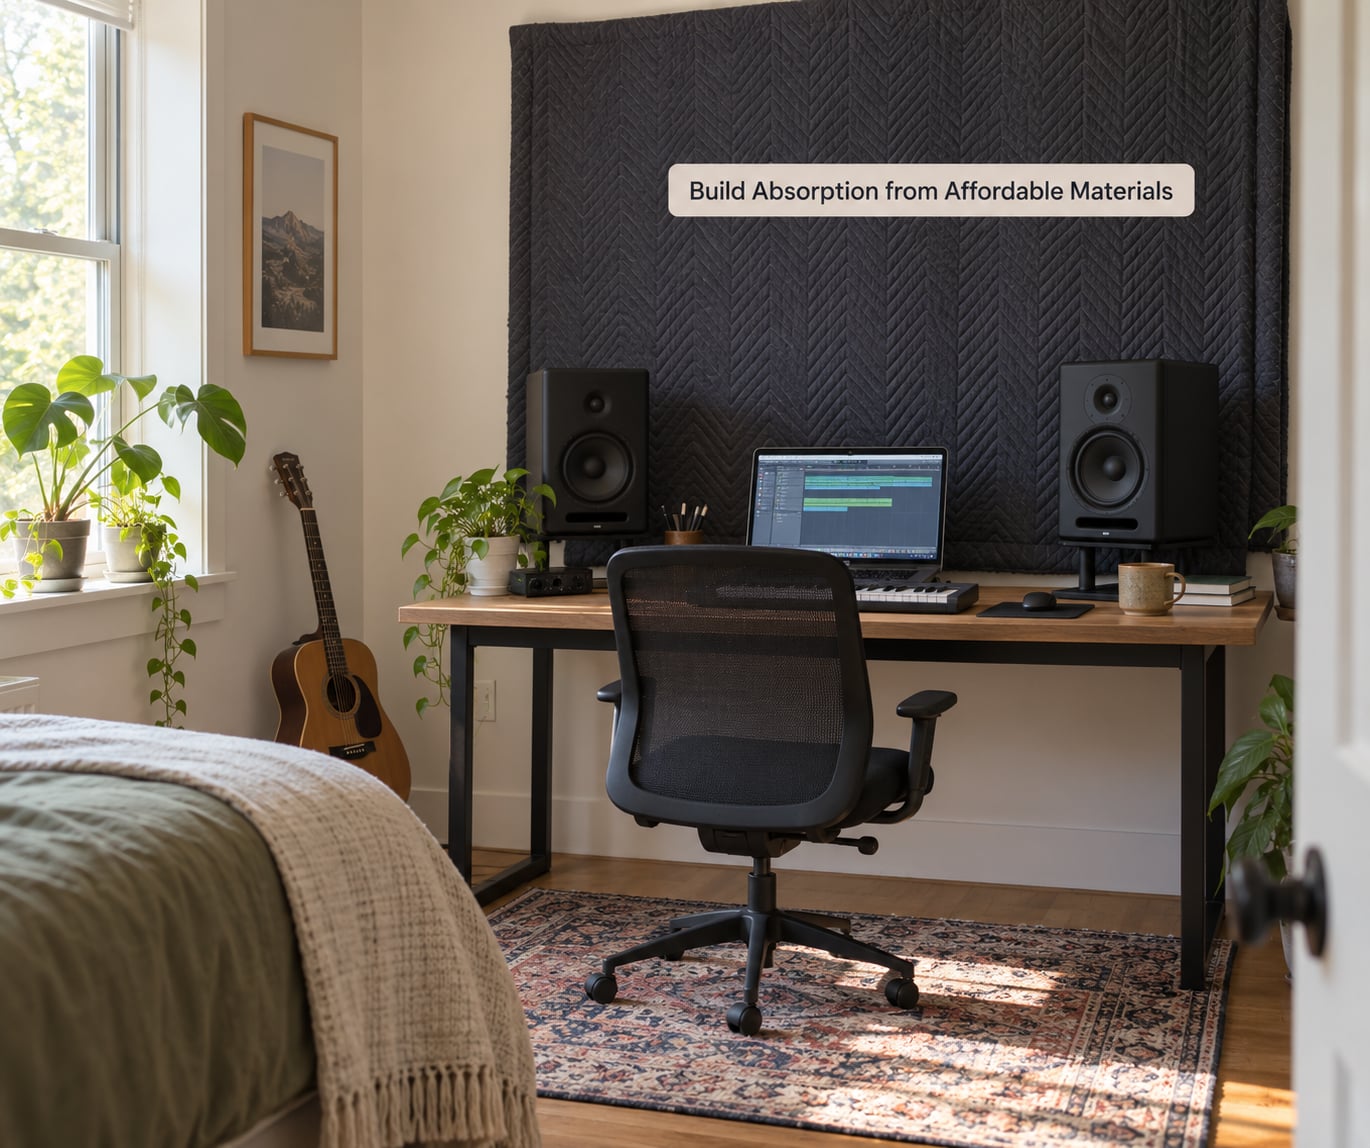
Soft, thick, and not touching the wall: that is the whole recipe for free absorption.
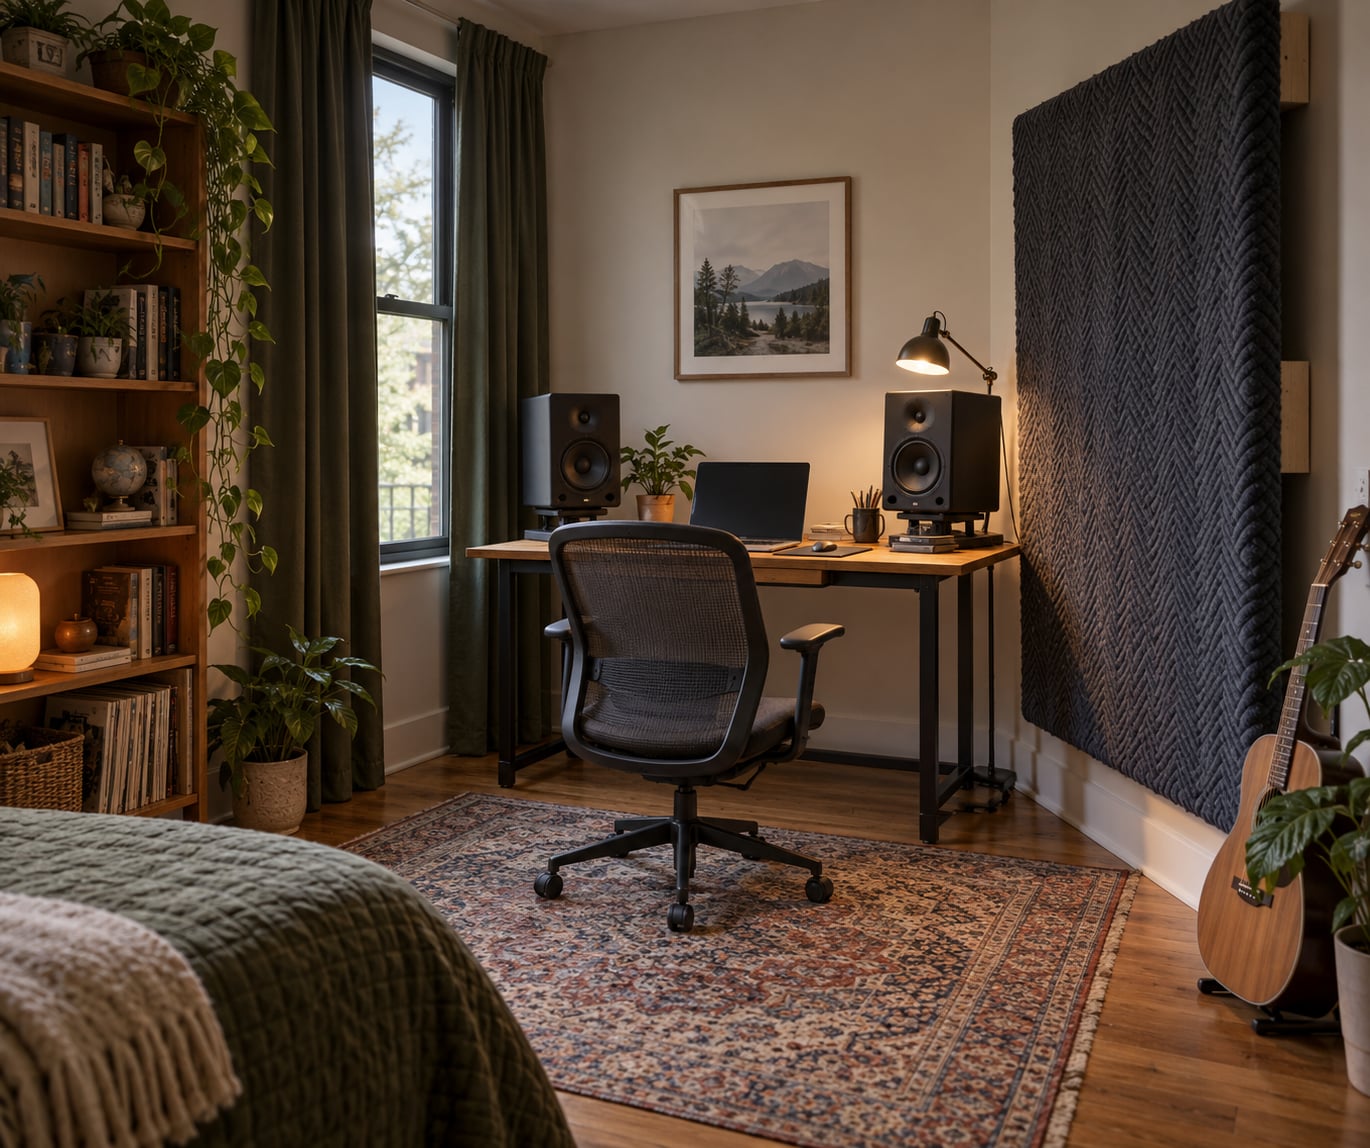
The single most useful idea in bedroom treatment is the air gap. A panel or blanket hanging 2 to 4 inches off the wall with a cavity behind it does dramatically more than the same material pressed flat against the surface. Broadband absorbers with a 4-inch air gap work down to roughly 120Hz. Move them flush and the useful range collapses. Moving blankets on grommet kits hung off curtain rods are the cheapest way to get that gap, and they can come down in a minute when you move house.
Here is roughly what each soft option is good for.
| Material | Best use | Effective range | Renter-safe |
|---|---|---|---|
| Moving blankets | Side wall and rear wall panels | Around 250Hz up | Yes, on grommets |
| Heavy curtains | Window, opposite wall | Around 250Hz up | Yes, tension rod |
| Duvet or comforter | Hung behind the listening position | Around 300Hz up | Yes, Command strips |
| Rug on bare board | Floor | Broad, gentle | Yes |
| Filled bookshelf | Corner or side wall | Roughly 400Hz to 2kHz | Yes |
| Thin pyramid foam | Almost nothing useful | 500Hz up, shallowly | Yes |
A few tricks that cost nothing and work well. Throw your duvet over the headboard or hang it behind your chair at head height on the rear wall, which is exactly where a late reflection lands. Open the wardrobe door, hang a blanket inside it and shut it, and you have made a corner absorber out of furniture you already own. Push a loaded bookshelf 10 to 12 inches out from the corner. Books are an irregular diffuser as well as an absorber, which is a nice bonus.
What to skip: identical thin foam tiles bought in bulk. They do almost nothing under 500Hz, they spring back after compression, some of them off-gas a chemical smell that is genuinely unpleasant in a closed bedroom, and they are the most common wasted purchase in this whole hobby. If you want foam, at least test that the piece is stiff and dense rather than loose and fluffy, and give it a day to expand before you decide to keep it.
Once you want real low-frequency help, a DIY broadband panel is straightforward. Rockwool or mineral wool in a wooden frame, wrapped in breathable fabric and left slightly loose rather than compressed tight. Cover fabric is what lets air move through the mineral, so skip anything airtight. Panel depth decides the range: 4 inches of mineral wool with a 4-inch air gap reaches down near 120Hz, and 2 inches will not. 703 fiberglass with lumber and burlap is a well-known cheap route to a full set, but wear a mask when you cut it.
Improve Bass and Low-Mid Control
The problem with bedroom bass is that the room decides it for you, and no amount of EQ in your DAW fixes it.
Every room reinforces certain frequencies based on its dimensions. Those are the room modes, and in a small nearly-square bedroom they cluster in the bass where you need decisions the most. A low ceiling adds another mode, usually landing somewhere around 115 to 150Hz, and that is the muddy frequency bedroom producers complain about most often. It is often not a problem with the recording at all.
The three absorber types do different jobs, and mixing them up is the usual buying mistake.
| Type | Depth | Job | DIY-friendly |
|---|---|---|---|
| Broadband absorber | 4 in with air gap | Reflections, mid and high | Very |
| Corner bass trap | 12 to 24 in, floor to ceiling | Bass modes, low mids | Moderate |
| Thin foam | 2 in | 500Hz up, very little else | Pointless |
Corners give the most bass absorption per unit of material, which is why a floor-to-ceiling trap in the front corners does more for low end than several panels on flat walls. Put a tri-corner trap in all four corners if you can, and if you have only enough material for one, pick the corner behind the speakers.
Here is the warning that matters: do not fill every corner and cover every wall. A bedroom with heavy absorption everywhere and nowhere left to store energy sounds dead and makes mixing judgement harder, not easier. Over-trapping in the low mids is a real mistake people make by following generic room advice.
Test it rather than assuming. Play a sine sweep or a low-frequency test tone, walk the room, and listen for where the bass drops out or spikes. Those spots are your modes. Then repeat the sweep with one trap in place and compare. If you do not hear a difference, that trap was not your problem.
One thing that costs nothing: try mixing with the speakers close to the front wall and listening near the boundary where the low end naturally cancels. It sounds wrong, and it is genuinely useful for spotting low-frequency balance.
Set Up Monitors Without Overspending
Buy monitors after the room is fixed, not before.
The usual mistake is upgrading speakers in an untreated room, hearing more detail, and blaming the speakers for problems the room was causing. Advice from the long-running KVRaudio discussion on monitors in small untreated bedrooms is simple and correct: whatever you have, spend time with it in your room until you know its strengths and weaknesses.
If you are choosing between two pairs for a small bedroom, smaller drivers are usually the safer bet. A 5-inch woofer has less low-frequency output to excite your room modes in the first place. Many producers also do most of their work on headphones and check on monitors occasionally, which removes a lot of the pressure.
Three things that cost little and help more than a speaker upgrade:
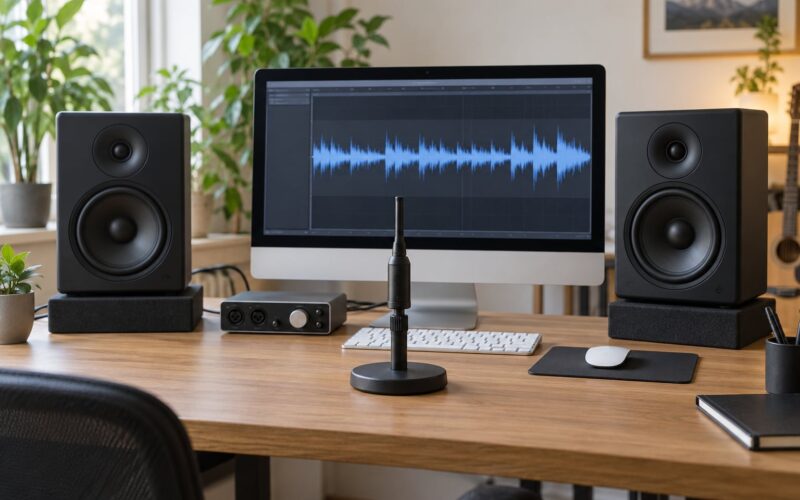
Isolation pads. Decoupling the cabinet from the desk stops the desk and the wall from adding their own colour. This is one of the highest-return purchases at the budget end.
Room correction software. A system that measures your room and applies corrective EQ at playback is a genuine complement to treatment, not a replacement for it. It evens out problems it can measure, and it does nothing about decay time, flutter echo, or a reflection landing 20dB above where it should. Treat first, correct second.
A high-pass filter. Turning off everything below around 80 to 100Hz on small near-field monitors removes the region where your room is least trustworthy. Low notes you can barely hear are not worth guessing at.
Calibrate to a known reference, set your levels once with a meter app, and then stop fiddling. A monitoring setup you trust and ignore is better than one you keep re-tuning.
Test the Finished Room with Material You Already Own
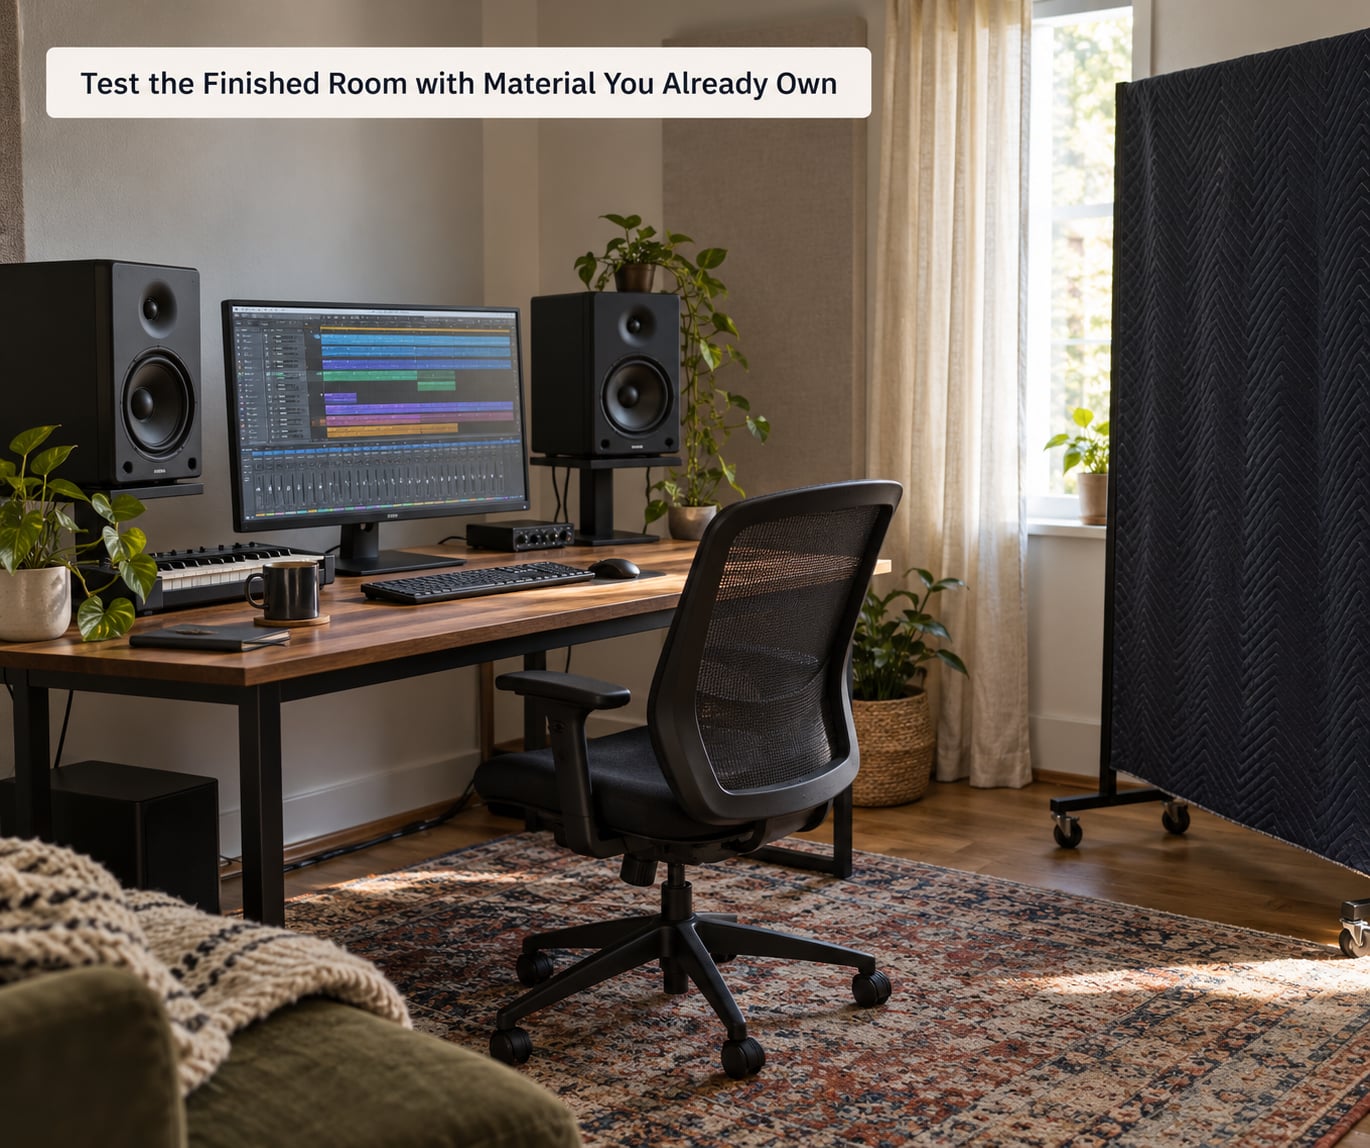
You do not need new material to judge the result. You need records you have mixed before.
Pick four or five tracks you have already finished on good systems, ideally with mixes you are confident about. Bypass every plugin on the playback path, fix your level, and play them. You are not listening for pleasure, you are comparing what you know to what you are hearing now.
Run three quick checks:
Mono. Pull the mono switch. A mix that collapses or has a hole in the centre is telling you something real about the room and about the mix.
Translation. Listen to the same track on headphones, on your phone speaker, and on whatever other system you can get to. A room that flatters one mix and wrecks another is telling you the low end is unreliable.
Decay. Play a hand clap, a snare hit, or a single piano note and listen to how long the room rings afterwards. Note it. Make one change, like hanging a duvet on the rear wall, and play the same clap again. That is your before and after.
If you have Room EQ Wizard, run a measurement before and after too. A sweep and an RT60 number give you something objective to point at, and they make it obvious when a purchase did nothing. Plenty of first-time treatments turn out to change the picture by 2dB, which is not worth the money.
Common Mistakes
Treating the room before setting up the speakers. Moving your monitors six inches forward may fix the mud you were about to spend money on. Placement first, always.
Buying panels before absorption from soft material. Two heavy curtains and a rug on bare floor beats one panel, every time, at this budget.
Hanging material flush against the wall. No air gap, far less low-frequency work. Push it out 2 to 4 inches.
Bass traps in every corner of a small room. You will flatten your low end and make judging harder. Two front corners first, then reassess.
Filling a corner that is not your problem. Find the mode with a sweep before you commit material to a location.
Mixing too loudly. Your ears change with level and with tiredness. Mix at one modest level, all the way through.
Upgrading monitors before measuring the room. You will hear more of a problem you have not solved.
Moving your listening position after calibrating. Every measurement you took is now about the wrong spot.
And one expectation-setting note. A bedroom studio is not going to sound like a commercial room, and it is not supposed to. Set targets you can hit, spend where the measurement says to, and stop once low end is even and reflections under control.
Frequently Asked Questions
Can I treat a bedroom studio without acoustic panels?
Yes, and in most bedrooms that is where you should start. Moving blankets on grommet kits, heavy curtains over the window, a rug on bare floor, a duvet behind your listening position and a filled bookshelf pushed out from a corner will handle most reflections in a small room. What they will not do is control low frequencies or isolate outside noise. Add panels only when measurement shows you still have a problem those items did not fix.
Are foam panels useful for a bedroom music studio?
Only for the top end, and thin foam mostly is not. Foam does almost nothing below roughly 500Hz, so it will not touch the bass build-up that makes bedroom mixes sound muddy. It can reduce high-frequency reflections and flutter echo on a small wall. Check foam before buying: squeeze it, and if it compresses flat it is doing very little. Many producers end up with better results from dense mineral wool panels than from foam.
Where should I put bass traps in a small bedroom?
In the corners, starting at the front two corners behind your speakers. Corners give the most bass absorption per unit of material, so a floor-to-ceiling trap there does more for low frequencies than several panels on flat walls. Rotate a tri-corner trap into the corner on its long axis for maximum effect. Do not fill all four corners at once in a small room, because over-trapping flattens your low end and makes mixing decisions harder.
Should I buy better monitors before treating my room?
No. The room filters everything, so better speakers in an untreated bedroom just reproduce the boom and reflections more accurately. Fix placement and add soft material first, then judge. If you do want new monitors for a small room, smaller drivers are usually the safer choice because they excite fewer room modes. Spend on isolation pads and a high-pass filter around 80 to 100Hz before you spend on cabinets.
How can I stop outside noise from reaching my microphones?
Add mass and seal gaps rather than absorbing sound. Seal the gap under the door with a sweep or rolled towel, run removable seal tape around the window, and hang the heaviest curtain you have over it. Track vocals with the door shut, away from the window, and reach for a thick duvet behind you to kill the room’s own reflection, which is usually louder than the street. For traffic and neighbours, headphones while you work is the only realistic answer in a rental.
What is the most worthwhile upgrade for a budget bedroom studio?
Spend it on low-frequency control, not on more hardware. A couple of dense broadband panels with a real air gap behind them, or two floor-to-ceiling corner traps, change what you hear more than any speaker upgrade in the same budget. Skip foam, skip cheap diffuser tiles, and skip a second subwoofer. Before any of it, though, spend an hour on speaker placement and get the listening position right, because that improvement is free.
Conclusion: Make the First Upgrade Count
Here is the whole plan. Choose one fixed listening position and tape it. Find your reflections by clapping and by speaking vowels, and note which ones are loud. Hang the thickest curtains you own over the window, put a rug on bare floor, and put a duvet or blanket behind your listening position with an air gap behind it.
Then measure, if you can. If bass is still uneven, build two floor-to-ceiling corner traps or four broadband panels with a real air gap. Only then think about monitors, and spend that money on isolation pads and calibration rather than bigger drivers.
That is how to treat a bedroom studio on a budget without wasting a weekend or a paycheque. Do the free work properly and you may find you never need to spend the rest.