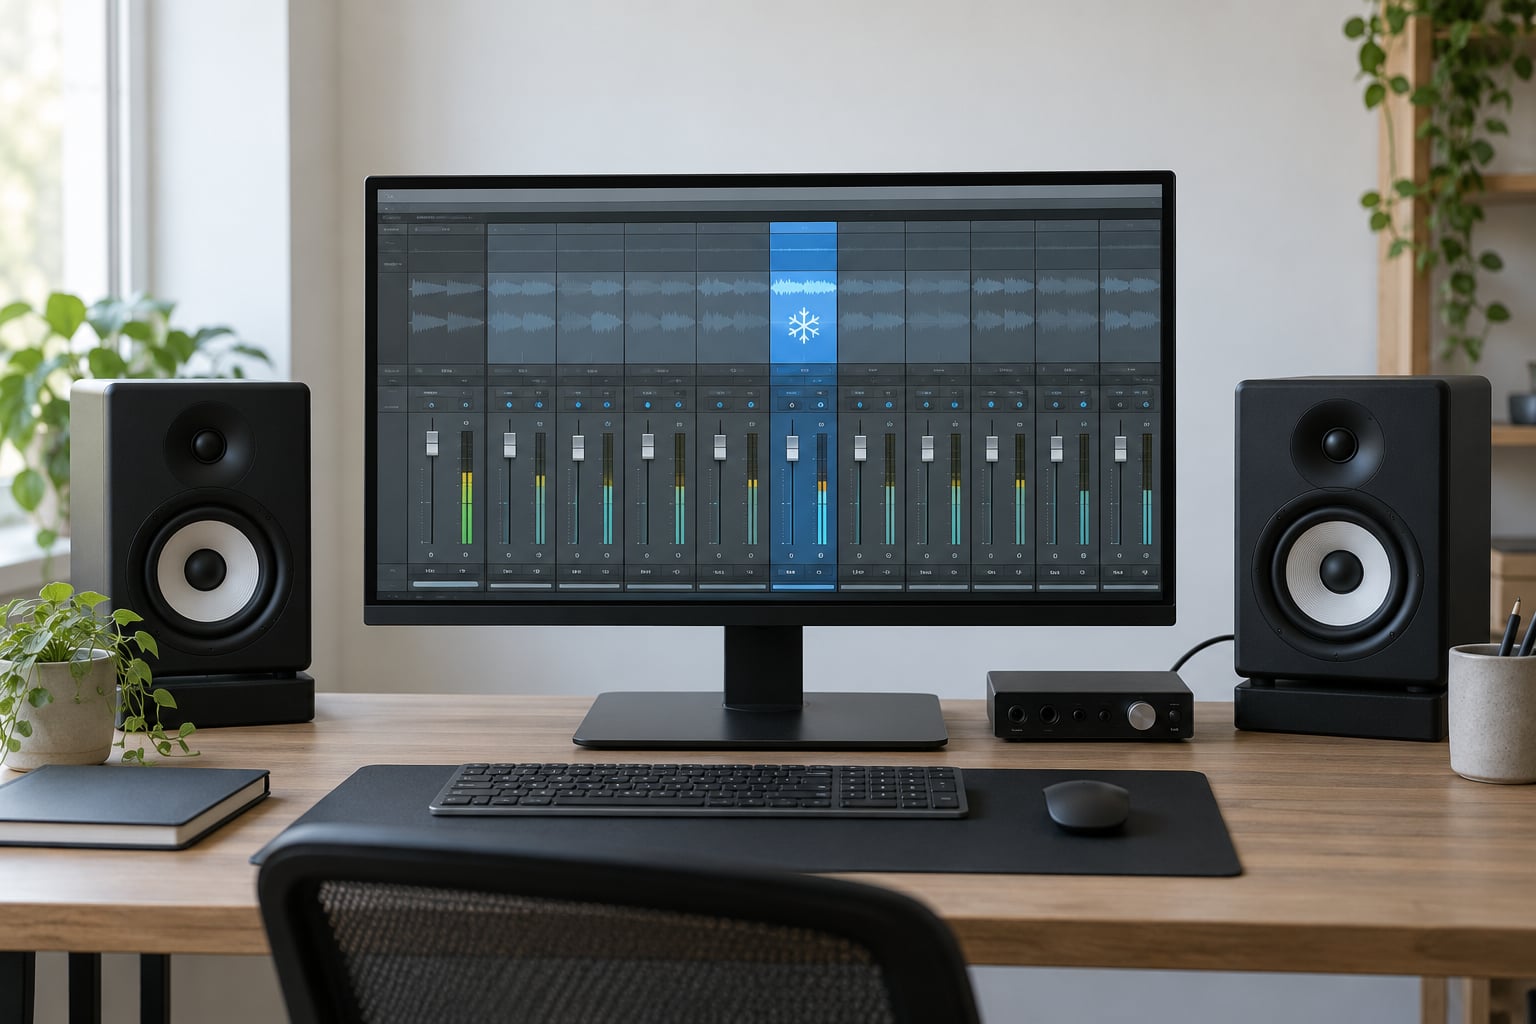
Freezing a track renders its instrument and effect chain to an audio file and bypasses the plugins; flattening goes one step further and replaces the track with that audio permanently. To learn how to freeze and flatten tracks to save CPU in your DAW, you open the track’s context menu, pick the freeze, bounce or commit command, and let the render run offline. Most tracks drop to almost no CPU load, so dropouts disappear. It takes a couple of minutes for a busy track, needs no new gear, and every command below works in the version you already own.
The catch is that freezing bakes in whatever the track sounds like at that moment. Automation, the device chain and any future edits on that sound are gone until you undo the render. That is fine for a finished pad or a locked-in vocal comp, and wrong for a synth lead you are still writing.
Table of Contents
- What You Need Before You Freeze Anything
- Step-by-Step: How to Freeze and Flatten Tracks to Save CPU
- What Is the Difference Between Freezing and Flattening?
- Which Tracks Should You Freeze First?
- How to Freeze Tracks in Ableton Live
- How to Freeze Tracks in FL Studio
- How to Freeze Tracks in Logic Pro
- How to Freeze Tracks in Cubase and Studio One
- How to Freeze Tracks in Bitwig and Reason
- How to Verify That CPU Usage Has Improved
- Common Mistakes and How to Fix Them
- Frequently Asked Questions
- Does freezing a track save CPU?
- Should I freeze or flatten a track in Ableton Live?
- What happens to plugins and automation when I freeze a track?
- Can I undo a frozen or flattened track?
- Why is my CPU still high after freezing?
- Does flattening reduce the size of a project?
- Conclusion
What You Need Before You Freeze Anything
Save a versioned copy of the project first. Every DAW here can undo a render, but undo history across a big session is not something you want to rely on. Use Save As with a date in the name, or a proper snapshot system.
Next, know where your renders go. Ableton writes frozen files into a Freeze folder inside the project’s Samples directory. Logic asks you to pick a bounce folder the first time. Cubase and Reason drop rendered audio next to the project. Copy the project folder as a whole if you are moving the session to another machine, or the frozen audio will be missing when you open it elsewhere.
Check the sample rate and bit depth before you render anything. Your project runs at one rate, and a render that drifts from it sounds wrong once it comes back. Freezes are usually 32-bit float, which is safe. Bounces that you intend to deliver should match your delivery format, such as 24-bit at 44.1 kHz or 48 kHz.
Finally, listen to the full track once so you know what you are about to commit. Rendering introduces no change you cannot hear on its own, but a wrong channel format or a muted input will bake in instantly.
Step-by-Step: How to Freeze and Flatten Tracks to Save CPU
Save a backup copy of your project, listen to the track, then render it from the track’s context menu. After the render finishes, check the CPU meter before and after and play through the section you rendered to confirm it sounds identical.
What Is the Difference Between Freezing and Flattening?
Freezing is reversible. Your MIDI, instrument and plug-ins stay in the project, but the DAW plays an audio file instead of running the chain. Unfreeze and everything comes back exactly as it was. Flattening is the permanent version: the chain is gone, the result is a plain audio clip, and only undo or a backup gets it back.
Neither operation changes the sound on its own. Both remove work from the audio engine, which is why CPU usage drops. The catch with freezing is that it is a snapshot. Move an automation lane or tweak a filter afterwards and you are editing a frozen image, so you have to unfreeze, change, and freeze again.
The words change per DAW, which is the single biggest source of confusion. Here is how the same four ideas map across the major platforms.
| Action | Ableton Live | Logic Pro | FL Studio | Cubase / Pro Tools |
|---|---|---|---|---|
| Reversible render | Freeze Track | No equivalent; bounce and undo | No equivalent; consolidate and undo | Track Freeze / Track Freeze |
| Permanent render | Flatten Track (Bounce Track in Place in Live 12.2) | Bounce, with Bounce In Place | Consolidate tracks | Render In Place / Track Commit |
| Render without replacing | Export audio | Bounce to a new track | Render to file | Mixdown / Freeze |
| Non-destructive CPU relief | Track Off in the Session, device bypass | Selection Based Processing | Smart Disable | Track bypass, low latency mode |
Which Tracks Should You Freeze First?
Freeze the tracks that eat the most CPU and that you are not editing. Densest instrumentation wins: high-polyphony synth pads, unison stacks, drum libraries running round-robin into several mics, and convolution reverbs or linear-phase EQ on multiple channels.
Do not freeze by track order. Use your DAW’s metering to find the culprit. Ableton Live 12 has Performance Impact indicators that show CPU load per device, which turns this from guesswork into a two-minute job. In Logic, open the Activity Monitor with View then Show then Activity Monitor and sort by CPU Load. Cubase’s performance meter appears from the audio device panel.
A good order is: finished orchestration first, then heavy reverb and delay returns, then drum and bass tracks you have printed, and live vocal tracks last. Never freeze the MIDI track you are still playing from during a take.
How to Freeze Tracks in Ableton Live
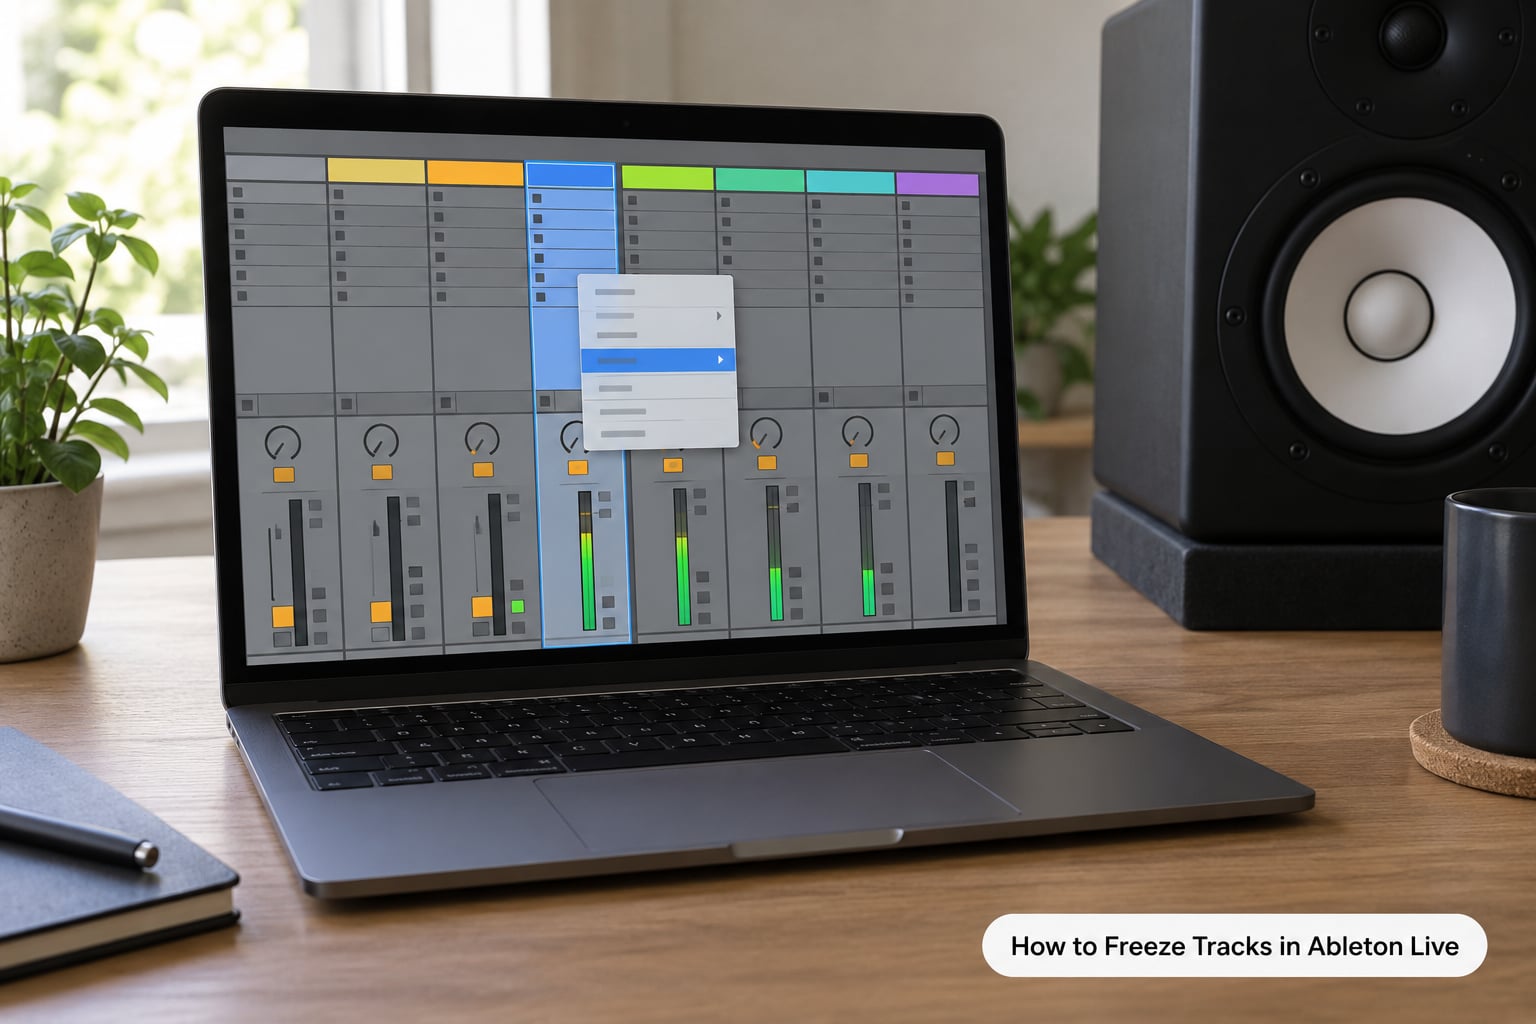
In Live 11, right-click the track in the Session View and choose Freeze Track. Live renders the chain offline, so a two-minute track finishes in a fraction of that, and the CPU meter drops as soon as it completes. The device chain stays visible but is greyed out, and a small speaker icon appears in the track header.
Choose Flatten Track when you want the render to be permanent. In Live 12.2 and later these commands were reorganised under Bounce Track in Place, so look there if you cannot find the old names.
Two Live specifics catch people out. Group tracks cannot be frozen, so freeze the individual tracks feeding the group instead. And if the track uses an external instrument or external audio effect, the render runs in real time and you need the hardware switched on with a clean input or the bounce will capture silence.
How to Freeze Tracks in FL Studio
FL Studio has no freeze button, and the equivalent is Consolidate tracks. Select the pattern in the Playlist or the Channel Rack, right-click the pattern in the Playlist, choose Consolidate tracks, and FL renders the pattern to audio and swaps the channels for a single sampler playing that render.
Keep the source. Duplicate the pattern into the Playlist before you consolidate so you still have the channel data, and remember that effects you applied on the mixer insert for that pattern are now baked in. Solo or mute any channel you did not want printed and consolidate again.
For lighter relief without committing, use Smart Disable. Turn it on for the mixer tracks you want to watch, and FL deactivates plug-ins on tracks that have had no activity for a while and reactivates them the moment you touch a knob. Producers on the Image-Line forums call it helpful but less decisive than a real consolidate.
How to Freeze Tracks in Logic Pro
Logic does not have a reversible freeze. The closest is Bounce In Place. Select the track, then use File then Bounce, choose Bounce In Place as the destination and set Mode to Overwrite. In the Options area, tick Only Selected Tracks if you want to bounce several tracks at once without touching the rest of the session.
Check the channel format before you commit. If the channel is mono and the option is set to stereo, the bounce comes back as a stereo file with one side empty, and it only shows up once you pan it. Also look at Include Effects, Include Automation and the tail handling, because each one decides whether the bounced audio matches what you heard.
For CPU relief without rendering anything, use Selection Based Processing. It scopes each plug-in to the cycle range you are working in, so a reverb on a single chorus passage runs only when the playhead is inside that range. Turn it on from the plug-in header in the Audio FX channel strip.
How to Freeze Tracks in Cubase and Studio One
In Cubase, select the track and use the Track menu, or right-click the track in the Project window, and choose Freeze Track. Cubase renders the chain to an audio file in the project’s audio folder and unloads the plug-ins. Unfreeze is on the same menu and it restores the original chain with its automation.
For a permanent render, use Render In Place from the track’s right-click menu, which opens the Render dialog with the track already set as the source. That is where you also confirm sample rate, bit depth, file format and the export folder, so double-check them there.
Studio One names the two commands Freeze and Flatten in the track’s right-click menu, and later versions call the permanent one Commit to Audio. Both render offline and produce a single audio event. Studio One will warn you if the track’s record input is armed, which is a good reminder that freeze only captures the audio, not the plug-in chain.
How to Freeze Tracks in Bitwig and Reason
Bitwig Studio does not ship a freeze or flatten command, so the route is manual: export the track or its channel to audio, then import the file and replace the original track with it. Do it in a saved copy, and check that the export settings match the project sample rate so nothing shifts.
Reason is stricter. Its devices are not rendered through an offline audio pass, so there is no freeze at all. Producers bounce each mixer channel to disk and re-import as audio samplers. That is why Reason sessions tend to stay lighter in the first place: the rack is a fixed, known device chain with little room for runaway plug-ins.
A warning for both: hardware routings and any device that depends on external input may not render the way you expect. Solo and play the section through the render, not just through the exported file, before you delete the original.
How to Verify That CPU Usage Has Improved
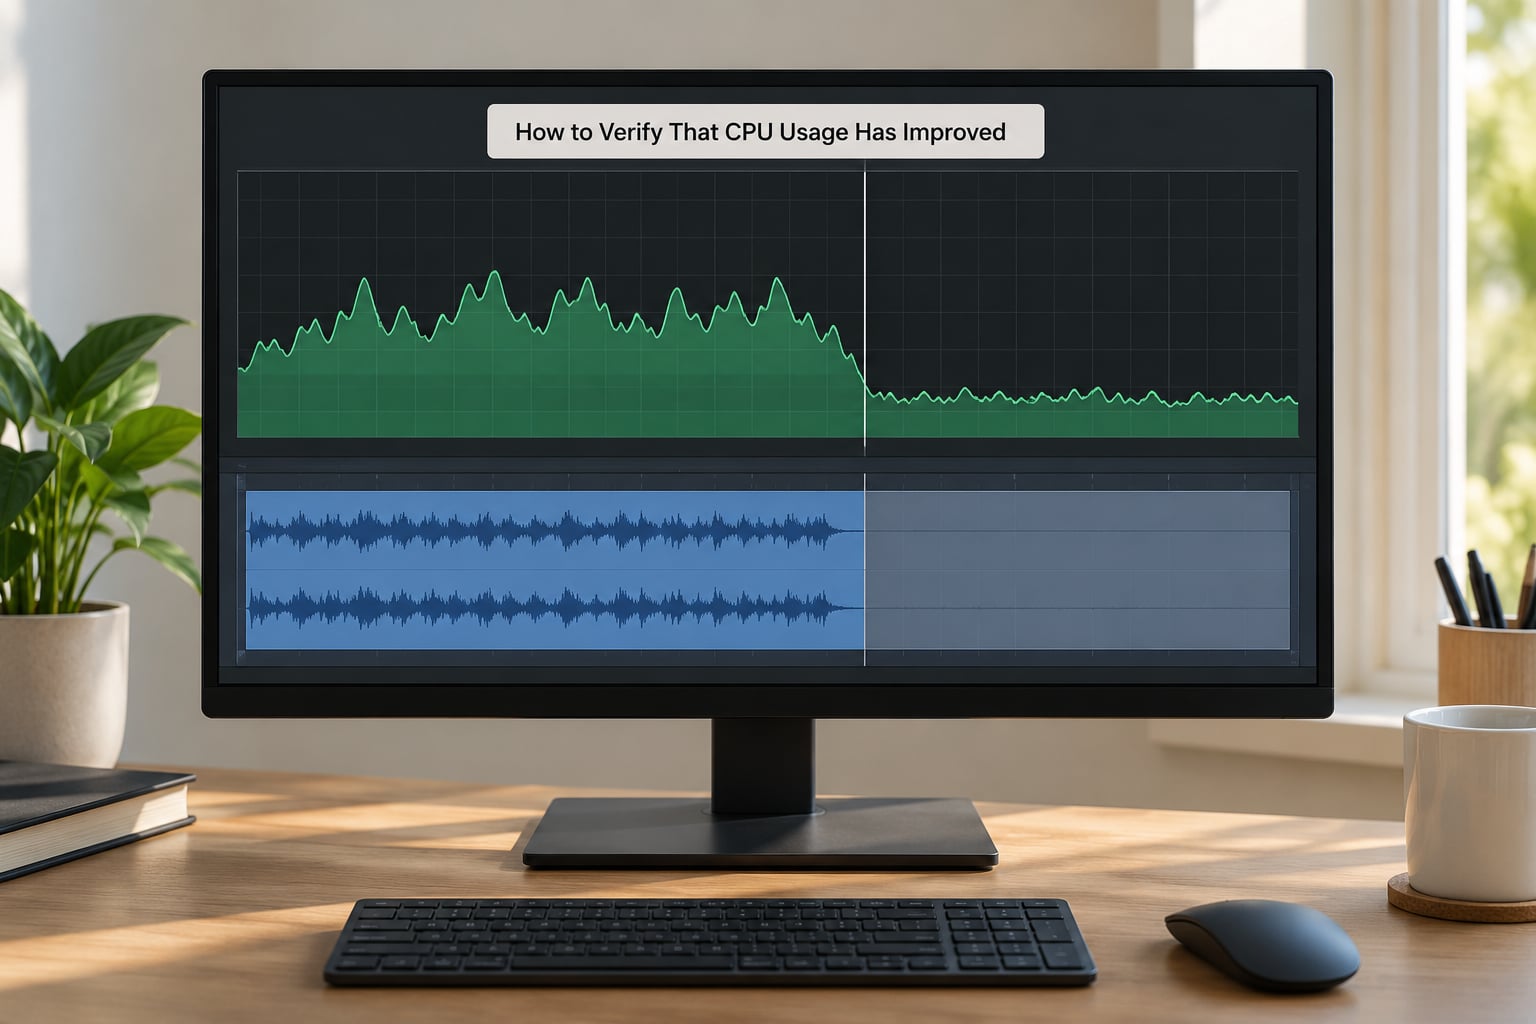
Measure it, do not assume it. Before you render, play the heaviest section and note the peak CPU reading. Then render one track, play the identical section, and note the new peak. Logic’s Activity Monitor will also show which devices stopped reporting load.
Then test playback honestly. Bounce a thirty-second stretch to a file and play it back. If the render captured a muted input, a missing hardware device or a sidechain relationship that no longer moves, the audio file is where you will hear it, not in the session.
Finally, check what the render did to your routing. Freeze keeps the audio playing, so a track that sidechains another usually keeps working, but a track feeding an External Instrument or a MIDI control will have lost its live connection. Producers on r/ableton and Logic Pro forums hit this most with group tracks and sidechain sources, so test those before you delete the original.
Common Mistakes and How to Fix Them
Flattening before the arrangement is finished. The fix is obvious and still gets skipped: freeze instead of flatten when you are still writing. Freeze keeps the chain editable and costs you nothing.
Losing automation you wanted to keep. Rendered audio contains the automation that existed during the render, not the lanes you will write next. Duplicate the track before flattening so the lanes survive somewhere.
Rendering while a plug-in is missing or bypassed. A missing plug-in often gets replaced with silence or a default preset. Render offline so the DAW cannot fall back, and check your plug-in scan before each render.
Wrong sample rate or bit depth. A 44.1 kHz bounce in a 48 kHz project resamples and can shift length. Match the project rate for internal renders, and set the delivery format only on the final bounce.
Forgetting that exports behave differently from playback. An export follows the export dialog settings, not your session. Check tail length, fades and whether muted channels are included.
Beyond freezing, three changes give the biggest CPU wins. Raise the buffer size while mixing, something like 256 to 512 samples, and drop it back to 64 or 128 when you record. Share heavy effects instead of inserting them per track, by routing through a send and a return so a convolution reverb runs once rather than on six channels. And switch off oversampling and look-ahead in expensive plug-ins while you compose, turning them back on for the final mix.
One more worth knowing: on Windows, Cubase’s ASIO Guard keeps the audio engine safe when a plug-in misbehaves. In Ableton, leaving Warp off for clips that do not need time-stretching saves a surprising amount.
Frequently Asked Questions
Does freezing a track save CPU?
Yes. Freezing renders the instrument and effect chain to an audio file and bypasses the plug-ins, so the audio engine no longer processes that chain. A track with eight plug-ins and a heavy instrument can drop to near zero CPU load. The saving is real but temporary: change a parameter and you have to unfreeze, edit and freeze again.
Should I freeze or flatten a track in Ableton Live?
Freeze while you might still change the sound. Live keeps the device chain and automation in the session, plays the rendered file, and lets you unfreeze instantly. Flatten when the track is finished and you want a permanent, lightweight audio clip. In Live 12.2 and later, look for these commands under Bounce Track in Place, since the menu names changed.
What happens to plugins and automation when I freeze a track?
They stay in the project but are bypassed, so the frozen audio plays instead of them. Freezing captures the sound as it is at that moment, so any automation you write afterwards is not heard until you unfreeze, change it and freeze again. Flattening goes further and removes the chain and its automation from the session entirely.
Can I undo a frozen or flattened track?
Yes, in every DAW covered here. Ableton, Cubase, Logic and Studio One all offer an unfreeze or revert that restores the original chain and automation. That depends on your undo history still being intact, which is why saving a dated copy of the project before you render is the habit worth building.
Why is my CPU still high after freezing?
Usually one of four reasons: other tracks are still carrying the load, the frozen track contains a resampling or time-stretching feature that keeps working, plugin delay compensation is recomputing latency, or the render is still running in the background. Play the heaviest section again and watch the meter. If the number barely moved, freeze the next busiest track and compare.
Does flattening reduce the size of a project?
It reduces load rather than file size. A flattened track stops using CPU for its plug-ins, and the audio clip is usually lighter than a large multi-instrument library. But your original samples and instruments stay on disk, and freeze files add to disk use. Deleting unused sample content is what actually shrinks a project folder.
Conclusion
Save a dated backup, find the most CPU-heavy track you are finished writing, and freeze it from that track’s context menu. Watch the CPU meter before and after, play the section, and only flatten once you are certain the sound is final.