How to use room correction software and still trust your mixes: play a swept sine through your monitors, record it at your listening position with a calibrated measurement mic, compare the result to a target curve, then load the difference as EQ filters on the monitor path only. Set your level, place the mic, sweep, read the graphs, apply, verify. About 45 minutes the first time.
The version of this I care about most is the EDM corner of a bedroom or semi-pro room, where the low end is doing something strange and every mix decision you make inherits it. Correction will not fix a bad room. It will make the room’s behaviour predictable, which is a different thing and a more useful one.
Everything below works with Room EQ Wizard (REW) because REW is free, its measurement file is the lingua franca of the whole topic, and the paid tools mostly hand you a friendlier front end for the same sweep. Do the manual version once and the automatic ones stop being magic.
Table of Contents
- What You Need
- Step-by-Step: How to Use Room Correction Software
- 1. Set the Monitoring Level
- 2. Position the Measurement Microphone
- 3. Run the Room Analysis
- 4. Apply and Check the Correction
- 5. Save the Preset for Future Mixes
- Common Mistakes
- Frequently Asked Questions
- Do I need room correction software if I already use studio monitors?
- Is room correction software the same as adding a bass plug-in?
- Where should I place the measurement microphone?
- Can I use room correction software with headphones?
- Should I measure at the same volume every time?
- Does room correction replace acoustic treatment or better speakers?
What You Need
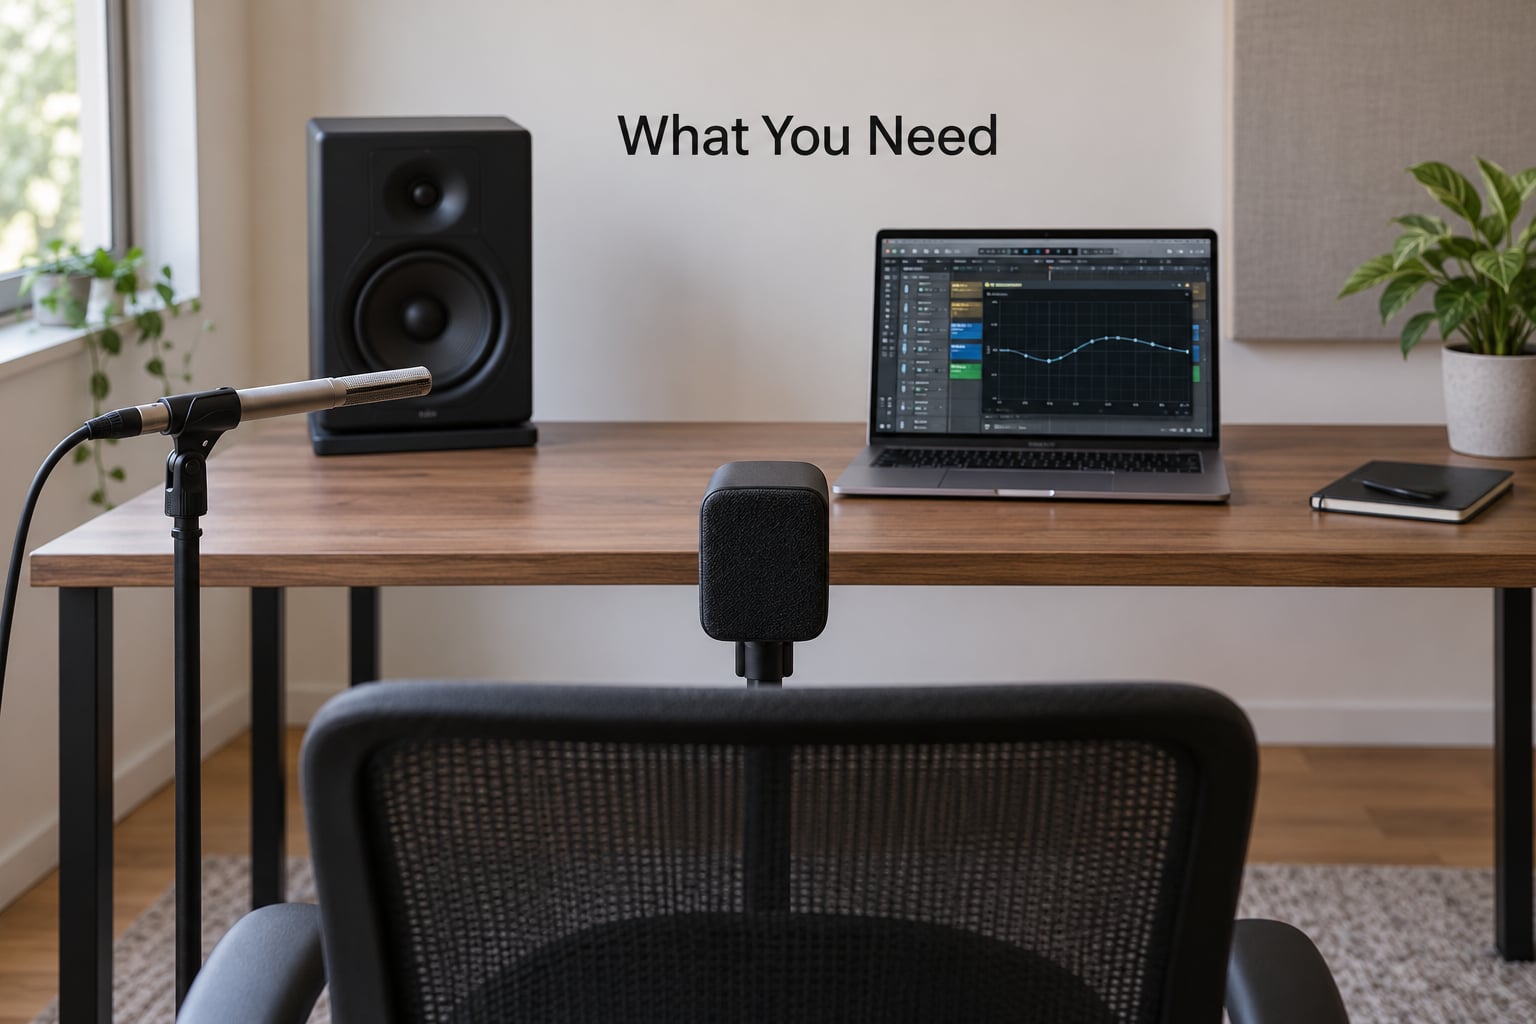
The minimum viable setup is smaller than most guides make it sound. You need four things, and only one of them usually costs money.
- A calibrated playback chain. Your interface, monitor controller and monitors, running at one fixed sample rate with no processing in the path except the correction itself.
- A measurement microphone plus its calibration file. A USB measurement mic is the easy route. Analog measurement mics through an interface with a real mic preamp and phantom power are the reference route. Either works; the calibration file is what makes either one trustworthy.
- Room correction software. REW is free and still the default choice in 2026. Sonarworks SoundID Reference, IK Multimedia ARC, Audiolense and Dirac Live all do the same job with less of your input required.
- Somewhere to apply the filters. A convolution plug-in on the monitor path inside your DAW is the simplest thing that works for mixing. A miniDSP, an AV receiver, Roon or a hardware DSP box all work too.
- An SPL meter. A phone app is good enough for a home studio. Without one you are guessing, and guessing at the level is the most common reason a measurement comes back useless.
- A mic stand and a marker for the listening position. Tape on the floor or a sticker on the wall. You will move your head constantly during a session and forget where your sweet spot was.
What you do not need: treated walls, expensive cables, or a subwoofer. Correction works hardest in the low end, and that is exactly where untreated rooms are worst, so an untreated room is a fine place to start.
Step-by-Step: How to Use Room Correction Software
1. Set the Monitoring Level
Park your listening volume at a fixed, moderate level before anything else. Around 76 to 79 dB SPL is realistic in a small room for long sessions; 85 dB is where many engineers mix and it is louder than you think.
Set the level with pink noise from the generator built into REW, one speaker at a time, and your SPL meter on the meter reading rather than the peak. Write the number on the desk. Every later measurement, every filter calculation and every mixing session needs to happen at that same setting.
Louder is not better for analysis. Push the level and you clip the sweep, you excite your room differently, and you end up measuring your input stage rather than your room. If your interface has a dim button or a fixed monitor path, engage it now and forget about the volume knob afterwards.
2. Position the Measurement Microphone
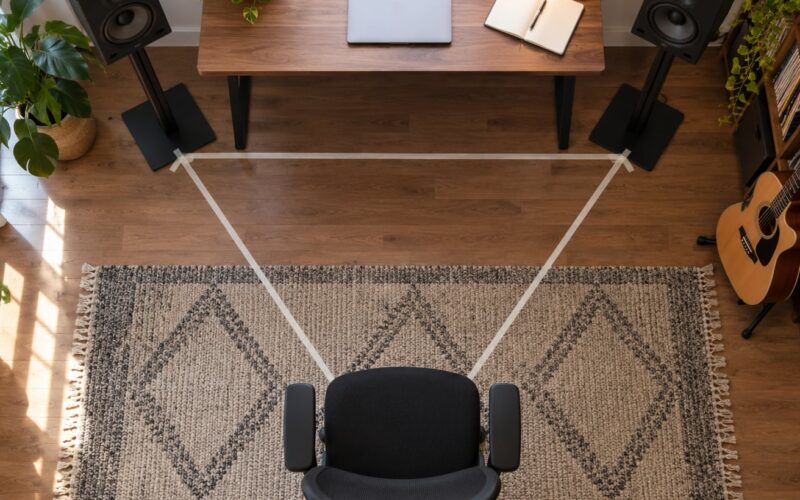
The mic goes where your head goes. That is the listening position, marked, at seated ear height, roughly level with the acoustic centre of the tweeters. Use the mic stand rather than your hand, because a hand is never in the same place twice.
Run the sweep at your marked position first, then lean a few inches around it. A wide, even region across a couple of seat positions means the room is behaving itself. A response that changes shape dramatically with a small head movement means a strong room mode and a room that will never sit still for you.
Measure a few positions and average them if you are not pinned to one seat. REW will stack and average multiple sweeps, and the averaged curve is a fairer description of how you will actually listen across a mixing session than one perfect snapshot.
Avoid measuring with the mic jammed into a corner, resting on a desk, or pushed close to one speaker. Those spots measure the boundary, not the room, and they will hand you filters that make your mix worse.
3. Run the Room Analysis
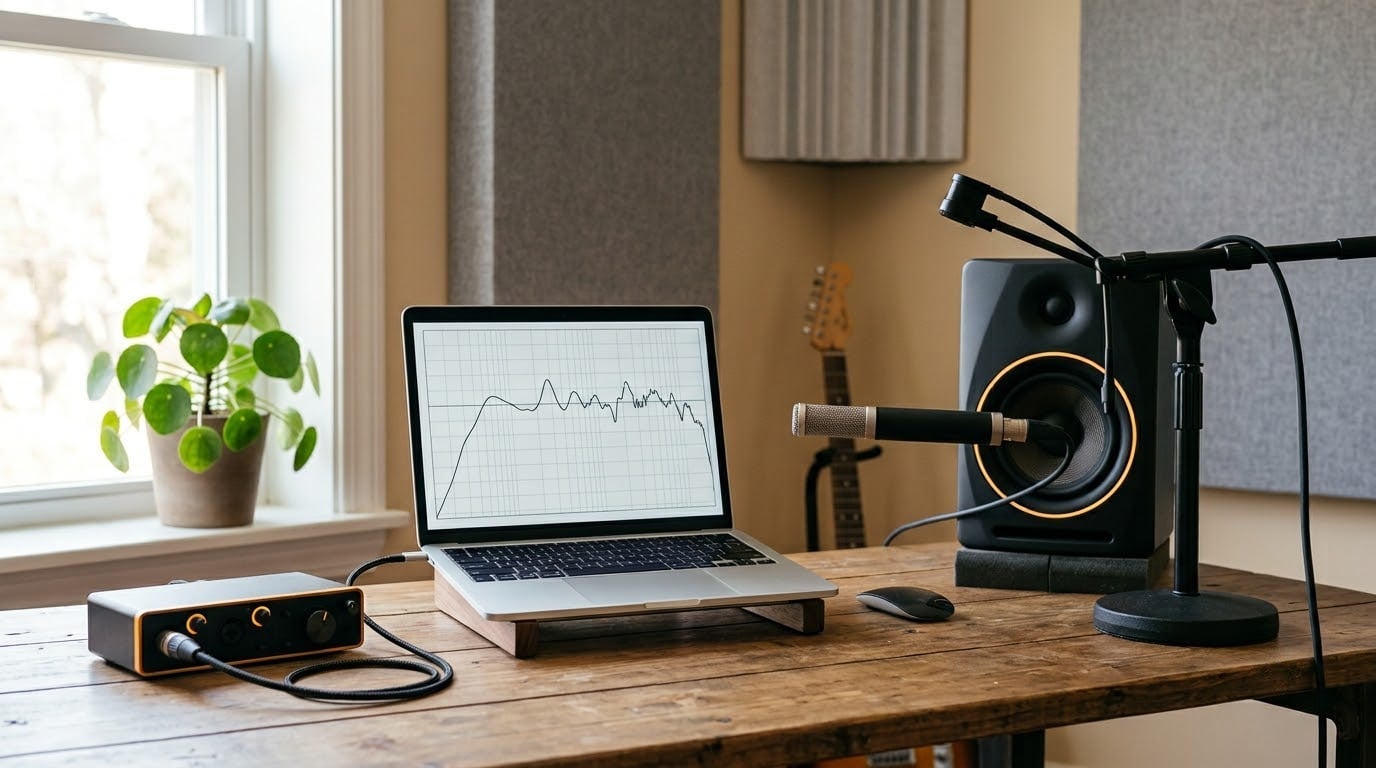
Open REW, select your mic as the input, and load the calibration file that came with it. That file removes the mic’s own response from the measurement. Skip it and you are equalising your microphone, which is a strange thing to do to a mix.
Confirm the output device is your interface, the sample rate matches what the interface is running, and the sweep is set to cover 20 Hz to 20 kHz. Press measure, start the sweep, and let it finish without touching anything. It takes under a minute.
Now read the three views that matter.
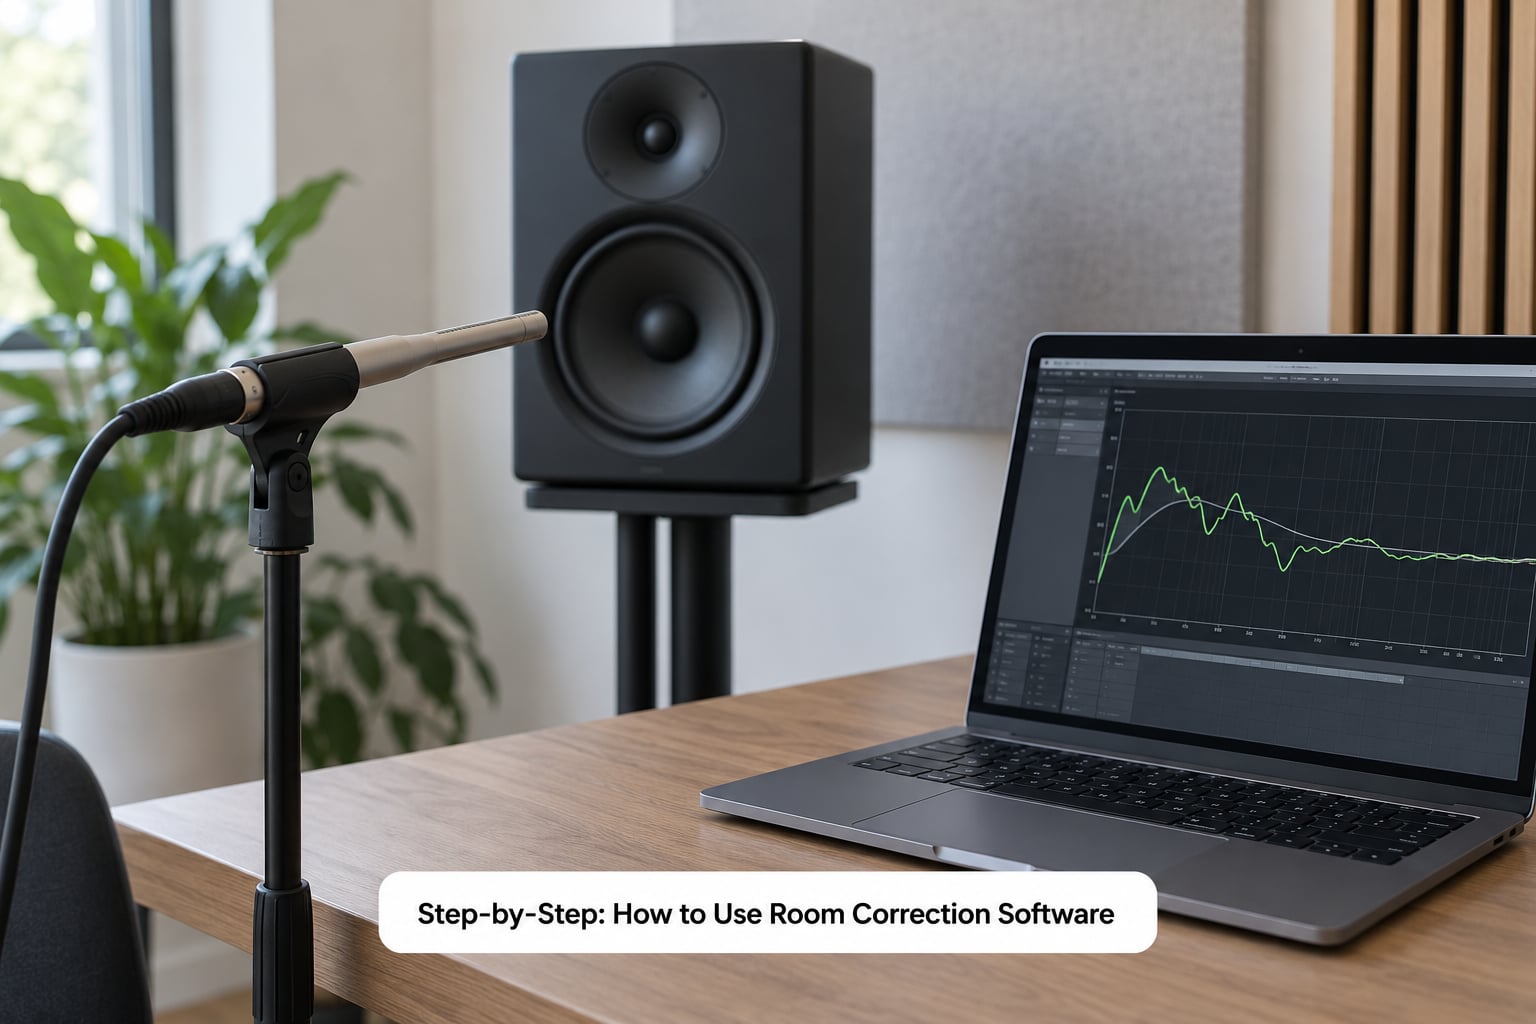
The frequency response curve is the headline. Below roughly 100 Hz you are looking at your room’s modes: the peaks and nulls that come from the room’s dimensions rather than from your speakers. The width of a peak tells you how strong the mode is. A 6 dB bump at one frequency is a real problem; a 2 dB bump is a normal room being a room.
The impulse response and its energy time curve show decay and early reflections. RT60 or T30 tells you how long a tone takes to die. Bedrooms sit somewhere around a quarter to a third of a second, which is fine for nearfield work.
The waterfall is where room modes become obvious. Each line is the spectrum at a moment in time. A narrow ridge that repeats at the same frequency across many lines is a room mode, not a speaker fault, and it is the thing worth correcting.
For EDM specifically, look hard at the 40 to 120 Hz band. That is where a small room piles up kick and sub energy, and it is where a correction earns its keep.
4. Apply and Check the Correction
Open the EQ window and choose a target curve. A flat target is a blunt instrument above 100 Hz, because direct sound stops dominating reflected sound somewhere around the Schroeder frequency and high frequencies get absorbed by the room regardless. REW’s bass-limited target is the sensible default for a small nearfield.
Set the optimisation range low. Starting around 200 Hz rather than 20 kHz is the single change that separates a correction you will mix to happily from one that makes voices and guitars sound strange.
Cap the filter gain, keep the Q values moderate, and let REW hand you a filter list. It will usually suggest a high-pass filter as well, which is worth keeping in an untreated room because it removes energy that is only adding confusion.
Load the filters into your convolution engine on the monitor path, level-match by ear, and A/B. Not the graph, the sound. Some corrections are audibly a small improvement and some are technically accurate and pointless.
Two things to watch: boosting a low-frequency peak to cancel it can take several dB of headroom, so leave some dBFS at the top of your interface; and a long convolution filter adds a little latency, which matters only if you are recording through the monitors.
Then measure again with the filters engaged. The corrected curve should sit much closer to the target through the range you optimised, and the second file is your proof. Save both, uncorrected and corrected, so you can flip between them whenever you doubt your ears.
5. Save the Preset for Future Mixes
Name it something you will understand six months from now, with the date and the setup, not just “room”. Store the filter file with your project templates rather than in a folder of loose documents.
Keep the correction on the monitor path. It does not belong on the mix bus, it does not belong on an export, and it should never be rendered into a bounced track. A corrected monitor chain is a measurement tool that happens to be audible, and the moment it colours the print it stops being honest.
Remeasure when you move a speaker, change the treatment, swap the interface, or start working at a noticeably different level. Otherwise a preset from months ago is quietly wrong, and wrong presets are worse than none.
Common Mistakes
Measuring from the wrong position. Over your desk, or at the sweet spot from a setup you had last year. The correction then encodes a room you do not mix in. Mark the spot, tape it, and measure there.
Correcting too aggressively. This is the big one. Generating 20 Hz to 20 kHz filters from a single sweep chases dips in the midrange and treble that are position artifacts, not faults, and the result sounds strange on anything with a voice or a guitar in it. Low-frequency-only, low-Q, modest gain.
Changing volume during the analysis. If the level moved between the sweep and the filter calculation, the filters are wrong. The level is part of the measurement, not a separate setting.
Skipping the mic calibration file or the interface loopback calibration. REW’s soundcard calibration step uses a loopback sweep to create a file that corrects your interface’s input and output. Without it, every measurement carries a few dB of level error in the top end. It is a five-minute step that people skip for months.
Treating correction as acoustic treatment. Correction can flatten frequency response at one seat. It cannot shorten decay time, and it cannot restore the physical direction of early reflections. If your room slaps, correction does not fix the slap, it filters around it.
Trusting a single nearfield result. One seat, one head position, one mix. Averages across positions, and check the mix on a second system when you can.
Chasing small deviations. A couple of dB of ripple in a normal room is not a fault. High-Q filters aimed at 2 dB bumps add phase problems and buy you nothing.
If REW reports that the soundcard is not responding, the usual causes are a sample rate mismatch between REW and the interface, exclusive mode being enabled somewhere in the OS audio settings, or another app holding the device. Close the DAW, match the rates, and try again.
Frequently Asked Questions
Do I need room correction software if I already use studio monitors?
Yes, in most small rooms. Monitors are designed to sound right in a treated space that does not exist in your bedroom. Their off-axis behaviour, boundary interference and the modes of your room all sit on top of what the manufacturer tuned. Correction measures that combined result at your seat and flattens the low end, which is usually the difference between guessing at your kick and hearing it.
Is room correction software the same as adding a bass plug-in?
No. A bass plug-in shapes one track, or a bus, to taste, and it changes every time you reach for it. Room correction measures the actual frequency response of your room and speakers at the listening position, then generates filters from the difference against a target curve. It is a measurement-driven fix to the monitoring signal, not an effect you apply to make something sound bigger.
Where should I place the measurement microphone?
At your listening position, at seated ear height, level with the tweeters, on a mic stand rather than in your hand. Mark the spot with tape so you return to the same place every time. If you move around during a session, measure a few positions and average them. Never measure in a corner, on a desk or hard against a wall, because those spots describe the boundary instead of the room.
Can I use room correction software with headphones?
Not in the way it works for speakers. Headphone correction software exists and it works well, but it calibrates a headphone frequency response to a target like Harman, not a room. An open-back headphone has almost no room interaction to correct in the first place. For EDM mixing, treat headphone room correction as a separate tool from speaker room correction rather than expecting one to cover both.
Should I measure at the same volume every time?
Yes, and this is the step everyone rushes. The measurement level is part of the data: change it between the sweep and the filter calculation and the filters will not match the response. Set one reference level, usually around 76 to 79 dB SPL for long home studio sessions, write it down, and use it for every measurement and every mixing session until you change it deliberately.
Does room correction replace acoustic treatment or better speakers?
No. It is a supplement to both, and the most useful order is placement, then treatment, then correction. Correction can flatten frequency response at one seat, but it cannot shorten decay time or restore the physical direction of early reflections, which is why a very dead-sounding corrected mix is still a hard room to mix in. Speakers and room first, correction to take out what remains.
Start with three things: tape down your listening position, set one reference level with an SPL meter and pink noise, then run a single sweep and correct only the low end. That one pass will tell you more about your room than a week of guessing, and it takes under an hour.