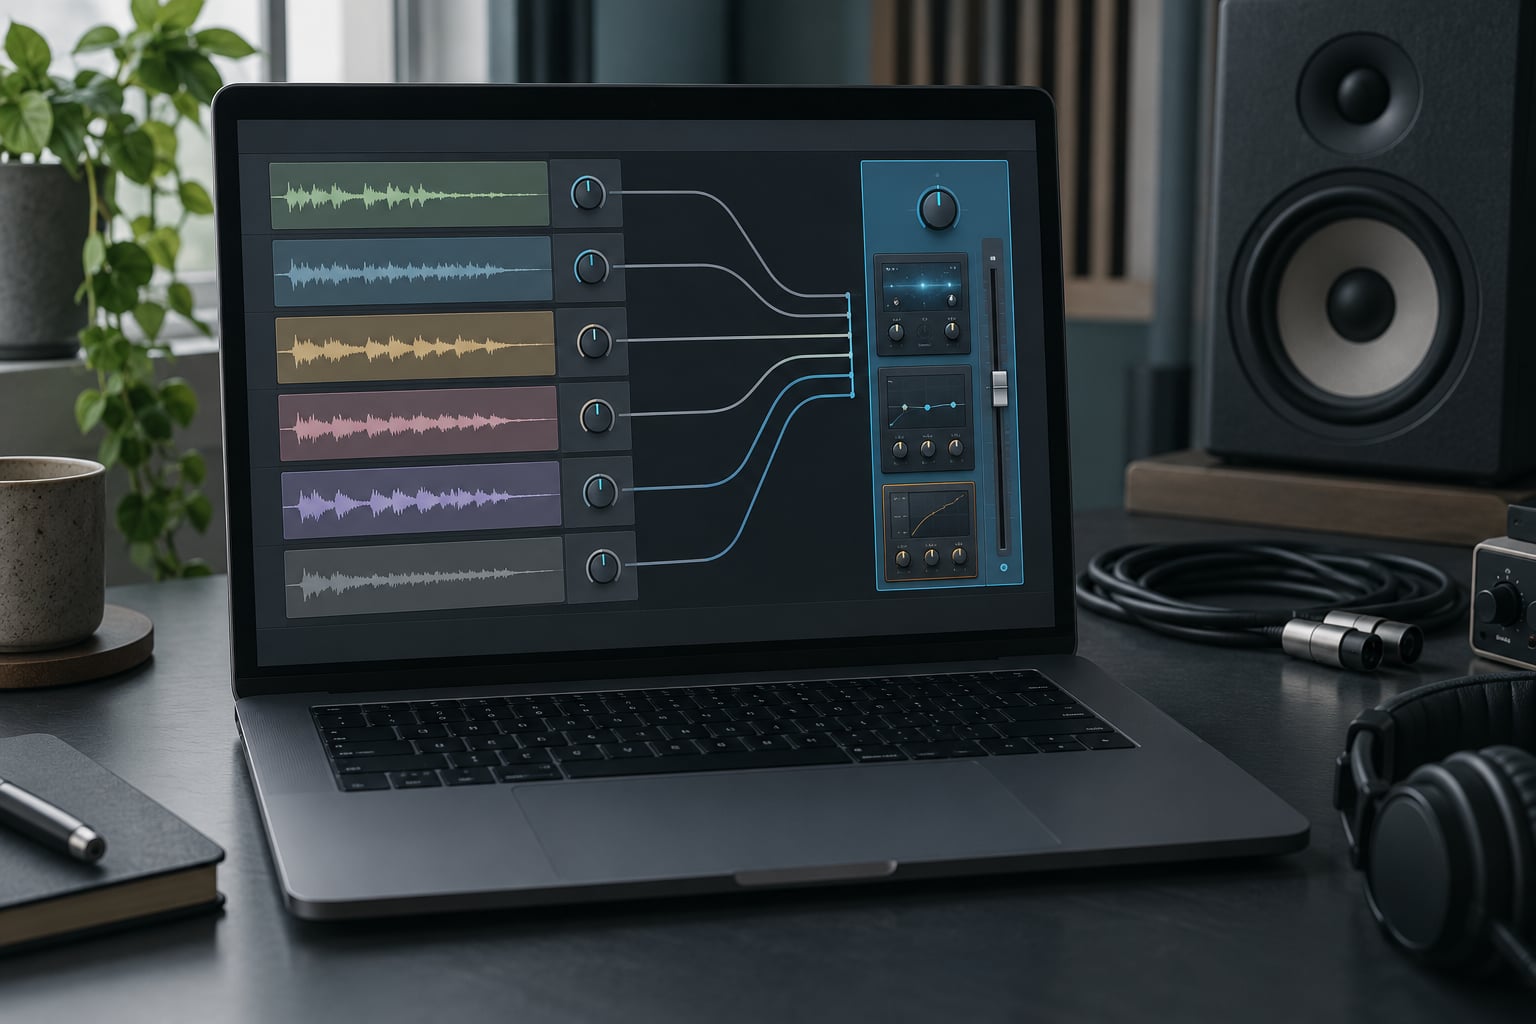
To set up a bus and return in Ableton Live, create a Return Track from the track context menu, drop a reverb or delay on it, then turn up the send knob sitting under each source track in the Mixer I/O section. Live copies a slice of every channel you feed it, processes that copy on the return, and folds the result back into the Master next to your untouched dry signal. It takes about five minutes once you know where the send knobs live.
Most of the confusion at the start comes down to one thing: the send knobs on a return track are switched off until you turn them on yourself. I see people drag a Reverb onto a return, move the send, hear nothing, and assume the routing is broken.
These steps cover Ableton Live 11 and Live 12. Menu wording moved a little between versions — older builds put the new-track command under the View menu — but the send knobs, the right-click Activate Send command and the dry/wet Mix control on the effects have stayed in the same place for many years.
Table of Contents
- What You Need
- Step-by-Step: How to Set Up a Bus and Return in Ableton Live
- How to Create the Return Bus
- How to Assign Sends from Source Tracks
- How to Add Return Effects and Control the Level
- How to Test and Troubleshoot the Routing
- How to Automate Sends and Return Levels
- Common Mistakes
- Why are my sends off by default in Ableton?
- Pre-fader or post-fader sends in Live: which one do you want?
- Insert, group or return: which bus does the job actually need?
- Latency and phase when you route through a return
- Frequently Asked Questions
- How do I set up a return track in Ableton?
- How do I set up buses in Ableton?
- What do return tracks do in Ableton?
- What does Ctrl+L do in Ableton?
- How does delay compensation work in Ableton Live?
- What is the difference between Echo and Delay in Ableton Live?
- The Short Version to Remember
What You Need
Everything ships with Live, so the list is short. You need an open Set with the tracks you want to share an effect on, and one effect that behaves well when fed from a send.
- An open Live Set with the source tracks already arranged, or at least visible in Session View.
- The Mixer view, which is the tab in the top-right corner of Session View. The I/O column and the send knobs live there.
- An effect for the return — Reverb, Delay, Echo, Auto Filter, or any third-party plugin in your Library folder.
- Optional EQ and compression for the return itself, which is how you clean up a busy reverb or delay bus.
- Headphones or monitors turned up, because you will be checking levels by ear against the dry signal.
It also helps to name the five terms before you touch anything, since tutorials tend to use them interchangeably:
- Return track — a receive-only Live track that other tracks send signal into, effects applied, output folded back into the Master.
- Send — the knob on a source track that copies a portion of that channel into a return or group destination.
- Bus — the informal word for the shared channel the return represents. There is no separate bus object in Live.
- Group track — a folder track that member tracks feed, with the group FX running on the summed signal.
- Insert effect — a device sitting in a single track’s own signal chain, affecting that track alone.
Step-by-Step: How to Set Up a Bus and Return in Ableton Live
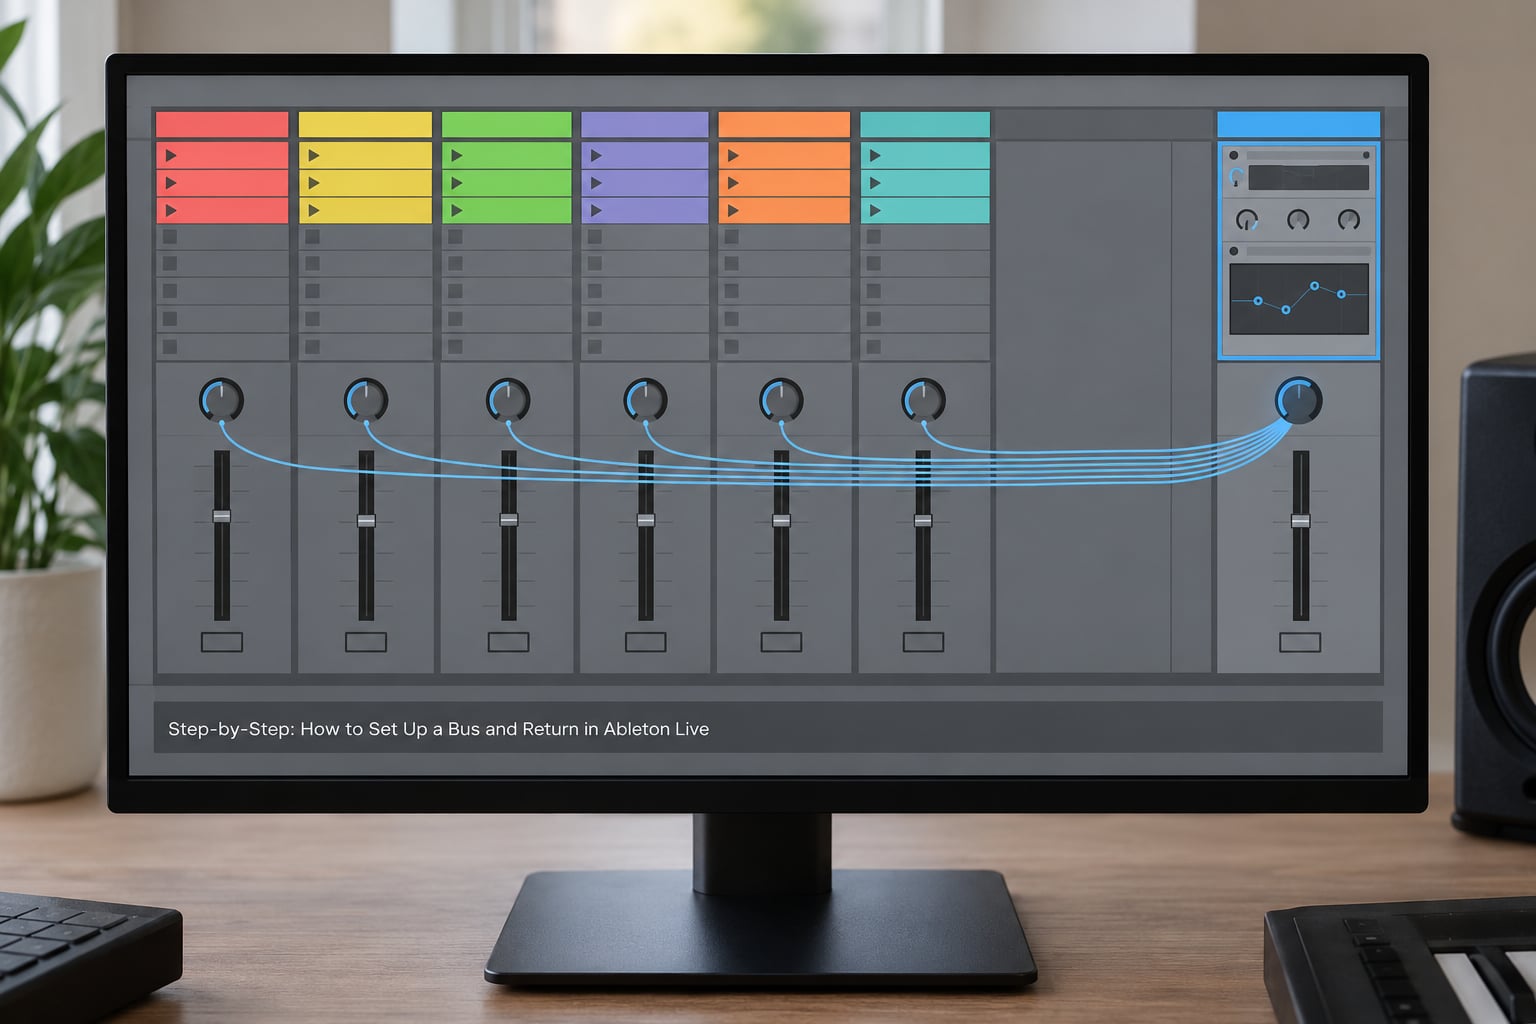
Here is the whole procedure in one pass. Read the detail for each step after the list.
- Right-click an empty area under your last track in Session View and choose Insert Track, then Return Track. (On older Live versions: View > New Track > Return Track.)
- Double-click the new track’s name and call it something useful such as Verb Bus or Delay Bus.
- Right-click the return track name strip in the Mixer and choose Activate Send. This switches its send knobs on.
- Drop a Reverb, Delay or other effect into the return’s device view.
- Set the effect’s dry/wet Mix control to 100% for time-based effects.
- In the Mixer I/O section, turn up the send knob that corresponds to your return on each source track you want feeding it.
- Pull the return’s own fader down, then up until the effect sits where you want it against the dry signal.
- Test by muting and unmuting the return: dry only, then dry plus effect.
- Automate the send or the return fader if you want throws and swells.
How to Create the Return Bus
Right-click anywhere in the empty space below your tracks in Session View. Choose Insert Track, then Return Track. In the Arrangement View the same item is in the track header context menu at the left edge. The new track appears at the bottom of your Session, labeled A Return, and Live colors it in the Mixer so it is easy to tell apart from the regular tracks.
Rename it straight away by double-clicking the name in the Session and typing something you will recognise later. Verb Bus, Plate, Delay Throws, Air — whatever matches how you mix. Track names are the first thing you search for when a session gets busy.
There are two limits worth knowing before you build on top of it. A return track is receive-only: you cannot record an audio or MIDI clip into it, and you cannot drop other tracks inside it the way you would with a Group. And it always outputs to the Master, so if you are working with a different output device, remember the return goes wherever the Master goes.
If nothing appears at all, check that your Set is not in a frozen or read-only state, and that you clicked the track area rather than a clip.
How to Assign Sends from Source Tracks
With the return track made, its send knobs still do nothing until you enable them. Right-click the return’s name strip in the Mixer and pick Activate Send. Live does this on purpose so a new return cannot suddenly dump a wall of reverb into your mix. Groups behave the same way.
Now look at a source track in the I/O section of the Mixer, the column under its Input and Output rows. Underneath sits a small circular send knob for each return and group in the Session. Turn it up and a copy of that channel’s signal goes to the return. The dry signal stays exactly where it was, which is the whole point of a parallel path.
Two behaviours trip people up here. Sends are post-fader by default, so the send follows your fader moves: pull the vocal down for a verse and its delay goes down with it. And the send taps the signal after the device chain, so an EQ cut on the track is heard in the send as well.
Hold Ctrl on Windows or Cmd on Mac while you move a knob and Live links that control to every linked version of it in the session. Grab a send knob with the modifier held and all the sends for that same return move together. That linking behaviour gets asked about constantly, and it is why a linked set of sends feels like one big knob.
Click the hollow dot at the centre of a send knob and the send follows the track’s pan position. Leave it off and the send stays centred, which is what you usually want for a reverb return.
How to Add Return Effects and Control the Level
Drag a Reverb or Delay device from the Browser into the return’s device view, or drop a preset straight onto the return’s name in Session View. Then set the device’s dry/wet control — Live labels it Dry/Wet on Reverb and Delay, Mix on Echo and some plugins — to 100% for anything time-based.
This 100% wet convention is the rule people argue about most, and the reason is simple. A return sends your dry signal back to the Master as well as the processed copy. Leave reverb at 30% wet and you get 30% of an unprocessed duplicate of the same vocal added on top of the original, which sounds like comb filtering and a low-end pile-up rather than space. The return should add the effect only.
What if you want a little of the unprocessed signal on the return for a specific reason? Fine, but that is a mixing decision, not a default. Dry signal on a return only makes sense when the return is doing something to the dry path too, such as a filter sweep you also want in the source.
Three controls then govern the whole bus:
- The send knob on each source track decides how much of that channel enters the bus. Automate it for throws at the end of a phrase.
- The return’s device chain decides what happens to everything arriving. Put an EQ before the reverb to clear mud from the summed sends, or a compressor after it to hold the bus steady.
- The return’s fader sets the overall wet level into the Master. Solo it to audition the effect on its own, and draw automation in Automation mode to ride the whole bus.
For dub-style feedback delays, cross-route two returns: send a copy of the Delay return into a second reverb return and keep that send low. Live will keep bouncing signal between them. Leave the loop gains modest, because it climbs fast once you nudge the feedback on the delay itself.
How to Test and Troubleshoot the Routing
The fastest confirmation is a mute test. Solo the source track you suspect is feeding the bus, then mute and unmute the return: dry only, then dry plus effect. If the effect appears on unmute, the send is working and the return is receiving.
A second test checks the return in isolation. Hit Solo on the return track itself. Live mutes the tracks feeding it, so you should hear only the processed signal and its tail. If you hear nothing there but the effect works in the mix, the problem is the return’s output level, not the input.
Walk down this list when a return is silent:
- Send knobs on the return track are still deactivated. Right-click the return name strip and choose Activate Send.
- The send knob under the source track is turned to zero, or points at a different return than the one you are listening to.
- The return fader is down, or the track is muted.
- The effect is at 0% wet, so the return passes nothing but dry signal, which sounds like no effect at all.
- The effect device is bypassed, or the return’s Input/Output is switched to no output.
- Another track is soloed somewhere in the Set, quietly muting the return.
If the level builds up on its own and will not stop, a return is sending into itself or two returns are cross-routed in a loop. Drop the send that closes the circle to zero, then bring it back up slowly.
How to Automate Sends and Return Levels
Click the Automation button in the top-right corner of Session View and Live opens lanes underneath each track. Write a lane under the send knob to push reverb up as a phrase ends, or under the return’s fader to swell the whole bus under a section change. Sends are the better choice when the dry vocal should stay steady while the space blooms; the return fader is better when you want everything to move together.
Common Mistakes
Almost every routing problem in Live comes down to five things. Each has a quick fix you can apply while the music is still playing.
Why are my sends off by default in Ableton?
Because Live protects your mix. Return and group tracks ship with their sends deactivated, so a freshly created bus cannot flood the Master with signal the moment you load an effect into it.
The fix takes one click: right-click the return track’s name strip in the Mixer, then choose Activate Send. Do the same for any group track whose sends are not responding. Once the send is active, the knob under each source track becomes live and routing works as expected.
Pre-fader or post-fader sends in Live: which one do you want?
Live’s sends are post-fader by default, which means the amount you send follows the channel fader. That is the right default for most mixing because the reverb should sit back when you pull a vocal down for a verse.
Pre-fader is what you want when the effect must stay constant while you ride the dry signal. Live lets you change a send between pre-fader and post-fader from the send itself in the I/O section, so grab the knob and switch the mode before you start dialling in levels. If you would rather not hunt for the control, send from a Group instead: the group sums its members first, so the send sees a steady signal.
Three send setups cover almost everything:
- Post-fader (the Live default) hears the signal after the fader moves. Use it for most mixes and for fader moves that should drag the effect along.
- Pre-fader hears the signal before the fader, after the device chain. Use it for fixes on the dry channel and for delay throws that must stay level.
- Send from a group hears the summed members before the group fader. Use it for a shared drums or synth bus where members move independently.
Insert, group or return: which bus does the job actually need?
Pick the simplest thing that does the job. The r/ableton consensus is that a reverb on an insert and a reverb on a group sound the same — the choice is about control and CPU, not tone.
- Insert on the track gives you one channel only with full device automation, at the cost of a plugin instance per track. Best for channel-specific treatment, distortion and filtering.
- Group track gives you shared FX on the summed members plus a group fader, at the cost of needing the member tracks grouped. Best for a drum bus, an instrument group or parallel compression.
- Return track gives you shared FX with a per-channel send, a return fader and its own automation lane, for one instance total. Best for a shared reverb or delay and for mixing out of the box.
The rule I fall back on: if the effect should apply to the exact same amount across several channels and you want to automate the wet level as a block, use a return. If it should act on the summed signal after the channels are mixed together, use a group.
Latency and phase when you route through a return
Routing through a send and return adds a small, fixed delay — roughly one sample — between the dry and wet versions of the same source. Under most material it is inaudible.
It shows up in two situations. The first is summing out of the box, where the analogue mixer and interface already add their own conversion delay and the two stack up, leaving low end cancelling itself. The second is feeding the same source into a return and an outboard compressor at once, where a similar offset causes comb filtering.
Turn on Live’s Delay Compensation from the menu bar so it accounts for device latency, and keep a high-pass filter on the return so reverb tails do not pile up in the bottom end. If phase problems persist when mixing OTB, remember that a return track works as a summing bus: route every channel into it, process there, and send the single return to your interface instead of tracking out every track.
Frequently Asked Questions
How do I set up a return track in Ableton?
Right-click an empty area under your tracks in Session View and choose Insert Track, then Return Track. Rename it, then right-click the return name strip in the Mixer and choose Activate Send so its send knobs become live. Drop a Reverb or Delay into the return, set its dry/wet control to 100%, and turn up the send knob that appears under each source track in the Mixer I/O section.
How do I set up buses in Ableton?
Live has no separate bus object. A bus is a return track that several channels send into. Create the return track, enable its sends with right-click and Activate Send, put the shared effect on it at 100% wet, and raise the send knob under each track that should feed it. Use a group track instead when the shared processing should happen on the summed signal rather than as a parallel copy.
What do return tracks do in Ableton?
A return track receives a copy of the signal from other tracks through their send knobs, runs it through the effects on the return, and folds the processed result back into the Master alongside the original dry signal. That gives one effect a shared fader, its own EQ and its own automation lane, so a single reverb or delay instance can serve a whole mix.
What does Ctrl+L do in Ableton?
Holding Ctrl on Windows or Cmd on Mac while moving a control links that control to all the linked ones in the session. Grab a send knob with the modifier held and every send feeding the same return moves together. In a Set with Link switched on, all controls of the same type are linked by default and the modifier lets you break or restore that link per control.
How does delay compensation work in Ableton Live?
Live tracks the latency added by plugins and by the audio interface, then delays every other track in the Set by the same amount so everything stays sample-aligned. Switching on Delay Compensation for the session makes those shifts automatic, which matters when you send to a return: the send and return path adds its own small delay that Live can then offset. Reach it from the menu bar and check which devices are still reported as uncompensated.
What is the difference between Echo and Delay in Ableton Live?
Delay is the plain feedback delay: one time readout, a feedback amount, a filter and a dry/wet mix. Echo is the more capable device, with sync to song time across many note divisions, feedback filtering, a dry/wet control and the option to route its output to a return track so several channels can share one instance. Use Delay for a straightforward throw and Echo for tempo-locked ping-pong movement.
The Short Version to Remember
Build one bus the first time you open a new Set and everything after it gets easier. Create the return track, right-click and Activate Send, load the effect at 100% wet, set the sends low and bring them up while watching the return fader.
If it stays silent, the send on the return was never enabled — that is the cause nine times out of ten. If it sounds harsh rather than wide, check the dry/wet control first, then high-pass the return. And if you want a different amount of reverb on every vocal, that is a group track rather than a return.