If your DAW is clicking, cracking or dropping out mid-session, you are almost never short of RAM or plugins. You are asking the processor to do too much in real time. How to reduce CPU usage in your DAW comes down to four moves: measure where the load actually is, raise the audio buffer size, strip out devices you are not using, and freeze the heaviest tracks. On a typical home-studio session, most of that takes about half an hour.
I have spent more weekends than I would like to admit hunting dropouts with the CPU meter open. The fix is rarely a new computer. It is almost always one expensive plugin on one track, or a buffer size left at a recording value during mixing.
This guide works across Ableton Live, FL Studio, Logic Pro, Cubase, Pro Tools, Studio One, Bitwig and Reason. Where a setting lives in a specific menu, I have written the path out so you can jump straight there.
Table of Contents
- What You Need
- Step-by-Step: How to Reduce CPU Usage in Your DAW
- 1. Check CPU Usage Before and During Playback
- 2. Raise the Audio Buffer Size
- 3. Close Unused Plugins and Heavy Instruments
- 4. Reduce Sample and Bit Depth During Tracking
- 5. Limit Plugin Instances and Use Better Preset Design
- 6. Freeze or Bounce Heavy Tracks
- 7. Optimize Audio Routing, Fades and Automation
- 8. Manage Background Software and System Resources
- 9. Test the Project and Build a Stable Template
- Common Mistakes
- Frequently Asked Questions
- Do DAWs use more CPU or GPU?
- Which DAW has the lowest CPU usage?
- Does muting or hiding a track reduce CPU usage?
- Does freezing a track really reduce CPU usage?
- Is CPU or RAM more important for music production?
- Why does my CPU spike when I start recording?
- Conclusion
What You Need
Before you change anything, gather four things. Without them you are guessing, and guessing costs hours.
- Your DAW version. Menu paths move between major releases, and the CPU meter lives in a different place in each one.
- Your audio interface driver settings. This is where buffer size and sample rate are actually defined, not in the DAW.
- A written list of your plugins. Open the insert chains on the busiest tracks and note every device, including the ones you switched off weeks ago.
- Your operating system activity monitor. On Windows that is Task Manager, on macOS it is Activity Monitor. You need it to see what is using CPU when the DAW is not even playing.
- A backup of the project. Save a copy, or use version history, before you start committing tracks and bouncing.
Also note the machine itself: processor model, roughly how much RAM it has, and whether your project sits on an SSD or a hard drive. Disk speed causes stutters that look exactly like CPU overload, and it is worth ruling that out early.
Step-by-Step: How to Reduce CPU Usage in Your DAW
Work through these in order and stop as soon as the problem disappears. Each step changes one variable, so you always know what actually helped. Jumping around and changing six settings at once is how people end up with a session that is stable but sounds wrong.
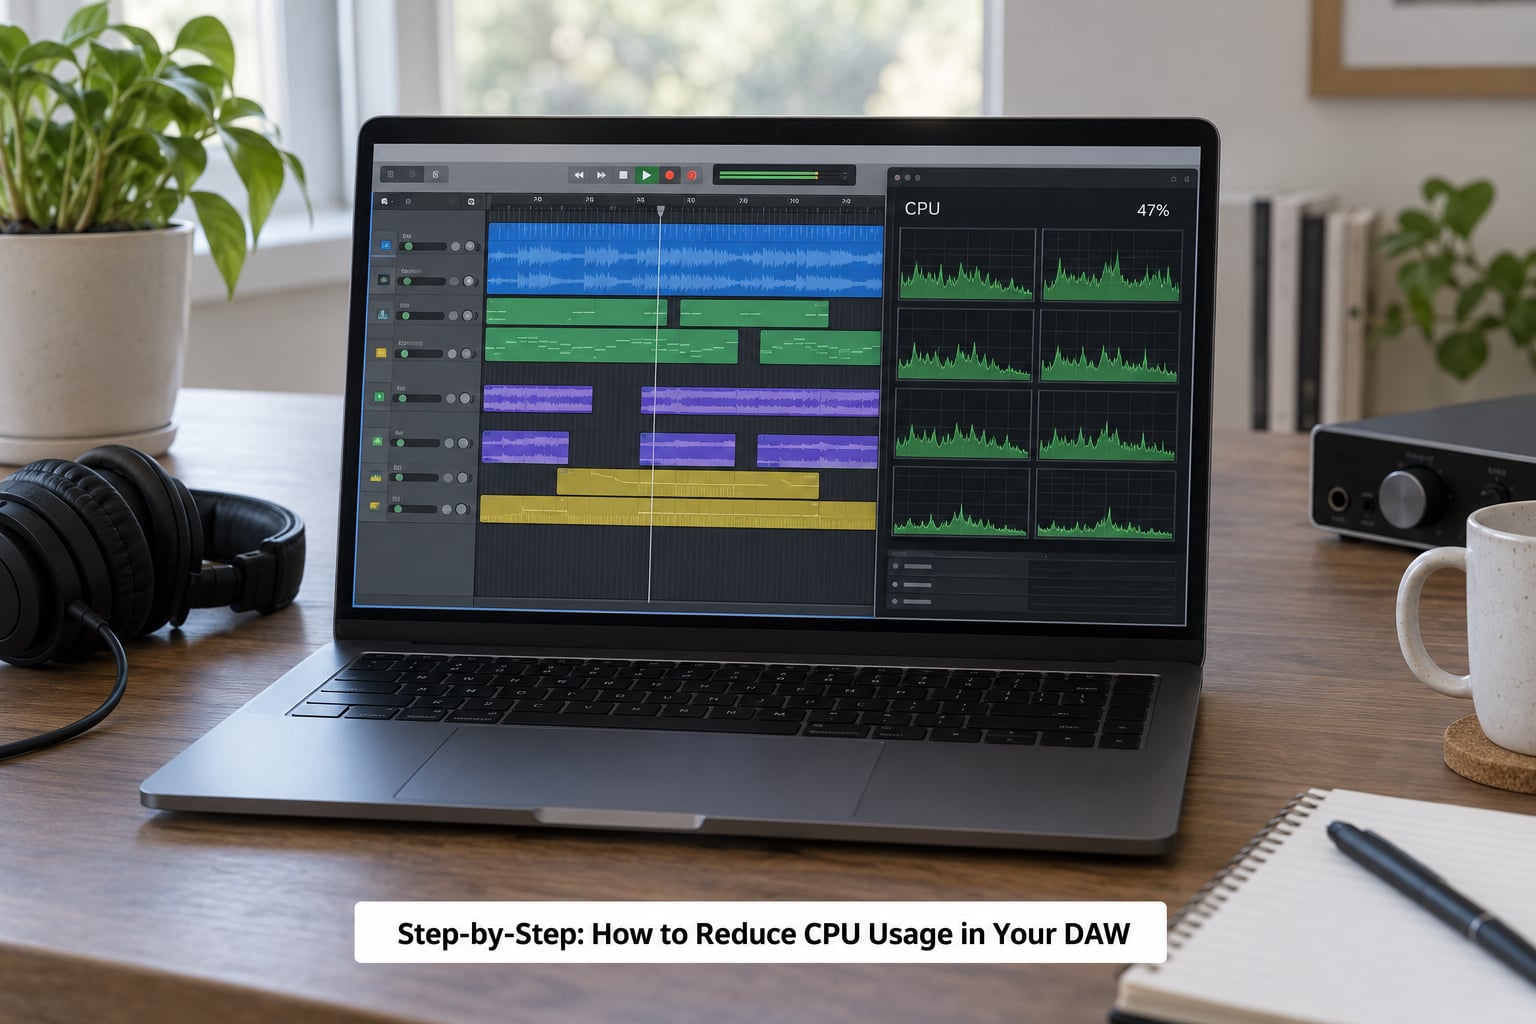
1. Check CPU Usage Before and During Playback
Open your DAW’s performance meter and your system monitor side by side. Let the project play from the top, then jump to the bar where the trouble starts and watch both numbers.
In Ableton Live the meter is at the bottom right of the Session View. In FL Studio it sits in the toolbar and can be switched to a per-plugin view. Logic shows CPU and HD disk activity in the Transport’s Audio menu, Cubase uses the Performance window in the menu bar, and Reaper puts it under View then Show Performance.
Now read the numbers, because they tell you different things.
- High when idle, low when playing. Something outside the audio thread is chewing CPU. Usually antivirus scanning, cloud sync, or a chat app indexing.
- Low when idle, spikes only while recording. Monitoring paths are doubling your processing, or plugin delay compensation is being recalculated. This is one of the most reported problems on production forums.
- Steady climb as playback continues. A plugin is leaking memory, usually a reverb or a de-esser on a long chain.
- Sits near 100 percent during a dense section. You have no headroom left, and that is where dropouts start.
Aim to keep steady-state playback below roughly 60 to 70 percent of one core. That leaves room for the spikes that happen when a plugin changes preset or a delay tail fills in.
2. Raise the Audio Buffer Size
A larger buffer size is the single biggest lever you have, because it cuts how many times per second your DAW wakes up and processes audio. The cost is latency: more delay between playing a note and hearing it, and more delay while tracking.
The buffer size is set in your audio interface control panel, not the DAW. That panel is called Audio MIDI Setup on macOS, Sound Control Panel or Audio Devices on Windows, and it often only appears after restarting the DAW with the interface connected.
| Task | Buffer size at 48 kHz | One-way buffer time |
|---|---|---|
| Tracking vocals and acoustic instruments | 64 samples | About 1.3 ms |
| Tracking with virtual instruments | 128 samples | About 2.7 ms |
| Arranging, editing, playing along | 256 samples | About 5.3 ms |
| Mixing | 512 samples | About 10.7 ms |
| Mixing a dense or sample-heavy project | 1024 samples | About 21 ms |
Two numbers to keep in mind. Below about 64 samples, most plugins struggle and you will hear crackles instead of getting any benefit. Above 1024 samples, playing along to a click or a loop gets genuinely hard, which is why engineers record at 256 and switch up when they start mixing.
Some DAWs also offer their own protection. Cubase has ASIO Guard, which unloads plugins when they fall silent. Logic has a Low Latency Mode that skips plugins with a latency threshold during recording. Ableton and Reaper have comparable smart-disable options. These are worth turning on before you start deleting plugins.
3. Close Unused Plugins and Heavy Instruments
Bypassed plugins still load. In most DAWs a greyed-out plugin is not processing audio, but it is still allocated, still scanned by the plugin host and still waiting to run when you unmute. Across a hundred tracks that adds up fast.
Work bar by bar. Bypass every plugin on every track, listen, then bring them back two at a time until the load visibly jumps. That process tells you which devices are expensive on your project specifically, which is more useful than any generic ranking of plugins.
Once you know the offender, you have three options: use the cheaper native version your DAW ships with, use the plugin in a lighter mode, or remove it entirely. Most DAWs include EQ, compression, reverb and delay built in, and the built-in versions are usually far lighter than third-party plugins doing the same job. If the meter is still pinned after the buffer change, this is usually where the answer is.
Watch out for virtual instruments left loaded on tracks with nothing playing. Load them only where they are needed, especially large drum and orchestral libraries.
4. Reduce Sample and Bit Depth During Tracking
Dropping from 48 kHz to 24 kHz roughly quarters the number of samples your plugins have to process. That is a real saving on convolution reverbs, linear-phase EQ and anything running oversampled, and it costs you nothing during tracking because you are not capturing quality here, you are capturing performance headroom.
Set the project back to 48 kHz before you mix, bounce or export, and raise the interface to match. A mismatch between the session rate and the hardware rate is one of the most common causes of glitchy monitoring, and on Windows enabling exclusive mode in the interface settings often cleans it up.
Bit depth matters far less than sample rate. Moving from 24-bit to 32-bit float changes almost nothing about CPU load, so leave it alone unless a specific plugin demands otherwise.
5. Limit Plugin Instances and Use Better Preset Design
Some presets are simply badly designed, and no amount of tuning will make them cheap. Look for extreme unison voice counts on pads, convolution reverbs with very long and dense impulses, linear-phase EQ on mastering channels, and heavy oversampling inside synths.
In my own sessions, switching oversampling off inside a delay or reverb plugin is often the single biggest saving available, and the drop can be dramatic rather than marginal. The same applies to oversampled synths that offer a bypass switch. Test with oversampling off first, because a plugin developer usually knows whether it is helping in your use case.
Watch multi-effect plugins too. One reverb instance with three different presets feeding three sends costs far less than three full reverb plugins on three tracks. Consolidating dozens of per-track reverbs into one shared send bus is a change I have seen save more load than any single plugin swap.
Round out the cleanup by turning off plugins that only sit on the master bus when you are not mastering, and by removing any instance with an empty insert slot that was never cleaned up.
6. Freeze or Bounce Heavy Tracks
Freezing renders a track to audio and takes it out of real-time processing entirely. Everything that track was doing, instrument plus every plugin, becomes a single audio file. That is usually the largest single reduction available, and it is the step that most reliably fixes how to reduce CPU usage in your DAW on a MIDI-heavy project.
The menu names differ but the function does not. Ableton uses Freeze Track on the clip. Logic uses Freeze on a track in the Track Stack. Cubase and Nuendo use Commit in the Track Control Panel. Pro Tools uses Commit to Clip. FL Studio uses Consolidate on the channel rack selector. Studio One uses Freeze on the track. Bitwig has Freeze in the track’s context menu, and Reason uses Bounce to Track.
Freeze is reversible in most DAWs, but your backup still matters, because a frozen track replaces MIDI you may want to edit later. Freeze once the part is written, keep the original project untouched, and use a new project or a clearly named version for the frozen copy. Bouncing to a separate audio track or stem set gives you the same CPU relief with more flexibility to undo.
Freeze in batches rather than one track at a time. If your session is heavy, freeze every finished drum, bass and MIDI part in one pass and re-test the meter before doing anything else.
7. Optimize Audio Routing, Fades and Automation
Routing problems add load quietly. A send loop, a duplicated aux, or an unused group still feeding plugins costs processing every cycle. Open your routing view and check that each channel goes where you think it goes.
Long fades are the other hidden cost. A ten-second fade on twenty channels means twenty plugins running for ten seconds of every pass. Shorten crossfades, or remove them once the move is done.
Automation counts too. If a plugin bypasses when it is not needed, wire that into the automation lane rather than leaving it permanently active. That habit cuts load on busy sections and costs nothing on quiet ones. Long delay times and open release times on compressors and reverbs also keep processing alive after the sound stops, which shows up as load that never returns to zero.
On mute versus hide: muting a track stops processing on most DAWs, while hiding or collapsing a track usually does not. That distinction gets misunderstood constantly, and it is worth checking because people apply the hide version and see no change at all.
8. Manage Background Software and System Resources
Your DAW competes with everything else on the machine. Close your browser, video editor, cloud drive client and any unused music software before you start a session, and check your startup programs so none of them launch with the machine while you are working.
On Windows, set the power plan to High Performance or Balanced, and disable USB selective suspend if your interface hangs briefly when you arm record. On macOS, leave Automatic Sleep off while a session is running and check that your interface is set to the native sample rate rather than being resampled by the system.
Keep projects and sample libraries on an SSD or NVMe drive. Disk stalls read exactly like CPU overload: the meter looks fine, then the audio stutters. If Task Manager shows your drive pinned at 100 percent during playback, that is your real problem, not the processor, and no amount of plugin trimming will touch it.
Finally, check thermals. A laptop that has been running a heavy session for an hour will slow its clock to stay within its power limit, and CPU load climbs without any change in your project. Props that lift the machine off a soft surface and a short cool-down between long sessions fix more mystery overloads than people expect.
9. Test the Project and Build a Stable Template
Play the section that was failing before, with the same monitoring setup you were using, and check the meter again. You want to see the same number twice in a row before you call it solved.
Then save what worked. Build a template with your buffer size, plugin set and routing already in place, so a new session starts from a known good state instead of the last session’s settings. Keep one project per song rather than piling everything into a single ever-growing file, and let the DAW and your plugins update on a schedule you actually keep.
Common Mistakes
Most CPU problems get worse, not better, from a handful of very repeatable mistakes.
| Symptom | Likely cause | Fix |
|---|---|---|
| Changed five settings, still clicking | Multiple variables changed at once | Undo back to the last stable state and change one thing per test |
| Latency feels unplayable, CPU fine | Buffer size left at 64 samples for mixing | Raise to 256 or 512 samples for mixing work |
| Lost an edit inside a bounced file | Committed without a backup or version history | Save a copy first, or work in a separate project file |
| Dropouts persist after removing plugins | Disk or thermal issue, not CPU | Watch disk activity and CPU clock behaviour during the failure |
| CPU still pegged with nothing playing | Background app, antivirus scan or cloud sync | Check the system monitor with the DAW idle, then kill the offender |
| Nothing helped and the meter looks normal | Judging performance by the meter alone | Test with the real monitoring chain and the real instrument setup |
| Deleted a plugin, then missed the sound | Removed before identifying the culprit | Bypass first, measure, then decide |
Two more worth naming. Hiding tracks to save CPU does not work on most DAWs, and lowering the sample rate during mixing rather than during tracking throws away quality for no gain. Fix the phase where the problem actually lives.
Frequently Asked Questions
Do DAWs use more CPU or GPU?
Almost entirely CPU. Audio processing, plugin DSP and virtual instrument playback all run on the processor in real time, and the GPU has very little to do with it. A strong GPU can speed up video playback and some modern visual effects, but it will not fix dropouts. Buy CPU speed and single-core performance first when you are choosing hardware for audio work.
Which DAW has the lowest CPU usage?
There is no single winner for every project, because CPU cost depends more on your plugins and instruments than on the DAW itself. Reaper and Bitwig are widely regarded as the lightest options for playback, while Cubase, Logic Pro and Studio One carry more built-in features that cost a little more. The honest answer is that swapping DAWs rarely solves an overload; fixing your plugin chain does.
Does muting or hiding a track reduce CPU usage?
Muting usually does, because the DAW can stop processing that channel. Hiding or collapsing a track generally does not, because it is a display setting and the plugin chain stays loaded and allocated. This is one of the most common misconceptions on production forums. If you want a real saving while working, deactivate the track or the plugins, not just hide it.
Does freezing a track really reduce CPU usage?
Yes, and it is usually the largest single saving available. A frozen track is audio, so the instrument and every plugin on it stop being processed in real time. On a session with heavy MIDI and synth libraries, freezing the finished parts can halve the load. Keep a backup of the original session, because you are trading editability for stability.
Is CPU or RAM more important for music production?
CPU matters more for smooth playback, because real-time audio depends on processing speed more than capacity. RAM decides how much you can load at once, so running out causes stuttering and swapping to disk rather than clicks. For most home studios, single-core CPU speed and fast storage matter most, with 16 GB of RAM a sensible floor and 32 GB comfortable for large sample-based projects.
Why does my CPU spike when I start recording?
Recording turns on monitoring, and monitoring can double your processing load if it is not handled correctly. Common causes are virtual audio routing loops, plugin delay compensation recalculating as you arm an input, and a monitoring path that duplicates your whole mix chain. Set the interface to direct monitoring where you can, and check that your record arm is not routing back into your playback bus.
Conclusion
Start with measurement, then work down this list in order. Check the meter idle and during playback, raise the buffer size to 256 or 512 samples for arranging and mixing, bypass plugins one at a time to find the expensive ones, and freeze or commit the finished parts.
If the meter still looks fine while the audio stutters, stop blaming the processor and look at disk speed, background software and temperature instead. Save a template once the project is stable, and the next session starts half solved.