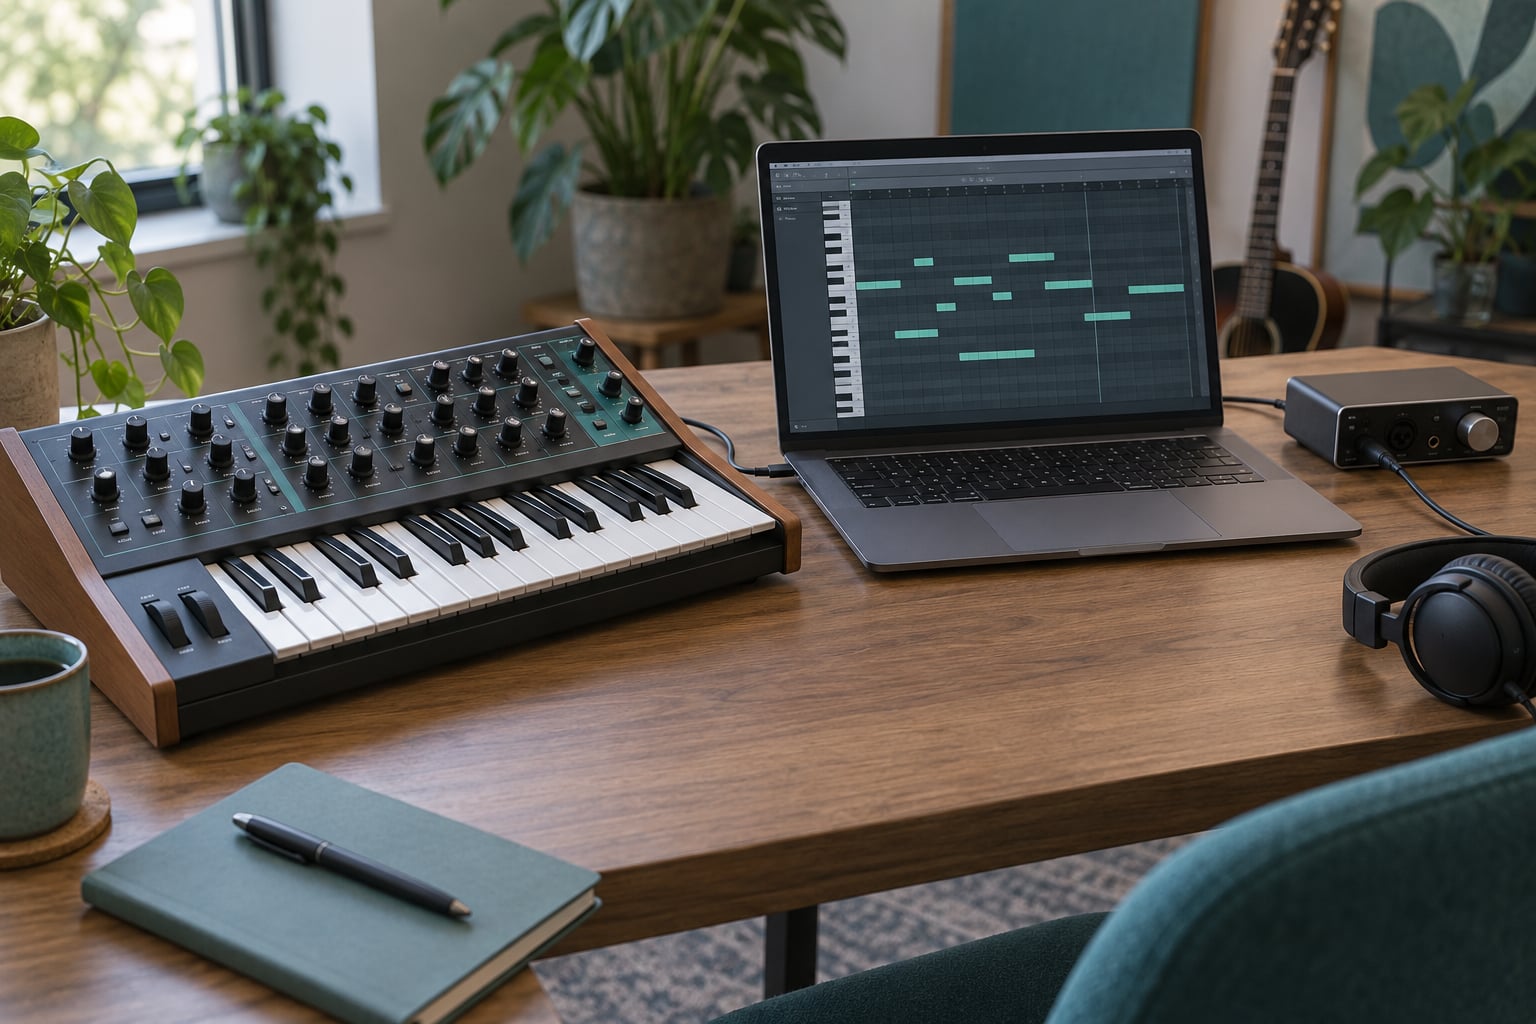
Recording MIDI from a hardware synth means capturing the performance data your synth sends out — note on, note off, velocity, pitch bend, controller moves — not the sound it makes. You connect the synth’s MIDI output to your computer, pick its MIDI port on a MIDI track in your DAW, arm the track, and hit record. The sound you hear comes back to the DAW on a separate audio track.
That is the whole idea in three sentences, and it takes about ten minutes to get a take on screen. MIDI is a control protocol, not an audio format, so a MIDI clip is a few kilobytes of instructions rather than a stereo recording you cannot edit.
People often expect one cable to do everything. It does not. You need two signal paths running side by side: MIDI data coming in from the synth, and line-level audio coming back from the synth into your audio interface so you can hear it and, if you want, record the sound too.
This guide covers the workflow as it stands in 2026, with the exact menu paths for Ableton Live 12, Logic Pro 11 and FL Studio 2026. Other DAWs use equivalent track and input controls; the logic underneath is identical.
Table of Contents
- What You Need
- USB-MIDI vs 5-pin DIN
- When Audio Recording Is the Right Answer
- USB Audio Versus USB MIDI
- Step-by-Step: How to Record MIDI from a Hardware Synth
- 1. Check the Synth’s MIDI Settings
- 2. Choose the Right MIDI Connection
- 3. Configure the DAW and MIDI Track
- 4. Test How to Record MIDI from a Hardware Synth Correctly
- 5. Record the Performance
- 6. Clean Up Timing, Velocity and Expression
- 7. Export, Save and Reopen the Session
- Common Mistakes
- Frequently Asked Questions
- Can I record MIDI from a hardware synth over USB?
- Is a 5-pin DIN connection better than USB for recording MIDI?
- Should I record the synth as audio or as MIDI?
- Why are my recorded MIDI notes slightly late or uneven?
- How do I stop the hardware synth from producing feedback?
- Can I record MIDI automation and controller movements?
- Conclusion
What You Need
The list is shorter than most people expect. If you own a synth with a USB port or MIDI Out, a computer, and any DAW at all, you can record MIDI from it today. Everything else removes friction.
- The synth itself. Almost any hardware with a MIDI Out or a USB-MIDI port works. Vintage gear with 5-pin DIN outputs is no exception, as long as you have a cable.
- A MIDI connection. Either a USB-A or USB-C MIDI cable, or a 5-pin DIN MIDI cable into a MIDI-capable port.
- An audio interface with line inputs, if you want to monitor the synth and record its audio at the same time. Most interfaces have 1/4 inch or 3.5 mm line inputs; skip the mic preamp, you do not need it.
- A DAW. Ableton Live, Logic Pro, FL Studio, Reaper, Cubase, Studio One and Bitwig all record hardware MIDI. The menu names differ, the process does not.
- Optional: a MIDI Thru or Thru box when you are chaining several instruments, and closed-back headphones if your speakers would bleed into your synth’s MIDI input.
USB-MIDI vs 5-pin DIN
USB-MIDI arrives on your computer as a plug-and-play MIDI port, usually named after the synth or the interface it is plugged into. A 5-pin DIN MIDI cable is the older, more robust wiring: a full-size five-pin connector on each end, carrying one cable’s worth of messages.
DIN needs a MIDI port to land in. Many interfaces have one; some laptops do not, in which case a small MIDI-USB adapter does the conversion and shows up as a port on your DAW’s MIDI device list. DIN is one direction per cable — synth MIDI Out goes to the computer’s MIDI In — so you need two cables if you also want to sequence the synth from the DAW.
Bluetooth MIDI exists on newer keyboards and some desktop synths. It is convenient and it is also the least reliable option for tight timing; over a cable, every message arrives on time.
When Audio Recording Is the Right Answer
Sometimes you want the sound, not the notes. Recording the synth’s audio output directly captures the actual sound of that instrument — including analog drift, the character of its filters, and any effects running in its output path. You cannot edit that later.
Recording MIDI gives you editable notes you can quantize, transpose, and resynthesize with a completely different instrument. If your synth has an unstable, noisy, or characterful voice and that character is the point, record audio. If you want to fix the timing of a bassline, record MIDI.
USB Audio Versus USB MIDI
This trips up a lot of first-timers. Many modern synths expose two separate USB modes: a MIDI class device and an audio class device. The MIDI mode gives you note data and nothing else. The audio mode gives you a recording of the output and no note data at all.
If you need editable notes, use the MIDI mode. Check the screen or the manual so you know which mode the port you picked actually is.
Step-by-Step: How to Record MIDI from a Hardware Synth
1. Check the Synth’s MIDI Settings
Put the synth into MIDI mode before anything else. A local keyboard/control setting usually lives under Global, MIDI, or System on most instruments, and it decides whether the synth’s own keys are ignored while computer control is active.
For a basic USB recording, the safe default is to leave local control off for the keyboard and enable the USB or MIDI port you want to use. Some players call this MIDI THRU; others separate LOCAL from REMOTE. If your synth stops responding to its own keys while connected, local control is the setting to change back.
Confirm the clock next. For plain recording, the synth does not need to send MIDI clock at all, and leaving sync off avoids surprise tempo jumps mid-take. Sync only matters when you are slaving a groovebox or drum machine to the DAW’s tempo, which is a different job.
2. Choose the Right MIDI Connection
Plug the cable in before you open the DAW if you can, then restart the DAW. Ports usually appear at launch; a synth plugged in after the DAW is already open often needs the MIDI preferences window reopened or the application restarted.
Verify the port exists before touching any track settings. In Ableton Live 12, check Preferences > MIDI > Sync. In Logic Pro 11, check the Audio MIDI Setup > MIDI Devices window. In FL Studio 2026, use Options > MIDI settings for the device list. If your synth appears in none of them, the problem is the cable, the port mode, or the driver — not your project.
On Mac, the Audio MIDI Setup app holds the port list and driver options. CoreMIDI is the layer underneath, and reinstalling a driver there is often the fix when an interface that worked yesterday has vanished from the list.
3. Configure the DAW and MIDI Track
Create one MIDI track and give it a name you will recognise later. Then set three things: the MIDI input port, the MIDI channel, and the monitoring mode.
Ableton Live 12. Drag a MIDI Track from the browser, then open the track’s I/O section. Set MIDI From to the port named after your synth, and set Monitor to In. Choose the External Instrument device if you want the synth’s audio on the same track; the Monitor menu can also be set to Auto, which monitors while the track is armed and only when no input is selected for monitoring elsewhere.
Logic Pro 11. Choose Track > New > Software Instrument, then select External Instrument in the Audio FX slot on the channel strip. In the plug-in window, set MIDI In to your port and Audio Input to the interface channel your synth is patched into. Newer Logic versions also accept a plain MIDI track with an instrument on it, where the input port comes from the channel strip’s Input menu.
FL Studio 2026. Add a MIDI Out generator from the Channel Rack, or use the Monitor section on the channel strip. Select the synth in the MIDI Out plugin’s port list and, in Options > Audio settings, set the monitoring mode you want. Choosing ALL MIDI inputs is common and usually fine for one synth, but naming the specific port avoids surprises when a second device appears.
Set the MIDI channel deliberately. If the synth listens on channel 1, set the track to channel 1; if it listens on Omni, leave the track on its default or Omni so every channel passes through. Mismatched channels are the most common reason notes record as silence or trigger something else entirely.
Avoid feedback while you set this up. If the synth’s audio output reaches your monitors or headphones and the interface also sends that input back into the DAW at full level, you get a loop that builds into a howl. Start with the monitor volume down.
4. Test How to Record MIDI from a Hardware Synth Correctly
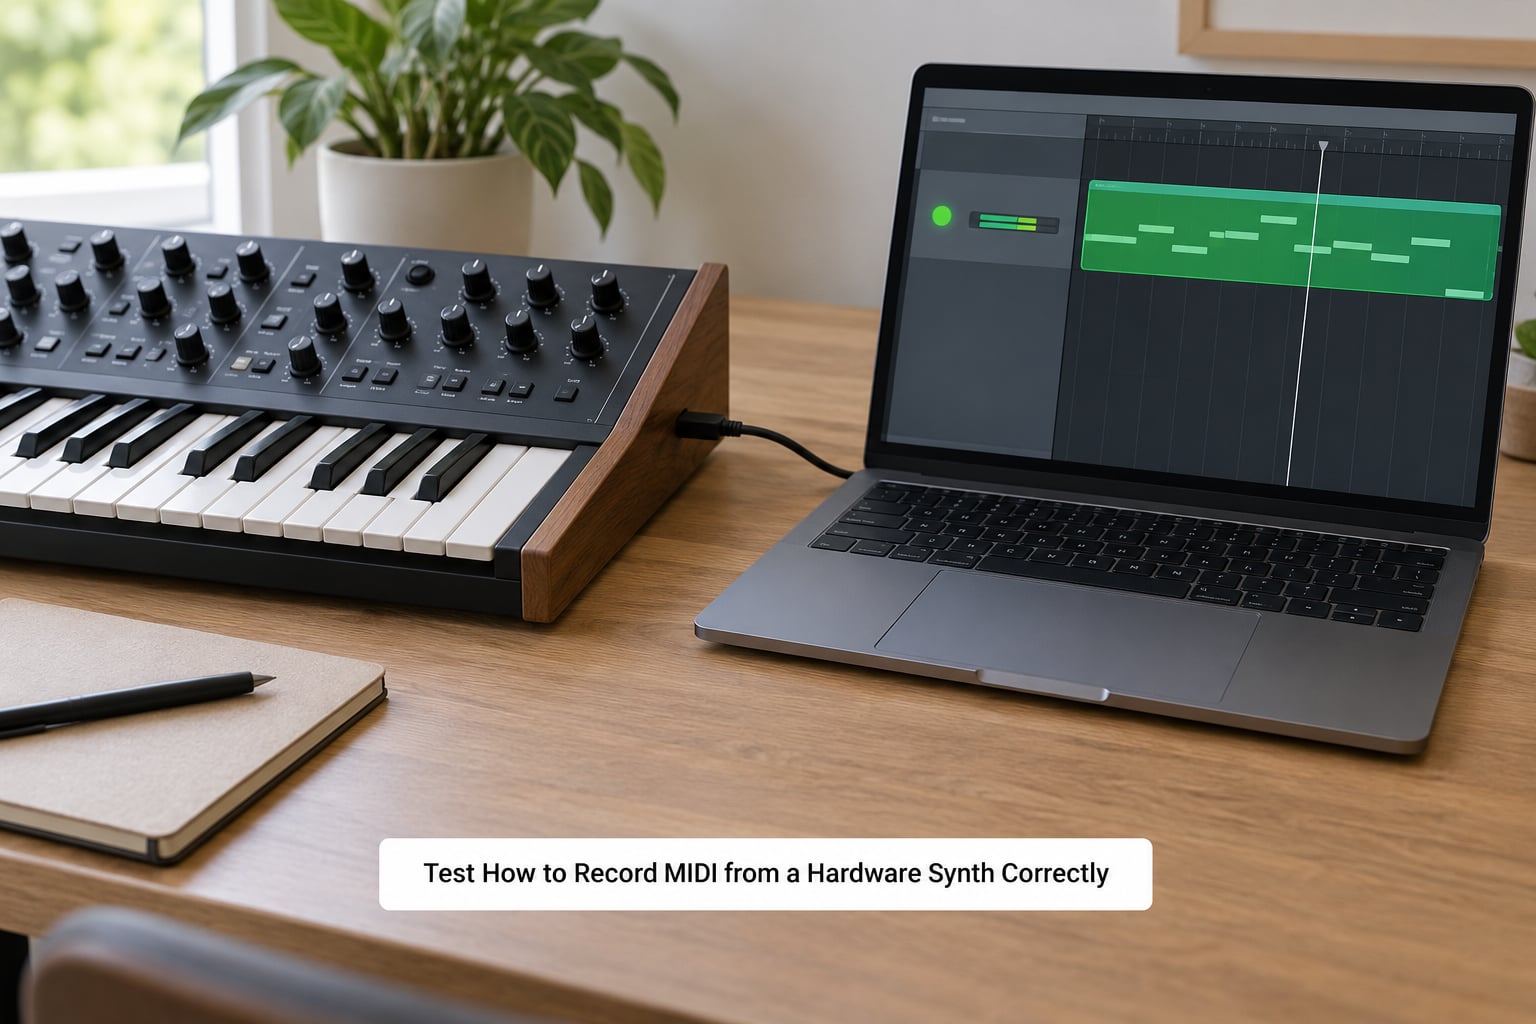
Do not judge the connection by sound alone. Play a short test phrase and watch the data arrive: notes with velocities, a deliberate pitch bend sweep, a mod wheel move, and one controller change if your synth sends them.
Live 12 has a MIDI activity indicator next to the port name that lights up on incoming messages. Logic Pro 11 shows an Input indicator on the channel strip, and its MIDI Monitor window logs every message with its channel and controller number. FL Studio 2026 has a MIDI activity light in the toolbar and a MIDI logging panel. Any of them will tell you whether data is arriving before you commit to a take.
If notes appear but nothing sounds, the MIDI path is working and the audio path is not. Check that the synth’s output is patched into the interface and that you picked the matching input. If the monitor shows notes and you hear nothing at all, the reverse is true: the audio output is unpatched or on the wrong channel.
5. Record the Performance
Arm the MIDI track, set the loop or punch range if you want one, and press record before you play. Play the whole pass in one go, including any knob movements you want to keep.
A successful take contains note-on and note-off pairs with correct velocities, any pitch bend or aftertouch you played, and controller data such as mod wheel, filter cutoff, or expression if your instrument transmits those over MIDI. A take with correct notes but flat velocities will sound mechanical, and a take with no controller data will not respond to your filter sweep later.
Watch for dropped or doubled notes as you play. Both usually point back at routing or buffer settings rather than at your fingering, and both are easier to fix after a practice take than during the one you want to keep.
6. Clean Up Timing, Velocity and Expression
Open the piano roll. Most DAWs will let you drag an entire clip to correct a global offset, which is the fastest fix when every note landed consistently early or late.
Quantize to a grid for timing, then set swing on that grid to taste. Quantize does not touch velocity, which is why a heavily quantized part can still feel lifeless; a light random offset or a short velocity variation gives it back some of what the grid removed.
Humanization is the same idea applied on purpose: a small amount of timing and velocity variation, usually well under a tenth of a note, restores the feel you just corrected. The difference between fixing a mistake and destroying a performance is size. A late note is a mistake. A deliberately uneven passage that matches your feel is a choice, and quantizing hard will erase it.
Clean up controller data next. Filter out continuous modulation noise on a controller you did not touch, and check whether your mod wheel recorded a constant value or a real movement. Then listen to the take twice — once as corrected, once as it was — before you commit.
Loop and punch recording are useful when a part repeats. Record a bar, comp the best of two or three, and keep the timing loose in the comp so it does not sound stitched.
7. Export, Save and Reopen the Session
Name the clip after the part, colour the track so you can find it in a busy session, and save the project. Most DAWs keep the recorded MIDI inside the project file rather than as a separate asset, so a saved session means a saved clip.
For collaborators, export standard MIDI from the clip or consolidate the track into a single MIDI file. Standard MIDI stores notes, velocities and controllers; it does not store the synth’s sound or your project tempo map, so send the tempo and any swing settings along with it.
The real test is closing the project and reopening it. If the notes are still there and the synth still plays them, the take is safe. Take a copy of the MIDI file to an external drive or cloud folder before you start moving on, because a session that depends on a single hardware port can fail to reopen cleanly on a different machine.
Common Mistakes
Almost every problem with recording MIDI from a hardware synth falls into one of a handful of patterns, and each has a short fix. Work through them in order rather than changing three settings at once.
- No notes appear at all. Usually the DAW has never seen the port. Reopen the MIDI preferences, restart the DAW, and confirm the synth is in MIDI mode rather than audio-over-USB mode.
- Notes record but nothing plays. The MIDI path works and the audio path does not. Patch the synth’s output into the interface’s line input and select that input.
- Every note triggers twice. Two sources are sounding at once: usually the synth is monitoring itself while the DAW also plays the recorded clip, or Omni plus a specific channel are both listening. Pick one input source.
- The recording lands late. Round-trip latency through the interface. Lower the buffer size for tracking, or use a direct monitoring path and accept the timing offset.
- Velocities are all 127 or all 64. The synth is sending a fixed velocity, usually because its velocity curve or its touch setting is disabled. Check the synth’s velocity setting first.
- Pitch bend keeps creeping up. The synth sends aftertouch or bend values the DAW did not expect, or a bend range setting on the instrument is unusually wide. Check what controllers the clip actually contains.
- Stuck notes that never end. A note-on arrived without its note-off, often from a disconnect mid-take. Select the stuck note in the piano roll and switch it off manually.
- A feedback howl when you connect. The synth’s audio is being monitored twice. Drop the interface monitor or the DAW input to zero and raise one at a time.
A few habits prevent most of these. Close other audio software before testing, because a second application holding the interface exclusively will stop the DAW from seeing anything. Use one clock source only — either the DAW sends MIDI clock or the hardware does, never both. Test the same setup again after a restart, because a session that only ever works in the order you built it is hiding a driver problem.
If you are recording from the synth’s own pads or step sequencer rather than an external MIDI keyboard, the same track setup applies. The pads or sequencer become the note source, the DAW still records note data on the same port, and the only change is that you trigger the parts from the hardware instead of from a controller.
Frequently Asked Questions
Can I record MIDI from a hardware synth over USB?
Yes, if the synth exposes a USB-MIDI port rather than only USB audio. Most modern instruments offer both modes and you pick one on the synth’s screen or in its Global settings. Connect the cable before launching your DAW so the port appears at startup, then choose the named port on your MIDI track and set the same MIDI channel the synth listens on. If nothing shows up, switch the synth out of audio mode and restart the DAW.
Is a 5-pin DIN connection better than USB for recording MIDI?
Neither is better in practice. DIN MIDI is a point-to-point wired link that has been reliable for decades, and it stays reliable when USB drivers do something unexpected. USB-MIDI is more convenient because most computers accept it directly and it needs no adapter. Both carry identical message data, so recorded takes are the same. Pick USB for convenience and DIN when your interface already has a MIDI port and you want one less driver to install.
Should I record the synth as audio or as MIDI?
Record MIDI when you want to edit timing, change velocities, transpose, or swap the instrument later. Record audio when the specific sound matters, including analog drift and the character of the instrument’s filters. Many sessions do both in one pass by arming a MIDI track and an audio track together, so you keep the performance as editable data and capture the real sound as a safety net.
Why are my recorded MIDI notes slightly late or uneven?
Consistent lateness across every note points at round-trip latency through the interface. Lower the buffer size while tracking, or monitor through the interface directly and accept a fixed offset. Uneven timing usually has nothing to do with your setup — it is your playing. Leave light quantize on a grid, add a touch of swing, and avoid quantizing hard enough to erase the feel you intended.
How do I stop the hardware synth from producing feedback?
Monitor through only one path. Set the DAW track’s input monitoring to Off and hear the synth through the interface’s own direct monitoring, or set monitoring to In and silence the synth’s local output. Also set the MIDI channel to one specific value rather than Omni on both devices, and close other audio applications that may be holding the interface.
Can I record MIDI automation and controller movements?
Yes, if the synth transmits controller data and your DAW is set to record it alongside notes. Move a knob or wheel during the take and check the recorded clip’s controller lane afterward. In Ableton Live 12 you can capture this live with Session Record and draw it into MIDI Control envelopes on the External Instrument device. Logic Pro 11 shows controller lanes in the piano roll and step automation with the automation tool.
Conclusion
Start with the smallest possible test: connect the synth’s MIDI output to your computer, open the DAW, pick the named MIDI port on a fresh MIDI track, set the monitor to In, and record four notes. Watch for them in the piano roll.
If they land there, you can record MIDI from a hardware synth properly, and everything after that is detail — quantizing, cleaning up controller data, exporting for a collaborator. Choose MIDI when you want editable notes; choose audio when you want that exact sound and nothing else.