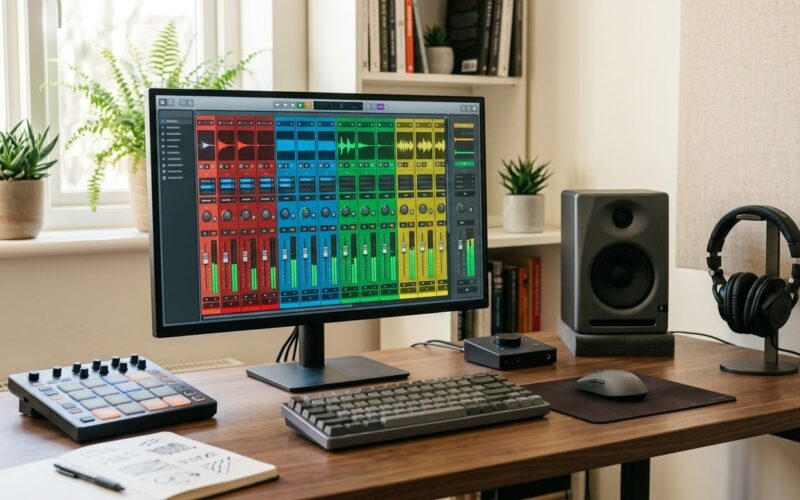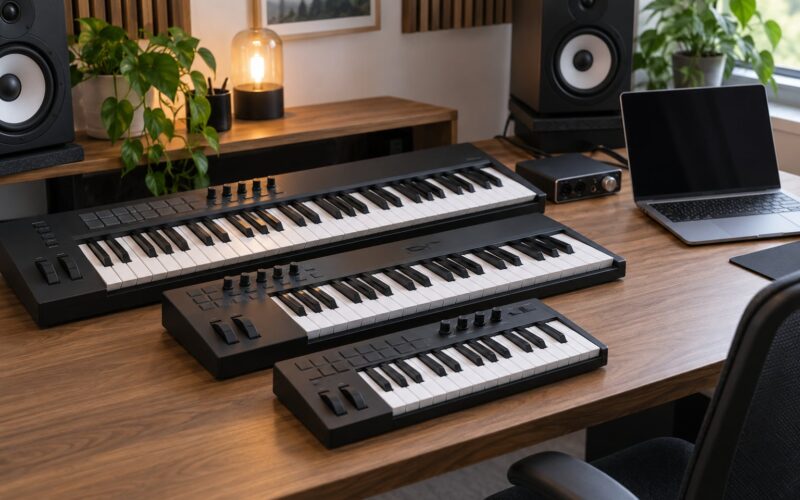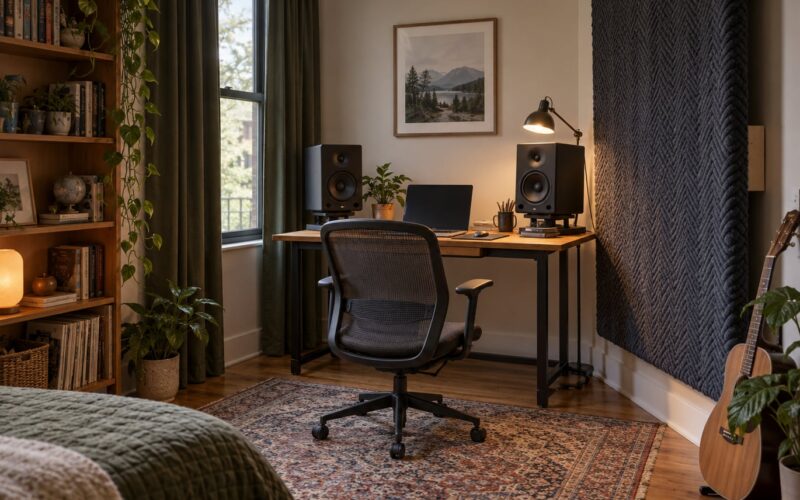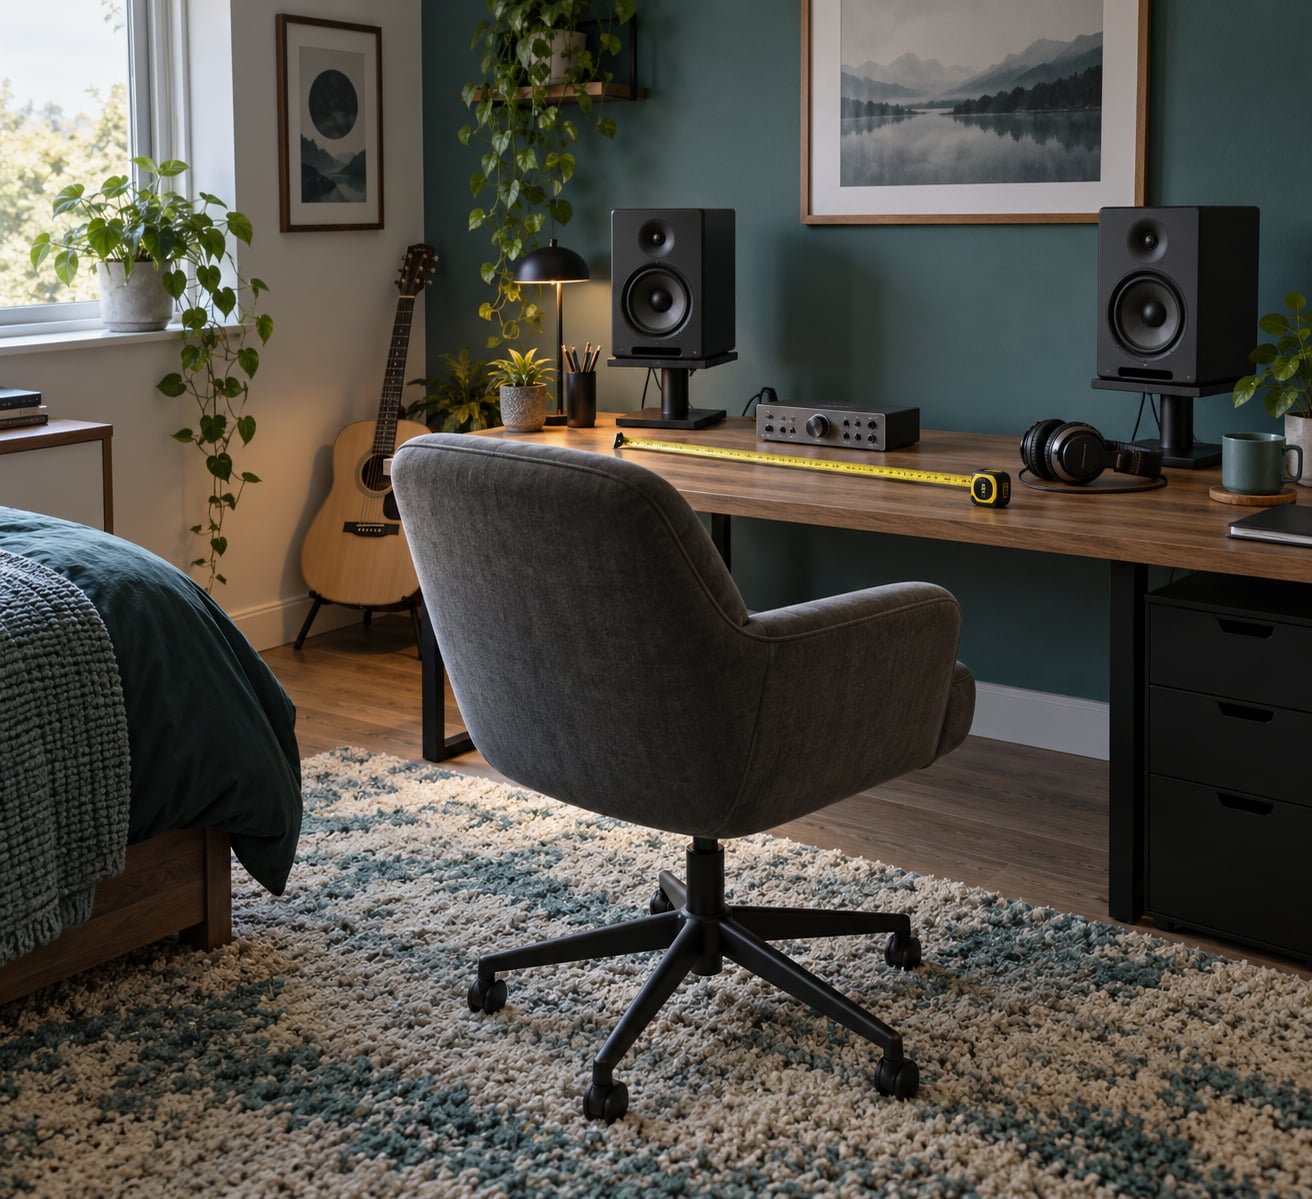
How to set up studio monitors in a small room comes down to four things: tweeters at seated ear height, both speakers placed symmetrically, that pair forming an equilateral triangle with your head, and both speakers sitting close to a wall so the low-end problems cancel instead of pile up. Get those right and even a 10-by-12 bedroom will make far better mix decisions than a bare room with expensive gear in it. The whole job takes about 30 minutes of measuring and moving, then 20 minutes of listening checks.
Here is the order I would work in, and the reasoning behind each move, so you can skip the parts your room already handles.
Table of Contents
- What You Need
- Two matched monitors
- Stands or isolation pads
- A playback source and a level reference
- A tape measure and a phone
- Measurement microphone (optional)
- Headphones
- How to Set Up Studio Monitors in a Small Room
- Monitor symmetry
- Ear height
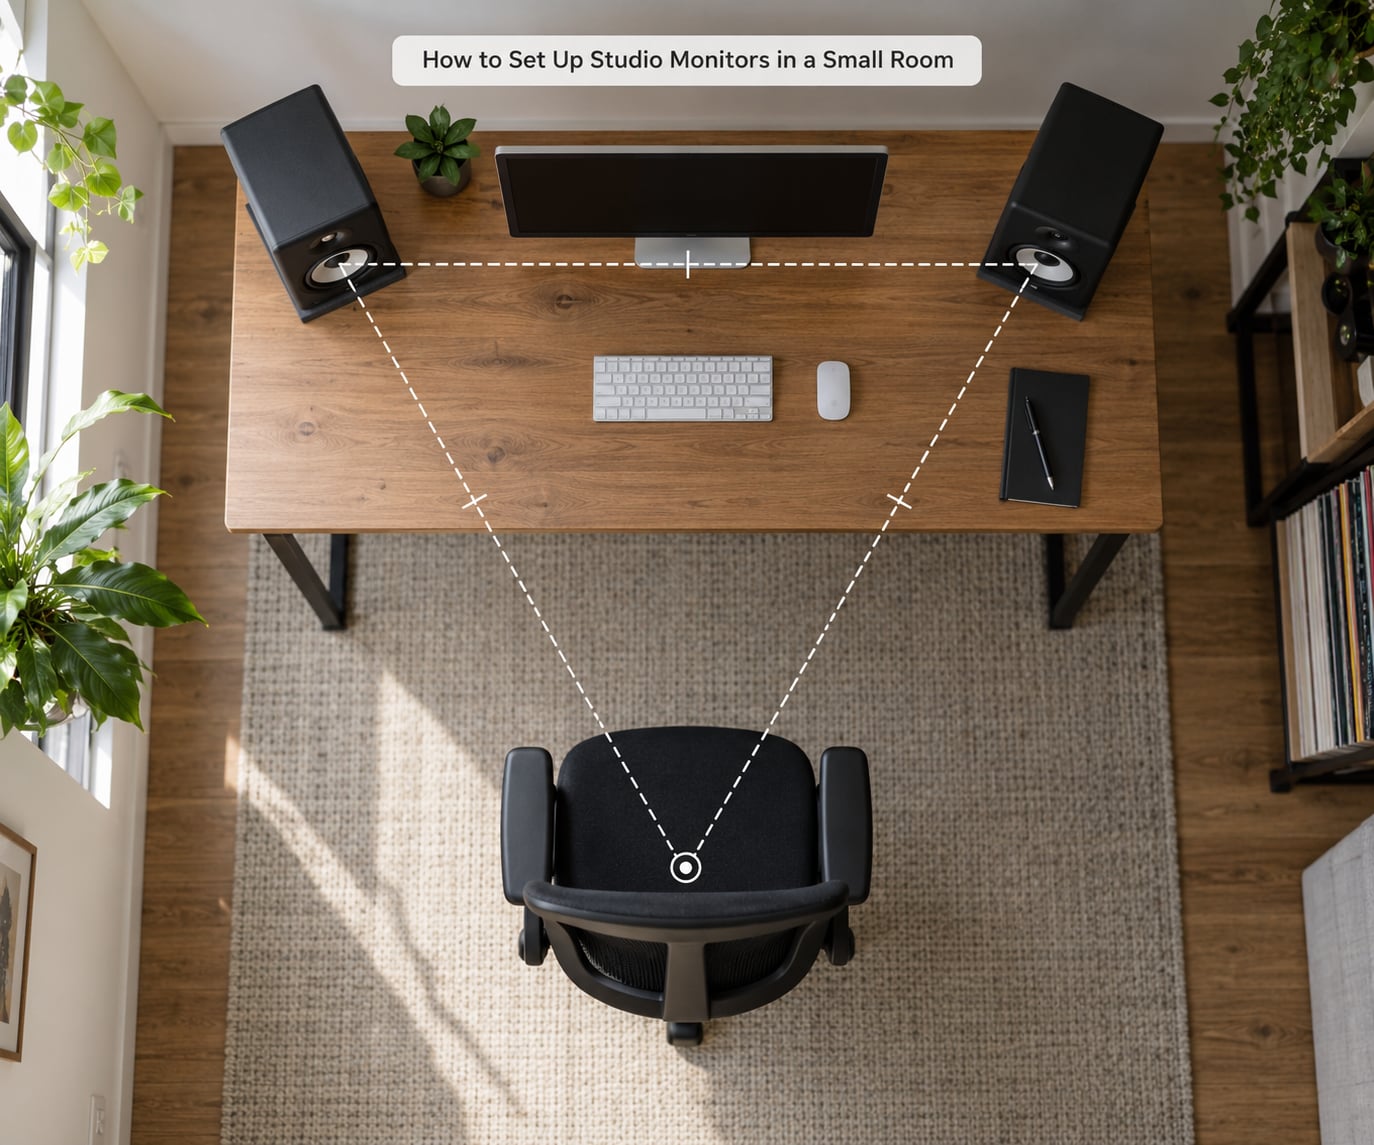
- The equilateral triangle
- Wall distance
- Desk placement
- Headphones and correction as the backup plan
- Step-by-Step
- Step 1: Measure the room and clear the listening area
- Step 2: Position the monitors symmetrically
- Step 3: Set the correct tweeter and listening height
- Step 4: Route audio and set consistent levels
- Step 5: Reduce low-frequency buildup and manage reflections
- Step 6: Calibrate and verify the setup
- Common Mistakes
- Putting the monitors too far from the wall
- Aiming at the front wall instead of your head
- Wrong ear height
- Working too loud
- Leaving the desk bare
- Confusing foam with bass traps
- Changing settings between tracks
- Over-correcting the room
- Frequently Asked Questions
- Where should I place studio monitors in a small room?
- Should studio monitors be placed against the wall?
- Do studio monitors need isolation pads in a small room?
- What is the best listening distance for studio monitors?
- Is it better to use monitors or headphones in a small room?
- How do I stop bass from sounding boomy when mixing electronic music?
- Conclusion
What You Need
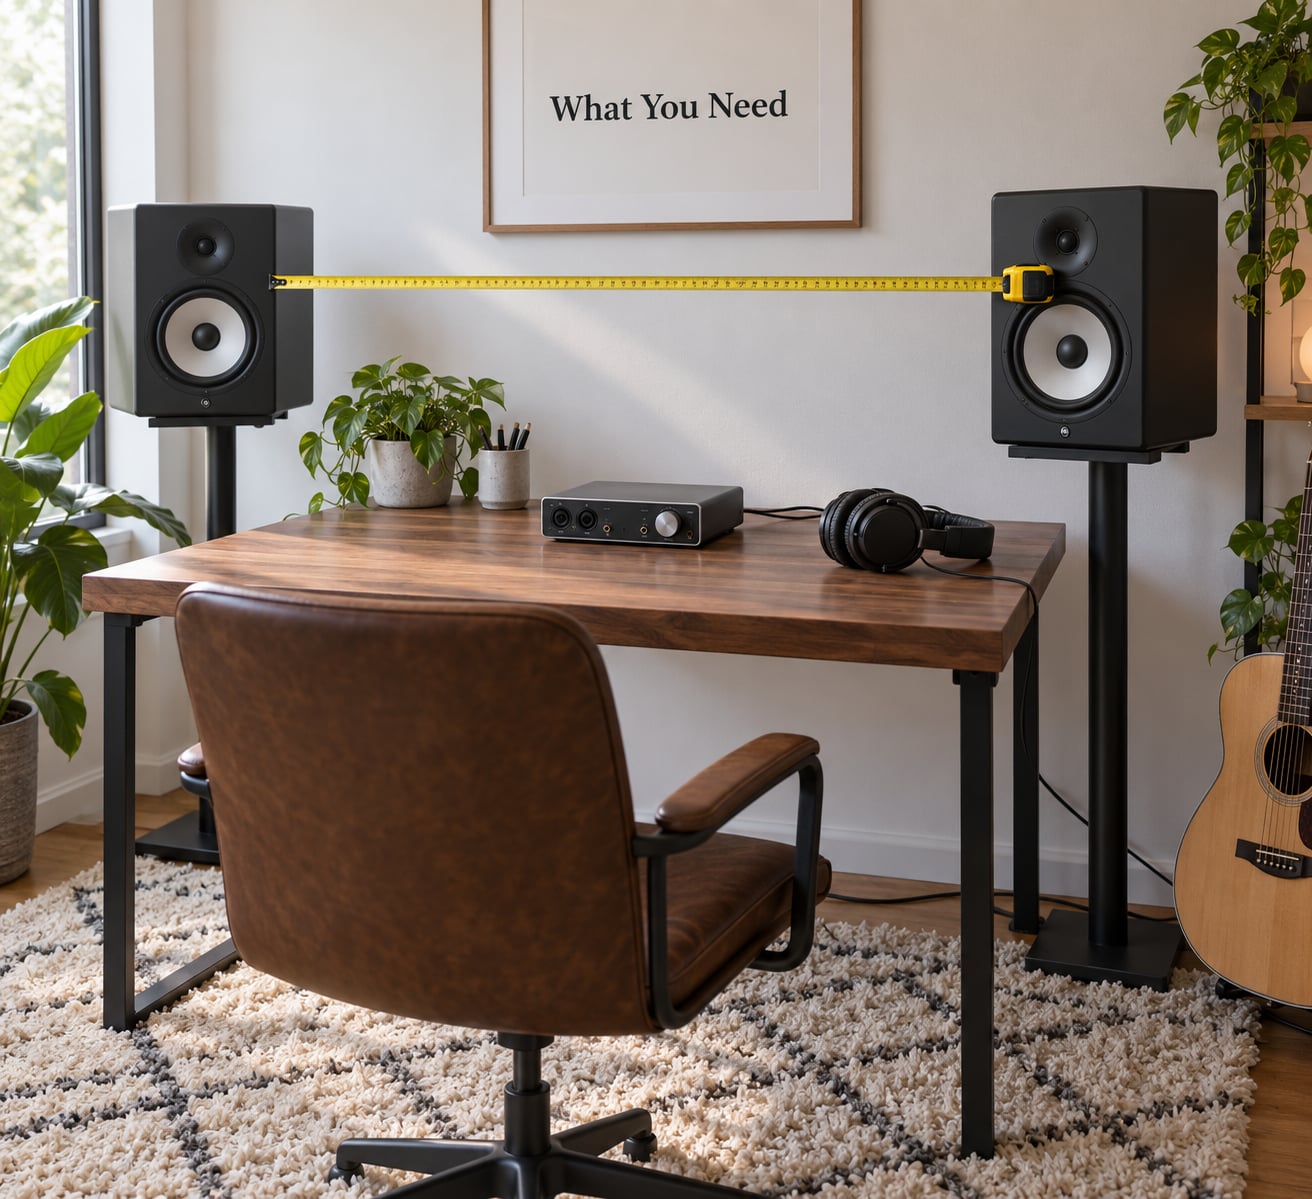
None of this is exotic. If you already own monitors and an interface, you can skip almost all of it and go straight to the steps.
Two matched monitors
A matched pair matters more than a model name. Two speakers from different production runs can sound different enough to make a centred mono performance sound like it drifts. If you own two that are not a matched pair, at least verify with a mono reference track before you blame the room.
Stands or isolation pads
Stands raise the tweeters to ear height and let you move the speakers away from the desk surface. Isolation pads are foam or rubber slabs that sit under a monitor to stop desk vibration from colouring the low end. They solve a different problem, and a pad will not raise a speaker that sits 8 inches below your ears.
A playback source and a level reference
Your audio interface or monitor controller is the playback path. What matters for setup is that you can change volume in small, repeatable steps and that the left and right channels sit at the same level. An app-based meter or a pink noise file gives you a way to check both.
A tape measure and a phone
A 25-foot tape measure gets you accurate distances to the nearest wall. A phone is enough for the rest: a note app for your numbers, and an SPL meter app for a rough level reference. Neither needs to be accurate to the decimal, they just need to be repeatable so you can compare before and after.
Measurement microphone (optional)
A USB measurement mic and free software such as Room EQ Wizard will let you run a sine sweep and find the flattest spot empirically. This is the single most useful thing on the list for a small room, and it turns placement from guesswork into a measurement.
Headphones
Every small room has a problem that a measurement sweep will expose and no amount of placement will fix. Headphones give you a clean reference for balance and stereo width, and they let you keep working late at low volume.
How to Set Up Studio Monitors in a Small Room
Small rooms are hard because every surface sits close to the speakers. Low frequencies reflect off the nearest wall, floor and ceiling, and those reflections add to or cancel against the direct sound. That combination changes the frequency response at your ears far more than the difference between most monitor models, so every mix decision you make in the room is made on a distorted version of the track.
Monitor symmetry
Both speakers must be the same distance from the front wall, the same distance from the side walls, and the same angle. If one speaker sits a foot closer to a wall than the other, it gets a different amount of low-end boost and the stereo image collapses off centre. Symmetry is not aesthetic. It is the thing that makes left and right behave the same.
Ear height
The tweeter should sit at roughly the height of your ears when you are seated upright with your back against the chair, not when you lean forward. Sitting up and back also fixes your head position, which matters because moving your head a few inches changes what you hear at low frequencies.
The equilateral triangle
Speakers and your head form a triangle with all three sides equal. That is the setup that gives a flat frequency response across the stereo field, so an instrument that pans left sounds the same as the same instrument panned right. In a small room you will usually hit the room’s walls before the geometry does, and that is fine. Get the angle right and treat the distance as a separate decision.
Wall distance
Here is the part that surprises people. In a small room, closer to the wall is usually better than further away. A speaker two inches off a wall produces far less low-frequency build-up than one sitting a foot into the room, where the wall, floor and ceiling reflections arrive almost equally and reinforce each other. Move the speakers in toward the wall before you buy anything else.
Desk placement
A desk is a reflective surface sitting right under the speakers, and it also conducts vibration. Moving the monitors back toward the wall puts them off the desk entirely, which solves both problems at once. If they have to stay on the desk, push them to the outer edges and angle them in so their beams cross at your head rather than at the front of the desk.
Headphones and correction as the backup plan
When a room has a null that lands exactly where your chair is, repositioning the chair is usually easier than fixing the wall. Corrective EQ handles what is left. Nobody has ever heard a small untreated room become accurate through gear alone, and the engineers who admit that are the ones whose mixes translate.
Step-by-Step
Step 1: Measure the room and clear the listening area
Measure the room width, depth and ceiling height, and write them down. Note where the desk sits and how far the listening chair is from the back wall. Pull anything large and hard out of the space between the monitors and your head: a bookshelf, a dresser, a mirror. Soft furniture can stay, and a rug or a bed in the room is doing you more good than most people assume.
Confirm the measurement worked by writing down the distance from the front wall to the intended speaker positions. You now have numbers to compare against, which is the only way to know whether a change helped.
Step 2: Position the monitors symmetrically
Center the pair around your chair so the chair sits on the centre line between the two speakers. Angle each one inward toward the listening position, roughly 30 degrees off the centre line. Measure and match the distance from each speaker’s back panel to the wall behind it, and match the distance from each speaker to the nearest side wall.
Confirm it by pushing your head a few inches left and right. If the image jumps or collapses instead of staying put between the speakers, the triangle is wrong and you need to adjust the spacing before anything else.
Step 3: Set the correct tweeter and listening height
Raise or lower the stands until each tweeter sits at the height of your ears when seated upright with your head in its normal position. If you cannot get there with the stands you have, an empty bookshelf or a stable crate under each speaker is a legitimate short-term fix. Do not aim a speaker up or down at a listening position that is unusually high or low; you will trade even tonality for a slightly better centre image.
Confirm it by playing a snare or a hi-hat. The attack should be crisp at the head position, and you should not have to lean forward to hear the top end. If you lean, the height is wrong.
Step 4: Route audio and set consistent levels
Run balanced TRS or XLR cables from the interface or amplifier to each monitor, one per channel, with no level-matching boxes in the path. If your preamp has a per-channel trim or a monitor level knob, set both channels to the same value. A one-decibel mismatch between channels shifts the stereo image and makes panning decisions unreliable.
Then pick a reference level. Play pink noise at a moderate volume, roughly 75 to 85 dB at the listening position using a meter app, high enough that you are not straining but low enough that you are not hearing above your own comfort threshold. Write the number on your desk. Every mix and every reference check should happen at that same level, because loudness changes what you hear far more than most people expect.
Confirm it by switching between your mix and a familiar commercial reference at the same level. If the reference track sounds like it is hitting you harder than your own, your level is off, not your mix.
Step 5: Reduce low-frequency buildup and manage reflections
Push the monitors back toward the front wall until the gap between the cabinet and the wall is about 2 to 4 inches. Do this before anything else in this step, because it is free and it usually removes most of the boom. Corners are the worst place to put a monitor in a small room. A speaker hard in a corner can gain 6 dB or more of low-end energy, and that is bass you will fight with EQ for the rest of your life.
Real treatment means absorption that works at low frequencies, not foam panels hung at ear height. Foam and thin fiber panels are close to useless below about 500 Hz, which is exactly where a small room is broken. Thick, broad broadband traps in the vertical corners are the single most effective upgrade, and 10 inches of depth is the figure that comes up repeatedly in studio forums. Where you rent or cannot build, a heavy curtain across a corner, a tall bookshelf full of books used as a trap, a mattress stood on edge, and a thick rug give you meaningful help in the midrange and above.
Confirm it by playing a bass-heavy reference and walking the room. If the bass drops dramatically when you step out of the chair, you are sitting in a null and the fix is to move the chair, not the mix.
Step 6: Calibrate and verify the setup
With a measurement mic on a stand at ear height where your head goes, run a sweep in Room EQ Wizard or your software of choice and look at the curve. Then move the chair 10 inches forward, sweep again, and compare. Repeat at a few positions until you find the spot where the curve is flattest and the bass is smoothest rather than hollow. That is your listening position, and it may not be exactly where you wanted the desk.
Once you have found it, check four things: that a mono source sits dead centre, that the stereo field holds together when you move your head slightly, that the bass on a kick and a bassline stays even through a full note rather than swelling and dying, and that nothing obviously honks at one frequency when you sweep through a mix. Corrective EQ can tame what remains, and a low-cut filter around 80 to 100 Hz helps most small-room mixes, though cutting more than that usually just makes the mix thin without fixing the room.
Stop there. Over-tuning a small room to a curve is how people end up fighting their own settings on every new track. Make one change at a time, listen, write down what changed, and keep the changes you can repeat.
Common Mistakes
Putting the monitors too far from the wall
The problem is that the wall, floor and ceiling reflections reinforce each other and you get a low-frequency bump plus uneven response. Push the cabinets back to within a few inches of the wall behind them and re-sweep. This is usually the biggest single improvement available in a small room.
Aiming at the front wall instead of your head
If the speakers sit flat on stands and fire straight ahead, the signal at your head arrives off-axis and the treble and upper midrange change. Angle each monitor toward the listening position until the beams cross at your ears.
Wrong ear height
Speakers firing below or above the ears still give you even tonality, so the mistake is usually about what happens when you lean. Set the tweeters at seated ear height with your back against the chair, then keep your head in that spot for all critical listening.
Working too loud
At high levels your ear tweeters compress and low frequencies feel louder than they are, so you cut bass you should have kept and push harshness up. Set a modest reference level and keep it fixed across every session.
Leaving the desk bare
A hard desktop right under the monitors reflects the first thing they emit and carries their vibration into the frame. Move the monitors back to the wall or the outer edges of the desk, and put something soft and thick in front of them if they have to stay on the surface.
Confusing foam with bass traps
Thin panels and wedge foam absorb reflections in the midrange and above. They do nothing for the 30 to 120 Hz build-up that makes small rooms boomy. Spend thick and broad in the corners rather than wide and thin on the walls.
Changing settings between tracks
Riding volume, toggling a low cut on one song and off the next, or mixing the whole album at different levels destroys the consistency the level reference exists to protect. Fix the level, fix the settings, and only then start mixing.
Over-correcting the room
Heavy corrective EQ across dozens of narrow bands fixes the response at one point in space and nothing else, and it can ring when you move your head. A gentle broad curve plus a low cut usually serves a small room better than a surgical correction.
Frequently Asked Questions
Where should I place studio monitors in a small room?
Center both monitors around your chair, angle them inward until the beams cross at your ears, and push them close to the wall behind them with roughly 2 to 4 inches of clearance. Keep the pair the same distance from the front wall and the same angle. If the triangle will not fit because of the desk shape, keep the symmetry and the wall proximity and give up the exact side length.
Should studio monitors be placed against the wall?
Close, yes. Flat against the wall, no. A gap of a few inches lets the wall reflection reinforce the output smoothly instead of acting like a separate source, and it reduces the low-frequency build-up you get with the speakers sitting free in the room. Leave enough space for the rear port or connector to breathe, and never put a monitor hard in a corner, where bass energy can gain 6 dB or more.
Do studio monitors need isolation pads in a small room?
They help when vibration, not sound, is the problem. Pads and rubber feet stop low-frequency energy travelling through the desk into the frame, which can add a faint rumble that is hard to identify. They do nothing about the room itself and they do not raise a speaker. In a tight space, moving the monitors off the desk and back toward the wall solves more than a pad will.
What is the best listening distance for studio monitors?
Around 1 to 1.5 metres from the tweeters to your ears, with the triangle’s side length the same as the distance between the speakers. If that pushes the monitors past your desk or into a corner, keep the correct angle and height and accept a shorter distance. Sitting closer is fine as long as the monitors stay off-axis and the level stays moderate.
Is it better to use monitors or headphones in a small room?
Use both. Monitors tell you how the track relates to the room and to reference material, and headphones tell you what is actually in the file with no room colour at all. A mix that only sounds good on headphones will fall apart on speakers, so check every mix in the room first, then use headphones for the details you cannot hear there.
How do I stop bass from sounding boomy when mixing electronic music?
Move the monitors closer to the wall, keep them out of corners, and cut any bass build-up with a measurement mic sweep at your listening position. Add thick broadband traps in the vertical corners if you can, and keep a rug or heavy curtain on reflective surfaces. A gentle low cut around 80 to 100 Hz on the mix bus does more than anything you can EQ by ear.
Conclusion
Start by measuring: room width, depth, ceiling height, and the distance from your chair to the front wall. Then move both monitors into that wall with 2 to 4 inches of clearance, raise them until the tweeters sit at your seated ear height, angle them in, and set one reference level you never change.
A small room cannot be made accurate, and anyone who tells you otherwise is selling something. What disciplined placement buys you is consistency, so your mix decisions mean the same thing on Monday and on Friday. Make one change at a time, sweep with a measurement mic when you can, and let headphones cover the gaps your room will never close.