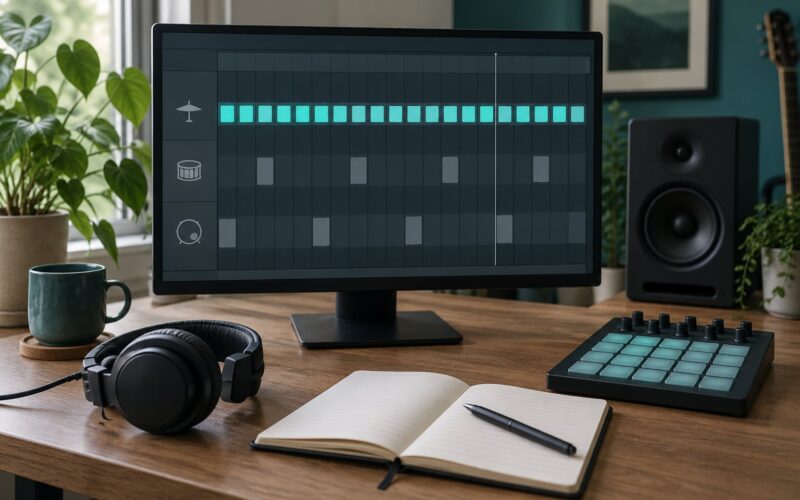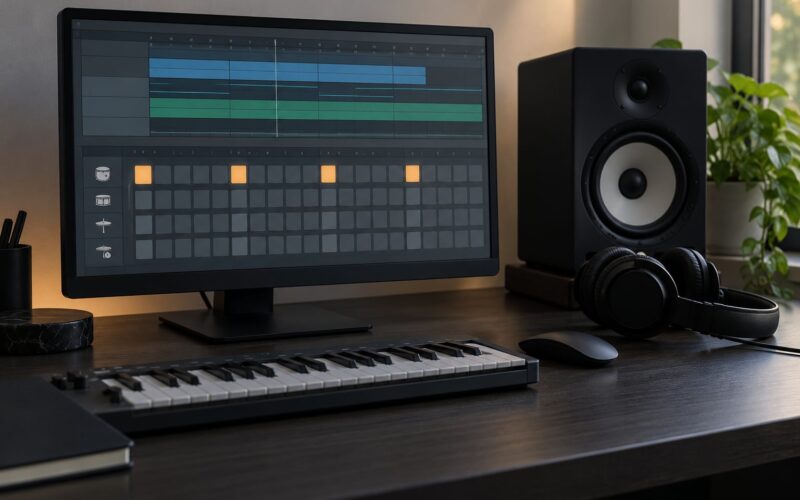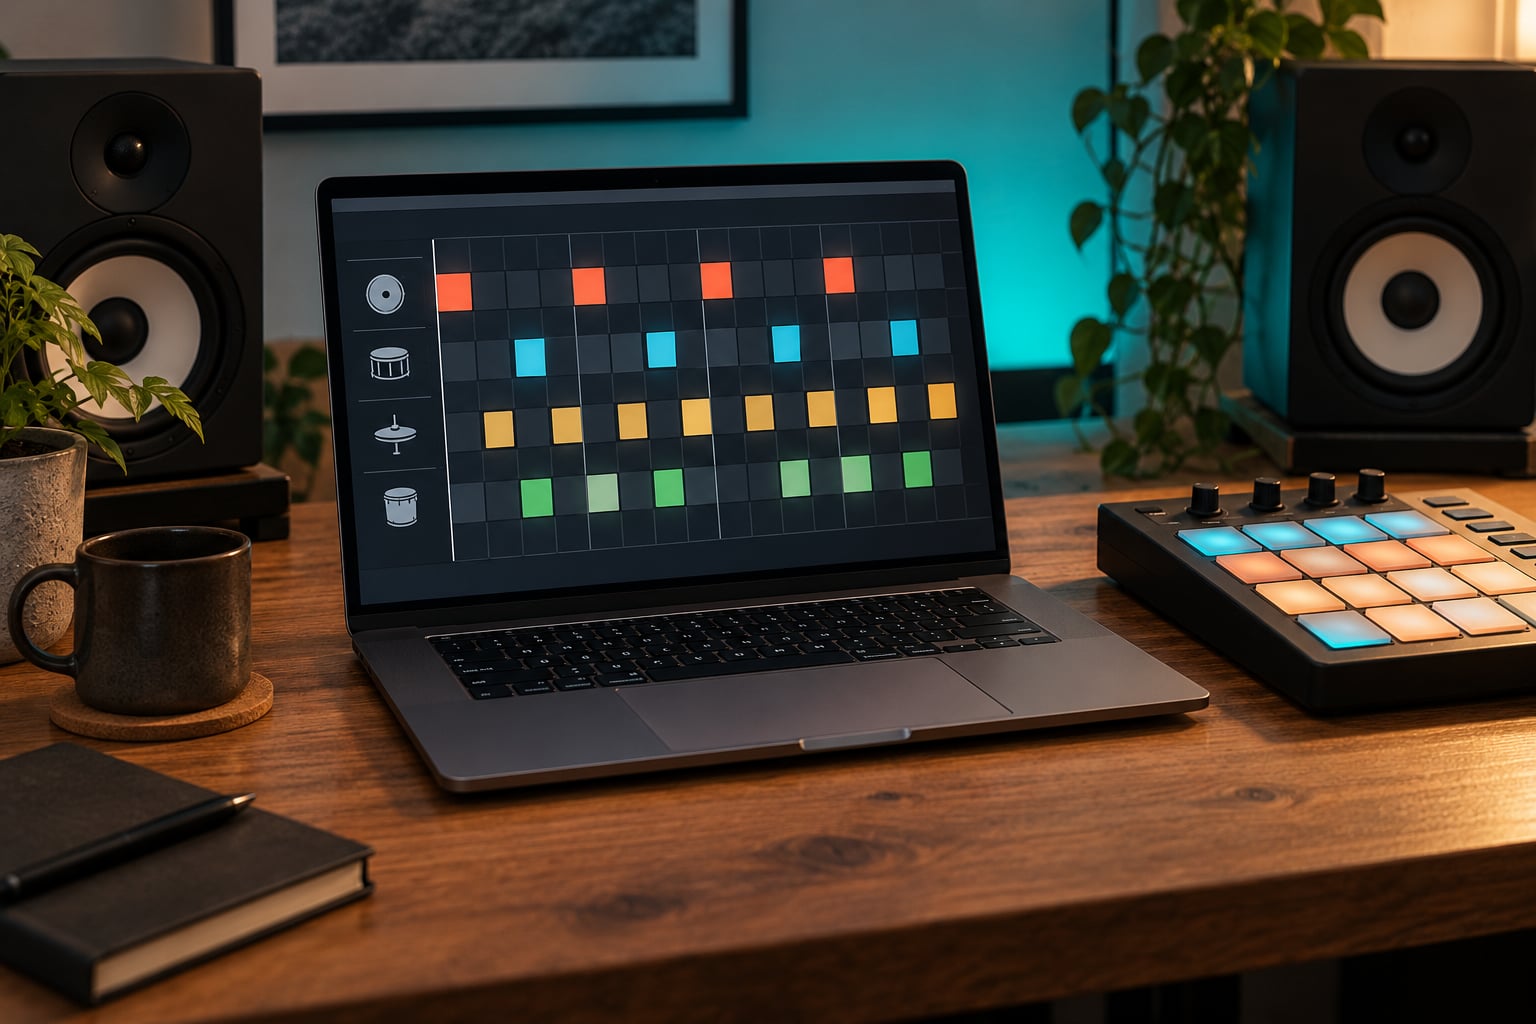
Adding swing to drum programming means delaying every even-numbered sixteenth note so the pattern pushes and pulls instead of sitting on a rigid grid. In practice you turn up a swing control in your DAW, and the number decides how much. The scale runs from 50% (straight), through 54% and 62% for most programmed grooves, to 66% for true triplet swing and 75% as the maximum delay.
Every major DAW ships with a swing control, so the technique transfers even if the menu name changes between versions. The part people get wrong is how much to dial in and which drum voices to move, so this guide covers both.
Table of Contents
- What You Need
- Swing Percentage Reference
- Step-by-Step
- Step 1: Hear the straight pattern
- Step 2: Choose the right swing control
- Step 3: Add a small amount of swing
- Step 4: Shape swing on selected drum voices
- Step 5: Compare, refine, and save
- Common Mistakes
- Frequently Asked Questions
- How do you add swing to drums in Ableton Live?
- How do I add swing to drums in FL Studio?
- What swing percentage should I use for boom bap?
- Is swing the same as shuffle?
- How do I swing only the hi-hats without moving the kick and snare?
- Why is quantize off not just free time?
- Conclusion
What You Need
Three things, and you probably already have all of them:
- A drum pattern you have already built, or a clip you can edit note by note.
- Your DAW project, with the drum track playing on its own.
- A reference groove you trust, ideally something recorded rather than programmed.
There are three routes to a swung feel, and they are worth separating before you start.
Project or global swing affects the whole session. Every MIDI clip in the project picks it up, which is quick but blunt because it also drags your bass and chords off the grid.
Clip or track swing affects only the drum pattern you are working on. Most modern DAWs put this inside the clip’s timing panel or the track’s groove controls, and it is the safer place to work.
Manual note delay means drawing the late sixteenth notes later in the piano roll yourself. Slower and more work, but it is the only way to move one drum voice without touching anything else.
Before changing anything, do a quick listening test. Bypass every timing plugin on the drum bus, solo the drums, and play four bars. Tap the backbeat on the snare or clap along. If your taps land exactly where the DAW clicks, your ear for this groove is not trained yet, and you need the reference track more than you need the tutorial.
Swing Percentage Reference
The numbers below come from the MPC-style 50 to 75 scale that Ableton, Cubase and most DAWs follow. Note how the pairs add up: at 54% the sixteenth pair is 54 units of space followed by 46, not 54% of a fixed millisecond value.
| Swing % | How it feels | Where it shows up |
|---|---|---|
| 50% | Straight. Every sixteenth evenly spaced. | House, techno, anything four-on-the-floor |
| 54% | Almost straight, a slight drag. The classic MPC60 example. | Boom bap, lo-fi hip hop |
| 58% | Noticeably loose, still reads as straight sixteenths. | Laid-back house, chill hip hop |
| 62% | Relaxed bounce. The sweet spot most boom bap producers land on. | Boom bap, soulful hip hop, funk |
| 66% | Triplet swing. The pair becomes two notes of a triplet. | Jazz shuffle, blues, shuffle beats |
| 70% | Heavy triplet push, hard to keep straight. | Deliberate shuffle, retro hip hop |
| 75% | Maximum swing on most DAW scales. | Bit shuffle, very laid-back swing |
That delay is a proportion of the note’s own length, not a fixed number of milliseconds. The same 62% therefore sounds much heavier at 90 BPM than at 140 BPM, which is why a boom bap loop swung in one project rarely transfers cleanly to an uplifting trance record.
Step-by-Step
Step 1: Hear the straight pattern
Start by knowing what unaltered timing sounds like, because you cannot judge a swing amount against something you have not heard straight. Solo the drum track, mute the bus processing that masks timing, and check that any existing swing or groove value is at zero.
Identify the anchor of the pattern first. It is usually the backbeat on the snare or clap, sometimes the kick on one. Those notes define where the groove lives, and whatever you do later should leave them alone.
Note the project tempo and the metronome setting as references, not as requirements. You do not need to record or loop to use any of this.
Step 2: Choose the right swing control
Choose per-clip or per-track swing when the control exists, because it keeps the rest of your arrangement tight. The names move around between versions, so look for something labelled swing, groove, shuffle or feel rather than hunting for one exact menu.
Ableton Live: open the clip’s timing panel and pull the Swing 8ths value up, or dig into the Groove Pool and load a preset, which lets you swing selected notes only rather than the whole clip. Session Record’s swing setting applies while recording new clips. Ableton’s Groove Pool presets are a rabbit hole: producers on the Ableton forums regularly report loading one, hearing the timing shift, and switching it straight back off. Building the feel yourself teaches you more.
FL Studio: click the small arrow or menu in the Channel Rack’s step sequencer, switch Swing on, and raise the amount. FL’s scale is not the MPC scale. Zero is straight and the range runs much wider, so a number that sounds like a gentle 54% in Ableton or on an MPC is a completely different amount of push in FL Studio. Set a small value, listen, and dial by ear rather than translating the number.
Logic Pro: swing lives on the Feel and Groove global track, where you can set the main swing plus a separate swing for eighth notes. Swing on the global track applies to every clip that follows it, so place it before your drums if you want the whole track to follow.
Cubase: open the Quantize panel, set the grid to a sixteenth or eighth value, and turn on the swing or use a groove from the Groove Quantize pool. Groove Quantize is worth exploring because, like the Ableton Groove Pool, it can move one note type and leave the rest alone.
Studio One, Reaper, Bitwig Studio and Reason: all have a project-level timing or swing panel. In Bitwig the swing values sit in the project’s Timing settings and Reaper keeps a swing percentage in project settings. MPC software keeps the familiar 50 to 75 slider that the hardware used, which makes it the easiest place to compare values against records made on the machines.
GarageBand: the Beat Sequencer has a swing value in its inspector, and it is a small control, so use it on the drum pattern only.
Per-voice swing is the most precise option in any DAW: it moves the late notes of one drum element while the kick, snare and clap stay exactly where they were. Ableton’s Groove Pool, Cubase’s Groove Quantize and most groove plugins from third-party vendors can all target specific notes rather than the whole pattern.
Step 3: Add a small amount of swing
Begin around 50% to 58% and move in small steps, because the difference between 54% and 58% is obvious once heard and nearly invisible on the slider. Nothing good comes from jumping straight to 66% on a whole pattern.
Watch for the scale trap here too. Some DAWs express swing as a proportion where 50% is the neutral point, others as a width where 0% is neutral. If a control at 66% sounds like full triplet shuffle, it is a width control, not a proportion control. Either way, the number is only a starting point for your ear.
For house and trance, keep it smaller still. Uplifting trance and progressive trance rely on a locked relationship between kick, clap and bass, and a wide swing value pushes the off-beat hats away from the energy line. Two or three points past neutral is usually enough to relax a trance groove, and anything more tends to read as late rather than loose.
Step 4: Shape swing on selected drum voices
Swinging the hi-hats while the kick and snare stay centred is the most useful habit here, and it is the question that comes up constantly in producer forums. The hats carry the sixteenth-note detail, so moving them creates bounce while the backbeat keeps the pattern anchored.
To do it by hand, open the piano roll, zoom in far enough to see individual ticks, and drag the even-numbered hat notes later. A few milliseconds reads as human and more than that reads as broken. If your DAW shows timing in ticks, moving a sixteenth of a beat is usually a comfortable starting nudge, and you can halve it from there.
Microtiming works the same way but with more control. Instead of shifting every off-sixteenth at once, nudge single hits: push the snare a hair late on beat three, drag one open hi-hat forward, pull a kick fraction early. This is how recorded drummers play, and it survives genres where a global swing value would fall apart.
Listen for the difference between a groove that bounces and one that feels late. A swung pattern should still feel like it is driving ahead of the beat. If your hats land behind the snare on beat one, pull the swing value back rather than nudging notes individually to compensate.
Step 5: Compare, refine, and save
Bypass the swing control and play both versions back to back, several times. That A/B comparison is the fastest way to hear what a number actually did, and most of the time the straight version will sound flatter once you have heard the swung one.
Duplicate your drum pattern before any large change so you always have the straight original to fall back on. Then check the groove in context with bass and the rest of the track. A swing value that sounds great on solo drums can clash with a bassline you have already committed to.
Automate the swing amount if the track has an intro or a breakdown, easing the hats back toward straight for the drop if the section needs to feel harder. And once you like the result, save the drum clip as a template. Producers who keep a small library of tested groove templates stop re-solving the same timing problem on every new project, which is the repeatable payoff of learning how to add swing to drum programming properly.
Common Mistakes
Over-swinging. More is not more human. Once the off-sixteenths sit past the halfway point of the beat, the pattern stops feeling loose and starts feeling like the drummer was rushing. If in doubt, drop three points and listen again.
Swinging every voice at once. Global swing moves the kick and snare along with the hats, and a backbeat that drifts undermines the whole groove. Swinging selected notes keeps the pattern anchored.
Copying a swing number between DAWs. This is the single most common confusion in producer threads. FL Studio’s swing scale behaves differently from the Ableton, Cubase and MPC 50 to 75 scale, so a value that is a whisper in one DAW is a shuffle in another. Port the feel, not the number.
Believing quantize off means free time. It does not. Turning quantize off stops the notes being pulled back to the grid, but the underlying resolution still quantises them to a very fine division, and it also removes your safety net. Many beginners hear the tightened timing and assume the grid is gone. If you want deliberate looseness, move the notes or use a swing control, not quantize.
Fighting a timing plugin. If a groove or timing plugin is already shifting notes, adding global swing on top gives you two delays fighting each other and no clear reference. Solo the source, decide which one you trust, and mute the other.
Judging a groove without a reference. Swing is partly taste and partly tempo dependent, which makes it hard to judge in isolation. A producer on the WeAreTheMusicMakers boards described the approach that works: play the beat with your fingers or your mouth first, then replace those hits with samples. The percentage comes after that, not before it.
Genre drift. Boom bap and jazz want a real push, somewhere between 54% and 66%. House and techno usually want 50% to 58%, with the hats slightly late if anything. Trance sits between the two, and the clap or snare must stay welded to the grid. Older records are the best guide: DJ Premier’s MPC60 swing is often cited as the reference point for boom bap, and J Dilla’s looseness is the reference when you want extreme.
Two habits fix most of the rest. Keep the programmed drum part simple and let the other instruments carry the groove, which is the most consistent advice in every producer forum on the topic. And always keep a straight copy of the pattern, so every decision is a comparison rather than a guess.
Frequently Asked Questions
How do you add swing to drums in Ableton Live?
Open the drum clip, then click the timing tab in the clip view and raise the Swing 8ths value. A small amount, around 54 to 58 on the MPC-style scale, gives a relaxed feel without moving the backbeat. To swing only selected notes, load a preset from the Groove Pool instead, which can move hi-hats while the kick and snare stay on the grid. Session Record also has a swing setting for clips you record new.
How do I add swing to drums in FL Studio?
Open the Channel Rack step sequencer, click the options menu, switch Swing on, and raise the amount. FL Studio’s scale differs from the MPC and Ableton 50 to 75 range, so a number that means a slight drag elsewhere can be a heavy shuffle here. Start low, listen, and adjust by ear. If you want only the hi-hats moved, place them in a separate channel and swing that channel alone.
What swing percentage should I use for boom bap?
Most boom bap sits between 54% and 62%, with 62% being the common choice among producers chasing that relaxed bounce. Start at 54% and move up until the hats sit behind the grid just enough to feel loose. Keep the snare on the backbeat position and remember the delay scales with tempo, so a value that feels right at 90 BPM may feel heavy at 100.
Is swing the same as shuffle?
They describe the same mechanism at different strengths. Swing is the general term for delaying the even-numbered sixteenth notes, measured as a percentage. Shuffle usually means a heavier amount, close to triplet feel around 66% to 75%. Some DAWs label a single control shuffle, some split it into swing for sixteenths and a separate setting for eighths. The words overlap so much that the number matters more than the label.
How do I swing only the hi-hats without moving the kick and snare?
Put the hats on their own track or MIDI channel and apply the swing there, leaving the kick and snare untouched. In Ableton Live and Cubase, a groove preset from the Groove Pool or Groove Quantize pool can target specific notes inside one clip, which is even tidier. If your DAW has no per-voice control, duplicate the pattern and drag the even-numbered hats later in the piano roll by a few milliseconds.
Why is quantize off not just free time?
Quantize off stops notes being snapped to the grid, but they still resolve to the sequencer’s fine timing division, and any swing or groove value stays active. It also removes the correction that saves a beginner from a rushed pattern. Deliberate looseness comes from moving notes or from a swing control, where the delay is intentional and audible in comparison with the straight version.
Conclusion
Duplicate your drum pattern so the straight version survives, apply a small swing amount to the hi-hats only, and A/B it against the original with bass playing. Once it feels right in context, save the clip as a groove template so the same feel is one drag away on the next track.