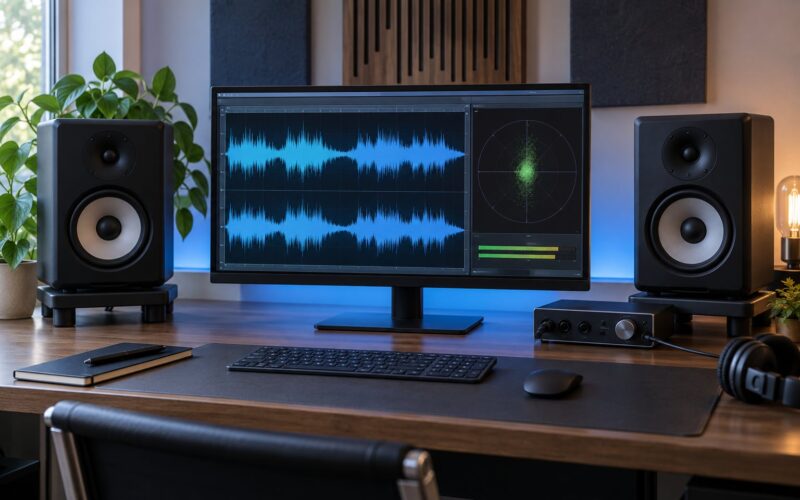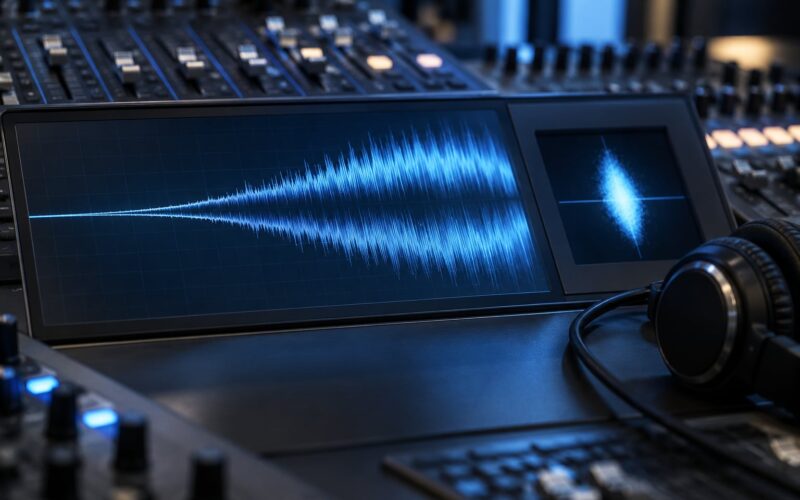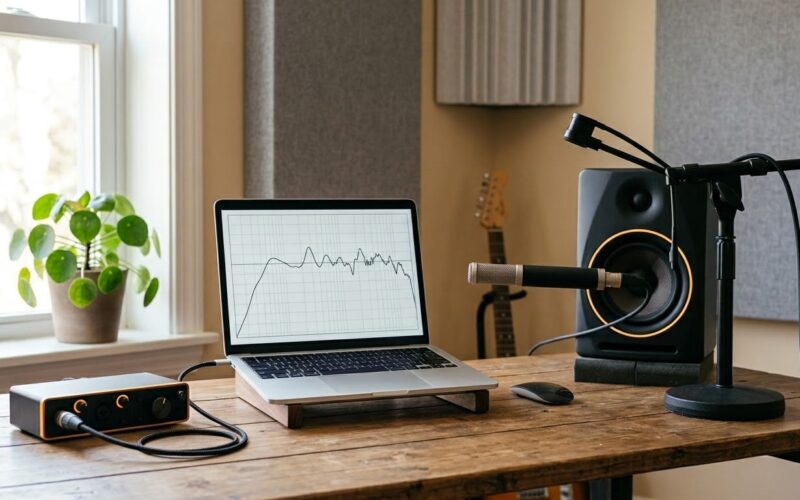
Mid side EQ splits a stereo signal into two parts you can equalise separately: the mid channel, which is the L channel added to the R channel, and the side channel, which is the L channel minus the R channel. Knowing how to use mid side eq on a mix gives you surgical control over what sits in the centre and what sits out wide, which a normal stereo EQ simply cannot do.
It takes about ten minutes on a finished rough mix, and the hardest part is not the plugin. It is hearing which half of the signal is causing the problem before you touch anything.
Below is the workflow I actually use, the starting values that keep it safe, and the mistakes that wreck a stereo image when you skip the gain matching step.
Table of Contents
- What You Need to Use Mid Side EQ on a Mix
- What mid and side actually contain
- M/S EQ is a width control, not a balance control
- Starting values that keep you out of trouble
- How to Use Mid Side EQ on a Mix: Step by Step
- Step 1: Prepare the Mix and Choose a Test
- Step 2: Listen to the Mid and Side Channels Separately
- Step 3: Reduce Muddy Wide Frequencies
- Step 4: Use Mid Side EQ to Control Excessive Width
- Step 5: Strengthen Centred Impact
- Step 6: Check Mono Compatibility and the Full Mix
- Where does this sit in the mixing order?
- Linear phase or minimum phase for mid side EQ?
- Common Mistakes to Avoid
- Over-cutting the side channel
- Boosting the centre indiscriminately
- Using too many narrow cuts
- Ignoring gain matching
- Comparing against an unlevel-matched reference
- Reaching for mid side EQ when a track-level fix is right
- Frequently Asked Questions
- What is mid side EQ and what does it do?
- Should I use mid side EQ on individual tracks or on the mix bus?
- What should I cut from the side channel first?
- Will mid side EQ make my mix sound mono?
- Should I use a linear phase or minimum phase EQ for mid side processing?
- Does mid side EQ replace normal EQ?
- Conclusion
What You Need to Use Mid Side EQ on a Mix
Everything you need is already in your DAW. Logic Pro, Ableton Live, Pro Tools and FL Studio all ship an equalizer with a mid/side mode switch, and none of this requires an external unit or a hardware matrix.
What you do need is a mix bussed to stereo, decent monitoring, and the ability to solo the two channels separately. If your mixer view has no M and S buttons, the plugin on the insert will have them instead.
What mid and side actually contain
The mid signal is the sum of L and R. Anything panned dead centre lands there in full, and anything panned off-centre appears in both channels at half level, so it survives the addition at reduced amplitude. That is why the mid channel carries your kick, bass, snare, lead vocal and anything doubled to the centre.
The side signal is the difference between L and R. Centre content cancels out completely and disappears, while anything panned hard to one side is left with twice the amplitude. Guitar doubles, room mics, cymbal wash, tape delay and reverb tails live almost entirely in the side channel.
This is the sum-and-difference matrix that Alan Blumlein patented in 1931 as a way to record stereo with a single microphone capsule. Your plugin does the maths electronically in the time domain: it encodes L and R into mid and side, lets you EQ the channel you selected, then decodes the result back into ordinary stereo. The idea is as old as stereo recording itself.
M/S EQ is a width control, not a balance control
This is the part that catches people out. Cutting the side channel at 1 kHz does not merely change the level of the sides. It narrows the stereo image at 1 kHz, because that frequency simply stops being reproduced across the field. Cut the sides everywhere and you no longer have a stereo track. You have a mono track.
So when you learn how to use mid side eq on a mix, stop thinking in terms of “which channel do I want louder”. Think in terms of which part of the stereo field you want to change size, and at what frequency.
Starting values that keep you out of trouble
These are conservative starting points, not laws. Engineers working mid/side in the M/S mode of an equalizer such as FabFilter Pro-Q generally keep cut and boost to about 1 dB at a time, which is the number I come back to whenever a mix starts sounding worse than before I opened the plugin.
| Move | Channel | Starting frequency | Starting gain | Purpose |
|---|---|---|---|---|
| High-pass filter | Side | 150-300 Hz, 12 dB/oct or steeper | No gain setting | Removes wide low-end rumble and clears the bottom for the centre |
| Low shelf cut | Side | 250-400 Hz | -1 to -2 dB | Thins low-mid mud without touching the bass and kick in the centre |
| Wide bell boost | Side | 2.5-5 kHz, Q around 0.7 | +1 dB | Adds air and width to a narrow mix |
| High shelf boost | Side | 400 Hz and above | +1 dB | Lifts the whole top half for openness on dark mixes |
| Wide bell cut | Mid | 200-400 Hz, Q around 1 | -1 to -2 dB | Clears flabby kick and bass without thinning the image |
| Bell boost | Mid | 2-4 kHz, Q 1.5-2 | +1 dB | Pushes a lead vocal forward for intelligibility |
| Bell cut | Mid | 300 Hz to 1 kHz | -1 dB | Makes reverb tails and ambient wash recede behind the centre |
How to Use Mid Side EQ on a Mix: Step by Step
Work in this order and you will not thrash. The whole process on one mix bus should take ten to fifteen minutes.
Step 1: Prepare the Mix and Choose a Test
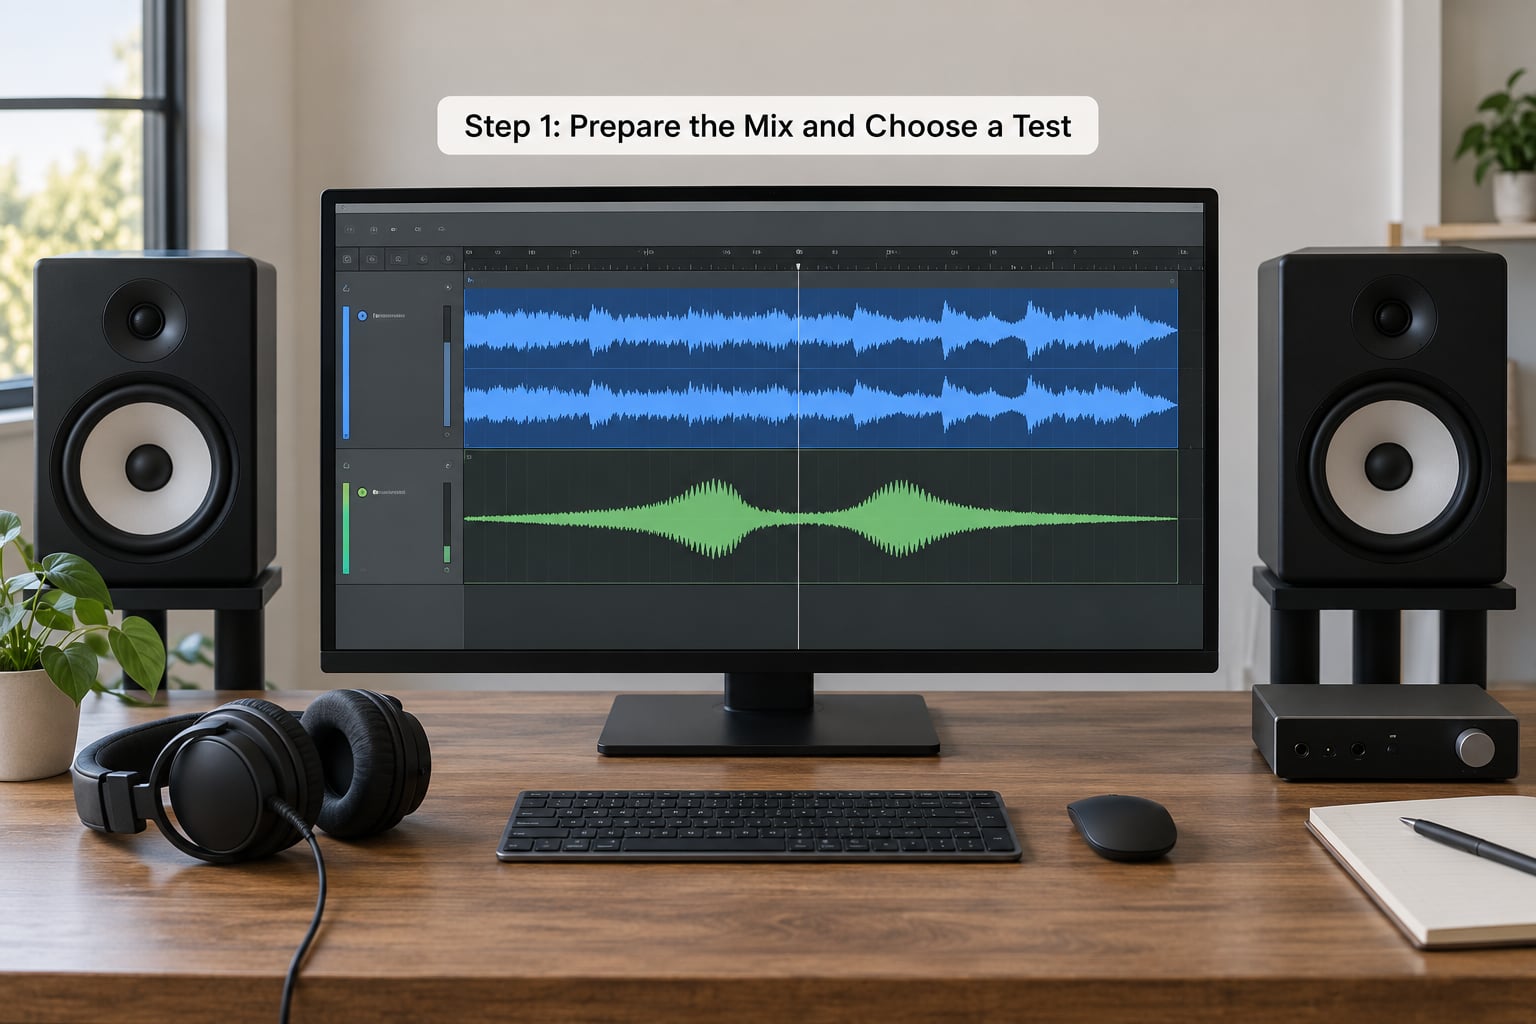
Before anything else, get the mix to a level where you are not fighting it. Bounce or commit your rough mix, set the master fader so your loudest section hits roughly the same level as the reference track you are about to play.
Then write the problem down in one sentence before you touch a control. “Everything below 200 Hz is a blurry mess” and “the guitars are blocking the vocal” lead to completely different M/S moves, and mixing those two descriptions up is how a mix ends up worse than it started.
Solo the very start and the very end of the track first, before the chorus. Problems often hide in the quiet intro and only reveal themselves once the loud part has already gone.
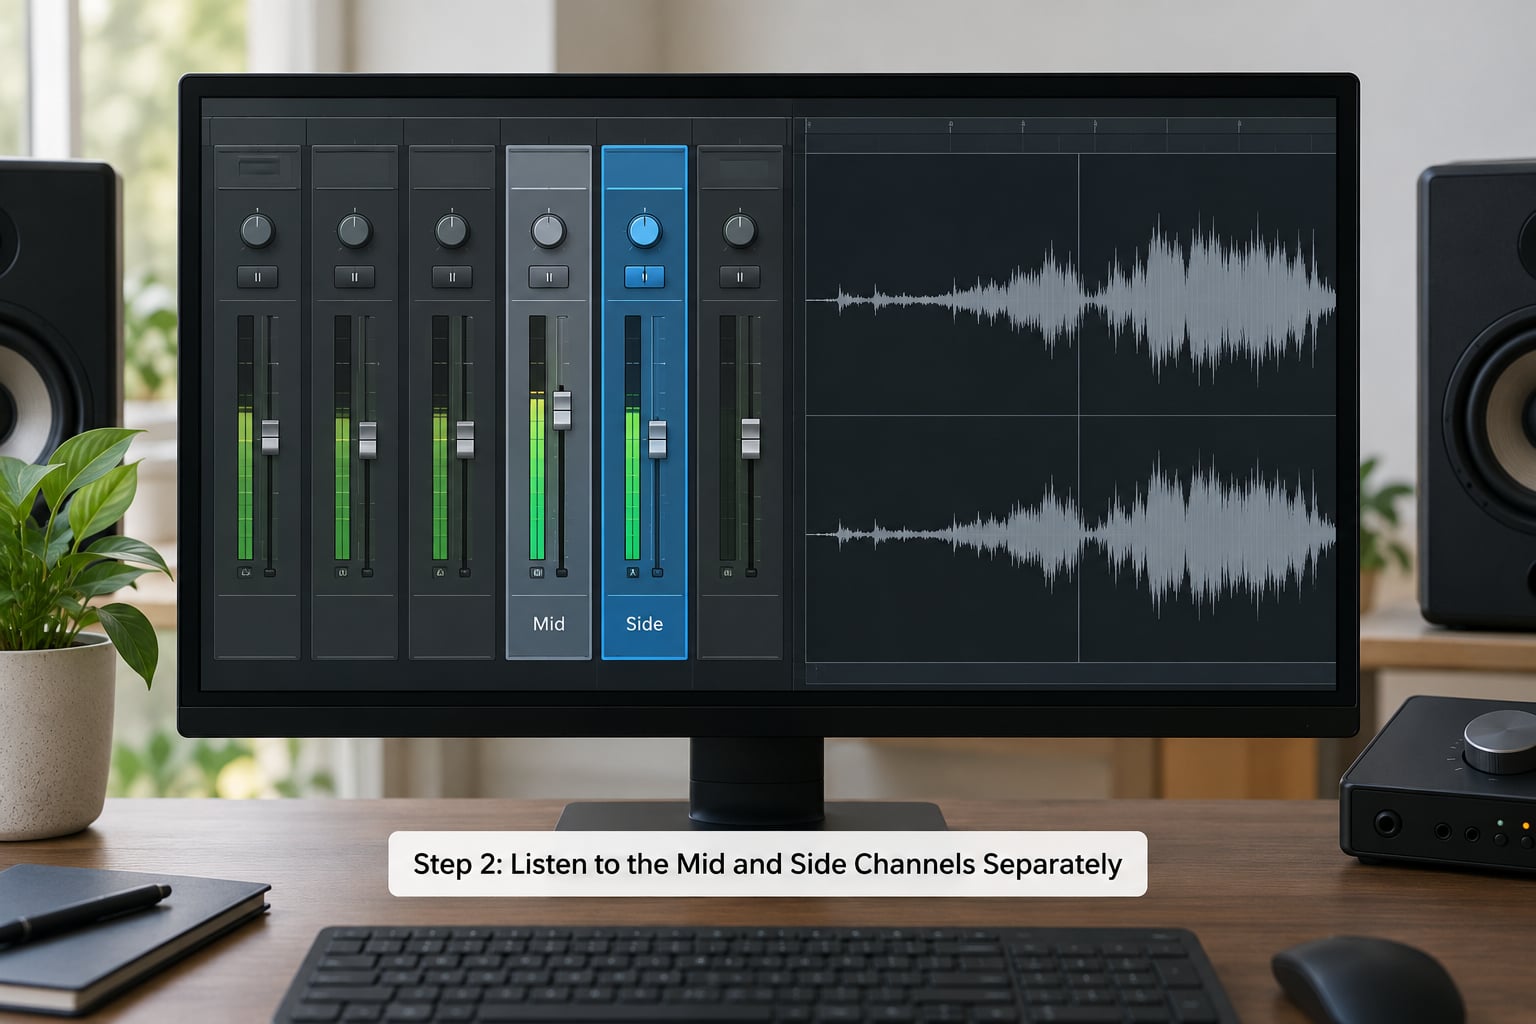
Step 2: Listen to the Mid and Side Channels Separately
Now solo the mid channel and listen to the whole song. Note what is loud, what is boxy, and where you feel the weight. Everything you hear here is centre content: kick, bass, snare, lead vocal, piano if you kept it centred.
Next solo the side channel. Whatever sounds like a smear, wash or rumble in the 200 to 500 Hz region is the source of most of the mud people complain about in wide mixes. It is almost never the bass, because the bass is in the middle.
Pick the reference track and level-match before you start moving anything. An unlevel-matched comparison fools you every single time, because loudness reads as quality.
Step 3: Reduce Muddy Wide Frequencies
This is the single highest-value move you can make with a mid side EQ, and it is the one most beginners skip. Set a high-pass filter on the side channel somewhere between 150 and 300 Hz with a steep slope, and pull that low energy out of the sides.
You lose nothing real. Very little music carries meaningful sub-bass information in the side channel, and if it does, it belongs with the bass in the centre anyway.
If it still sounds thick through the low mids, follow up with a low shelf cut on the sides between 250 and 400 Hz, starting at -1 dB and stopping there. Stay on a wide Q so the correction is gentle and broad rather than a notch you can point at.
How do you know it worked? The mix should feel lighter and slightly tighter without the sides sounding pinched. If it goes thin and hollow, you have cut too high or too deep.
Step 4: Use Mid Side EQ to Control Excessive Width
Sometimes the opposite problem shows up: the reverb tail, the cymbal wash or an overly resonant stereo room mic is spreading so far across the field that the mix sounds like it is coming out of a car stereo in a car park. All those elements sit in the side channel.
Catch them by soloing the sides and sweeping. When you find the offending resonance, place a bell filter on the side channel at that frequency and cut 1 to 2 dB with a moderate Q. The offending content narrows without the centre of the mix changing at all, which is the whole point of working this way.
For drum overheads specifically, a wide high shelf cut on the side channel from around 4 kHz upwards tames cymbal wash while leaving the snare body and the kick untouched, because neither lives up there.
Step 5: Strengthen Centred Impact
The mid channel is where the mix lives, so small mid moves carry a lot of weight. A wide bell cut between 200 and 400 Hz on the mid channel cleans up a flabby kick and bass relationship without touching stereo width, because width is not a factor in the centre.
For vocal focus, put a bell boost between 2 and 4 kHz on the mid channel with a Q of 1.5 to 2. Start at +1 dB. If your lead vocal is doubled and panned slightly wide, work on the side channel instead so you move only the off-centre portion of it.
Keep an eye on gain matching here. Boosting the mid channel makes the mix louder, not just clearer, and a boost you cannot hear through a level-matched comparison is usually a boost that is too big.
Step 6: Check Mono Compatibility and the Full Mix
Play the mix in mono, because phones, club PAs, laptop speakers and Bluetooth speakers are all effectively mono. Anything that disappears was living only in the side channel and had no centre information to fall back on.
The most common casualty is a lead vocal sitting slightly off-centre with a doubling hiding behind it. If it vanishes in mono, pull the doubling or the pan closer to the middle rather than trying to EQ your way out of it.
Aim for small, reversible moves. Most of the time one dB on the sides and one dB on the mid is all a mix needs, and anything beyond that should be committed with the bypass button on the plugin open so you can A and B it.
Where does this sit in the mixing order?
Put mid side EQ after the balance of your mix and after static volume moves, but before you commit to heavy compression, limiting or final level riding. It is a corrective tool, so it belongs in the same stage as corrective EQ on individual tracks.
On individual tracks, reach for M/S only when the track is genuinely stereo and the problem is genuinely spatial, such as a wide double, a stereo room pair or a mono source you want to fake movement on. A single mono vocal that sounds dull just needs normal EQ. Solving a mix bus problem track by track for twenty tracks is a much better use of your afternoon.
Linear phase or minimum phase for mid side EQ?
You will see both recommended and the debate is genuinely unresolved. Minimum phase EQs re-render faster and sound cleaner on the decode because the mid and side signals are recombined after the filter has shifted their phase differently at different frequencies.
Linear phase is the more common default for corrective moves and gives you tighter transient behaviour, at the cost of a small amount of latency and a slightly longer filter. If you hear smearing or a hollow centre after a large mid/side move, switch to minimum phase before you start cutting more, because the artifact is the problem, not the setting.
Common Mistakes to Avoid
Every one of these has happened to me on a client mix, usually within the first five minutes of opening the plugin.
Over-cutting the side channel
Cutting 6 dB out of the sides does not give you a cleaner mix, it gives you a narrower one that may collapse into mono at that frequency. Stay near 1 to 2 dB per move and re-check the image each time. If the whole mix has gone narrow, you cut too much.
Boosting the centre indiscriminately
Adding mid boost does not just add clarity. Lowering the mid channel makes almost any reverb tail sound more present, because the wash that was masking the centre has dropped away. Re-check the ambience after every mid move.
Using too many narrow cuts
Stacking six bell filters at high Q on the side channel produces a resonant, ringy mess that reads as harshness rather than as an improvement. Use one move at a time, on a wide Q, and only add a second filter once the first has been proved necessary.
Ignoring gain matching
An EQ change alters the signal level, so your memory of “what it sounded like before” is immediately unreliable. Match the output level of the bypassed and active paths, or use the plugin’s own gain compensation where it has one.
Comparing against an unlevel-matched reference
Playing a loud reference against a quiet mix makes the mix sound worse, not the reference better. Get both to the same loudness before drawing any conclusion about width or clarity.
Reaching for mid side EQ when a track-level fix is right
If one instrument is fighting another, that is a compression, arrangement or gain-staging problem and no width trick will fix it. Mid side EQ solves spatial problems, not balance problems. Widen the mix bus only after the tracks underneath it are sitting where you want them.
Frequently Asked Questions
What is mid side EQ and what does it do?
Mid side EQ splits a stereo signal into two components using a sum-and-difference matrix: the mid channel is left plus right and carries everything panned centre, while the side channel is left minus right and carries everything panned off-centre. You can equalise either one independently, which means you act on where a sound sits in the stereo field, not only on its frequency.
Should I use mid side EQ on individual tracks or on the mix bus?
Use it on an individual track when the track is genuinely stereo and the problem is genuinely spatial, such as a wide guitar double or a stereo room pair. Use it on the mix bus for global problems like wide low-end rumble or a reverb tail that spreads too far. If a single instrument is fighting another, fix levels and compression first, because width changes will not solve a balance problem.
What should I cut from the side channel first?
Start with a high-pass filter on the side channel between 150 and 300 Hz, using a steep slope. Almost no music carries meaningful sub-bass information in the sides, and removing it lets the bass and kick in the centre sound cleaner without touching stereo width. If the low mids are still thick, add a low shelf cut between 250 and 400 Hz at -1 dB with a wide Q.
Will mid side EQ make my mix sound mono?
It can, and the mechanism is worth understanding. Because side content is what makes a signal stereo, cutting the sides narrows the image at those frequencies, and cutting them across the whole spectrum leaves you with a mono signal. Keep side cuts to roughly 1 to 2 dB, check the mix in mono after every move, and fix disappearing elements by re-panning rather than by EQ.
Should I use a linear phase or minimum phase EQ for mid side processing?
Both are used and neither is wrong. Minimum phase re-renders faster and usually sounds cleaner on the decode, because mid and side are recombined after the filter shifts phase differently at each frequency. Linear phase is a solid default for gentle corrective moves and handles transients tightly, but adds latency. If a mid or side move sounds hollow or smeared, switch to minimum phase before cutting further.
Does mid side EQ replace normal EQ?
No, and you should not reach for it first. Normal EQ on individual tracks handles tone, and it does the bulk of the work in any mix. Mid side EQ is a spatial corrective tool, most useful once tracks are balanced and on a stereo bus or a genuinely stereo source. Using it as a substitute for track-level EQ is the most common reason people find it disappointing.
Conclusion
Do this first, before anything else in this guide. Solo the mid channel, then the side channel, and write down in one sentence which one is causing the problem you can actually hear.
Then make one small move on that channel only, keep it under 2 dB, level-match it against the bypass, and play the result in stereo and in mono. Nine times out of ten you will already be most of the way there, and the tenth time you will have saved yourself an afternoon of narrowing your mix by accident.