A talkbox style effect is made by feeding a synth, organ, or guitar signal through a vocoder and using a vocal recording as the modulator, so the instrument appears to speak the words. You can build it entirely inside your DAW. If you have never tried it, the whole of how to make a talkbox style effect comes down to three tracks: modulator on one audio track, carrier on another, a vocoder-style plugin in between. The chain takes about twenty minutes once you have set it up once.
That last bit matters. The signal flow is simple, but the routing trips up almost everyone the first time, and it is the reason people end up with a piercing screech instead of the warm talking-synth tone on Peter Frampton’s “Do You Feel Like We Do” or the rubbery lead voice Roger Troutman used all over Zapp’s “More Bounce to the Ounce”. This guide walks through the chain in plain terms, then maps it onto Ableton Live and FL Studio specifically.
One honest note before we start. A hardware talkbox is a compression driver, a tube, and a second microphone in front of the player’s mouth. It sounds slightly different from software, mostly in how much breath and vowel noise survive, and it takes real practice. Software gets you 90 percent of the way with none of the mouth technique, which is why most bedroom producers never build one.
Table of Contents
- What You Need
- Step-by-Step: How to Make a Talkbox Style Effect
- 1. Prepare a Clean Vocal Sample
- 2. Split or Copy the Vocal for Processing
- 3. Create the Talkbox Formant or Vocoder Character
- 4. Add Pitch or Filter Movement
- 5. Blend the Processed and Dry Vocal
- 6. Compress, EQ, and Finish the Effect
- 7. Use the Effect in a Trance or House Pattern
- Ableton Live and FL Studio Settings
- In Ableton Live
- In FL Studio
- Logic Pro and Pro Tools equivalents
- Common Mistakes and How to Fix Them
- Tips for a More Musical Talkbox Sound
- Frequently Asked Questions
- Do I need a microphone to make a talkbox effect?
- Are talkboxes hard to use?
- What is the best synthesizer to use as a talkbox carrier?
- What is the difference between a talkbox effect and Auto-Tune?
- Why does my talkbox effect sound screechy?
- How do I keep a talkbox part in time and in key?
What You Need
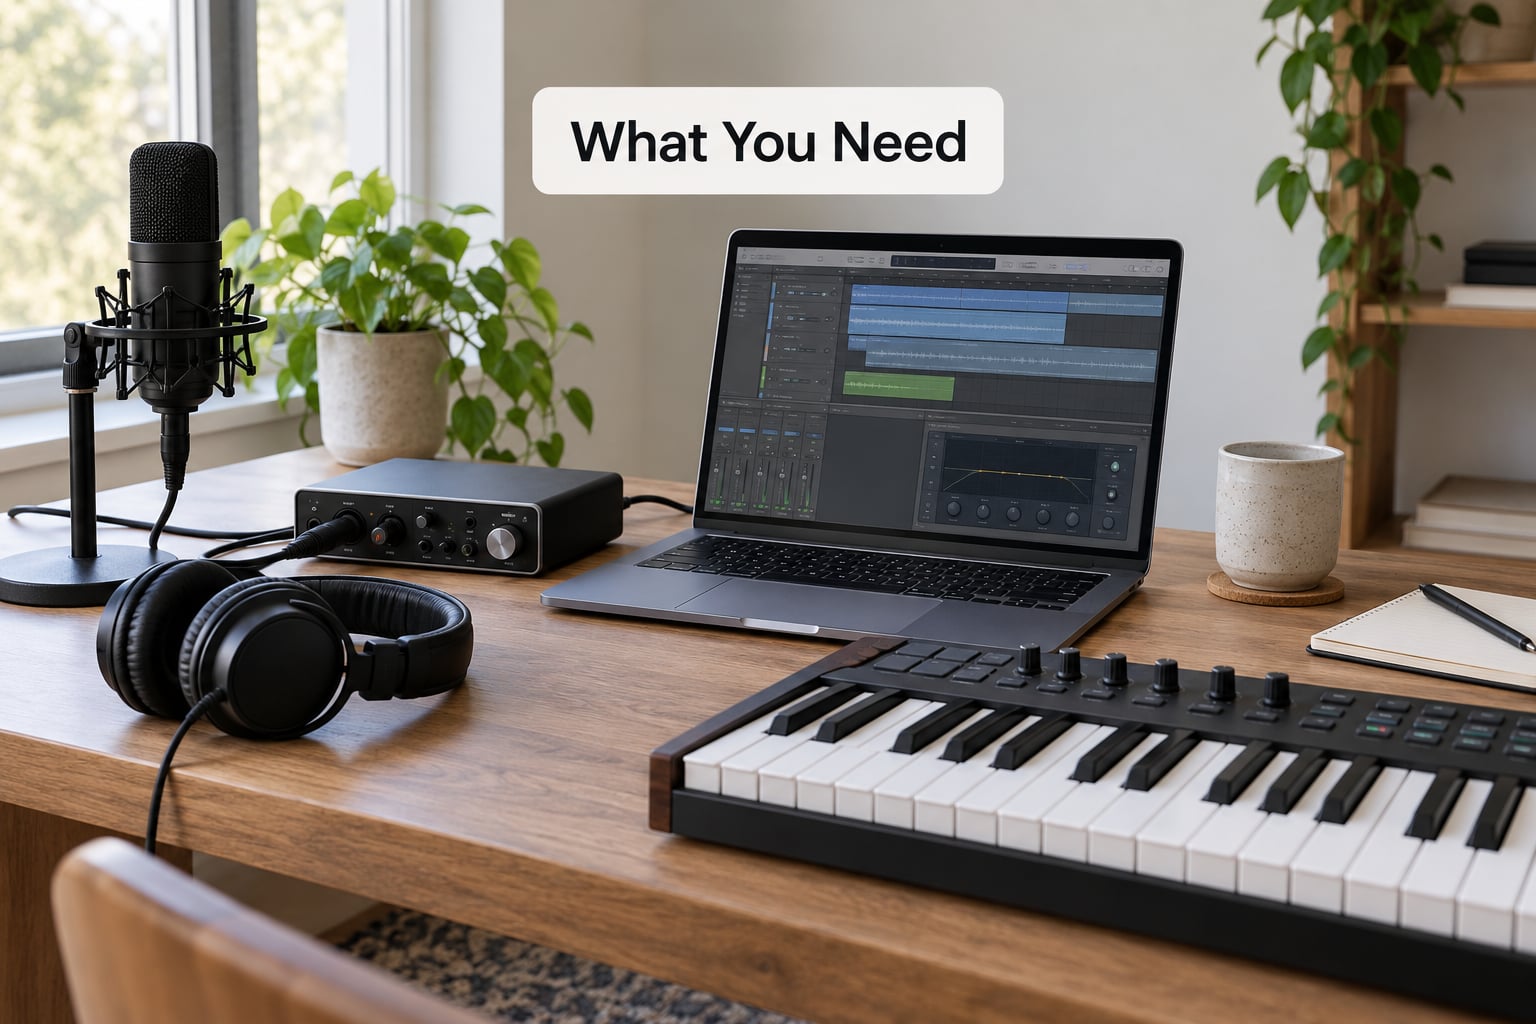
The short answer is a vocal source, a vocoder or talkbox plugin, and a carrier synth. Everything else is filtering and gain staging.
- A vocal source. A microphone, an existing take from your session, or a royalty-free vocal phrase. Long vowel sounds such as “ah”, “oh”, and “ee” shape the effect best.
- A vocoder or talkbox plugin. Free options include TAL-Vocoder, MDA Talkbox, and Vocodex. Paid ones include iZotope VocalSynth 2, Softube Vocoder, Arturia Vocoder V, and XILS 201.
- A carrier synth. Any mono or lead sound works. An organ, a saw lead, a plucky short-decay patch, and a sub bass each produce a different voice.
- A modulation source. A MIDI keyboard playing the carrier’s notes, a short audio loop, or an existing synth line you want to talk over.
- Mixing tools. A compressor, an EQ, and a short reverb or delay return.
On rights, keep it simple. If you record the modulator yourself you own it. If you lift a vocal from a finished track you do not, and those clips get flagged. Use your own takes or properly licensed royalty-free vocal phrases.
On levels, this one is the difference between a clean effect and a shriek. The modulator usually wants a hotter level into the plugin than your instincts tell you, but the carrier side is the fragile part, and pushing that is what causes the piercing resonance producers complain about most often in production forums.
Step-by-Step: How to Make a Talkbox Style Effect
The whole thing in one line: modulator (your voice) goes into the vocoder, carrier (a synth) goes into the vocoder from the other side, and the vocoder output is the talking sound. Keep that diagram in your head while you route it, because the two inputs are not interchangeable.
1. Prepare a Clean Vocal Sample
Pick a short phrase with strong vowels and drop it on an audio track. Ten to fifteen seconds is plenty, and shorter is easier to automate later.
Trim the silence at both ends, then clean it up. A gentle high-pass around 80 Hz removes rumble, and a parametric EQ cut between roughly 200 and 400 Hz takes the boxy quality out of most cheap microphones. Run a compressor over it with a ratio around 3:1 so the envelope stays steady, since a wobbly modulator gives you a wobbly voice.
How do you know it worked? Play it back and listen for even loudness. Every syllable should sit at roughly the same level, because the vocoder reads amplitude as well as pitch.
2. Split or Copy the Vocal for Processing
Duplicate the track so you keep one clean copy. Name them clearly, something like “Vocal Dry” and “Vocal Mod”, because six tracks later you will not remember which is which.
Mute the dry copy for now and only work on the processing copy. Set the fader of the processing track to unity and leave headroom above it. If you are going to add saturation or heavy resonance later, you want the level already conservative.
Muting the dry copy at this stage is what stops new producers from hearing improvement, deciding it sounds worse, and quitting at step two.
3. Create the Talkbox Formant or Vocoder Character
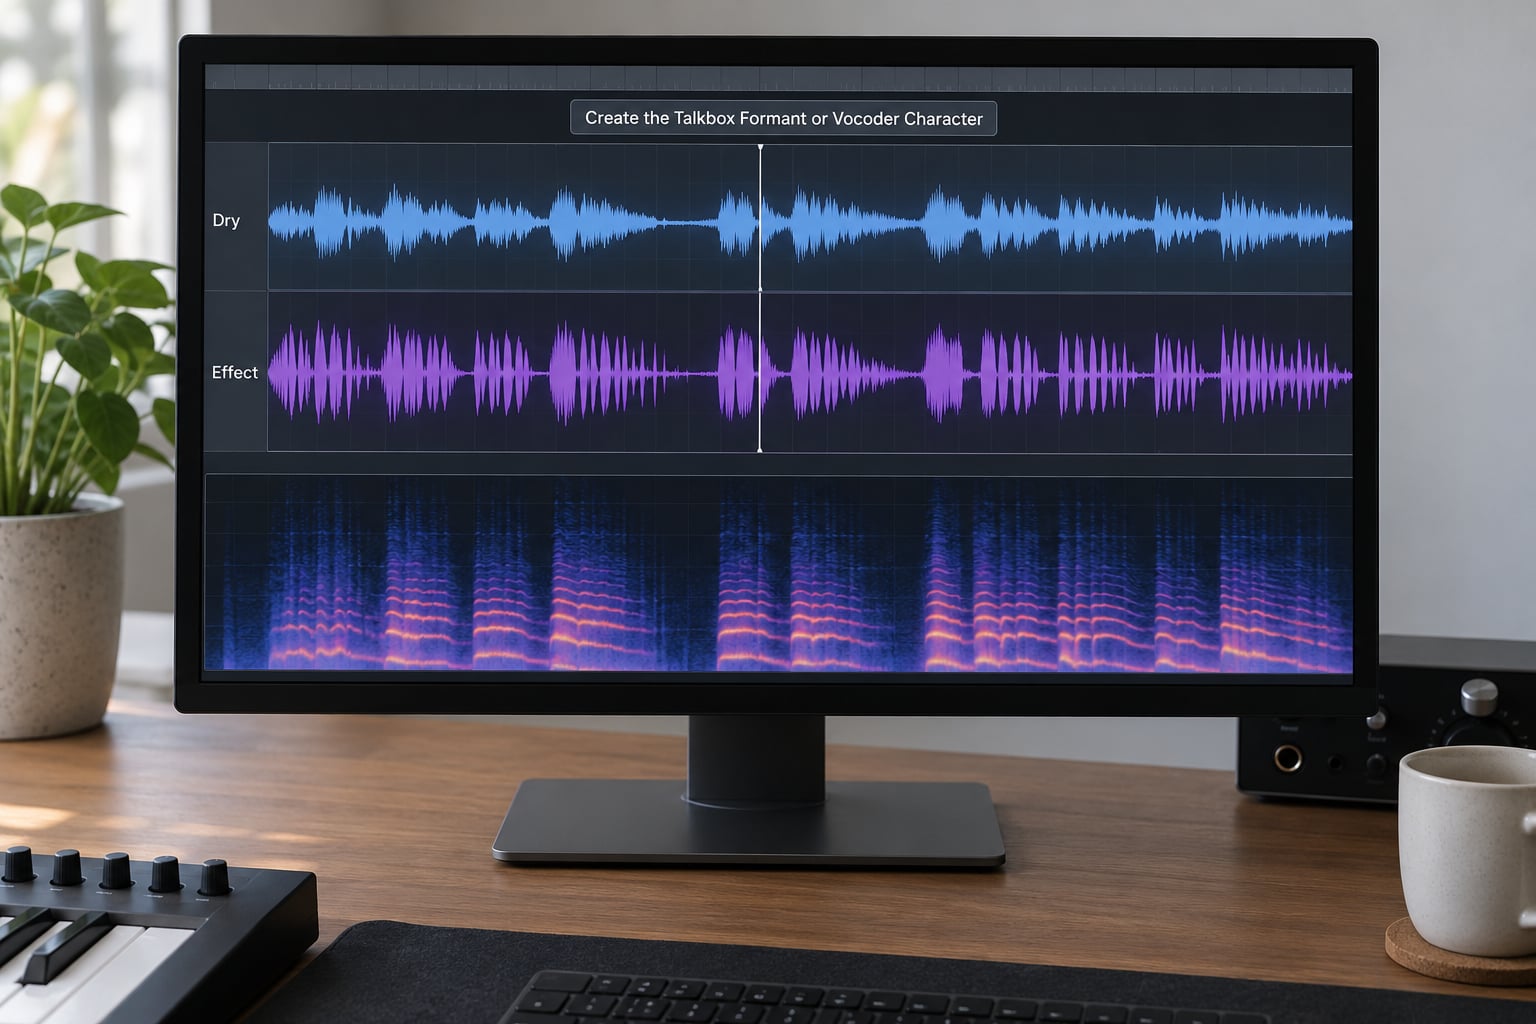
Drop a vocoder on the processing track. Route your synth or audio carrier into the plugin’s carrier input and your vocal into the modulator input. If the plugin has a mix or blend control, start it fully wet so you hear the pure effect before balancing anything.
Most vocoders use a bank of bandpass filters. The modulator’s envelope switches each band on or off, and the carrier provides the actual sound inside those bands. Setting the band count to around 16 gives a decent balance: 8 bands sounds coarse and blocky, 20 is smoother and more expensive-sounding.
Formant shift moves the vowel character. A small upward shift brightens the voice and pushes it toward the cartoonish Daft Punk territory; a downward shift thickens it into something growlier and more 70s. Move it in small steps, a semitone or two at a time. This stage decides whether the result reads as a voice or as a synth with a filter on it, which is why it is the part worth slowing down on.
No vocoder installed? You can fake a rough version with a resonant bandpass filter on the vocal plus a pitched copy underneath. Sweep the filter with an LFO or envelope follower and it starts to read as a talking sound. It is thinner and less convincing than a real vocoder, but it works in an EDM mix where nobody is listening closely.
4. Add Pitch or Filter Movement
A static talkbox sounds like a held note. Movement is what makes it feel performed.
Three approaches work well. Play the carrier notes from a MIDI keyboard so the pitch follows your part. Automate a pitch shifter on the vocal track in semitone steps rather than slides, which gives the stepped robotic character instead of a portamento. Or put an LFO on a resonant filter in the carrier path so brightness moves over the top of a static synth patch.
Slow movement suits pads and breakdowns. Rhythmic movement, gated or step-sequenced, suits house and electro. What to avoid is the middle ground, where the pitch drifts enough to make the phrase impossible to follow.
5. Blend the Processed and Dry Vocal
Unmute the dry copy and pull the processed level down until it sits under it. Most of the time the effect works best as a layer rather than a replacement.
A useful starting point is the wet signal noticeably lower than the dry, maybe 6 to 10 dB, then adjusting by ear. The tell for a balanced blend is that you can read every word of the dry vocal while the processed one adds colour behind it.
Automate it by section. During a breakdown, bring the effect up and drop the dry vocal down so the talkbox takes the lead. Bring it back into the drop as a supporting layer. That contrast is what keeps a talkbox from becoming wallpaper after the third listen.
6. Compress, EQ, and Finish the Effect
The finishing chain runs after the vocoder, in this order.
- Compressor. Roughly 3:1 with a medium attack to glue the moving parts together. Faster attack and you lose the vocoder’s own dynamics.
- Subtractive EQ. A high-pass around 120 Hz keeps mud out, and a small cut around 500 Hz removes the hollow boxiness that shows up on thin carriers. A gentle high shelf adds the forward edge needed to cut through a dense mix.
- Saturation. A little tape or tube style warmth rounds the digital edges. Keep it subtle.
- Short reverb or delay. A tight delay on a dotted eighth works well for the 70s rock feel. Keep the send low.
- Level matching. Compare the finished effect against the dry vocal by switching between them on the same bar.
That last step is the one people skip. A talkbox that sits three decibels hot in the breakdown feels fine on its own and painful in the full arrangement.
7. Use the Effect in a Trance or House Pattern
Pick a section before you start tweaking. A trance breakdown or the intro of a house track is where a talkbox earns its place, because that is where the arrangement thins out and a new texture has room.
Time it with the vocal itself rather than by eye. Write the phrase on the grid, then slice it into fragments of two or four bars and repeat. In house, short two-bar answers over a kick and sub work well. In trance, a single long phrase sitting under the rising filter sweep tends to get buried, so place it in the pre-drop and let the riser carry the energy instead.
Leave space around it. A talkbox phrase repeated every eight bars stops being a hook and starts being a texture, which is fine, but pick one or the other deliberately.
Ableton Live and FL Studio Settings
Both programs handle this the same way, with a routing track, a plugin, and a separate modulator track. Device names shift between versions, so treat these as concepts rather than click paths.
In Ableton Live
Create a MIDI track with your synth. Create an audio track for the vocal. On the audio track, add an Audio Effect device and load your vocoder, then route the MIDI track’s output into the vocoder’s carrier input using a second Audio From device.
Ableton gives you two clean ways to do this. Put the vocoder on a Return track and send both the MIDI track and the vocal to it. Or use a Utility device set to stereo spread plus dry and wet sends to split one track into a dry lane and an effect lane. The return approach is easier to read in a set, so start there.
For the processing itself, use an EQ Eight after the vocoder for the subtractive moves, a Compressor for glue, an Auto Filter for LFO movement on the carrier, and an Auto Pitch for stepped pitch shifts. Utility is the useful one most people overlook, since it handles gain staging and panning without adding processing.
In FL Studio
Load your synth on an instrument channel. Add the vocoder to a mixer insert, for example Insert 2. Route the vocal into that same insert and the synth into the carrier input, using the vocal’s channel to send to the insert.
FL’s mixer makes level matching easy because you can see all the faders at once. For the chain, Fruity Parametric EQ 2 handles the subtractive work, Fruity Compressor the glue, Fruity Free Filter the resonance sweeps, and Pitch Fruity or Fruity 7 a stepped pitch shift.
Logic Pro and Pro Tools equivalents
In Logic, put the vocoder on an Audio Track and use a MIDI region on a software instrument track routed into its carrier input. In Pro Tools, insert the plugin on an audio track and use a bus for the carrier, or drop the plugin on an instrument track’s audio input if your version supports it.
Common Mistakes and How to Fix Them
- The vocal becomes unintelligible. Pull the processed level down and raise the dry. If the dry alone is not clear, the modulator needs another pass of compression and de-essing before it ever hits the vocoder.
- Everything sounds too harsh. Cut 300 to 500 Hz on the effect, then lower the resonance or reduce the band count from 16 to 8. Bright carriers with high resonance are the usual cause.
- Excessive pitch movement. Change continuous pitch modulation to stepped automation and reduce the depth. If the effect wanders, the carrier or the modulation source is drifting.
- The talkbox masks the lead vocal. Sidechain the effect lane from the lead vocal, or low-pass it and drop it well below the main vocal in the busy sections.
- Inconsistent levels between sections. Automate the effect channel rather than the plugin, so the vocoder settings stay fixed and only the level moves.
- Muddy low frequencies. High-pass the vocal around 80 to 120 Hz before it enters the modulator. Voice bass rarely helps a talkbox and only fills the bottom of the mix.
- It sounds like a generic vocoder, not a talkbox. Use a warm, slightly compressed carrier with a slow attack, keep the formant shift small, and leave some of the vocal’s breath in the blend.
- Latency when tracking live. Lower the buffer size in your audio preferences and close any heavy windows. If tracking live is still awkward, render the modulator first and resample it, which is what many producers end up doing anyway for repeatability.
Tips for a More Musical Talkbox Sound
Match the vocal’s register to the carrier. A low sung line under a bright lead synth gives the classic mismatched character, while matching them closely sounds clean but less interesting.
Choose vowel sounds deliberately. Open vowels shape wide and dark, close vowels narrow and bright, and consonants mostly just gate the signal.
Layer short phrases rather than one long one. Two or four bar fragments can be repeated, chopped, and offset in ways a single held line cannot.
Sample the finished effect into your own library. Dragging the rendered file into a sampler at different playback rates shifts the formant with the pitch, which produces variations you cannot get from moving the pitch alone.
Frequently Asked Questions
Do I need a microphone to make a talkbox effect?
No. A talkbox effect needs a vocal signal, not necessarily a live one. You can use a take you already recorded, a royalty-free vocal phrase, or resample any existing singing and use it as the modulator. Rendering the modulator first is often the better workflow, since you can tune it, edit it, and replace it without re-recording.
Are talkboxes hard to use?
The software version is easier than the hardware one, because the hardware route depends on mouth technique you practise for hours. In a DAW the hard part is routing: understanding which input is the modulator and which is the carrier. Get that right, dial the blend and formant shift slowly, and the rest is ordinary mixing. Expect your first attempt to need an hour, not a day.
What is the best synthesizer to use as a talkbox carrier?
For a warm 70s rock voice, an organ or a soft pad with a slow attack works well. For funk and electro, a plucky saw lead with a short decay keeps the consonants readable. A mono signal always behaves more predictably than a wide stereo pad. Whichever you pick, high resonance and bright timbres tend to produce harsh results, so soften them first.
What is the difference between a talkbox effect and Auto-Tune?
Auto-Tune corrects a sung vocal toward a target pitch and keeps the timbre of the original voice. A talkbox effect largely discards the vocal’s tone and uses it only to shape a synth or instrument signal, so the words come from the carrier and the vowels come from the voice. You can use both, since a tuned modulator usually gives a cleaner talkbox result.
Why does my talkbox effect sound screechy?
Screeching almost always comes from too much level into the vocoder or too much resonance in the carrier. Pull the carrier input down, turn up the modulator instead, reduce the resonance, and drop the band count from 16 to 8. A narrow EQ cut around 500 Hz usually helps as well. If it is still harsh, the formant shift is probably set too high.
How do I keep a talkbox part in time and in key?
Let the carrier carry the timing and pitch, not the voice. Play the synth notes from a MIDI keyboard or write them on the grid, then shape the vocal with it as the modulator. Tuned vocals work best since the modulator influences the result, so run pitch correction before the vocoder. Slicing the vocal into bar-aligned fragments makes small timing edits much easier.
Start with the routing, not the settings. Put your vocal on one audio track, your synth on another, drop a free vocoder between them, and listen to the raw effect with the blend fully wet before touching a single parameter. Once that sounds like a voice, the blend, formant shift, and filtering are quick adjustments. That is the whole process behind how to make a talkbox style effect that holds up in a full trance or house mix, and it will take you a couple of hours across a few sessions.