To mix two of your own tracks for a DJ set, cue the incoming track on its first downbeat, match its tempo with the pitch fader, nudge the jog wheel until both kicks land together, hold its low EQ off, and swap the basslines over 8 to 32 bars. Phrase the mix, not just the beats.
That is the short answer, and it takes about ten minutes to rehearse one transition properly. The hard part is not the mechanics. Your own tracks have long intros, strange breakdowns, risers you built at 2am and loudness decisions you made without a reference, so a transition that works on two other people’s records can fall apart on yours.
Here is the order I work in, whether I am on a controller at a house party or building a promo mix on a laptop.
- Pick two tracks that already have a musical relationship, not just a shared BPM.
- Export clean files, check the peak level, and mark your cue points.
- Match tempo, then align the beatgrid by ear and by nudge.
- Check key and low-end phase before you blend anything.
- Gain-match both tracks so they sit at the same loudness.
- Choose a transition style that suits the energy, not just the key.
- Rehearse the transition inside the surrounding set.
- Record it, listen back, and fix what sounds off.
This guide covers the whole process for producers working in trance, house, techno, and other electronic styles. It works in Ableton Live, FL Studio, Logic Pro, Cubase, Studio One, Bitwig, and in DJ software such as Serato, Rekordbox, Traktor, or Virtual DJ, and the names of the controls differ while the job stays the same.
Table of Contents
- What You Need
- Step-by-Step: How to Mix Two of Your Own Tracks for a DJ Set
- Step 1: Choose Two Tracks With Complementary Energy
- Step 2: Prepare Both Tracks For Mixing
- Step 3: Match Tempo And Align The Beatgrid
- Step 4: Check Phase, Key, And Harmonic Compatibility
- Step 5: Set Levels Before The First Transition
- Step 6: Choose A Transition Style
- Step 7: How to Mix Two of Your Own Tracks In Context, Not Track By Track
- Step 8: Export, Review, And Refine The Final Version
- Common Mistakes
- Frequently Asked Questions
- Can I mix two of my own tracks if they have different tempos?
- Should I use a long blend or a short EQ transition for trance?
- How do I avoid muddy bass when both tracks play together?
- What is the best way to choose which two tracks to mix first?
- Do I need a DJ controller, or can I mix two tracks in a DAW?
- How should I record my DJ set if I am mixing my own tracks?
- Conclusion
What You Need
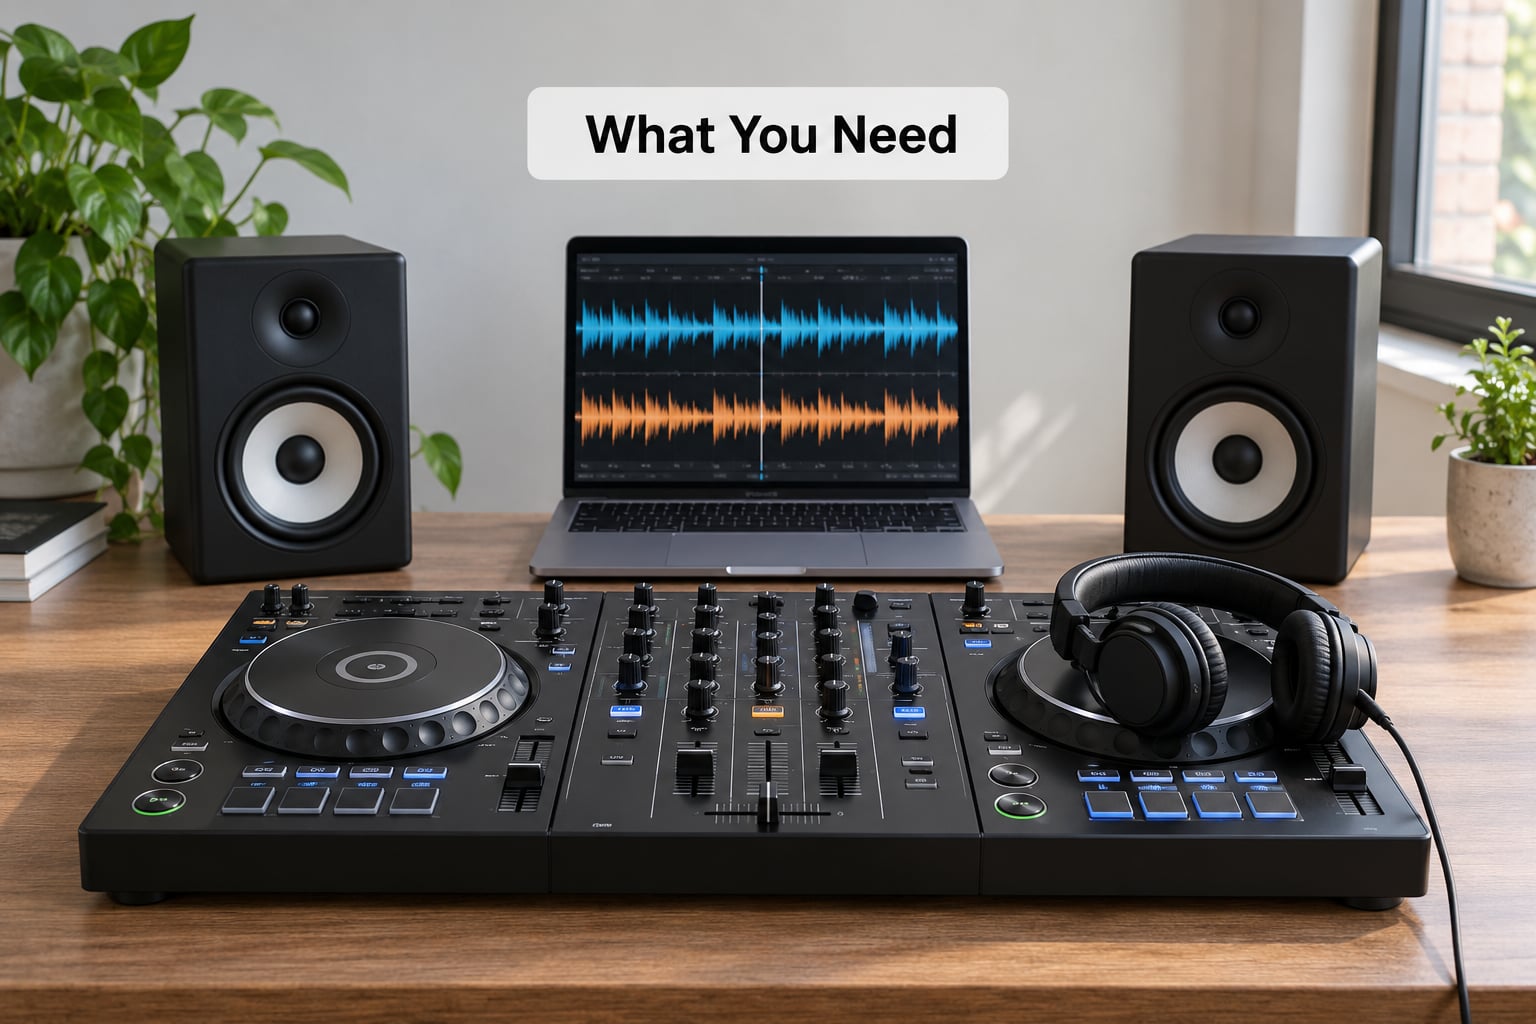
Start with two finished tracks you already like, which means master files you are happy to hear in public, not rough bounce exports from an unfinished session.
You also need somewhere to cue, which is headphones. One pair is enough. Monitoring speakers help more than people expect, because your ears read level differently at half volume, and that is where the mud shows up first.
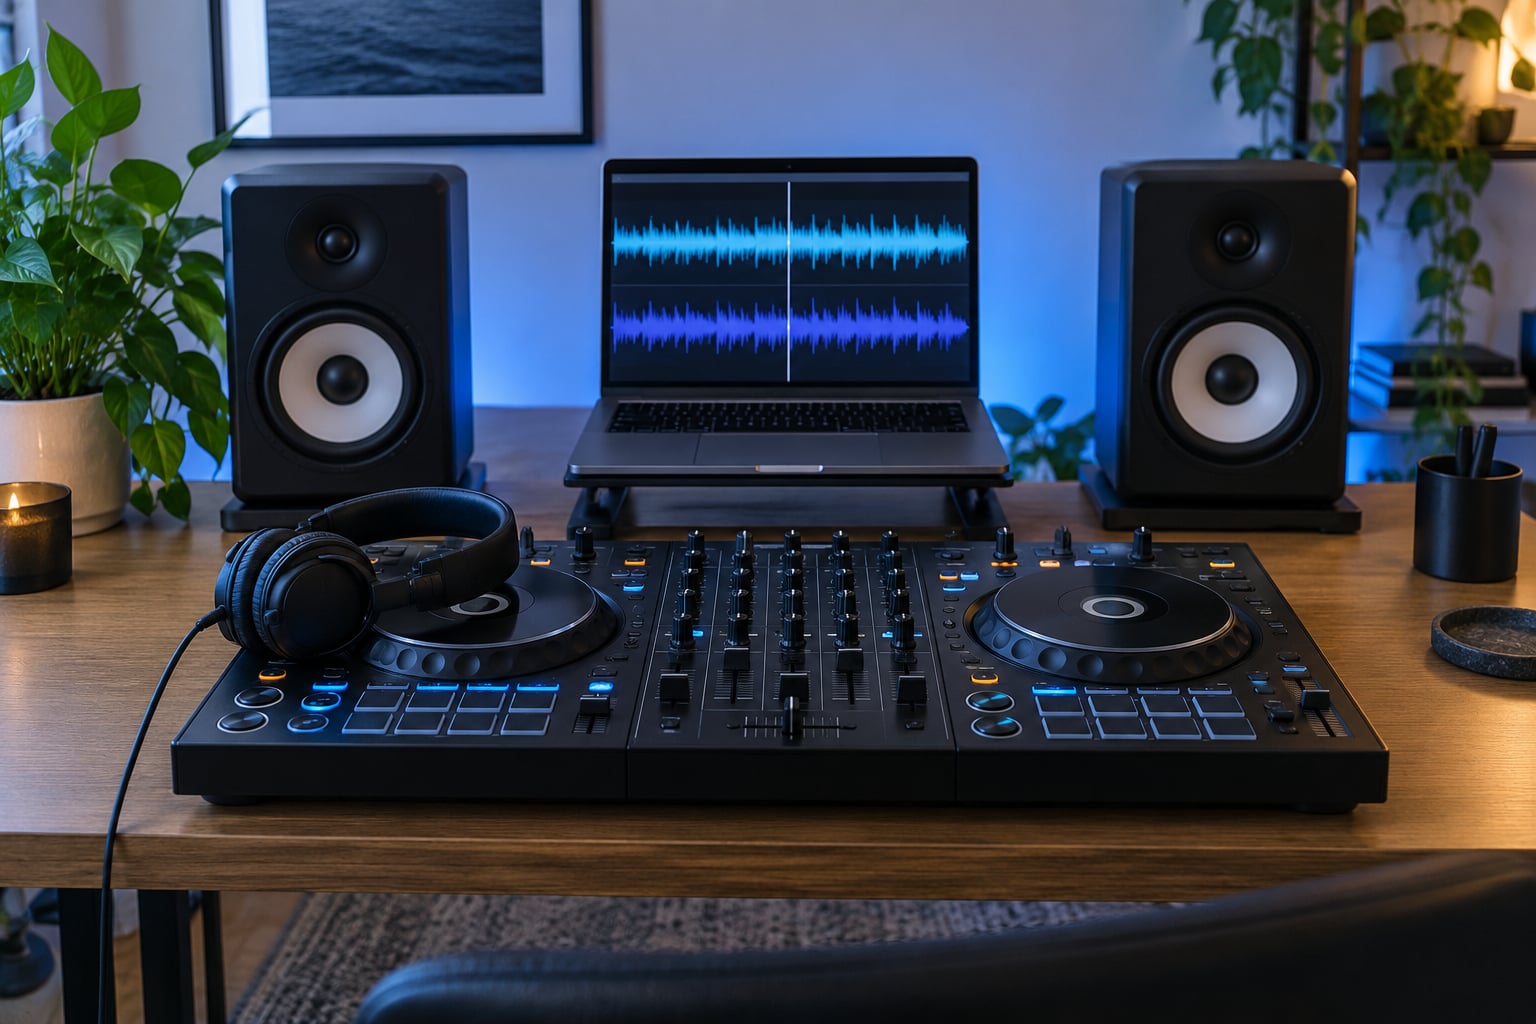
A controller or two decks and a mixer is the third piece. It does not have to be a club rig. A four-channel DJ mixer, any controller with two decks and a crossfader, or a pair of turntables with a mixer all run the same workflow.
The fourth thing is a distraction-free export folder. When you are mixing two of your own tracks, version confusion is the most common self-inflicted problem. You cue a demo, discover mid-set that it is a different take, and the mix falls apart. Name files by release and version, never by “final2”.
On the software side, a DAW and DJ software differ in ways that matter here:
- DJ software (Serato, Rekordbox, Traktor, Virtual DJ) gives you a beatgrid, a pitch fader, hot cues, per-track gain, channel EQ, and a crossfader. The workflow below maps almost one to one.
- A DAW (Ableton Live, FL Studio, Logic Pro, Cubase, Studio One, Bitwig) uses channels, the crossfader, and an audio interface instead of deck A and deck B. The tempo match comes from warping, warping markers, or the pitch control in Live’s DJ and Link mode, not from a pitch fader.
- Rekordbox and Serato hold the beatgrid analysis for you. In Ableton Live you set the warp marker on the first kick yourself. In FL Studio you place the warp marker or use the pitch knob. In Logic Pro you turn on Smart Tempo or drop a warp marker manually.
Master output matters as much as the software. A gain-matched pair of tracks into a clean master bus is what makes the rest of this guide work.
Step-by-Step: How to Mix Two of Your Own Tracks for a DJ Set
Step 1: Choose Two Tracks With Complementary Energy
Pick the tracks for the journey first and the BPM second. If two of your own tracks share a tempo but no energy, you have given yourself a flat spot in the set.
Listen to both in full and write down where the real structural changes happen. A progressive trance track with a long, patient intro and a spoken-word break wants a partner with a clearer pulse. A darker techno track with a relentless kick and no vocal wants an uplifting progressive track, not another dark one.
Think about three things: energy, density, and what carries the ear. Vocal density is the one people forget. Blending two tracks that both have a lead vocal in the same register produces a lumpy, hard-to-follow mess, and it is nearly impossible to fix with EQ.
Density of arrangement is the other one. A full mix with a bass, a lead, a pad, and percussion all playing at once will swallow a sparse, breakdown-driven track. Mixing a full arrangement into a breakdown is the standard fix, because the breakdown has space by definition.
A useful check: play track A, then start track B at the same volume from a bar one third in. If B sounds like an interruption, it is the wrong opener for A. That is a five-second test and it saves twenty minutes of nudging.
Step 2: Prepare Both Tracks For Mixing
Export clean, high-quality audio before the set, and check the peak level on the file. A master that peaks near 0 dBFS with a couple of clipped transients will distort the moment both tracks play together, no matter how good the transition is.
Use one file format across your set. 24-bit files at 44.1 kHz or 48 kHz are safe, and mixing 44.1 and 48 kHz files in the same software session is fine, but do not re-export through MP3 for your own music. Lossy compression on an already loud electronic master takes the bite out of the kick.
Import both tracks into your DJ software or DAW, then start each one from the same reference point. That means the same bar, or the same moment, every time. Own music is not a stranger, so mark the sections you will actually use.
Set at least one hot cue on each track. On the incoming track, put it on the first strong downbeat you want to use, ideally a point where a kick is unambiguous. On the outgoing track, put one on the last downbeat before the breakdown or the outro you are blending through.
Mark the strong phrases too. Every 8 or 16 bars there is usually a riser, a snare fill, a crash, or a filter sweep you built. Those are transition points, and they are the reason a mix of your own tracks can sound better than a mix of two commercial records, because nobody else knows they are there.
Headroom is the last preparation task. Leave a couple of dB of space on your masters so the sum of two tracks does not hit the ceiling. If you cannot re-render, pull the master fader down 3 dB in the software and note it, because you will forget otherwise.
Step 3: Match Tempo And Align The Beatgrid
Beatmatching means getting two tracks at the same speed with their kicks landing on the same instants. That is the whole definition, and everything else is polish.
Set the incoming track’s tempo to match with the pitch fader first, then fine-tune with the jog wheel. On software with a beatgrid, press sync, then ignore it and check. Sync is a starting position, not a finished job, and on your own tracks it fails more often because home productions drift, have half-time sections, or start with a sound effect before the first kick.
Nudge in small movements. Press the jog wheel or shift-click to move the track a few milliseconds, listen to the kick, and repeat. If the kicks are side by side in a stereo check, the beat phase is off. If they are slightly early or late across every bar, the tempo is off.
Verify with eight to sixteen bars played together. That is the real test. A track can sound locked for two bars and drift over sixteen, especially when it was made at a different tempo and warped.
Phrasing is the part people skip, and it matters more when both tracks are yours. Phrasing means lining up the musical sections, not just the beats. The standard unit is the 32-bar phrase, which is why the rule of 32 exists: bring in the new track on the phrase boundary that keeps both songs’ structures coherent.
On a long trance intro, count bars out loud once before the set. A breakdown that starts at bar 33 of track A and bar 65 of track B will sound like two songs arguing even when every kick is perfectly aligned.
How far apart can the tempos be? Modern time-stretch algorithms handle about 6 to 8 percent well, roughly 4 BPM at 128 BPM, and stay musical further than that on repetitive electronic material. Beyond about 10 percent the pitch shift becomes obvious. If the gap is large, master the incoming track at a different tempo or pick a different pairing.
Step 4: Check Phase, Key, And Harmonic Compatibility
Check the low end first, because mud is the most common failure and the easiest to prevent. On the mono switch or in a mono-sum check, play both kick drums together. If the kick disappears, drops in volume, or thins out, the two basslines are partly cancelling each other out.
That is a phase problem and it is not a fault in either track. Low frequencies behave differently in mono, and a club system is effectively summing to mono for the bass. Keep the incoming track’s low EQ fully off while both basses play, which is the bass swap, and the problem disappears.
Then check the key. Harmonic mixing means choosing a pair that sits together on the Camelot wheel, the standard notation DJs use because it describes which keys can be mixed without sounding wrong. Same key mixes safely but sounds static, and the wheel’s plus one and minus one positions give you energy without the clash.
Two of your own tracks in the same key at the same tempo is the awkward case, because there is no tension left to exploit. Fix it with arrangement rather than pitch: bring one in during a breakdown so the keys have room, or use a quick cut into a drop where the change of rhythm carries the moment.
Compatible keys do not guarantee a good mix. A shared scale with two different chord progressions moving in opposite directions will fight, and reverb tails from track A can muddy a clean vocal in track B. Judge the combined movement by ear, in mono, with the filters mostly closed, before you commit to a long blend.
Step 5: Set Levels Before The First Transition
Gain staging is the process of setting each track’s level so they play at the same perceived loudness. When both tracks are your own, this is where self-mastered tracks fail hardest, because one release might be measured against a loud reference and the next against nothing.
Bring track A up to playing level. Bring track B to zero. Raise B until it sounds identical in loudness to A, then drop it back down about 3 dB to leave headroom. That is your gain match, and it should be a deliberate setting you can return to.
Two different controls cause confusion here. The track gain or trim sets the input level. The channel fader sets the level you mix with. The track volume in your DAW is a third thing, and it belongs to the master, not to the transition.
A peak meter is the objective checkpoint. Play both together through the master and watch it. If you see the meter sitting in the top few dB, pull both tracks or the master down until the peaks land lower, because clipping is permanent once it is recorded.
A second checkpoint is the volume-matched loop. Set a loop on track B of about eight bars, loop it under track A, and check that it neither jumps in level nor sits behind. If it sits behind, B is quieter and needs gain up.
Step 6: Choose A Transition Style
The right transition is the one that hides the seam and keeps the energy curve moving. Here are the six that cover almost every set built from your own music.
| Transition | How it works | Best for | Blend length |
|---|---|---|---|
| Long blend | Both tracks play together with a slow crossfader, low EQ cut on the incoming side | Melodic house, deep progressive, long intros | 32 to 64 bars |
| Short EQ transition | Mid and high on the outgoing track, bass on the incoming track, swap on a phrase | Standard house and techno mixing | 8 to 16 bars |
| Bass loop | Extend the outgoing 4 or 8 bar drum loop, bring the new track in on the loop end | Tracks with clean, loopable drum sections | 8 to 16 bars |
| Filter transition | Low-pass the outgoing track while raising the incoming one, or sweep both together | Energy resets, build-ups, darker sets | 16 to 32 bars |
| Phrase-based transition | Mix only inside a musical phrase, usually a breakdown, and land the change on a drop | Trance, progressive, anything with long breakdowns | 16 to 32 bars |
| Cut and reintroduce | Hard cut, echo or loop the outgoing track briefly, then bring the new one in clean | Techno, parties where a smooth blend feels wrong | Instant to 8 bars |
Whatever you choose, avoid the plain volume crossfade with no EQ work. It is the one blend that reliably sounds like two songs playing rather than one DJ set, because two full mixes at full range summed together lose clarity fast.
On your own tracks, use the sound design. A riser you built into the breakdown of track A is a natural exit, and the reverse cymbal or noise sweep at the start of track B is a natural entrance. Align the two and the transition explains itself, which is something a commercial track never gives you.
Step 7: How to Mix Two of Your Own Tracks In Context, Not Track By Track
A transition that works in isolation can still ruin a set. Judge the blend against the track before it and the track after it, not in a vacuum with both faders at zero.
Build the running order first, even loosely. Play your planned set start to finish without mixing, and mark the energy high point. Two of your own tracks at the same energy in a row is where sets go flat, and swapping their order usually fixes it with no technique change at all.
Practise the complete sequence, not the single transition. The first two tracks of a set deserve the most rehearsal, because that is where the habit gets set, and because the mistakes there are the ones a listener notices first.
Record the rehearsal, which is the part most people skip and the part that teaches you the most. Listen back and mark the moments that feel abrupt, muddy, or predictable. Then revise just those moments rather than redoing the whole run.
Tension is worth keeping. A blend that resolves too smoothly every time reads as competent and flat. Once the basic transition is reliable, vary the length, add a filter, or start track B four bars late over a loop.
Step 8: Export, Review, And Refine The Final Version
Record the rehearsal with the software’s built-in master recording, or with OBS if you want a video mix, and export the audio as WAV. Keep the raw file, because the next review will find something you missed.
Listen back three ways. Once at dance volume, which is where the set has to work. Once quietly, which reveals balance problems you cannot hear when everything is loud. Once in mono, which catches low-end phase problems and clashing frequencies that a stereo check hides.
Check for clipping at the transition point, listen to how the vocal in the incoming track sits against the outgoing track, and confirm the exit point. The moment the new track arrives should feel like the same set, not a restart.
Fix what you found, save a corrected version, and note the settings that worked. A short note like “gain 0.0, low EQ full off on B, blend from the 16-bar breakdown” saves you rebuilding it next week.
Common Mistakes
Almost every bad transition traces back to one of these. The table maps the symptom to the cause to the fix, and the notes after it cover the ones that are not obvious from the sound alone.
| What you hear | Why it happens | How to fix it |
|---|---|---|
| Muddy, boomy low end | Both basslines playing at once, sometimes out of phase | Low EQ fully off on the incoming track during the swap |
| Clashing, sour melody | Keys or chord progressions fight, often combined with a vocal in both tracks | Pick a Camelot-compatible pair, or mix inside a breakdown |
| Transition feels abrupt | Blend started before the phrase structure is clear, or ended mid-phrase | Count bars, start on the phrase boundary, end on a drop |
| Incoming track sounds thin or wrong | Relied on automatic beatmatching on a track that drifts or has a half-time section | Set the beatgrid by hand, verify over 16 bars, then use sync as a starting point |
| One track suddenly louder | No gain match between two differently mastered masters | Gain-match by ear, confirm on a peak meter, leave 3 dB of headroom |
| Whole section sounds wrong | Transition choice ignored the energy arc of the set | Reorder first, adjust technique second |
| No clean mix point | Both tracks are at full arrangement density the whole time | Use a loop, a breakdown, or a quick cut instead of a blend |
Two mistakes deserve extra attention. Starting the blend during a vocal because it feels like a natural gap is backwards: the vocal is exactly what makes the section hard to mix over. Start before the vocal, or after it, and use the vocal’s own entry as the moment the new track becomes audible.
And do not treat long tracks as a problem to solve with long blends. Forum discussion on r/DJs and the DJ TechTools boards keeps repeating the same advice: preview unfamiliar material, keep the blend to 32 bars or less, and play the tracks properly rather than stretching one out for twenty minutes.
The final tip is the boring one that works. Rehearse the same transition at least three times before you perform it. Once to learn it, once to make it clean, once to be able to do it while looking at the room instead of the mixer.
Frequently Asked Questions
Can I mix two of my own tracks if they have different tempos?
Yes, within limits. Modern time-stretch handles roughly 6 to 8 percent tempo change cleanly, which is about 4 BPM at 128 BPM, and stays musical a little further on repetitive electronic material. Past around 10 percent the pitch shift becomes obvious to listeners. Because both tracks are yours, you have a better option: re-render or tempo-warp one of them offline to a tempo you already like, so no live stretching is needed at all.
Should I use a long blend or a short EQ transition for trance?
For most progressive trance, use a phrase-based or long blend rather than a short one. Trance intros and breakdowns run 32 bars or more, so there is room to bring a new track in slowly with the low EQ cut and the mids riding on top. A short EQ transition works when the incoming track has a strong kick from bar one and you want a faster energy change. The section structure, not the genre label, should decide it.
How do I avoid muddy bass when both tracks play together?
Keep the incoming track’s low EQ fully off until the outgoing track’s bass has left, then swap. The two kicks can overlap for a moment, but the low frequencies must not. Check the problem by flipping to mono or using the mixer’s mono button: if the kick thins out or drops in volume when both tracks play, the basslines are cancelling each other and the low EQ cut will fix it.
What is the best way to choose which two tracks to mix first?
Choose two tracks with complementary energy and different arrangement density, not two that share a tempo. A good first practice pair is one full arrangement with a clear kick and one breakdown-driven track with a vocal. Start the fuller track first, bring the second one in during its breakdown, and mark the bar where each phrase begins. Avoid starting with two tracks in the same key at the same BPM, since that removes the tension you want from the blend.
Do I need a DJ controller, or can I mix two tracks in a DAW?
You can mix two tracks in a DAW. Set up two audio channels, a crossfader, and a master bus, load both files, and warp one to match the other tempo. In Ableton Live use DJ mode or Link mode, in FL Studio use the pitch knob and warp markers, in Logic Pro use Smart Tempo or a manual warp marker. A controller just makes the crossfader, pitch, and cueing physical, which speeds up rehearsal considerably.
How should I record my DJ set if I am mixing my own tracks?
Record the master output, not the input. Use your DJ software’s built-in recording feature, or run the master through an audio interface into OBS or a DAW, and export the audio as a WAV file. Keep the raw recording, because reviewing it later is the fastest way to hear level jumps and a blend that drifts. Listen back at dance volume, at low volume, and in mono, since each one exposes different problems.
Conclusion
Mixing two of your own tracks comes down to four things: pick tracks with a real musical relationship, mark your cue points, gain-match them, and then blend on a phrase rather than on a bar count. The rest, EQ moves and filter sweeps, is how you make that blend sound deliberate.
Do this first. Choose two tracks where one is dense and one is open, drop a hot cue on the first downbeat of the open one, set both gains so they match, and practise a phrase-based transition from the breakdown. Rehearse it three times before anyone is listening, and it will hold up in front of a room.