Learning how to use a loudness meter properly comes down to three things: knowing which reading answers your question, measuring the whole track rather than the loudest eight seconds, and treating the number as a check on your mix rather than a goal to chase. A meter is a diagnostic tool. The workflow below takes about ten minutes per track once the plugin is installed, and every step has a visible sign that it worked.
Table of Contents
- What You Need
- Step-by-Step
- How to Read LUFS, LUFS-M and LUFS-S
- How to Set a Target Loudness
- How to Check True Peak and Avoid Clipping
- How to Compare Loudness Across Tracks
- Common Mistakes
- Tips for Reliable Loudness Measurements
- Frequently Asked Questions
- What does a loudness meter do?
- How many dB is 1 LUFS?
- What is a good LUFS level for Spotify?
- What should my LUFS be before mastering?
- Is -14 LUFS a good mastering target?
- Should I meter before or after exporting?
- Conclusion
What You Need
A loudness meter applies a K-weighting filter, which approximates how the human ear weights frequency, then averages that weighted energy over a time window to give a reading in LUFS. It measures perceived loudness, not peak level. It does not change your audio, it cannot judge whether a mix sounds good, and it knows nothing about genre.
One LU reads as a one-decibel change in loudness under that K-weighting, so a mix measured at -14 and one at -16 differ by roughly how much a volume control moved between them. That makes LUFS directly comparable across tracks, which peak meters are not.
Beyond the meter itself you need a fixed monitoring level, a known destination, and somewhere to note the readings. That last one sounds trivial and it is the habit that separates people who measure from people who glance.
On meters: every DAW ships with one. Ableton Live has a built-in loudness meter on the Utility device and in the Session and Audio tracks, Logic Pro has it in the Metering and Loudness panel under View, Pro Tools has Loudness Metering in its meters window, Reaper exposes LUFS-I and LUFS-M on the master track, and Cubase has a loudness meter in the Loudness and Metering panel. Free third-party meters such as YouLean Loudness Meter add offline analysis and presets, which matters once you start checking finished files rather than live playback.
Two reference levels to keep in your head. Streaming services normalize toward roughly -14 LUFS integrated, and EBU R128 broadcast delivery sits at -23 LUFS with a permitted tolerance around it. Those are the numbers you will compare your measurements against.
Step-by-Step
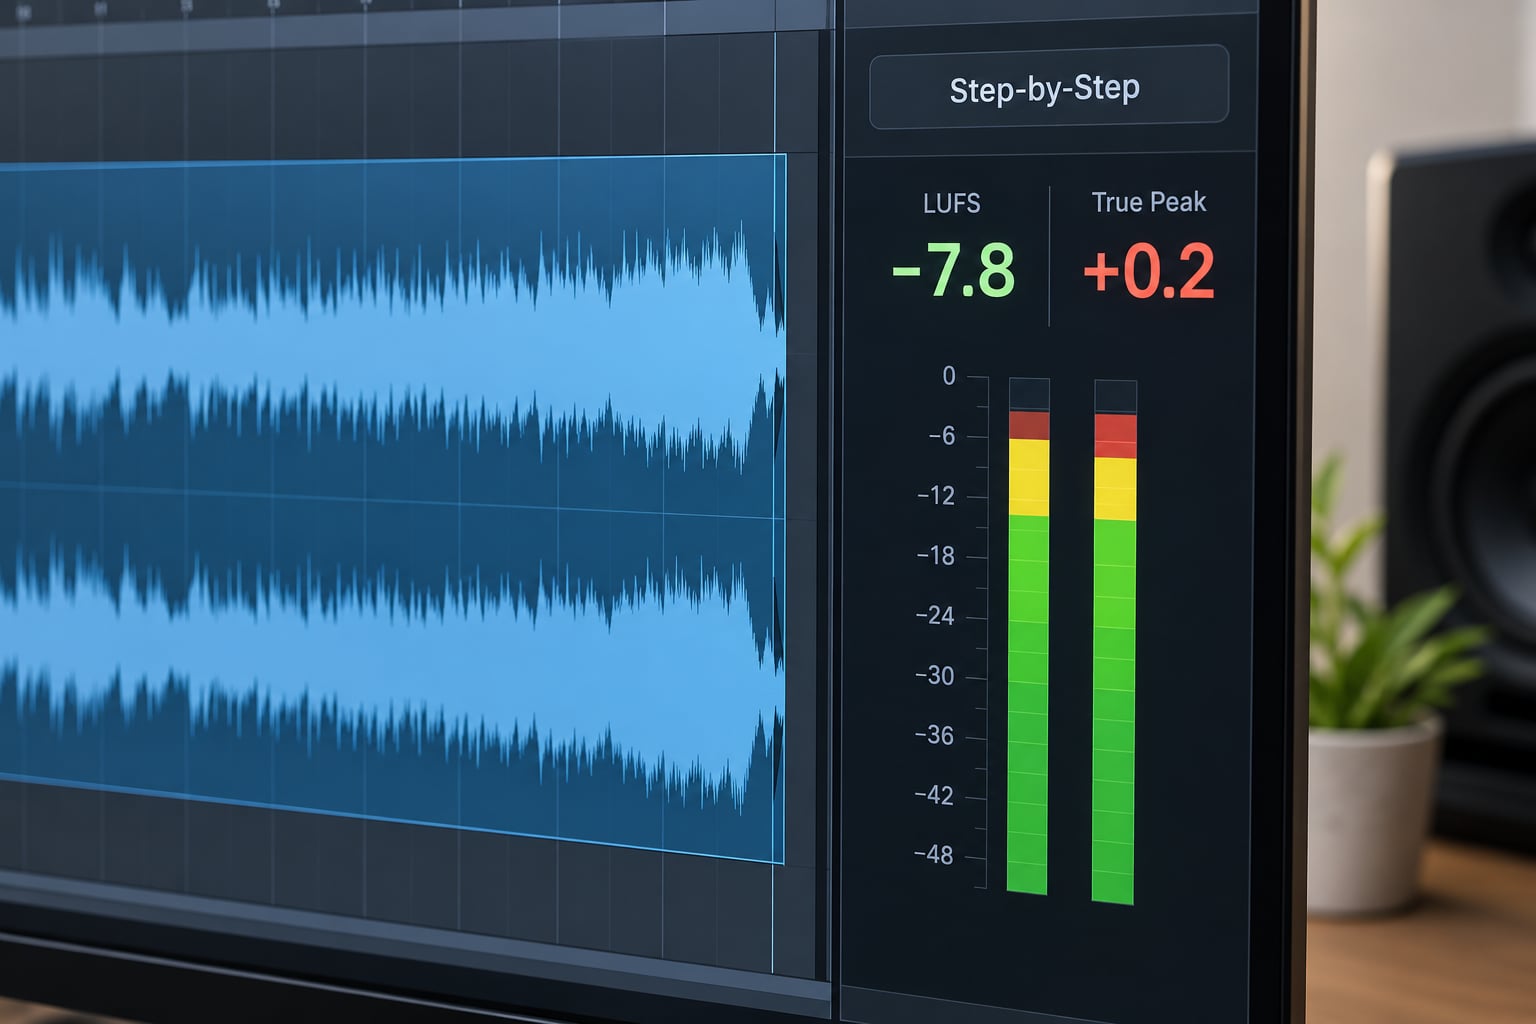
Run this on every track, in this order. It takes ten minutes and it replaces most of the guessing that happens at the end of a session.
1. Reset the meter. Clear the integrated reading and the peak hold before you press play, otherwise you are reading the last track you exported. Most meters reset with a single click or a right-click menu item.
2. Play the whole track from silence to silence. Integrated loudness only means something once the entire piece has passed through it. Skipping the tail understates the number; looping a chorus reports a section, not a track.
3. Watch short-term loudness during the build. LUFS-S covers three seconds, which is roughly the length of a phrase or a bar group. Note whether your drop sits 4 or 8 LU above your intro.
4. Watch momentary loudness on transients. LUFS-M covers 400 milliseconds. It is the reading that tells you how a snare hit or a bass slide registers, and it is the one people misread most often.
5. Read the true peak at the end. dBTP should sit below your ceiling once the track has finished. Note the highest value the meter caught, not the average.
6. Compare against a reference at matched loudness. Level-match your track to something you trust, then judge balance.
7. Export, then re-measure the printed file. Sample rate conversion, dithering and format choice can move the numbers slightly. Analysis of the file you are actually uploading is the only reading that counts.
8. Write the numbers down. Integrated LUFS, max true peak, loudness range. Three numbers per track, and you can spot a mastering regression months later.
How to Read LUFS, LUFS-M and LUFS-S
LUFS-M is momentary loudness over a 400 millisecond window, LUFS-S is short-term loudness over three seconds, and LUFS-I is integrated loudness across the entire programme with gating applied. The first two describe what is happening right now; only the third describes the track.
Gating is the part most guides skip. The measurement ignores anything below an absolute threshold of -70 LUFS, then applies a relative threshold 10 LU under the resulting ungated level. In plain terms, near-silence is excluded first, and then anything more than 10 LU quieter than the bulk of the track is excluded too.
This is why a track with four seconds of digital silence at the head still measures roughly the same as one without. It is also why two plugins can report slightly different integrated values for the same file, if their gating and channel weighting differ. Standardise on one meter per project.
Loudness range, usually shown as LRA, describes the spread between the 10th and 95th percentile of short-term readings. A value around 4 to 8 LU is normal for electronic music. Above 12 you are looking at a very dynamic record, and below 3 you are probably near a wall of compression.
How to Set a Target Loudness
Set your target from the destination, not from a number you saw on a forum. Streaming normalization, club playback and broadcast delivery each have different expectations, and one universal figure will not serve all three.
For streaming, integrated loudness anywhere from -9 to -14 LUFS lands well inside the normalization window, so the service will not turn your track down or push it up audibly. For a club-oriented master that a DJ will play through a PA, staying quieter, roughly -12 to -9 LUFS integrated with a -1 dBTP ceiling, preserves dynamics that a big system needs. For EBU R128 broadcast and podcast delivery, aim for -23 LUFS integrated with true peak at or below -1 dBTP.
Now the part worth arguing about. -14 LUFS is a normalization reference, not a mastering instruction. Producers on r/edmproduction and r/mixingmastering push back on it hard, and the reasoning holds: if you drive an already balanced mix toward exactly -14, you add limiting and distortion for a number that changes nothing on the listener’s side. Master to what the music needs, then confirm the result sits inside the window.
What worked for me: I set a rough destination, mix and master properly, then measure. If the landing spot is wildly outside the window, I investigate why. Usually the cause is not volume, it is low end eating headroom, and an EQ move on the 60 to 250 Hz region fixes it faster than turning the limiter up.
How to Check True Peak and Avoid Clipping
True peak measures the highest level of the continuous waveform between samples, not just the samples themselves. Reconstruction filters in MP3 and AAC encoders can push reconstructed peaks above your original sample peaks, so a track peaking at -0.1 dBFS can distort after encoding. dBTP catches that by oversampling the signal, commonly four times.
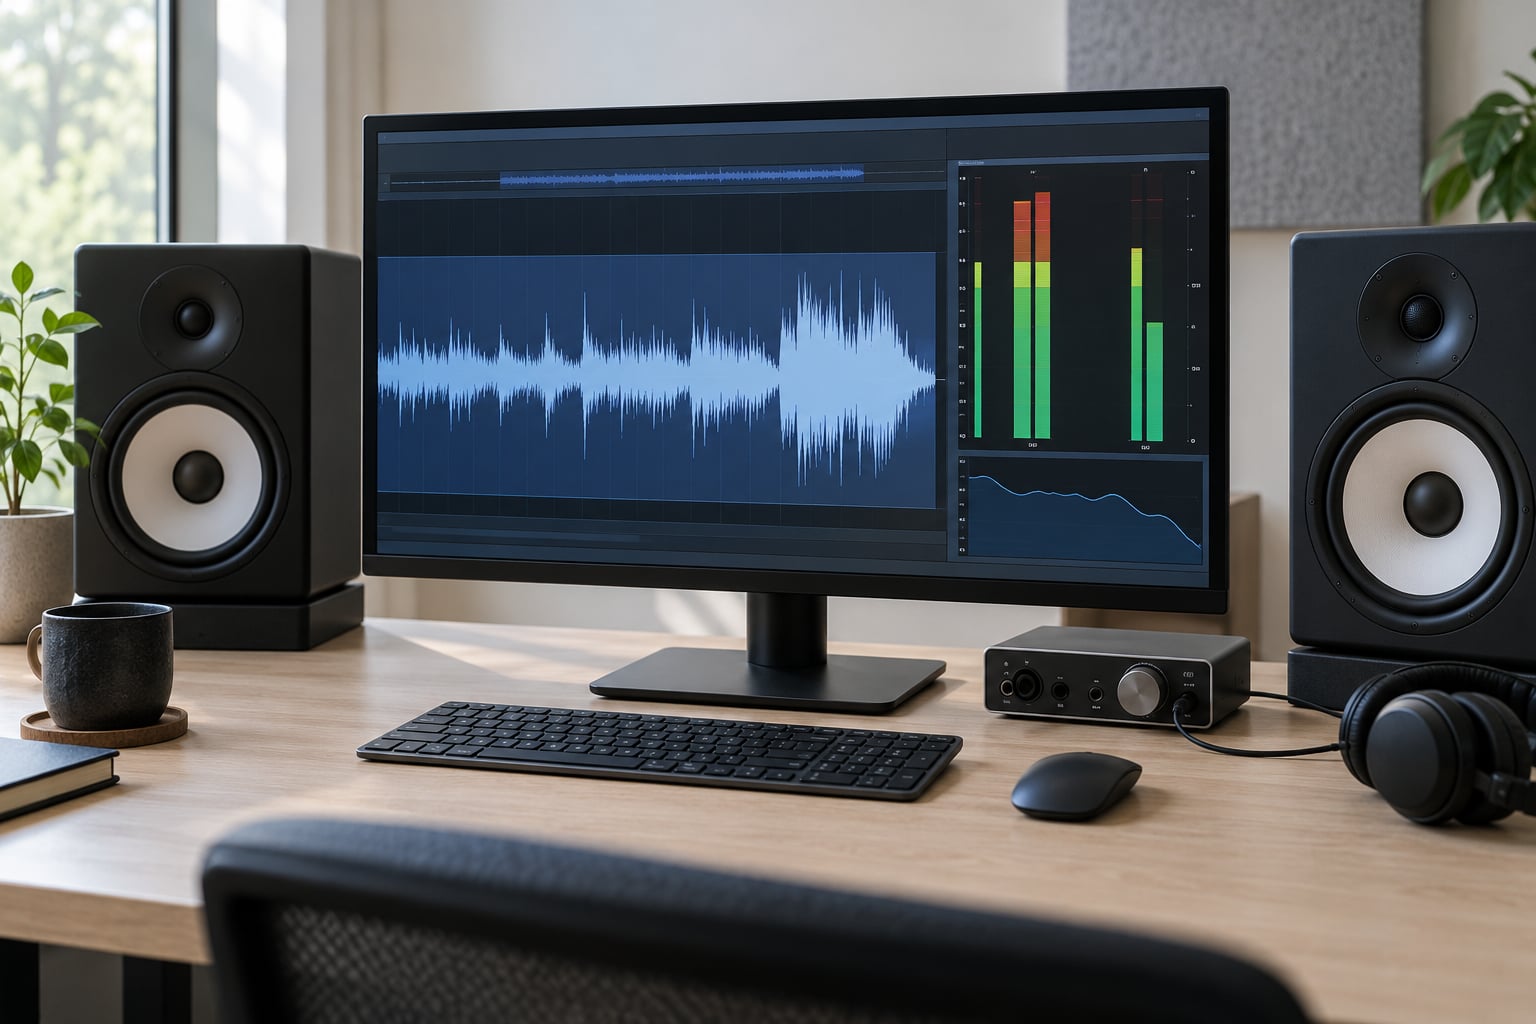
The workflow is simple. Watch the waveform display next to the true peak readout, set your limiter ceiling at -1 dBTP for lossy streaming delivery and closer to 0 for a WAV that will stay lossless, then watch gain reduction while you play. Persistent gain reduction of more than 3 dB on the loudest sections is a signal to go back to the mix, not to push harder.
Producers on r/mixingmastering consistently place their loudness meter at the end of the mastering chain, after the limiter, which is the right call for a final check. During mixing, put it on the master bus before the limiter instead, so you can see what is arriving rather than what survived.
How to Compare Loudness Across Tracks
Comparing two tracks at raw playback volume tells you almost nothing, because your ears and speakers both respond to absolute level. The fix is level matching: measure both, then set the second one so its integrated reading matches the first, and only then judge.
Reset between tracks, use the same meter and the same settings, keep your monitor position and volume untouched, and compare under similar conditions. For finished files, use the offline analysis mode of your meter rather than playing them, since that removes monitoring level from the equation entirely.
One habit I would not give up: compare your finished track against a reference in the same genre on the same system, level-matched. If yours is louder and the reference sits lower, you have probably traded punch for a number.
Common Mistakes
Measuring only the loudest section. A chorus measured at -8 LUFS is not your integrated loudness. If the meter has no integrated value after playback, you measured a section.
Normalizing too early. Raising a mix to hit a number before it is balanced hides level problems behind volume. Fix the mix first, measure second.
Chasing momentary peaks. LUFS-M swings hard on every transient and tells you nothing about how the track reads overall. Use it to check individual hits, then let it go.
Trusting the number over your ears. A track can hit its target and still sound wrong, usually because heavy limiting flattened the balance. On r/audioengineering, that exact complaint turned out to be low end eating headroom rather than insufficient volume.
Moving your monitor volume between comparisons. Every change in level resets your perception and invalidates the comparison.
Reading the meter through a limiter during mixing. You will see gain reduction and mistake it for loudness. Meter before the limiter while mixing, after it when mastering.
Assuming the LUFS reading explains every quiet-sounding master. Loudness is one input to perception. Spectral balance, transient shape and where energy sits in the low mids usually matter more, and a phone SPL app is no substitute for any of it.
Tips for Reliable Loudness Measurements
Keep one meter installed permanently on the master bus so every mix starts with the reading already visible. Opening it early, rather than at the mastering stage, is the change that most improves decisions about headroom.
Measure at the same monitoring level every time, and if you care about level matching, calibrate your monitors to a fixed reference so playback comparisons mean something. A calibration level in the 79 to 85 dB SPL range is the usual target.
During mixing, use short-term readings to check section balance: if your breakdown sits at the same short-term level as your intro, the breakdown probably will not feel like one. During mastering, watch momentary for transients and gain reduction for how hard you are pushing. After export, analyse the file.
Audition the platform normalization before release. Several tools simulate the attenuation a service applies to a loud master, which settles a lot of arguments about -14. And run a second pass the next day with fresh ears; the first pass is when you tell yourself the master is fine.
Write the integrated value, max true peak and loudness range into your project notes each time you export. When a track ages badly, or a client asks why the loud one sounds thin, you will have data instead of memory.
Frequently Asked Questions
What does a loudness meter do?
A loudness meter measures how loud audio feels to the human ear over time and reports it in LUFS. It applies a K-weighting filter that approximates the ear’s frequency response, then averages the weighted energy across a 400 millisecond window, a three second window, or the whole programme. Unlike a peak meter, it tells you perceived loudness rather than the highest single sample, which is why streaming platforms use it for normalization.
How many dB is 1 LUFS?
One LUFS reads as roughly a one-decibel change in perceived loudness, because the K-weighting filter is applied before the level difference is calculated. Ten LUFS therefore sounds about ten times as loud in level terms as zero, following the same logarithmic behaviour as any decibel scale. This is what makes LUFS readings comparable between two different masters, and why matching integrated loudness is the fair way to level-match a reference track.
What is a good LUFS level for Spotify?
Anything from roughly -9 to -14 LUFS integrated sits inside the normalization window that services such as Spotify and Apple Music use, so your master will be played without an obvious volume change. Landing well inside that range gives you room either way. Master to what the music needs first, measure afterwards, and only intervene if the result falls well outside the window.
What should my LUFS be before mastering?
Before mastering, the number matters far less than the headroom and the balance. A mix that peaks around -6 dBFS and integrates anywhere from -18 to -24 LUFS is a healthy handoff, and a quiet reading is not a problem in itself. Mastering raises level; if your mix arrives with no headroom left, the engineer has to limit harder than necessary to reach the target.
Is -14 LUFS a good mastering target?
It is a normalization reference, not a mastering target. Mastering an already balanced mix to exactly -14 usually means extra limiting for a number that changes nothing for the listener, since the service would have adjusted your level anyway. Treat -14 as a checkpoint, and fix balance first if your integrated reading sits far outside the window.
Should I meter before or after exporting?
Meter both, because they answer different questions. While mixing, meter the master bus before the limiter to see what is arriving. While mastering, meter after the limiter, which is where producers place the meter in the chain. After exporting, analyse the finished file offline, since sample rate conversion, dithering and the codec can all shift the readings slightly.
Conclusion
Play the whole track from silence, write down the integrated LUFS and the highest true peak, then level-match it against a reference before you decide anything is wrong. If the balance and the dynamics hold up, the number is a fact about your master rather than a problem with it.
Everything else follows from that order: balance first, level second, measurement last.