A notch filter is an extremely narrow EQ cut, usually with a Q of 10 or higher, that removes one specific problem frequency while leaving the frequencies on either side of it essentially untouched. It is the surgical tool for hum, clicks, boxy resonances, drum ring and feedback, and this guide shows you how to find the offending frequency, set the band, and confirm the fix.
Here is how to use notch filters on problem frequencies without dulling everything around them. It takes about ten minutes per problem frequency once you know what to look for, and every DAW ships with something that can do it. What trips most people up is not the tool, it is picking the frequency by guesswork instead of measuring it.
Table of Contents
- What You Need
- How to Use Notch Filters on Problem Frequencies
- Step 1: Isolate the Problem
- Step 2: Find the Center Frequency
- Step 3: Choose and Set the Notch
- Step 4: Check the Result
- Common Mistakes
- Frequently Asked Questions
- What does a notch filter do?
- Should I use a notch filter or a band-stop filter for a resonance?
- How narrow should the Q setting be when cutting a problem frequency?
- How can I find a problem frequency without a spectrum analyzer?
- When should I use a notch filter instead of a low-pass filter?
- Does every annoying frequency need to be removed with EQ?
What You Need
Almost everything required is already inside your DAW, so there is nothing to buy before you start.
- A parametric EQ with a notch or band-stop band type. Every major DAW has one built in.
- A spectrum analyzer, so you can read the centre frequency instead of guessing at it.
- Solo and bypass controls on the EQ and on the tracks around it.
- A rough mix or reference bounce you can compare against, level-matched.
Menu names differ between DAWs. Ableton Live, Logic Pro, Cubase, Studio One, Bitwig and Reason all ship a parametric EQ with a selectable band type, and FL Studio calls its built-in one Fruity Parametric EQ 2. Some plugins label the band “Notch”, some “Band Reject”, some “Band Stop”. They are the same filter.
Two useful extras if your DAW has them: a band-solo button so you can hear only the slice you are cutting, and an auto-notch or resonance-detection feature such as the one in iZotope RX or FabFilter Pro-Q. They get you to the right frequency faster, but you still need to know what a good result sounds like.
How to Use Notch Filters on Problem Frequencies
Step 1: Isolate the Problem
Before you touch a filter, solo the sound with the problem in it and mute whatever is masking it. If the ringing only shows up when the guitar and the pad play together, you will never locate it reliably until one of them is alone.
Play the isolated sound at a controlled level. Loud monitoring changes what you hear, and a frequency that sounds obvious at a low level can vanish entirely at full volume. The consensus advice from producers on r/edmproduction is blunt about this: find the bad frequency and notch it with the narrowest Q that does the job, so nothing else in the spectrum moves.
Skip this step and you are just carving notches by feel, which is how tracks end up dull and lifeless after twenty minutes of guessing.
Step 2: Find the Center Frequency
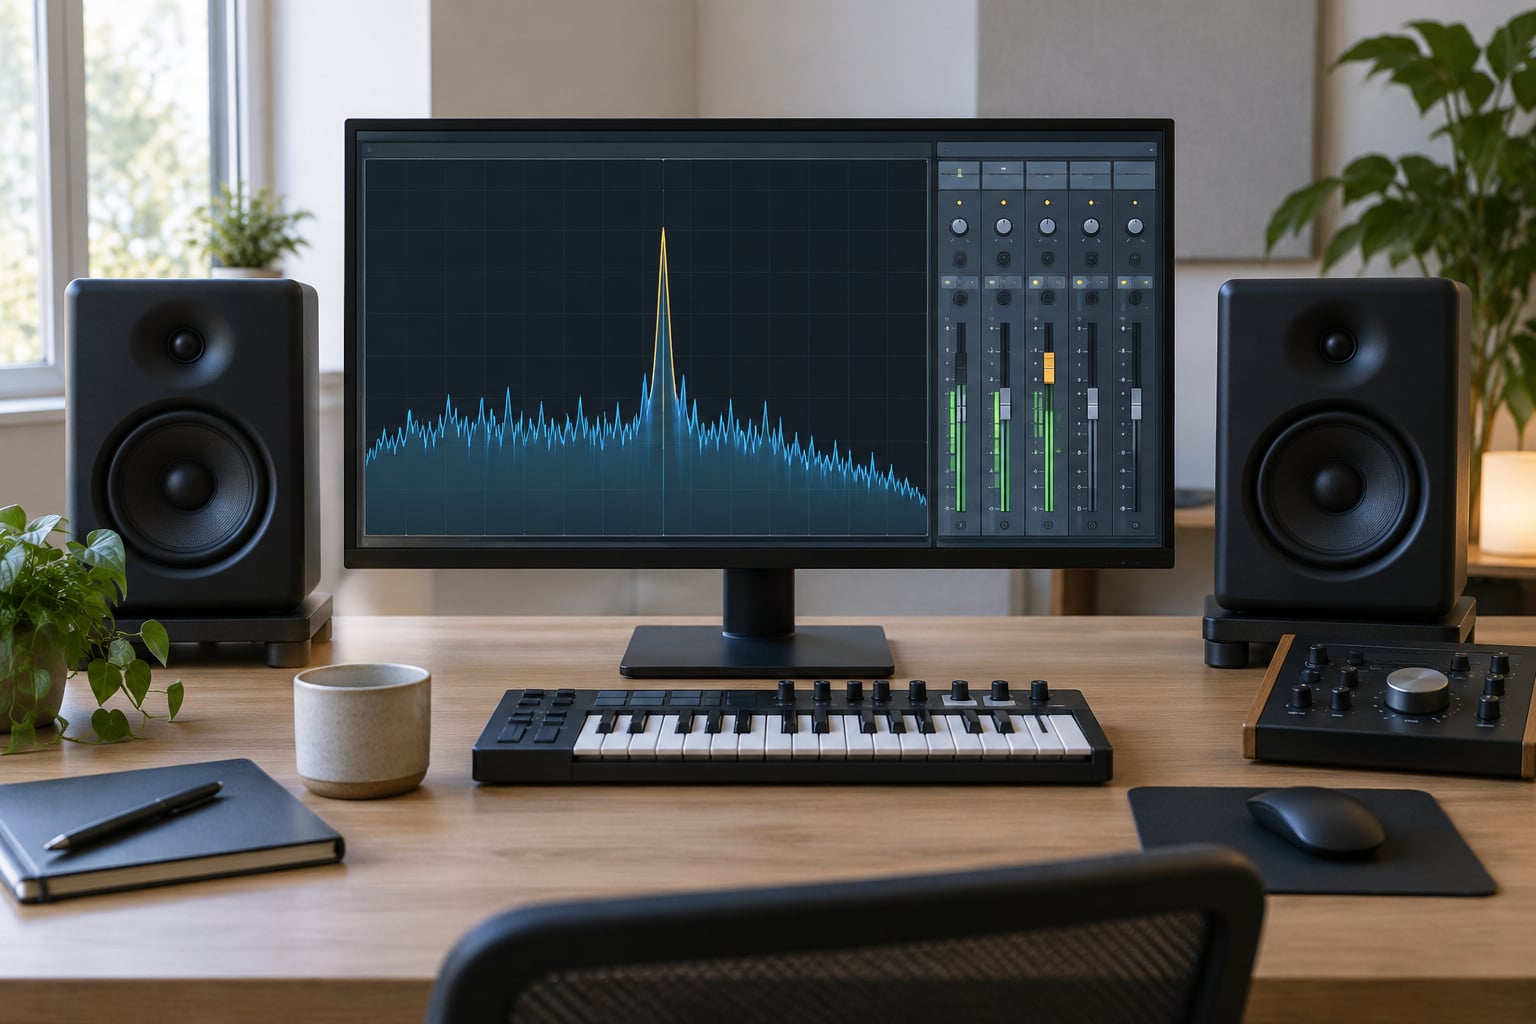
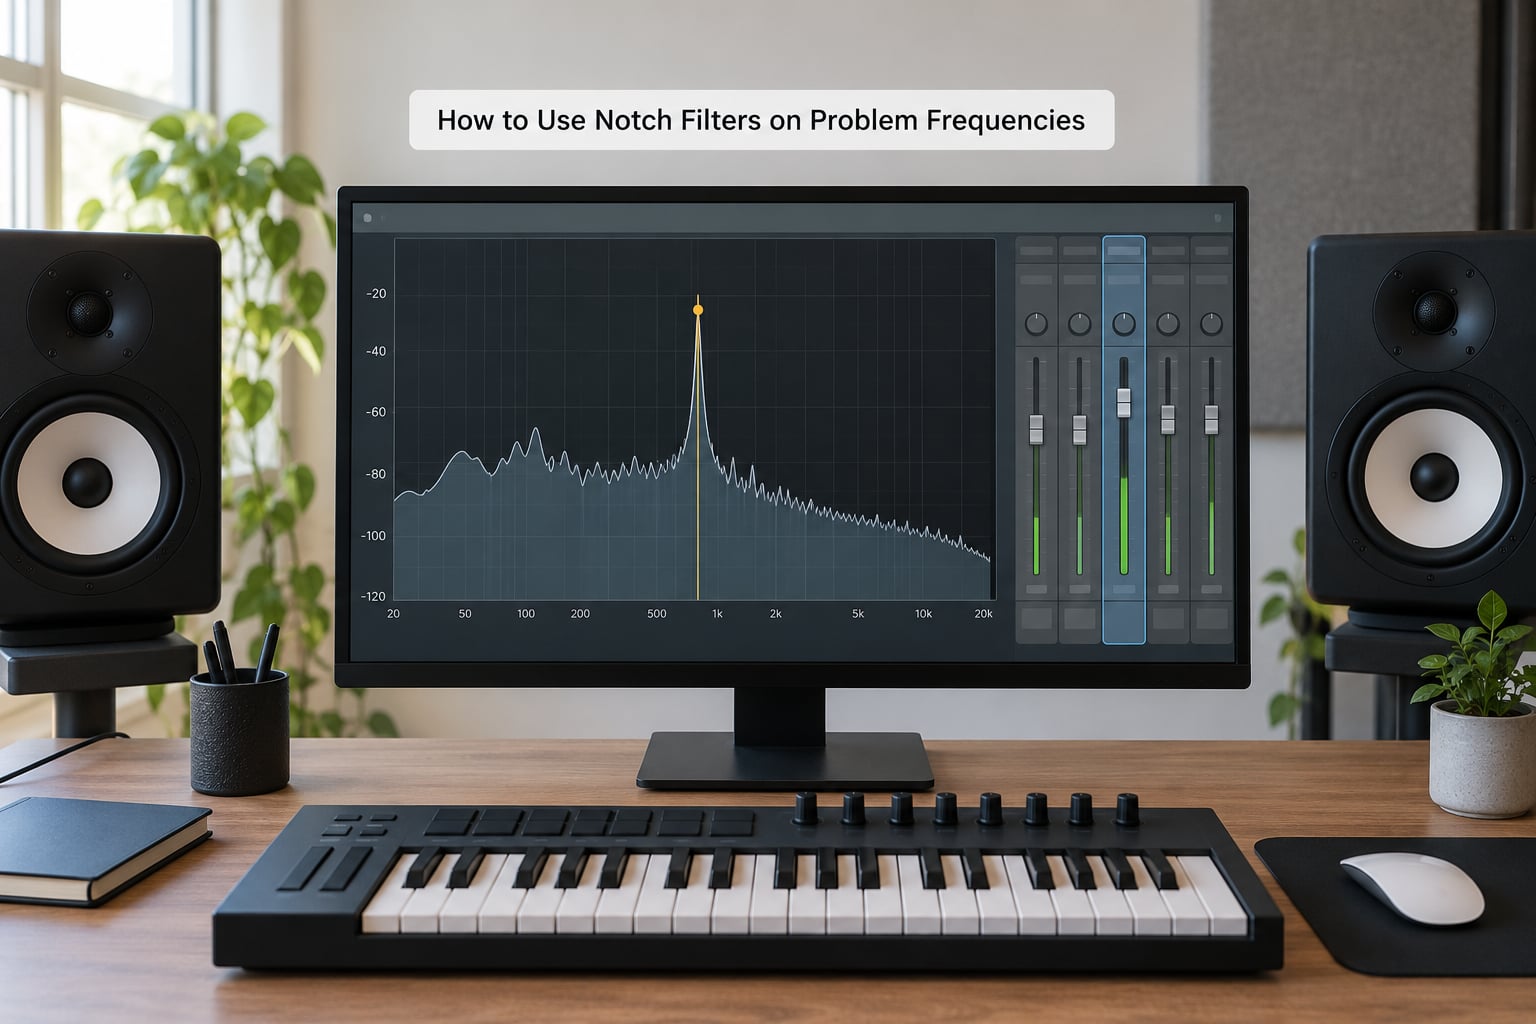
Open your spectrum analyzer and set a reasonably large FFT window, around 4096, so narrow peaks show up clearly instead of smearing across the display. Play the isolated sound and look for a spike that rises several decibels above its neighbours and stays in the same place every time you loop the bar.
The alternative is the boost-and-sweep method. Put a bell band on the EQ, raise it by 8 to 10 dB, set a high Q, then drag the frequency slowly from 20 Hz to 20 kHz. The problem will suddenly jump forward in the mix as you pass through it, like a wolf jumping out of the dark. Slow that sweep down further and note the exact value, because you will need it to within a few hertz.
Placement accuracy matters more than people expect. A notch centred 20 to 30 Hz away from the real problem will barely touch the offending energy while still thinning the source, which is one of the most common complaints in mixing forums about EQ that appears to have done nothing.
Now decide what kind of problem you have. A narrow spike that holds a fixed frequency is a notch candidate. A wide, moving band of mud in the low mids is not, and neither is broadband hiss. Those want a wide bell cut, a high-pass filter, or a noise reduction pass instead.
Step 3: Choose and Set the Notch
Notch, band-reject and band-stop all describe the same thing: a filter that rejects a narrow band of frequencies around a centre frequency. A bell curve boosts or cuts and returns to flat. A low-pass or high-pass works on one side of a cutoff. Knowing which one you have picked saves a lot of confusion.
Add a band and change its type to notch. Then set the Q. Higher Q gives a narrower cut; a parametric bell in a normal mixing role sits somewhere around Q 2 to 4, while a notch wants Q 10 to 20 or higher. Start around Q 15 and widen it only if the problem spans more than a few hertz.
Now pull the gain down. Start with 3 to 6 dB and listen, rather than slamming 20 dB and hoping. A shallow cut that removes what you can hear is a better outcome than a deep one that also removes the body of the sound, and on the Sound On Sound forums experienced engineers consistently describe cutting as the more benign move. If the resonance is still there, go a little deeper before you widen the Q.
For 50 or 60 Hz mains hum, remember that the fundamental is rarely alone. Notching 60 Hz leaves 120, 180 and 240 Hz untouched, so build a small harmonic stack at each one with the same narrow Q, or use a high-pass filter with a gentle slope if you do not need the bass at all.
Step 4: Check the Result
Bypass the EQ and compare. Match the levels first, because a filter that quietly lowered the track will always sound like an improvement, and that is an illusion. Then loop the section and listen in context with the other tracks, not just in solo.
You are checking three things: the resonance is gone, the source still sounds like the source, and nothing else has moved. Listen for thinness around the notch, a dull overall tone, or transients that feel softer than they should. Check the spectrum again and confirm the spike is gone while neighbouring content is still there.
If the notch was placed on the master bus rather than the source track, check the single channel too. Bus processing hides problems on individual tracks and then dumps them onto everything else downstream.
Common Mistakes
Cutting a frequency you never actually identified is the biggest one, and it usually comes with a second mistake: boosting while you search. A big boost makes the search easier to hear, but leave it in and you have turned a corrective move into a tone-shaping one.
- Too little Q: the cut smears into nearby content and the source loses body. Narrow it.
- Too much Q: an ultra-narrow notch may miss the problem entirely, or sound like a pitch shift on a sustained tone.
- Sweeping at loud volume: lower the monitoring level while you hunt for the frequency, then bring it back up to judge the result.
- Stacking notches: past roughly four or five narrow cuts on one source, the problem is usually the performance, the mic choice or the room, not the frequencies.
- Treating a bus problem as a single-source problem: if six tracks share the same ring, look for what they have in common before cutting six times.
Save a version before and after every notch and write the measured frequency in the track notes or the plugin name. The second session, three weeks later, is not the session where you remember it was 1.24 kHz at Q 18.
On that last point, EQ is sometimes a band-aid. A room mode will come back every time, and diyaudio users are pointed toward measuring the actual response with a DSP tool for exactly that reason. A hum caused by a cable in a nest of power leads needs unplugging, not a cut at 60 Hz.
Frequently Asked Questions
What does a notch filter do?
A notch filter removes a very narrow band of frequencies around one centre frequency and passes everything else almost unchanged. Because the cut is so tight, a notch can delete a mains hum peak, a click, a boxy room resonance or a ringing note without touching the rest of the tone. A standard parametric bell at low Q would take body and character with it; a high-Q notch does not.
Should I use a notch filter or a band-stop filter for a resonance?
They are the same filter. Notch, band-reject and band-stop are three names manufacturers use for a band-reject filter, and they appear in Pro Tools, Logic Pro Channel EQ, Ableton Live EQ Eight and FabFilter Pro-Q under one of those labels. The naming you see depends on the plugin, not on the behaviour. Look for the band type option in the EQ you own.
How narrow should the Q setting be when cutting a problem frequency?
Narrower than you think is usually better. Start at Q 10 to 20 for a single resonance, hum peak or click, and widen only when the offending energy genuinely spreads across more than a few hertz. An over-wide notch behaves like a small bell cut and dulls the source. If the sound gets thin or subtly pitch-shifted, your Q is too wide, not your gain too shallow.
How can I find a problem frequency without a spectrum analyzer?
Use the boost-and-sweep method. Put a bell band on the EQ, boost it 8 to 10 dB at a high Q, and sweep slowly from 20 Hz to 20 kHz. The frequency that jumps forward as you pass it is your target. Listen for it again at a lower monitoring level, then centre the notch there. A spectrum analyzer just makes this faster and more precise; it is not required.
When should I use a notch filter instead of a low-pass filter?
Use a low-pass filter when everything above a cutoff is unwanted, such as cleaning up a dull acoustic guitar track above roughly 8 kHz. Use a notch when a single frequency is unwanted and everything above and below it must stay. Notching the top end wastes nothing, but reaching for a low-pass to solve one narrow resonance throws away a lot of usable high frequency you did not want to lose.
Does every annoying frequency need to be removed with EQ?
No. Removing a frequency can expose what was masking it, which is why a mix can seem to get worse after several cuts. If you find yourself stacking more than four or five notches on one source, stop and look at the capture instead: mic placement, gain staging, cable routing and room treatment. The same goes for an electrical buzz, which usually disappears the moment the offending cable leaves the signal chain.
Start with the smallest job in your session: solo one track, find one narrow resonance with a boosted sweep, and cut it with a high-Q notch at 3 to 6 dB. Once that sounds right and you can hear exactly what changed, the rest of the frequencies get much easier.